2003 PONTIAC GRAND PRIX ECO mode
[x] Cancel search: ECO modePage 102 of 378
Mirror Operation
The automatic dimming feature is turned on or off by
briefly pressing the COMP button located on the bottom
of the mirror face. A light on the mirror will be lit
while the feature is turned on. It will go out while the
feature is turned
off.
Temperature Display
The TEMP button located on the bottom of the mirror
face changes the temperature display. You can
select
OF, "C, or turn the display off.
Compass Variance
Press the COMP button once briefly to turn the
compass on or
off. When on, the display will show the
compass direction, with a maximum of two characters.
For example,
NE is displayed for north-east.
Compass Calibration
Press and hold the COMP button down for six seconds
to activate the compass calibration mode.
If your
vehicle has the optional mirror with the compass,
temperature display and OnStar system, press the
on/off button for nine seconds.
CAL will be displayed in the compass/temperature
window on the mirror.
The mirror can be calibrated in one of two ways:
Drive the vehicle ir! circles at 5 mph (8 km/h)
or less until CAL is no longer displayed in the
compass window.
0 Drive the vehicle on your everyday routine.
(This method may take longer to calibrate).
Compass Variation
Compass variance is the difference between earth's
magnetic north and true geographic north. If not
adjusted to account for compass variance, your
compass could give false readings. The mirror is set to
zone eight upon leaving the factory.
It will be necessary
to adjust the compass to compensate for compass
variance
if you live outside zone eight. Under certain
circumstances, such as during a long distance
cross-country trip, it will be necessary to adjust for
compass variance.
2-35
Page 111 of 378
Entering Programming Mode
To program features, your vehicle must be in this
programming mode. Follow these steps:
1. Turn the ignition key to LOCK or OFF.
2. Remove the MALL
PGM fuse from the instrument
panel fuse block. See Fuses and Circuit Breakers
on page
5-97.
3. Turn the ignition key to ACCESSORY.
4. Count the number of chimes you hear. You will
hear up to four chimes, depending on vehicle
content. See “Vehicle Personalization’’ listed
previously.
YOU can now program your choices. After programming
a feature, you can exit the programming mode at
any time.
Delayed Illumination and Exit
Lighting
With delayed illumination, the interior lamps will stay on
for about 25 seconds after all doors are closed.
With exit lighting, the interior lamps will come on and
stay on for about
25 seconds whenever you remove the
key from the ignition.
Programmable Modes
Mode 1: Both Features Off - The interior lamps will
turn on or off at the same instant that a door is opened
or closed.
Mode 2: Delayed Illurnination Only -The interior lamps
will stay on for about
25 seconds after all the doors
are closed, or until you lock the doors.
Mode 3: Exit Lighting Only -The interior lamps will
come on whenever you remove the key from the ignition
and stay
on for about 25 seconds, or until you lock
the doors.
Mode 4: Both Features On -This combines Modes 2
and 3.
Before your vehicle was shipped from the factory, it was
programmed to Mode
4. The mode to which your
vehicle was programmed may have been changed since
it left the factory. To determine the mode
to which
your vehicle is programmed or to program your vehicle
to a different mode, do the following:
1. Follow the instructions for Entering Programming
2. Turn the interior lamps thumbwheel all the way to
Mode
on page 2-44.
the right
and then back slightly to the left.
2-44
Page 114 of 378
Last Door Closed Locking and
Lockout Protection
With the last door closed locking and lockout prevention
features, your vehicle will do the following:
0 If you leave your key in the ignition and leave the
driver’s door open, you won’t be able to use the
power door lock switches to lock the doors.
9 The doors will not lock when you press LOCK on
the driver’s door arm rest or the lock button on
the remote keyless entry transmitter
(if equipped)
while any door is open. Instead, you will hear three
chimes which let you know that the last door
closed locking feature is
in operation. Five seconds
after all the doors are closed, all the doors will
automatically lock.
Programmable Modes
Mode 1: Both Features Off - Doors will always lock
immediately when you press
LOCK on the driver’s door
armrest or the remote keyless entry transmitter,
if
equipped.
Mode 2: Lockout Prevention Only - If you leave your
key in the ignition with the driver’s door open, you
will not be able to lock the doors using your power locks.
Mode 3: Last Door Closed Locking Only - If the power
door lock switch or remote keyless entry transmitter,
if
equipped, is used to lock the vehicle while any door is
open and the key is out of the ignition, you will hear three
chimes. The doors will not lock. Five seconds after the
last door is closed, all doors will lock.
Mode 4: Both Features On - This combines Modes 2
and
3.
Before your vehicle was shipped from the factory, it was
programmed to Mode
4. The mode to which your
vehicle was programmed may have changed since it left
the factory. To determine the mode to which your
vehicle
is programmed or to program your vehicle to a
different mode, do the following:
1. Follow the instructions for Entering Programming
2. Press UNLOCK on the driver’s door armrest or the
Mode
on page 2-44.
unlock button
on the remote keyless entry
transmitter.
2-47
Page 115 of 378
3. Count the number of chimes you hear. The number
of chimes tells you which mode your vehicle is set
for.
If you do not wish to change the current mode,
you can either exit the programming mode by
following the instructions later
in this section or
program the next feature available on your vehicle.
4. Press UNLOCK again to change the current mode.
5. Repeat Step
4 until you hear the number of
chimes that matches the mode you want.
The mode you selected
is now set. You can either exit
the programming mode by following the instructions
later in this section or program the next feature available
on your vehicle. See Exiting Programming Mode on
page
2-53.
Remote Driver Unlock Control
With the remote driver’s unlock control feature, if
equipped, you can program your vehicle to do the
following:
When you press UNLOCK on your remote keyless
entry transmitter, the driver’s door will unlock, and
when you press UNLOCK on your remote keyless
entry transmitter again within five seconds, all
doors will unlock.
Programmable Modes
Mode 1: Remote All Doors Unlock - When you press
UNLOCK on the remote keyless entry transmitter
once, all doors will unlock
Mode 2: Remote Driver’s Door and All Doors
Unlock
- When you press UNLOCK on the remote
keyless entry transmitter once, the driver’s door
will unlock.
If you press UNLOCK again within five
seconds, all doors will unlock.
Before your vehicle was shipped from the factory, it was
programmed to Mode
2. The mode to which your
vehicle was programmed may have been changed since
it left the factory. To determine the mode to which
your vehicle is programmed or to program your vehicle
to a different mode, do the following:
1. Follow the instructions for Entering Programming
Mode on page 2-44.
2. Press UNLOCK on the remote keyless entry
transmitter.
3. Count the number of chimes you hear. The number
of chimes tells you which mode the vehicle is set
for.
If you do not wish to change the current mode,
you can either exit the programming mode by
following the instructions later
in this section or
program the next feature available on your vehicle.
2-48
Page 116 of 378

4. Press UNLOCK on the remote keyless entry
5. Repeat Step
4 until you hear the number of chimes
transmitter again
to change the current mode.
that matches the mode you want.
The mode you selected is now set. You can either exit the
programming mode by following the instructions later in
this section or program the next feature available on your
vehicle. See Exiting Programming
Mode on page 2-53.
Remote Lock and Unlock
Confirmation
With the remote lock and unlock confirmation feature, if
equipped, you can program your vehicle to do the
following:
When you use the remote keyless entry transmitter
to lock your vehicle, your headlamps will flash to let
you know the command has been received.
If
you press LOCK on the remote keyless entry
transmitter again within five seconds, the horn will sound briefly and the headlamps will flash to let you
know your vehicle is locked.
When you use the remote keyless entry transmitter
to unlock your vehicle, your headlamps will flash to
let you know the command has been received.
Programmable Modes
Mode 1: Both Features Off - Remote lock and unlock
confirmation are disabled.
Mode 2: Exterior Lamps Flash Only
0 Remote Lock Confirmation: When you use the
remote keyless entry transmitter to lock the vehicle,
the headlamps will flash to let you know the
command is received.
Remote Unlock Confirmation: When you use the
remote keyless entry transmitter to unlock the
vehicle or open the trunk, the headlamps will flash
to let you know when the command is received.
Mode 3: Exterior Lamps Flash and Horn Sound
Remote Lock Confirmation: When you use the
remote keyless entry transmitter to lock the vehicle,
the horn will sound briefly and the headlamps will
flash to let you know the command is received.
Remote Unlock Confirmation: When you use the
remote keyless entry transmitter
to unlock the
vehicle or open the trunk, the headlamps will flash
to let you know the command is received.
2-49
Page 117 of 378

Mode 4: Exterior Lamps and Horn Sound - on second
LOCK press only.
Remote Lock Confirmation: When you use the
remote keyless entry transmitter to lock the vehicle,
the headlamps will flash to let you know the
command is received. The horn will sound briefly
and the headlamps will flash
if you press the LOCK
button again within five seconds.
Remote Unlock Confirmation: When you use the
remote keyless entry transmitter to unlock the
vehicle or open the trunk, the headlamps will flash
to let you know the command is received.
Before your vehicle was shipped from the factory, it was
programmed to Mode
4. The mode to which your
vehicle was programmed may have been changed since
it left the factory. To determine the mode to which
your vehicle is programmed or to program your vehicle
to
a different mode, do the following:
1. Follow the instructions for Entering Programming
2. Press the LOCK button on the remote keyless entry
Mode
on page
2-44.
transmitter.
3.
4.
5.
Count the number of chimes you hear. The number
of chimes tells you which mode the vehicle is set
for.
If you do not wish to change the current mode,
you can either exit the programming mode by
following the instructions later in this section or
program the next feature available
on your vehicle.
Press LOCK on the remote keyless entry transmitter
again
to change the current mode.
Repeat Step
4 until you hear the number of chimes
that matches the number of the mode you want.
The mode you selected is now set. You can either exit
the programming mode by following the instructions
later in this section or program the next feature available
on your vehicle. See Exiting Programming
Mode on
page
2-53.
2-50
Page 120 of 378
Mode 3: Standard Arming and Disarming
e
e
0
The content theft-deterrent system will arm when
you lock the doors using either power door lock
switch while any door is open and the key is
removed from the ignition.
The content theft-deterrent system will arm when
you lock the doors with your remote keyless
entry transmitter. The key must be removed from
the ignition when you lock the doors or the content
theft-deterrent system will not arm.
The content theft-deterrent system will disarm when
you unlock the doors with the key or the remote
keyless entry transmitter.
Before your vehicle was shipped from the factory,
it was
programmed to Mode
1. The mode to which your
vehicle was programmed may have been changed since
it left the factory. To determine the mode to which
your vehicle is programmed or to program your vehicle
to a different mode, do the following:
1. Follow the instructions for Entering Programming
Mode on page
2-44.
2. Insert a second ignition key fully into any door key
cylinder and turn it to the unlock position.
This step
is necessary to prevent accidental
programming of this feature to Mode
2.
3.
4.
5.
6.
7,
Do not program this feature to Mode 2 without first
reading the note contained in the description for
that mode. The door key lock cylinder must remain
in the unlock position during Steps 2 through 4.
Press the horn symb~l on the remote keyless entry
transmitter.
Count the number of chimes you hear. The number
of chimes tells you which mode the vehicle is set
for.
If you do not wish to change the current mode,
you can either exit the programming mode by
following the instructions later in this section or
program the next feature available on your vehicle.
Press the horn symbol on the remote keyless entry
transmitter again to change the current mode.
Repeat Step 5 until you hear the number
of chimes
that matches the mode you want.
Remove the key from the door key cylinder.
The mode you selected is now set. You can either exit the
programming mode by following the instructions at the
end of this section or program the next feature available
on your vehicle. See “Exit Programming Mode” following.
Exiting Programming Mode
To exit programming mode, turn the key from
ACCESSORY to
OFF and put the MALL PGM fuse
back into the instrument panel fuse block.
2-53
Page 138 of 378
3. Press the top of the UP/DN switch until the HUD
image stops moving. Then press the bottom of the
switch until the image is as low as possible but
in full view.
4. Move the DIM thumbwheel down ur;til the HUD
image is no brighter than necessary. To turn the
HUD off, move the DIM thumbwheel all the
way down.
If the sun comes out, it becomes cloudy, or if you turn
on your headlamps, you may need
to adjust the
HUD brightness again. The HUD will automatically dim
when the headlamps change from the
DRL mode to
full intensity. Polarized sunglasses could make the
HUD
image harder to see.
Push the
ENG/MET button
on the trip calculator,
located above the audio
controls on the trip
computer (if equipped) on
the instrument panel,
to switch the
HUD display
between English to
metric.
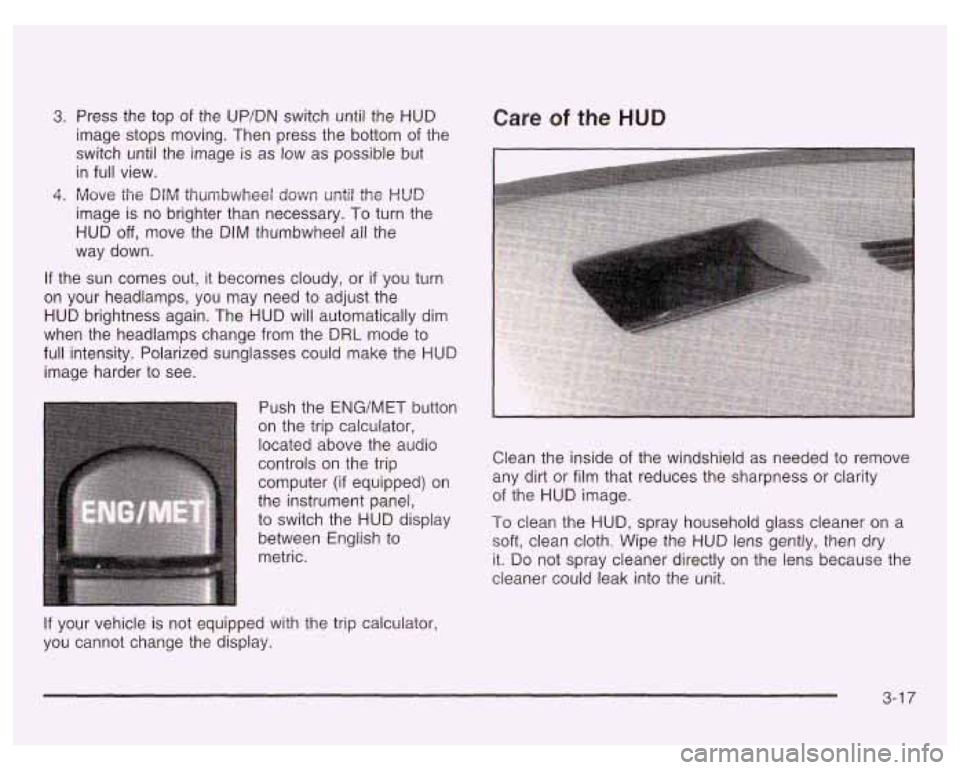
Care of the HUD
Clean the inside of the windshield as needed to remove
any dirt or film that reduces the sharpness or clarity
of the
HUD image.
To clean the HUD, spray household glass cleaner on a
soft, clean cloth. Wipe the
HUD lens gently, then dry
it. Do not spray cleaner directly on the lens because the
cleaner could leak into the unit.
If your vehicle is not equipped with the trip calculator,
you cannot change the display.
3-1 7