2003 PONTIAC GRAND PRIX ECO mode
[x] Cancel search: ECO modePage 142 of 378
A/C (Air Conditioning): Press this button to turn the
air-conditioning system on or
off. When A/C is pressed,
an indicator light above the button will come on to let
you know that
A/C is active. The instrument brightness
control may have to be adjusted to
the highest setting
during the daytime in order to see the indicator light.
On hot days, open the windows to let hot inside
air escape; then close them. This helps to reduce the
time it takes for your vehicle to cool down. It also helps
the system to operate more efficiently.
For quick cool down
on hot days:
1. Select the MAX recirculation mode.
2. Select A/C.
3. Select the coolest temperature.
4. Select the highest fan speed.
Using these settings together for long periods of time
may cause the air inside your vehicle to become too dry.
To prevent this from happening, after the air in your
vehicle has cooled, change the mode from MAX
to another mode such as bi-level.
The air-conditioning system removes moisture from the
air,
so you may sometimes notice a small amount of
water dripping underneath your vehicle while idling
or after turning
off the engine. This is normal.
Defogging and Defrosting
There are two modes to clear fog from your windshield.
Use the floor/defog mode
to clear the windows of fog
or moisture and warm the passengers. Use the defrost
mode to remove fog or frost from the windshield
more quickly.
Turn the mode knob to select the defog or defrost mode.
,2 (Floor/Defog): This mode directs the air equally
between the windshield and the floor outlets. When you
select this mode, the system turns on the
air-conditioning compressor unless the outside
temperature is at or below freezing.
9 FRONT (Defrost): Pressing FRONT directs most
of the air to the windshield and the side window
outlets, with some air directed to the floor outlets. In this
mode, the system will automatically run the
air-conditioning compressor, unless the outside
temperature is at or below freezing.
3-21
Page 162 of 378
0 AVG ECON ORANGE
1
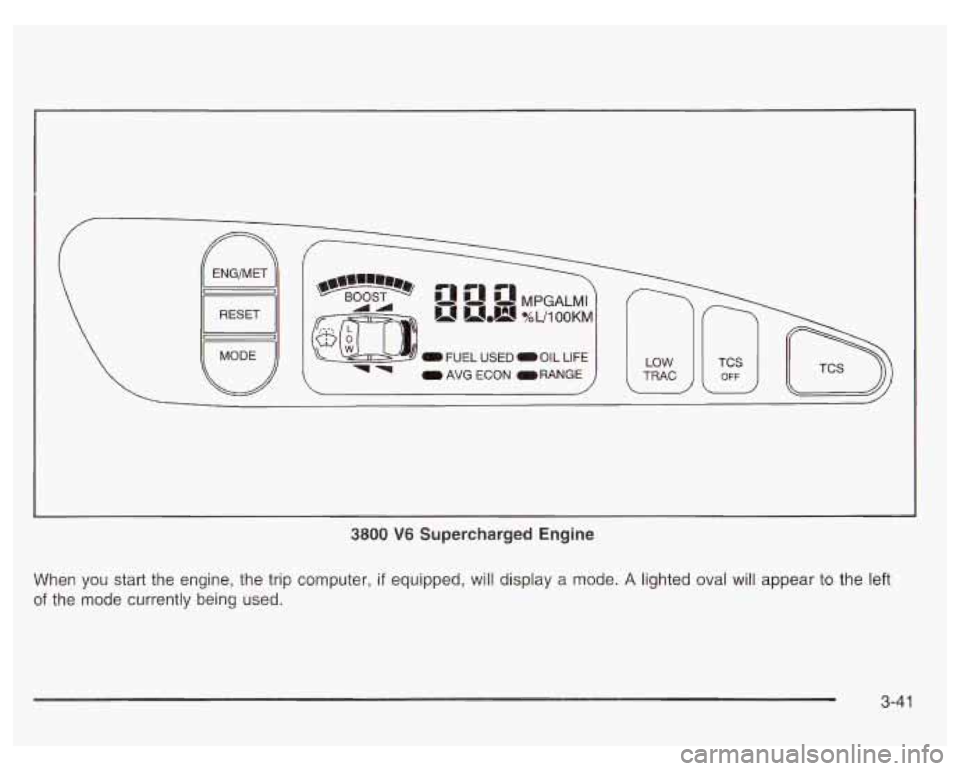
3800 V6 Supercharged Engine
When you start the engine, the trip computer, if equipped, will display a mode. A lighted oval will appear to the left
of the mode currently being used.
3-41
Page 163 of 378
Control Buttons
The trip computer has three buttons that control its
functions.
ENG/MET (English/Metric): Press this button to
change the display from English
to metric units or metric
to English.
RESET: Press this button for two seconds to reset the
mode displayed.
MODE: Press this button to change the function mode,
(Fuel Used, AVG ECON, OIL LIFE, RANGE) being
displayed.
OIL LIFE: This shows a percentage of the engine’s oil
remaining useful life. The system predicts remaining
oil life using data from length of drives, coolant
temperature, engine rpm and vehicle speed. Each time
you get an oil change, be sure to reset this function
so that it will give you an accurate percentage. See
“How to Reset the GM Oil Life System” under Engine
Oil on page
5-18.
RANGE: This mode shows how much farther you can
travel with the fuel you have remaining in the gas
tank before refueling. When the range displays
L, for
40 to
50 miles (64.36 to 80.45 km), the display will flash
LOW continuously. The range is calculated from the
AVG ECON value multiplied by the fuel remaining in
the tank.
Functions
LOW: This light will come on the vehicle outline when
FUEL USED: This mode shows the total amount of fuel the ignition is on and the fluid in the washer fluid
used since you last reset it. The amount can be container is low.
displayed in gallons or liters.
AVG ECON (Average Economy): This mode shows
the average fuel economy since you last reset
it.
3-42
Page 248 of 378
When to Change Engine Oil (GM Oil
Life SystemTM)
Your vehicle has a computer system that lets you know
when to change the engine
oil and filter. This is
based on engine revolutions and engine temperature,
and not on mileage. Based on driving conditions,
the mileage at which an oil change will be indicated
can vary considerably. For the oil life system to
work properly, you must reset the system every time
the oil is changed.
When the system has calculated that oil life has been
diminished, it will indicate that an oil change is
necessary.
A CHANGE OIL SOON light will come on.
Change your
oil as soon as possible within the next two
times you stop for fuel.
It is possible that, if you are
driving under the best conditions, the oil life system may
not indicate that an oil change is necessary for over a
year. However, your engine oil and filter must be
changed at least once a year and at this time the system
must be reset. It is also important to check your oil
regularly and keep it at the proper level.
If the system is ever reset accidentally, you must
change your oil at
3,000 miles (5 000 km) since your
last oil change. Remember
to reset the oil life system
whenever the oil is changed.
How to Reset the GM Oil Life System
The GM Oil Life SystemTM calculates when to change
your engine oil and filter based on vehicle use. Anytime
your oil is changed, reset the system
so it can calculate
when the next oil change is required.
If a situation occurs
where you change your oil prior to a CHANGE
OIL SOON
light being turned on, reset the system.
To reset the GM Oil Life SystemTM after the oil has
been changed, use one of the following two procedures:
Using the Driver Information Center (DIC)
1.
2.
3.
With the ignition key in RUN but the engine off, fully
push and release the accelerator pedal slowly three
times within five seconds.
If the CHANGE OIL SOON light flashes, the system
is resetting.
Turn the key to OFF after the light stops flashing,
then start the vehicle.
If the CHANGE OIL SOON light comes back on, the
engine oil life monitor has not reset. Repeat the
procedure.
Using the Trip Computer (If Equipped)
1. Press the MODE button until the light appears lit
2. Press and hold the RESET button for three seconds.
next to
OIL LIFE.
The
oil life percentage should change to 100%.
5-23
Page 263 of 378
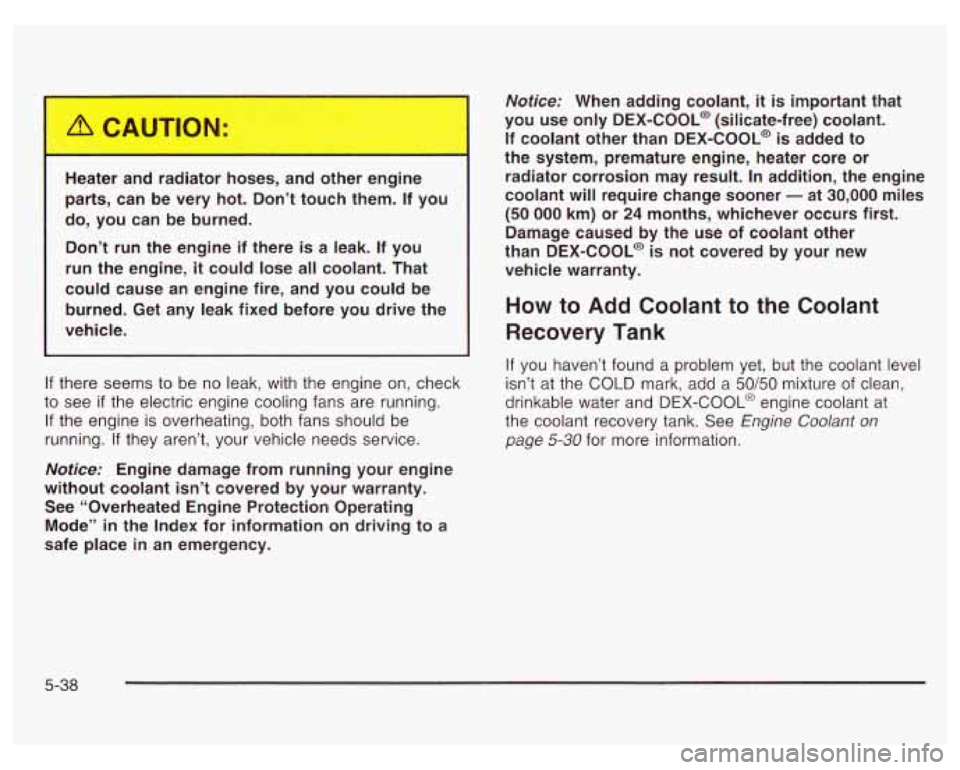
He !r : I r8 r hoses, ar other engine
parts, can be very hot. Don’t touch them. If you
do, you can be burned.
Don’t run the engine if there is a leak. If you
run the engine,
it could lose all coolant. That
could cause an engine fire, and you could be
burned. Get any leak fixed before you drive the
vehicle.
If there seems to be no leak, with the engine on, check
to see
if the electric engine cooling fans are running.
If the engine is overheating, both fans should be
running.
If they aren’t, your vehicle needs service.
Notice: Engine damage from running your engine
without coolant isn’t covered by your warranty. See “Overheated Engine Protection Operating
Mode’’
in the Index for information on driving to a
safe place
in an emergency.
Notice: When adding coolant, it is important that
you use only
DEX-COOL@ (silicate-free) coolant.
If coolant other than DEX-COOL@
is added to
the system, premature engine, heater core or radiator corrosion may result. In addition, the engine
coolant will require change sooner
- at 30,000 miles
(50 000 km) or 24 months, whichever occurs first.
Damage caused by the
use of coolant other
than DEX-COOL@ is not covered by your new
vehicle warranty.
How to Add Coolant to the Coolant
Recovery Tank
If you haven’t found a problem yet, but the coolant level
isn’t at the COLD mark, add a
50/50 mixture of clean,
drinkable water and DEX-COOL@ engine coolant at
the coolant recovery tank. See
Engine Coolant on
page 5-30 for more information.
5-38
Page 300 of 378
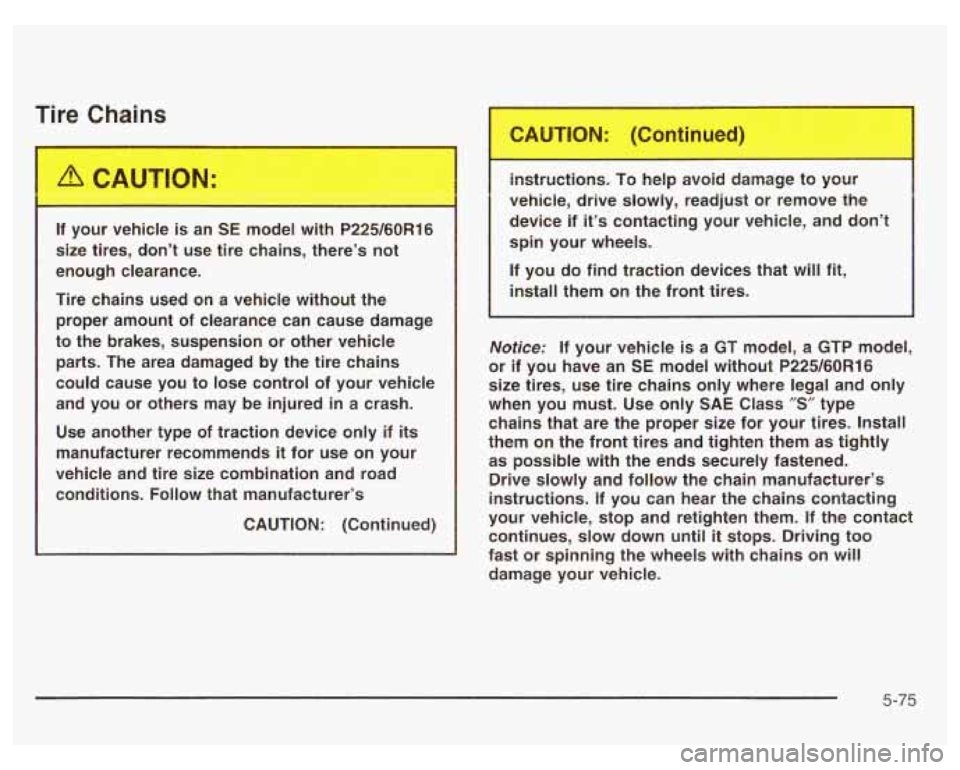
Tire Chains
If your vehicle is an SE model with P225/60R16
size tires, don’t use tire chains, there’s not
enough clearance.
Tire chains used on a vehicle without the proper amount of clearance can cause damage
to the brakes, suspension or other vehicle
parts. The area damaged by the tire chains
could cause you to lose control of your vehicle
and you or others may be injured in a crash.
Use another type of traction device only if
its
manufacturer recommends it for use on your
vehicle and tire size combination and road
conditions.
Follow that manufacturer’s
CAUTION: (Continued) instructions. To help avoid damage to your
vehicle, drive slowly, readjust or remove the
device if
it’s contacting your vehicle, and don’t
spin your wheels.
If you do find traction devices that will fit,
install them on the front tires.
Notice; If your vehicle is a GT model, a GTP model,
or if you have an
SE model without P225/60R16
size tires, use tire chains only where legal and only
when you must. Use only SAE Class
”S” type
chains that are the proper size for your tires. Install
them on the front tires and tighten them as tightly as possible with the ends securely fastened.
Drive slowly and follow the chain manufacturer’s
instructions. If you can hear the chains contacting
your vehicle, stop and retighten them.
If the contact
continues, slow down
until it stops. Driving too
fast or spinning the wheels with chains on will
damage your vehicle.
5-75
Page 353 of 378
We have quick, easy access to telephone numbers
of the following additional sewices depending on
your needs:
Hotels
Glass replacemenr
Tire repair facilities
Rental vehicle or taxis
Airports or train stations
Police, fire departments or hospitals
In many instances, mechanical failures are covered
under Pontiac’s comprehensive warranty. However,
when other services are utilized, our advisors will explain
any payment obligations you might incur.
For prompt and efficient assistance when calling, please
provide the following information to give the advisor:
0 Location of vehicle
0 Telephone number of your location
Vehicle model, year and color
Mileage of vehicle
Vehicle Identification Number (VIN)
Vehicle license plate number Pontiac reserves
the right to limit services or
reimbursement to an owner or driver when, in Pontiac’s
judgement, the claims become excessive in frequency
or type of occurrence.
While we hope you never have the occasion
to use our
service, it
is added security while traveling for you
and your family. Remember, we’re only a phone call
away. Pontiac Roadside Assistance: 1 -800-ROADSIDE
or 1-800-762-3743, text telephone (TTY) users,
call 1-888-889-2438.
Canadian Roadside Assistance
Vehicles purchased in Canada have an extensive
Roadside Assistance program accessible from anywhere
in Canada or the United States. Please refer to the
Warranty and Owner Assistance Information book.
Courtesy Transportation
Pontiac has always exemplified quality and value in its
offering of motor vehicles. To enhance your ownership
experience, we and our participating dealers are
proud to offer Courtesy Transportation, a customer
support program for new vehicles.
7-6
Page 368 of 378

Maintenance Schedule (cont.) Steering. Suspension and Front Drive Axle
Boot and Seal Inspection .......................... 6-13
Throttle System Inspection ............................ 6-1 4
Your Vehicle and the Environment ................... 6-2
Maintenance When Trailer Towing ..................... 4-43
Making Turns ................................................. 4-41
Malfunction Indicator Light ................................ 3-32
Manual Seats ................................................... 1-2
Matching Transmitter(s) to Your Vehicle ............... 2-6
Mexico, Central America and Caribbean
Using
Your
................................................... 6-4
Islands/Countries
(Except Puerto Rico and
U.S. Virgin Islands) ....... 7-4
Mirror Operation ..................................... 2-33, 2-35
Mirrors Automatic Dimming Rearview with Compass
Automatic Dimming Rearview with Onstar@,
Manual Rearview Mirror
................................ 2-33
Outside Convex Mirror ................................. 2-37
Outside Power Mirrors .................................. 2-37
and Temperature Display ........................... 2-34
Compass and Temperature Display ............. 2-33
New Vehicle Break-In ............................ ... 2-19
Normal Maintenance Replacement Parts ........... 5-1 04
0
Odometer ...................................................... 3-25
Off-Road Recovery .......................................... 4-15
Oil
Engine .................................... .... 5-18
Low Oil Level Light ...................................... 3-36
Pressure Light ............................................. 3-35
Supercharger, Engine ................................... 5-24
Older Children, Restraints ................................ 1-29
Onstar@ Personal Calling ................................. 2-39
Onstar@ Services ............................................ 2-38
Onstat-@ System ............................................. 2-38
Onstar@ Virtual Advisor .................................... 2-39
Other Warning Devices ...................................... 3-4
Outlet Adjustment ............................................ 3-22
Outside
Convex Mirror
............................................. 2-37
Power Mirrors ............................................. 2-37
Overhead Console .......................................... 2-40
Overhead Console Reading Lamps .................... 3-14
Overheated Engine Protection
Operating Mode
.......................................... 5-33
Owners, Canadian ............................................... ii
Owner’s Information ........................................ 7-10
9