Page 73 of 418

To change to another mode, do the following:
the ignition on throughout this procedure.
in LOCK through Step
4.
1. Keep all doors closed, the vehicle in PARK (P) and
2. Press and hold the driver’s power door lock switch
3. Press the button with the trunk symbol on the
transmitter. The transmitter will remain in its
current mode and the horn will chirp as feedback.
4. Press the button with the trunk symbol again. Each
time the transmitter’s trunk button is pressed, the
mode will advance by one, going from Mode
2 to 3
to 4, etc. and the horn will chirp as feedback.
5. Release the power door lock switch. The security
feedback will remain in the most recent mode
selected.
This procedure changes the mode for the transmitter
used
to change this setting. The procedure will need to
be repeated for the second transmitter.
To verify the mode selected, remove the key from the
ignition and close all
of the doors after you’ve exited the
vehicle. Press the lock button
on the transmitter to be
verified and confirm the appropriate feedback. Repeat with the unlock button.
Matching Transmitter(s) to Your
Vehicle
Each remote keyless entry transmitter is coded to
prevent another transmitter from unlocking your vehicle.
If a transmitter is lost or stolen, a replacement can
be purchased through your dealer. Remember
to bring
any remaining transmitters with you when you go
to
your dealer. When the dealer matches the replacement
transmitter
to your vehicle, any remaining transmitters
must also be matched. Once your dealer has coded the
new transmitter, the lost transmitter will not unlock
your vehicle. Each vehicle can have a maximum of four
transmitters matched
to it.
See your dealer
to match additional transmitters to your
vehicle.
2-8
Page 81 of 418

Leaving Your Vehicle
If you are leaving the vehicle, take your keys, open
your door and set the locks from the inside. Then get out
and close the door.
You may also use the lock button
on the remote keyless entry transmitter after shutting
the doors.
If your vehicle has a theft-deterrent system, see
Universal Theft-Deterrent on page 2-21.
Trunk
L% CAUTION:
It can be dangerous to drive with the trunk lid
open because carbon monoxide (CO) gas can
come into your vehicle.
You can’t see or smell
CO.
It can cause unconsciousness and
even death.
CAUTION: (Continued) If
you must drive with the trunk lid open or if
electrical wiring
or other cable connections
must pass through the seal between the body
and the trunk
lid:
Make sure all other windows are shut.
Turn the fan on your heating or cooling
system to
its highest speed and select the
control setting that will force outside air
into your vehicle. See “Climate Controls”
in the Index.
instrument panel, open them all the way.
If you have air outlets on or under the
See “Engine Exhaust” in the Index.
Trunk Lock Release
To unlock the trunk from the outside, insert the master
key and turn it.
2-1 6
Page 82 of 418
Remote Trunk Release
If you have this option,
press the trunk release
button located
in the
glove box to open the
trunk lid.
The key does not have to be in the ignition for the
remote trunk button to work. The transaxle must be in
PARK (P) or NEUTRAL (N). The system also works with
the remote keyless entry system,
if your vehicle has
this feature.
Remote Trunk Release Lockout
If your vehicle has this feature, in order to secure items
in the trunk, lock the glove box with the master key
and take your key and remote keyless entry transmitter
with you. The valet key cannot open the trunk or the
glovebox.
Trunk Security Override
If your vehicle has this feature, pressing the trunk
symbol on the remote keyless entry transmitter opens
the trunk even
if the glove box is locked.
2-1 7
Page 83 of 418
Emergency Trunk Release Handle
I r
Notice: The emergency trunk release handle is not
designed to be used to tie down the trunk lid
or
as an anchor point when securing items in the trunk.
Improper use
of the emergency trunk release
handle could damage
it.
There is a glow-in-the-dark emergency trunk release
handle located in the trunk near the trunk latch.
This handle will glow following exposure to light. Pull the
release handle up to the open the trunk from the
inside.
2-1 8
Page 111 of 418

Storage Areas
Glove Box
Use the master key to lock and unlock the glove box.
To open it, lift the latch release on the left side of
the glove box door.
The VALET key will not work in the glove box door lock.
Front Storage Area
Press the buttons on either side of the armrest to open
the storage area for cassette tapes, gloves, etc.
Center Console Storage Area Rear Seat
Pass Through
Your vehicle has a rear seat armrest with cupholders
and a pass-through feature.
Pull down the interior door
to access the trunk.
Convenience Net
Your vehicle may have a convenience net. You’ll see it
just inside the back wall of the trunk.
Put small loads, like grocery bags, behind the net.
It can
help keep them from falling over during sharp turns or
quick starts and stops. For heavier loads, store
them in the trunk as far forward as you can.
You can unhook the net
so that it will lie flat when
you’re not using it.
If your vehicle has this feature, press the button at the
front edge of the armrest
to open the storage area
for cassette tapes, gloves, etc.
2-46
Page 269 of 418

If your vehicle has the optional Driver Information
Center (DIC), the CHECK
GAS CAP message will be
displayed
if the fuel cap is not properly reinstalled.
Notice: If you need a new fuel cap, be sure to get
the right type. Your dealer can get one for you.
If you get the wrong type,
it may not fit properly.
This may cause your malfunction indicator lamp to
light and may damage your fuel tank and emissions
system. See “Malfunction Indicator Lamp” in
the Index.
Fuel Door Lock
On models having the optional theft-deterrent system,
the fuel door is locked and unlocked together with
the driver’s power door lock.
To unlock the fuel filler
door, use the power door lock button or the remote
keyless entry transmitter (if equipped). If your
vehicle has a fuel door lock, the fuel door can be
opened manually
in case of an electrical power
failure.
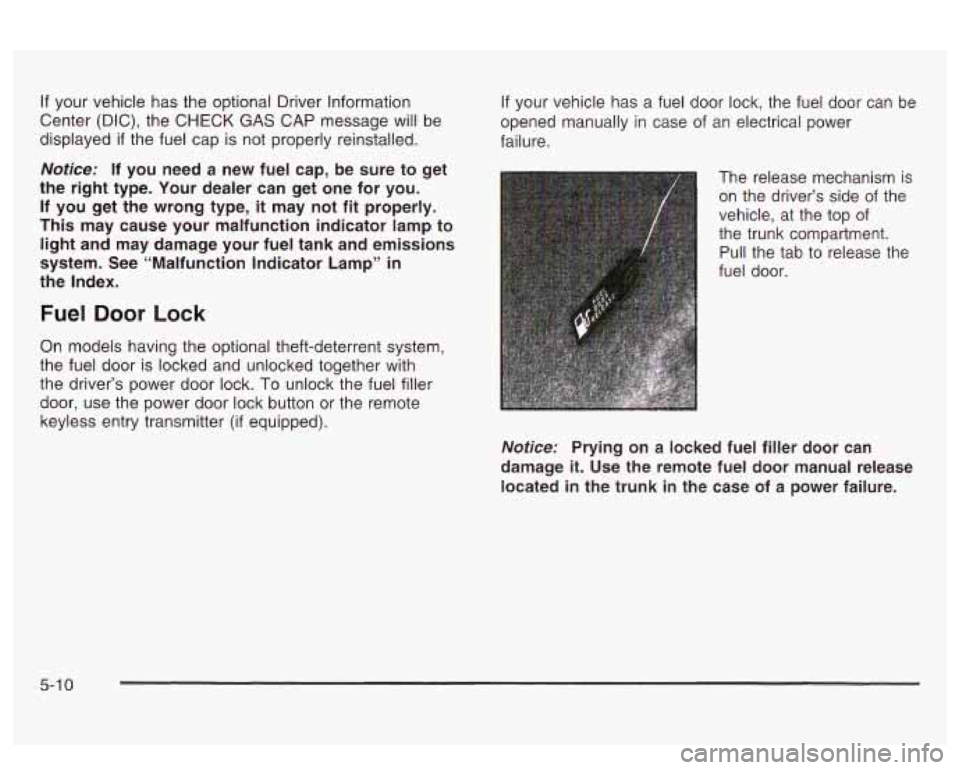
The release mechanism is on the driver’s side of the
vehicle, at the top of
the trunk compartment.
Pull the tab to release the
fuel door.
Notice: Prying on a locked fuel filler door can
damage
it. Use the remote fuel door manual release
located in the trunk in the case of a power failure.
5-1 0
Page 319 of 418
3. Pull the carpeting away from the rear corner
of the trunk.
4.
5.
6.
7.
A
Remove the three nuts holding the lamp in place
and remove the lamp assembly.
While pressing the release, turn the bulb socket
assembly counterclockwise to remove it from the
lamp assembly.
Pull the bulb straight out of the socket.
Replace the bulb and reverse Steps 1 through
6 to
reinstall the lamp assembly.
Replacement Bulbs
-
Exterior Lamp I Bulb Number
Front
I Headlamp I
-High Beam
~
9005
Low Beam 9006
Parkingnurn Lamps I 3157
Rear
Taillamps
Back-up Lamps 3057
3057
StoDlamDs 3057
Turn
I 3157
For any bulb not listed here contact Vour dealer.
5-60
Page 357 of 418
Fuses
34
35
36 37
38
Relays
39
40
41 42
43
Usage
Ignition 3 Rear
Antilock Brake System
Turn SignaVHazard HVAC Battery
Dash Integration Module
Usage
Fuel Pump
Parking Lamps
Ignition 1 Rear Fog Lamps
Not Used
Relays
44
45 46
47
48
49
50
51
52
53
54
55
Usage
Park Brake
Reverse Lamps Retained Accessory Power
Fuel Tank Door Lock
Not Used Ignition
3
Fuel Tank Door Release
Interior Lamps
Trunk Release Front Courtesy Lamps
Not Used
Electronic Level Control Compressor
5-98