2003 PONTIAC BONNEVILLE headlamp
[x] Cancel search: headlampPage 2 of 418
The 2003 Pontiac Bonneville Owner Manual
Seats and Restraint Systems ........................... 1-1
Front Seats
............................................... 1-2
Safety Belts
.............................................. 1-7
Child Restraints
....................................... 1-27
Air Bag Systems
...................................... 1-47
Restraint System Check
............................ 1-56
Features and Controls ..................................... 2-1
Keys
........................................................ 2-3
Doors and Locks
...................................... 2-10
Windows
................................................. 2-1 9
Theft-Deterrent Systems
............................ 2-21
Starting and Operating Your Vehicle
........... 2-25
Mirrors
.................................................... 2-38
OnStap
.................................................. 2-40
HomeLink@ Transmitter
............................. 2-42
Storage Areas
......................................... 2-46
SlJnroof
................................................. 2-47
Vehicle Personalization
............................. 2-48
Instrument Panel ............................................. 3-1
Instrument Panel Overview
.......................... 3-4
Climate Controls
...................................... 3-25
Warning Lights, Gages and Indicators
......... 3-34
Systems Monitor
...................................... 3-55
Driver Information Center (DIC)
.................. 3-57 Secondary
Information Center (SIC)
............ 3-68
Audio System(s)
....................................... 3-71
Driving Your Vehicle ....................................... 4-1
Your Driving, the Road, and Your Vehicle
..... 4-2
Towing
................................................... 4-32
Service
..................................................... 5-3
Fuel
......................................................... 5-5
Checking Things Under the Hood
............... 5-12
Headlamp Aiming
..................................... 5-52
Bulb Replacement
.................................... 5-56
Windshield Wiper Blade Replacement
......... 5-61
Tires
...................................................... 5-62
Appearance Care
..................................... 5-82
Vehicle Identification
................................. 5-90
Electrical System
...................................... 5-91
C8pa.citigs
and Specifications ......... 5-100
Normal Maintenance Replacement Parts .... 5-101
Maintenance Schedule
................................ 6-2
Customer Assistance Information .................... 7-1
Customer Assistance Information
.................. 7-2
Reporting Safety Defects
............................ 7-8
index ................................................................ 1
Service and Appearance Care .......................... 5-1
Maintenance Schedule ..................................... 6-1
Page 71 of 418
Remote Keyless Entry System
Operation
If your vehicle has this feature, you can lock and unlock
your doors or unlock your trunk from about
3 feet (1 m) up
to
30 feet (9 m) away using the remote keyless entry
transmitter supplied with your vehicle.
The numbers on the back
of the transmitters correspond
to DRIVER
#1 and DRIVER #2 on the DIC (if equipped).
See
Driver Information Center (DIC) on page 3-57 for
more information.
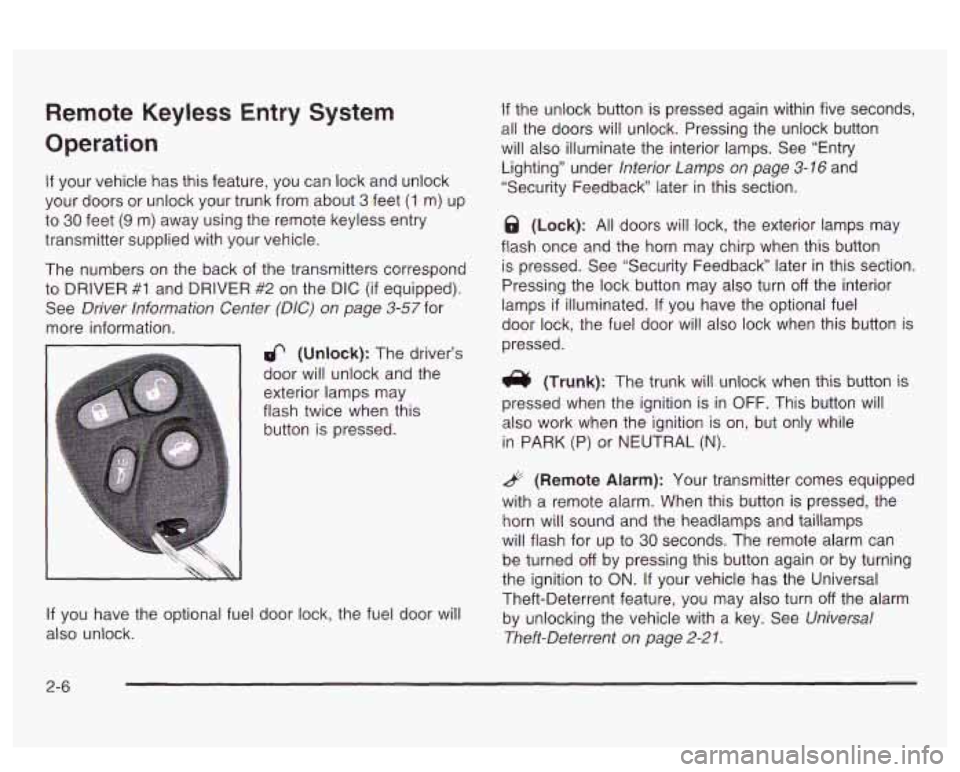
6 (Unlock): The driver’s
door will unlock and the
exterior lamps may
flash twice when this
button is pressed.
If you have the optional fuel door lock, the fuel door will
also unlock.
If the unlock button is pressed again within five seconds,
all the doors will unlock. Pressing the unlock button
will also illuminate the interior lamps. See “Entry
Lighting” under
Interior Lamps on page 3-16 and
“Security Feedback later in this section.
@ (Lock): All doors will lock, the exterior lamps may
flash once and the horn may chirp when this button
is pressed. See “Security Feedback” later in this section.
Pressing the lock button may also turn
off the interior
lamps
if illuminated. If you have the optional fuel
door lock, the fuel door will also lock when this button is
pressed.
(Trunk): The trunk will unlock when this button is
pressed when the ignition is in
OFF. This button will
also work when the ignition is on, but only while
in
PARK (P) or NEUTRAL (N).
& (Remote Alarm): Your transmitter comes equipped
with a remote alarm. When this button
is pressed, the
horn will sound and the headlamps and taillamps
will flash for up to
30 seconds. The remote alarm can
be turned
off by pressing this button again or by turning
the ignition to ON. If your vehicle has the Universal
Theft-Deterrent feature, you may also turn
off the alarm
by unlocking the vehicle with a key. See
Universal
Theft-Deterrent on page
2-21.
2-6
Page 93 of 418
To Use the Engine Coolant Heater
1. Turn off the engine.
2. Open the hood and unwrap the electrical cord.
The engine coolant heater cord is located on the
passenger’s side of the vehicle, above the
headlamp assembly.
3. Plug it into a normal, grounded 1 IO-volt AC outlet.
Plu ing the cord into an
L Jrounded outlet
could cause an electrical shock.
Also, the
wrong kind of extension cord could overheat
and cause a fire. You could
be seriously
injured. Plug the cord into a properly grounded
three-prong 110-volt
AC outlet. If the cord
won’t reach, use a heavy-duty three-prong
extension cord rated for at least 15 amps.
4. Before starting the engine, be sure to unplug and
store the cord
as it was before to keep it away
from moving engine parts.
If you don’t, it could be
damaged. How long should
you keep the coolant heater plugged
in? The answer depends
on the outside temperature, the
kind of oil you have, and some other things. Instead
of trying to list everything here, we ask that you contact
your dealer in the area where you’ll be parking your
vehicle. The dealer can give you the best advice for that
particular area.
Automatic Transaxle Operation
Your automatic transaxle may have a shift lever located
on the console between the seats or on the steering
column.
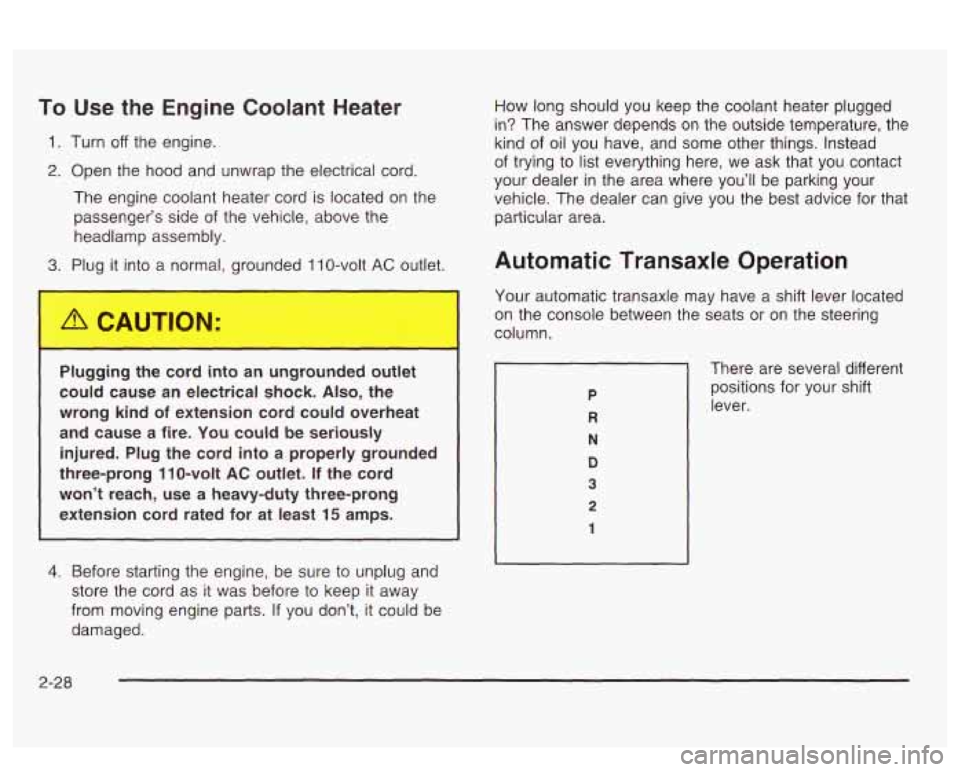
There are several different
positions for your shift
lever.
2-28
Page 103 of 418
Mirrors
Manual Rearview Mirror
When you are sitting in a comfortable driving position,
adjust the mirror
so you can see clearly behind your
vehicle. Grip the mirror in the center to move it up
or down and side to side. The dayhight adjustment
allows you
to adjust the mirror to avoid glare from any
headlamps behind you. Push the tab away from
you for daytime use; pull it toward you for night use.
Automatic Dimming Rearview Mirror
Your vehicle may have an automatic dimming rearview
mirror. Your vehicle’s mirror may also contain Onstar@
controls. See
OnStaP System on page 2-40 for
more information.
At night, when the glare is too high, the mirror will
gradually darken to reduce glare. This change may take
a few seconds. The mirror will return to its clear
daytime state when the glare is reduced.
Mirror Operation
AUTO: Press this button to turn on the automatic
dimming feature.
OFF: Press this button to turn off the automatic
dimming feature.
6 (On/Off): For mirrors equipped with OnStaP
controls, press this button to turn on the automatic
dimming feature. To turn
off automatic dimming, press
this button again.
The indicator light will be illuminated when this feature
is active.
Outside Power Mirrors
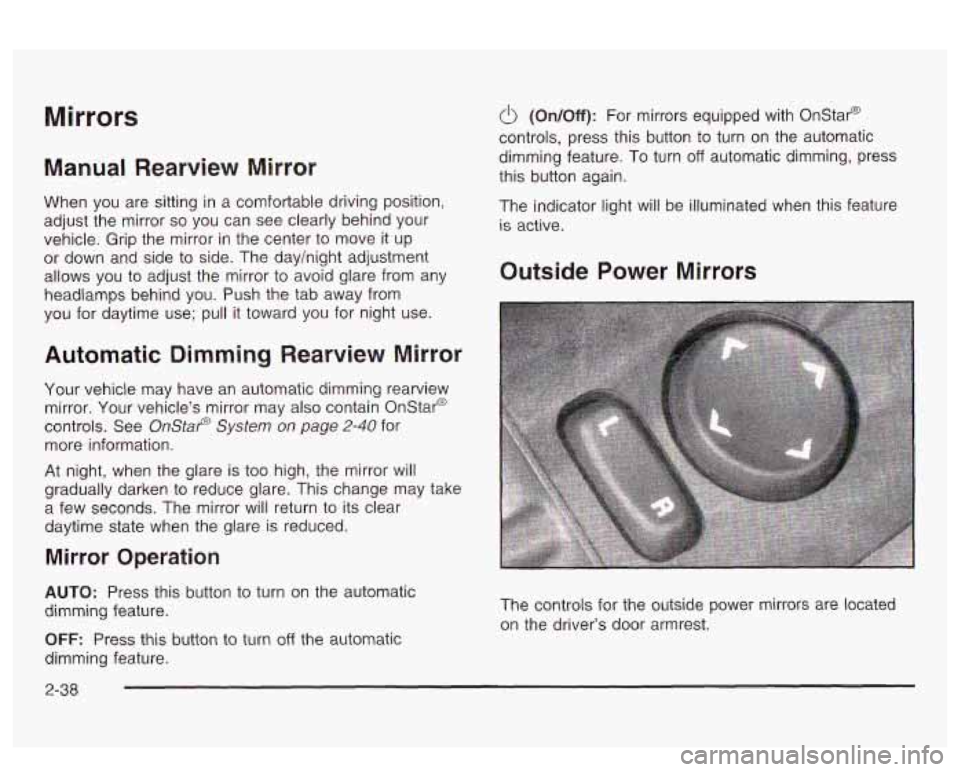
The controls for the outside power mirrors are located
on the driver’s door armrest.
2-38
Page 122 of 418
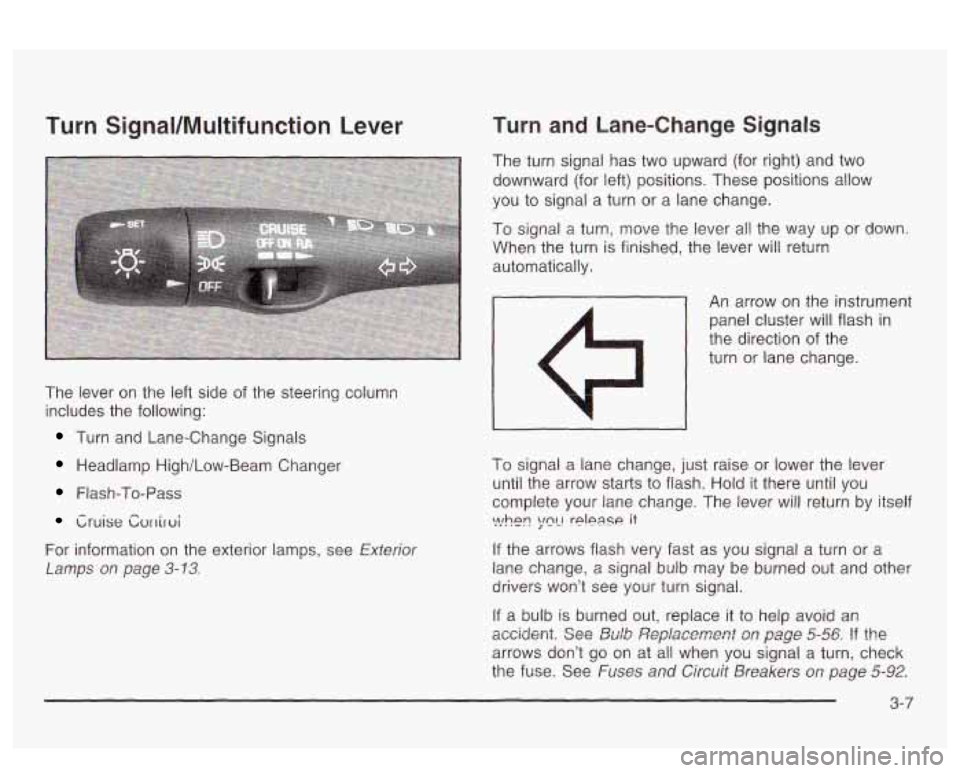
Turn Signal/Nlultifunction Lever
The lever on the left side of the steering column
includes the following:
Turn and Lane-Change Signals
Headlamp High/Low-Beam Changer
Flash-To-Pass
Cruise Cvrriroi
For information on the exterior lamps, see Exterior
Lamps
on page 3-13.
Turn and Lane-Change Signals
The turn signal has two upward (for right) and two
downward (for left) positions. These positions allow
you
to signal a turn or a lane change.
To signal a turn, move the lever all the way up or down.
When the turn is finished, the lever will return
automatically.
- An arrow on the instrument
panel cluster will flash in
the direction of the
turn or lane change.
I
To signal a lane change, just raise or lower the lever
until the arrow starts to flash. Hold
it there until you
complete your lane change. The lever will return by itself
If the arrows flash very fast as you signal a turn or a
lane change, a signal bulb may be burned out and other
drivers won’t see your turn signal.
If a bulb is burned out, replace it to help avoid an
accidmt. See &Ab ,%?pfaxment s,~ page 5-56 !? the
arrows don’t go on at all when you signal a turn, check
the fuse. See
Fuses and Circuit Breakers on page 5-92.
\>!hen ;mL! rplpase it
3-7
Page 123 of 418
Turn Signal On Chime
If your turn signal is left on for more than 3/4 of a mile
(1.2 km), a chime will sound at each flash of the
turn signal. To turn
off the chime, move the turn signal
lever
to the off position.
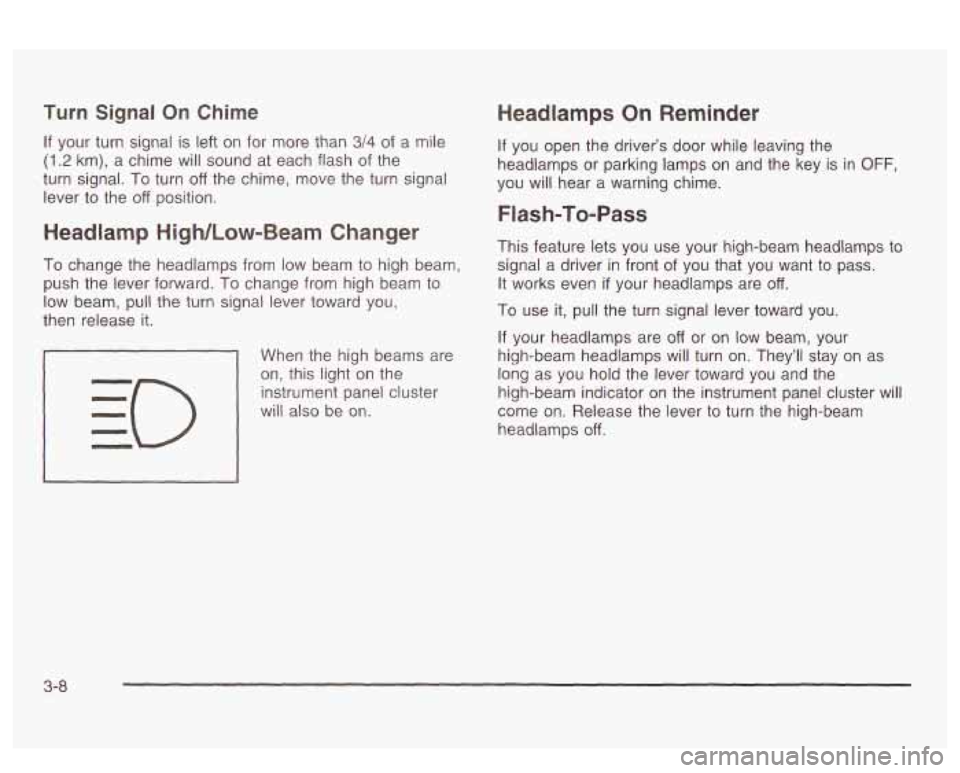
Headlamp High/Low-Beam Changer
To change the headlamps from low beam to high beam,
push the lever forward. To change from high beam
to
low beam, pull the turn signal lever toward you,
then release it.
When the high beams are
on, this light on the
instrument panel cluster
will also be on.
Headlamps On Reminder
If you open the driver’s door while leaving the
headlamps or parking lamps
on and the key is in OFF,
you will hear a warning chime.
Flash-To-Pass
This feature lets you use your high-beam headlamps to
signal a driver in front of you that you want to pass.
It works even
if your headlamps are off.
To use it, pull the turn signal lever toward you.
If your headlamps are off or on low beam, your
high-beam headlamps will turn on. They’ll stay on as
long as you hold the lever toward you and the
high-beam indicator on the instrument panel cluster will
come on. Release the lever
to turn the high-beam
headlamps
off.
3-8
Page 124 of 418
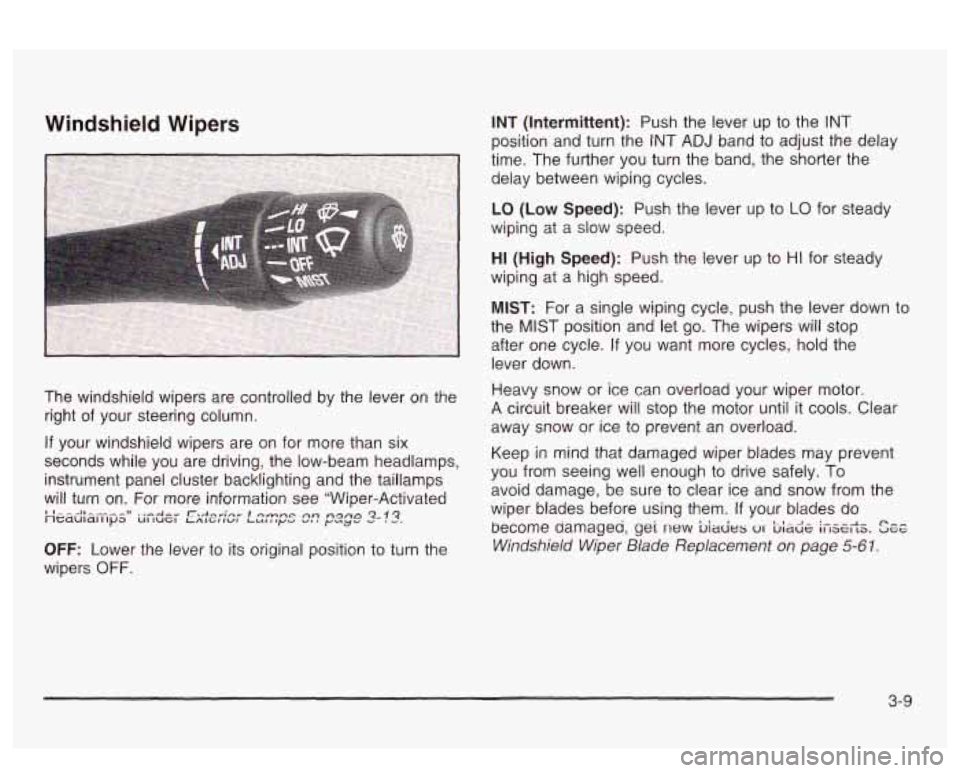
Windshield Wipers
The windshield wipers are controlled by the lever on the
right of your steering column.
If your windshield wipers are on for more than six
seconds while you are driving, the low-beam headlamps,
instrument panel cluster backlighting and the taillamps
will turn on. For more information see "Wiper-Activated
''---Il----~~ ..-Am" r.,+...";nn. I0rn-c An ngfla 2-!3. neduldlllpa UI IUGI LALGIIWL LULlly.2 V. # y"y'
OFF: Lower the lever to its original position to turn the
wipers
OFF. INT
(Intermittent): Push the lever
up to the INT
position and turn the INT ADJ band to adjust the delay
time. The further you turn the band, the shorter the
delay between wiping cycles.
LO (Low Speed): Push the lever up to LO for steady
wiping at a slow speed.
HI (High Speed): Push the lever up to HI for steady
wiping at a high speed.
MIST: For a single wiping cycle, push the lever down to
the
MIST position and let go. The wipers will stop
after one cycle.
If you want more cycles, hold the
lever down.
Heavy snow or ice can overload your wiper motor.
A circuit breaker will stop the motor until it cools. Clear
away snow or ice to prevent an overload.
Keep in mind that damaged wiper blades may prevent
you from seeing well enough
to drive safely. To
avoid damage, be sure to clear ice and snow from the
wiper blades before using them.
If your blades do
become damageu,
gei new biacies 01 bia& ifiserts. See
Windshield Wiper Blade Replacement on page 5-61.
3-9
Page 128 of 418
Erasing Speed Memory
When you turn off the cruise control or the ignition, your
cruise control set speed memory is erased.
Exterior Lamps
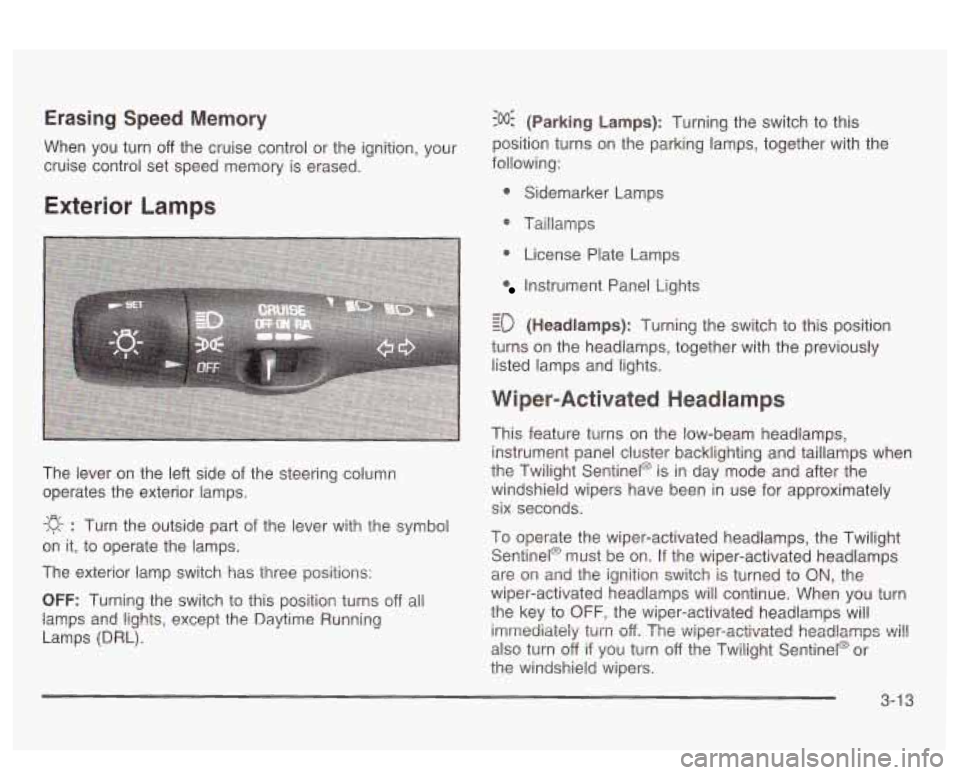
The lever on the left side of the steering column
operates the exterior lamps.
-g- : Turn the outside part of the lever with the symbol
on it, to operate the lamps.
The exterior lamp switch has three positions:
OFF: Turning the switch to this position turns off all
lamps
and lights, except the Daytime Running
Lamps (DRL).
:o@ (Parking Lamps): Turning the switch to this
position turns on the parking lamps, together with the
following:
0 Sidemarker Lamps
@ Taillamps
0 License Plate Lamps
Instrument Panel Lights
- - ED (Headlamps): Turning the switch to this position
turns on the headlamps, together with the previously
listed lamps and lights.
Wiper-Activated Headlamps
This feature turns on the low-beam headlamps,
instrument panel cluster backlighting and taillamps when
the Twilight Sentinel@ is in day mode and after the
windshield wipers have been in use for approximately
six seconds.
To operate the wiper-activated headlamps, the Twilight Sentinel@ must be on. If the wiper-activated headlamps
are on and the ignition switch is turned to
ON, the
wiper-activated headlamps will continue. When you turn
the key to
OFF, the wiper-activated headlamps will
imrrtediaieiy
turn off. The v~iper-activated headlamps ~i!!
also turn off if you turn off the Twilight Sentinel@ or
the windshield wipers.
3-1 3