2003 PONTIAC BONNEVILLE audio
[x] Cancel search: audioPage 2 of 418
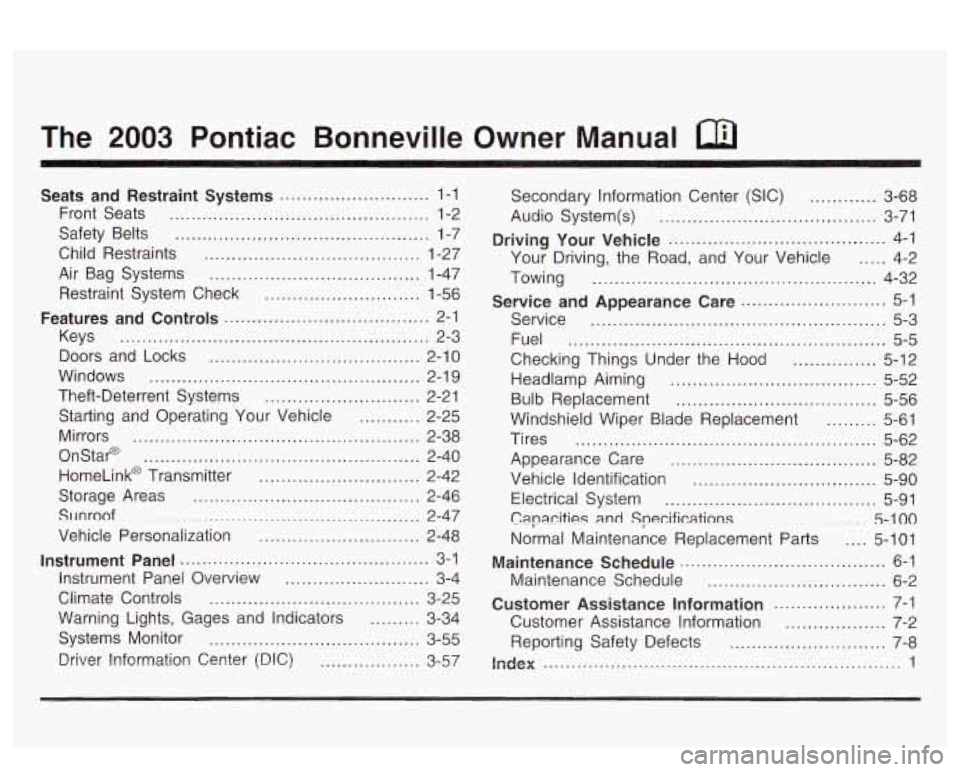
The 2003 Pontiac Bonneville Owner Manual
Seats and Restraint Systems ........................... 1-1
Front Seats
............................................... 1-2
Safety Belts
.............................................. 1-7
Child Restraints
....................................... 1-27
Air Bag Systems
...................................... 1-47
Restraint System Check
............................ 1-56
Features and Controls ..................................... 2-1
Keys
........................................................ 2-3
Doors and Locks
...................................... 2-10
Windows
................................................. 2-1 9
Theft-Deterrent Systems
............................ 2-21
Starting and Operating Your Vehicle
........... 2-25
Mirrors
.................................................... 2-38
OnStap
.................................................. 2-40
HomeLink@ Transmitter
............................. 2-42
Storage Areas
......................................... 2-46
SlJnroof
................................................. 2-47
Vehicle Personalization
............................. 2-48
Instrument Panel ............................................. 3-1
Instrument Panel Overview
.......................... 3-4
Climate Controls
...................................... 3-25
Warning Lights, Gages and Indicators
......... 3-34
Systems Monitor
...................................... 3-55
Driver Information Center (DIC)
.................. 3-57 Secondary
Information Center (SIC)
............ 3-68
Audio System(s)
....................................... 3-71
Driving Your Vehicle ....................................... 4-1
Your Driving, the Road, and Your Vehicle
..... 4-2
Towing
................................................... 4-32
Service
..................................................... 5-3
Fuel
......................................................... 5-5
Checking Things Under the Hood
............... 5-12
Headlamp Aiming
..................................... 5-52
Bulb Replacement
.................................... 5-56
Windshield Wiper Blade Replacement
......... 5-61
Tires
...................................................... 5-62
Appearance Care
..................................... 5-82
Vehicle Identification
................................. 5-90
Electrical System
...................................... 5-91
C8pa.citigs
and Specifications ......... 5-100
Normal Maintenance Replacement Parts .... 5-101
Maintenance Schedule
................................ 6-2
Customer Assistance Information .................... 7-1
Customer Assistance Information
.................. 7-2
Reporting Safety Defects
............................ 7-8
index ................................................................ 1
Service and Appearance Care .......................... 5-1
Maintenance Schedule ..................................... 6-1
Page 5 of 418
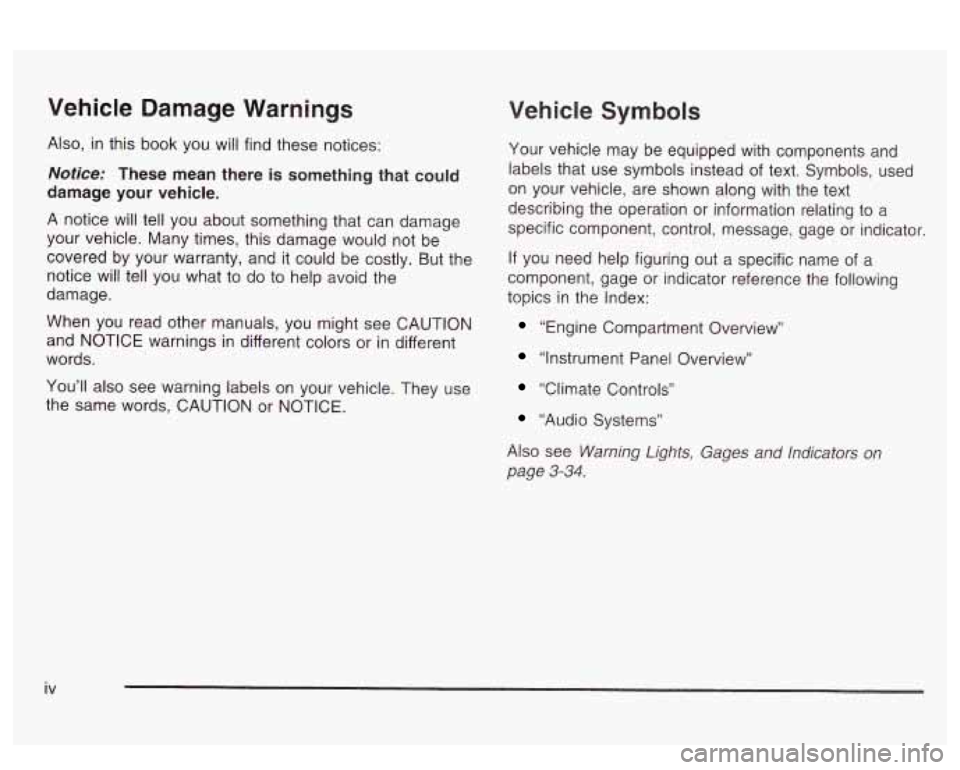
Vehicle Damage Warnings
Also, in this book you will find these notices:
Notice: These mean there is something that could
damage your vehicle.
A notice will tell you about something that can damage
your vehicle. Many times, this damage would not be
covered by your warranty, and it could be costly. But the
notice will tell you what to do to help avoid the
damage.
When you read other manuals, you might see CAUTION
and NOTICE warnings in different colors or in different
words.
You’ll also see warning labels on your vehicle. They use
the same words, CAUTION or NOTICE.
Vehicle Symbols
Your vehicle may be equipped with components and
labels that use symbols instead of text. Symbols, used
on your vehicle, are shown along with the text
describing the operation or information relating to a
specific component, control, message, gage
or indicator
If you need help figuring out a specific name of a
component, gage or indicator reference the following
topics in the Index:
“Engine Compartment Overview’’
“Instrument Panel Overview”
“Climate Controls”
“Audio Systems”
Also see
Warning Lights, Gages and Indicators on
page 3-34.
iv
Page 91 of 418
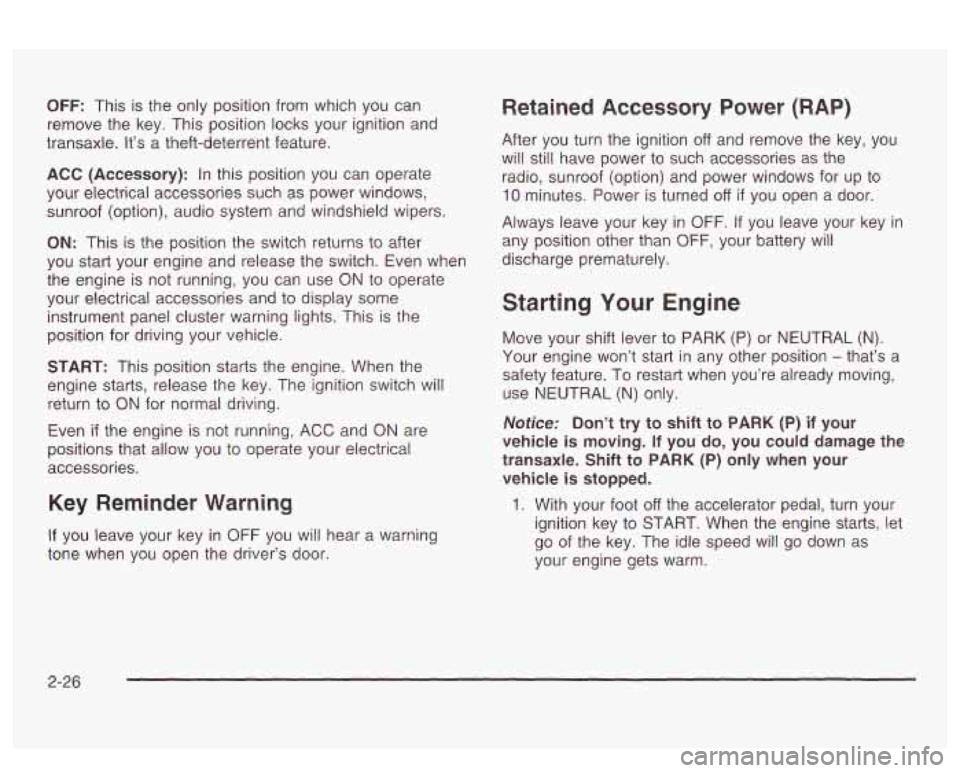
OFF: This is the only position from which you can
remove the key. This position locks your ignition and
transaxle. It’s a theft-deterrent feature.
ACC (Accessory): In this position you can operate
your electrical accessories such as power windows,
sunroof (option), audio system and windshield wipers.
ON: This is the position the switch returns to after
you start your engine and release the switch. Even when
the engine is not running, you can use ON
to operate
your electrical accessories and to display some
instrument panel cluster warning lights. This is the
position for driving your vehicle.
START: This position starts the engine. When the
engine starts, release the key. The ignition switch will
return to
ON for normal driving.
Even
if the engine is not running, ACC and ON are
positions that allow you to operate your electrical
accessories.
Key Reminder Warning
If you leave your key in OFF you will hear a warning
tone when you open the driver’s door.
Retained Accessory Power (RAP)
After you turn the ignition off and remove the key, you
will still have power to such accessories as the
radio, sunroof (option) and power windows for up to
10 minutes. Power is turned off if you open a door.
Always leave your key in
OFF. If you leave your key in
any position other than
OFF, your battery will
discharge prematurely.
Starting Your Engine
Move your shift lever to PARK (P) or NEUTRAL (N).
Your engine won’t start in any other position - that’s a
safety feature. To restart when you’re already moving,
use NEUTRAL
(N) only.
Notice: Don’t try to shift to PARK (P) if your
vehicle
is moving. If you do, you could damage the
transaxle. Shift
to PARK (P) only when your
vehicle
is stopped.
1. With your foot off the accelerator pedal, turn your
ignition key to START. When the engine starts, let
go of the key. The idle speed will go down as
your engine gets warm.
2-26
Page 117 of 418
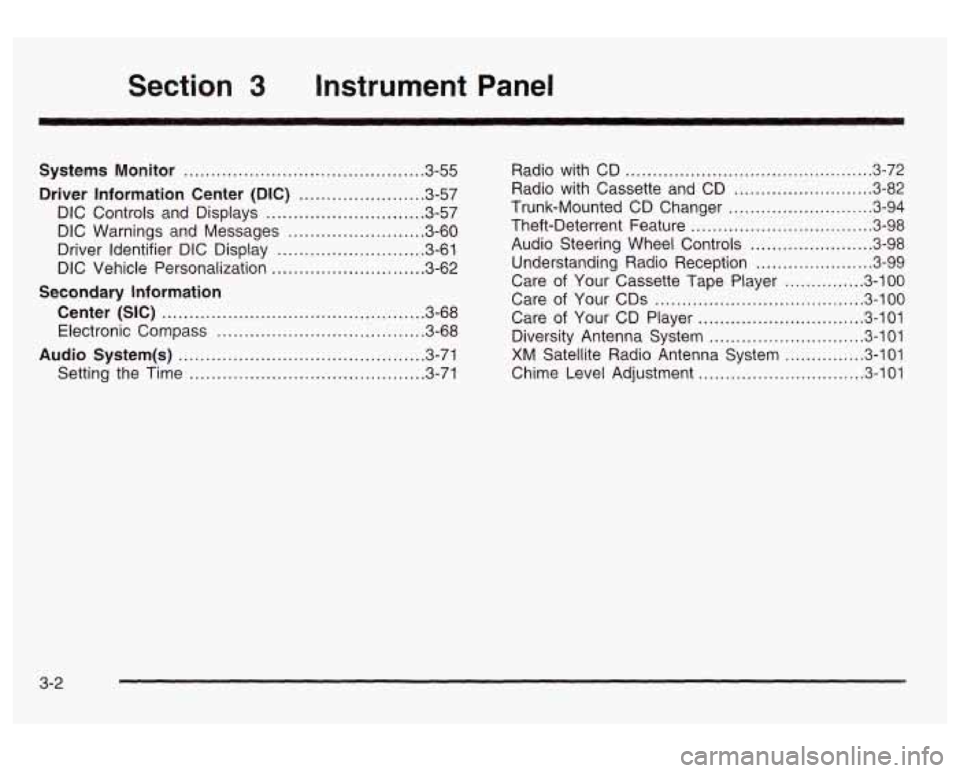
Section 3 Instrument Panel
Systems Monitor ............................................ 3.55
Driver Information Center (DIC) ....................... 3.57
DIC Controls and Displays
............................. 3.57
DIC Warnings and Messages
........................ -3-60
Driver Identifier DIC Display
........................... 3.61
DIC Vehicle Personalization
............................ 3.62
Center (SIC) ................................................ 3.68
Electronic Compass
...................................... 3.68
Audio System(s) ............................................. 3.71
Setting the Time
........................................... 3.71
Secondary Information
Radio with CD .............................................. 3.72
Radio with Cassette and CD
.......................... 3.82
Trunk-Mounted
CD Changer ........................... 3-94
Theft-Deterrent Feature
.................................. 3.98
Audio Steering Wheel Controls
....................... 3.98
Understanding Radio Reception
...................... 3.99
Care
of Your Cassette Tape Player ............... 3-100
Care of Your
CDs ....................................... 3.100
Care of Your CD Player ............................... 3.101
Diversity Antenna System
............................. 3.101
XM Satellite Radio Antenna System ............... 3.101
Chime Level Adjustment
............................... 3.101
3-2
Page 120 of 418
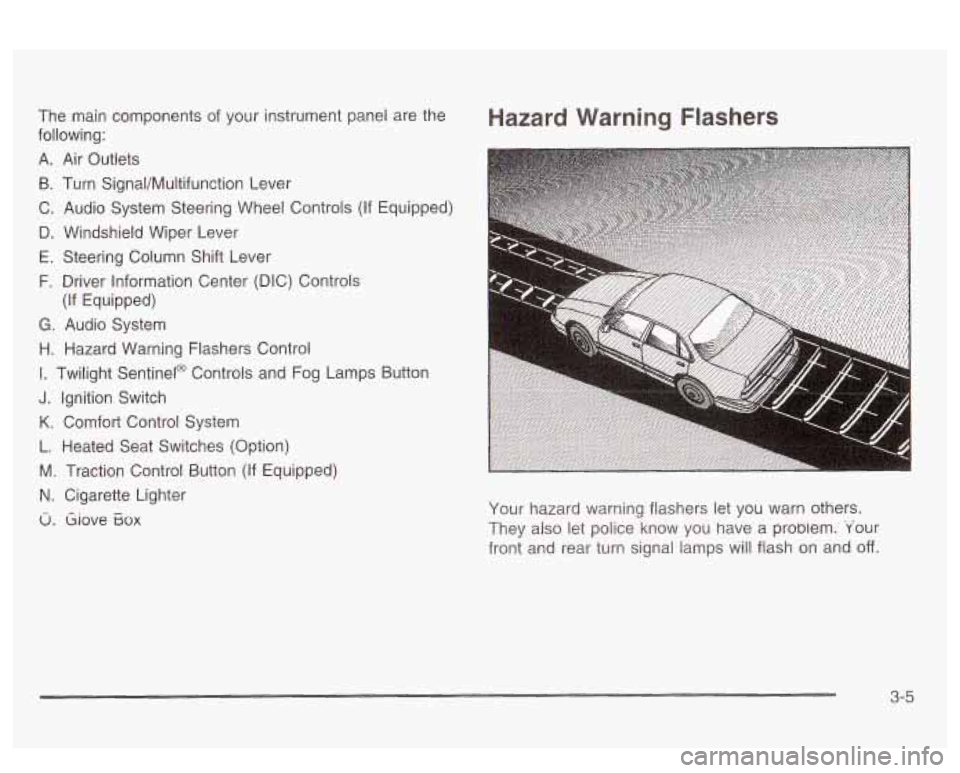
The main components of your instrument panel are the
following:
A. Air Outlets
B. Turn Signal/Multifunction Lever
C. Audio System Steering Wheel Controls (If Equipped)
D. Windshield Wiper Lever
E. Steering Column Shift Lever
F. Driver Information Center (DIC) Controls
G. Audio System
H. Hazard Warning Flashers Control
I. Twilight Sentinel@ Controls and Fog Lamps Button
J. Ignition Switch
K. Comfort Control System
L. Heated Seat Switches (Option)
M. Traction Control Button (If Equipped)
N. Cigarette Lighter
u. Giove Eox
(If Equipped)
Hazard Warning Flashers
Your hazard warning flashers let you warn others.
They also let police know you have a probiem. 'Your
front and rear turn signal lamps will flash on and
off.
3-5
Page 121 of 418
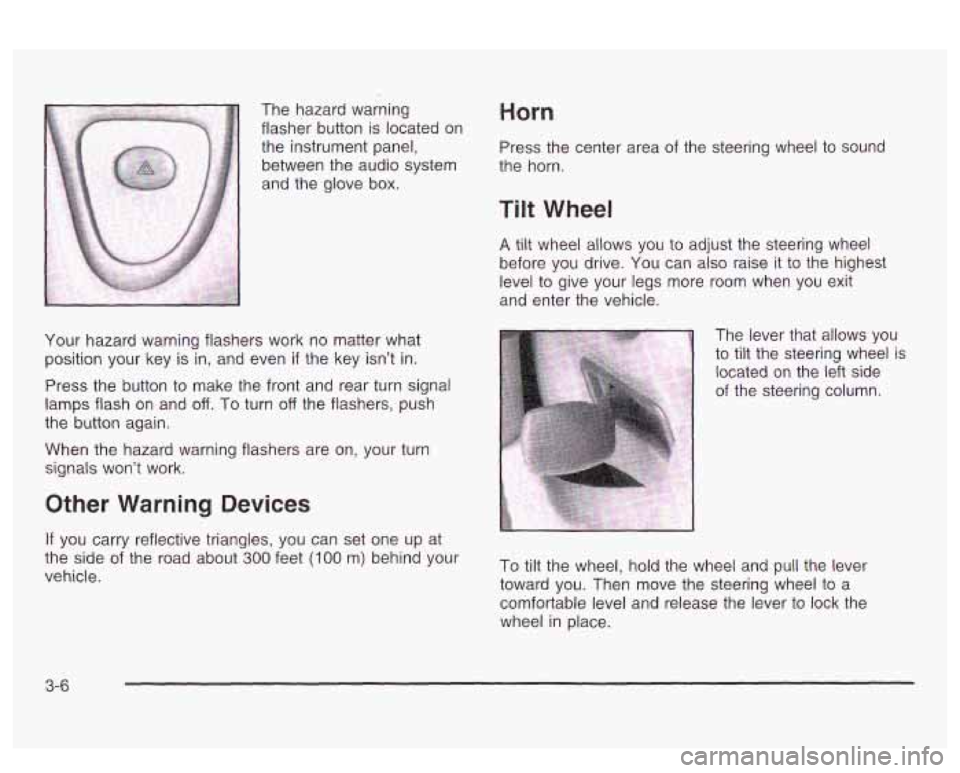
The hazard warning
flasher button is located on
the instrument panel,
between the audio system
and the glove box. Horn
Press the center area of the steering wheel to sound
the horn.
Tilt Wheel
A tilt wheel allows you to adjust the steering wheel
before you drive. You can
also raise it to the highest
level to give your legs more room when you exit
and enter the vehicle.
Your hazard warning flashers work no matter what
position your key is
in, and even if the key isn't in.
Press the button to make the front and rear turn signal
lamps flash on and off. To turn off the flashers, push
the button again.
When the hazard warning flashers are on, your turn
signals won't work. The lever that allows you
to
tilt the steering wheel is
located
on the left side
of the steering column.
Other Warning Devices
If you carry reflective triangles, you can set one up at
vehicle.
the side Of the road about 300 feet (loo m, behind your To tiit the wheel, hold the wheel and pull the lever
toward you. Then move the steering wheel to a
comfortable level and release the lever to lock the
wheel in place.
3-6
Page 186 of 418
Audio System(s)
Notice: Before you add any sound equipment to
your vehicle
- like a tape player, CB radio, mobile
telephone or two-way radio
- be sure you can
add what you want. If you can, it’s very important to
do
it properly. Added sound equipment may
interfere with the operation of your vehicle’s engine,
Delphi Electronics radio or other systems, and
even damage them. Your vehicle’s systems may interfere with the operation of sound equipment that
has been added improperly.
So, before adding sound equipment, check with
your dealer and be sure to check federal rules
covering mobile radio and telephone units.
Your audio system has been designed
to operate easily
and
to give years of listening pleasure. You will get
the most enjoyment out of it
if you acquaint yourself with
it first. Find out what your audio system can do and
how to operate all of its controls to be sure you’re getting
LI It: II IUS1 vu1 VI 11 IC UUVUl IUUU ”1 ‘y“ I””. .. .
into it.
I‘- - --* -. .+ -g +h -A-r-nmmA nnninonrinn +hat
,ant 3 -..-- ..-..-
Your vehicle has a feature called Retained Accessory
Power (RAP). With RAP, you can play your audio
system even after the ignition is turned
off. See
“Retained Accessory Power (RAP)” under lgnition
Positions on page 2-25.
Setting the Time
Press and hold HR or MIN for two seconds. Then press
and hold
HR until the correct hour appears on the
display. AM will also appear. Press and hold MIN until
the correct minute appears on the display. The time may
be
set with the ignition on or off.
To synchronize the time with an FM station broadcasting
Radio Data System
(RDS) Information, press and
hold HR and MIN at the same time until UPDATED and
the clock symbol appear on the display.
If the time is
not available from the station, NO UPDATE will appear
on the display instead.
3-71
Page 187 of 418
Radio with CD
Radio Data System (RDS): Your audio system is
equipped with a Radio Data System
(RDS). RDS
features are available for use only on FM stations that
broadcast
RDS information.
Seek to stations broadcasting the selected type of
programming,
receive announcements concerning local and
national emergencies,
display messages from radio stations, and
seek to stations with traffic announcements.
This system relies upon receiving specific information
from these stations and will only work when the
information is available. In rare cases, a radio station may
broadcast incorrect information that will cause the
radio features to work improperly.
If this happens,
contact the radio station.
While you are tuned to an
RDS station, the station
name or the call letters will appear
on the display instead
of the frequency.
RDS stations may also provide the
time of day, a program type
(PTY) for current
programming and the name of the program being
broadcast.
XMTM Radio Satellite Service (USA Only): XMTM is a
continental
U.S. based satellite radio service that
offers
100 coast to coast channels including music,
news, sports, talk and children's programming. XMTM
provides digital quality audio and text information,
including song title and artist name.
A service fee is
required in order to receive the XMTM service. For more
information, contact XMTM at www.xmradio.com or
call
1 -800-852-XMXM (9696).
Playing the Radio
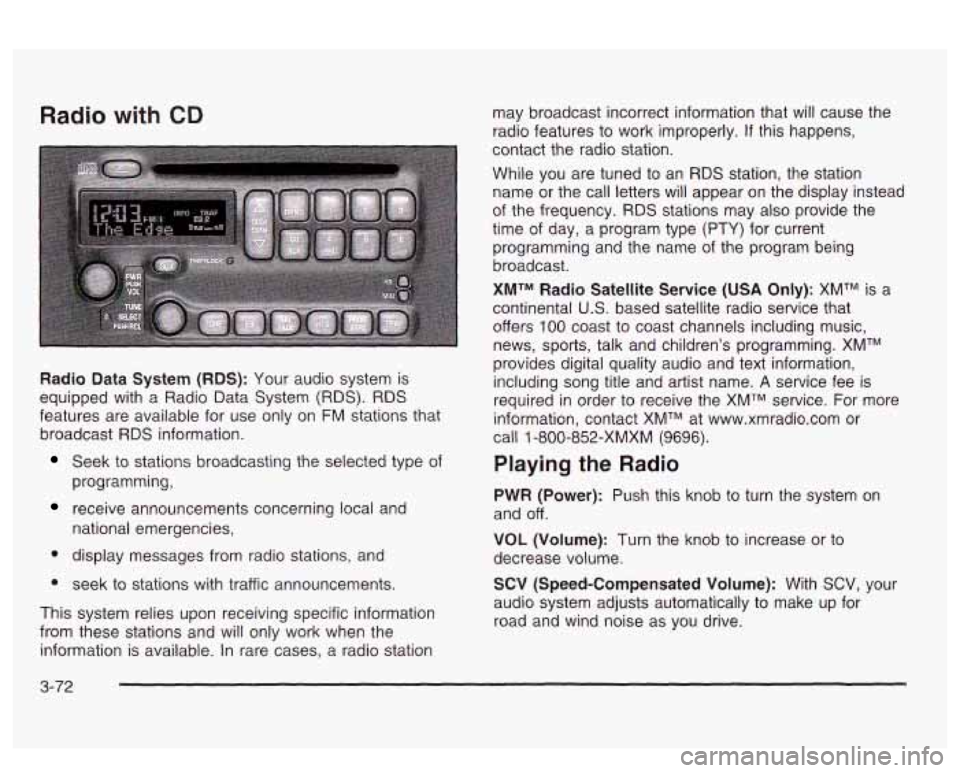
PWR (Power): Push this knob to turn the system on
and off.
VOL (Volume): Turn the knob to increase or to
decrease volume.
SCV (Speed-Compensated Volume): With SCV, your
audio system adjusts automatically to make up for
road and wind noise as you drive.
3-72