2003 PONTIAC BONNEVILLE fog light
[x] Cancel search: fog lightPage 87 of 418
Testing the Alarm
1. From inside the vehicle, roll down the window.
2. Activate the system by locking the doors with the
power door lock switch while the door is open, or
with the remote keyless entry transmitter.
3. Get out of the vehicle, close the door and wait for
the SECURITY light to go out.
4. Then, reach in through the window, unlock the door
with the manual door lock and open the door. This
should set
off the alarm.
If the alarm does not sound when it should, check to
see
if the horn works. The horn fuse may be blown.
To replace the fuse, see
Fuses and Circuit Breakers on
page 5-92.
If the alarm does not sound, or the exterior lamps do
not flash, see your dealer.
Content Theft-Deterrent
If your vehicle has this option, it has a content
theft-deterrent alarm system.
A light located in your Twilight Sentinel@ cluster, above
the fog lamp button, will begin to flash
30 seconds
after the vehicle ignition is turned
off to let you know the
system has been armed.
While armed, the doors will not unlock with the power
door lock switch. Once armed,
the alarm will go
off if someone tries to
enter the vehicle without using the remote keyless entry
transmitter or a key, breaks a window, tries to damage
the vehicle or turns the ignition to
ON. If any of these do
occur, the horn will sound and the parking lamps will
flash for up to two minutes.
PASS-Key@ 111
Your PASS-Key@ Ill system operates on a radio
frequency subject to Federal Communications
Commission (FCC) Rules and with Industry Canada.
This device complies with Part
15 of the FCC Rules.
Operation is subject to the following two conditions:
(1)
this device may not cause harmful interference, and
(2) this device must accept any interference received,
including interference that may cause undesired
operation.
This device complies with RSS-210 of Industry Canada
Operation is subject to the following two conditions:
(1) this device may not cause interference, and (2) this
device must accept any interference received,
including interference that may cause undesired
operation of the device.
Changes
or modifications to this system by other than
an authorized service facility could void authorization to
use this equipment.
PASS-Key@
Ill uses a radio frequency transponder in
the key that matches
a decoder in your vehicle.
2-22
Page 120 of 418
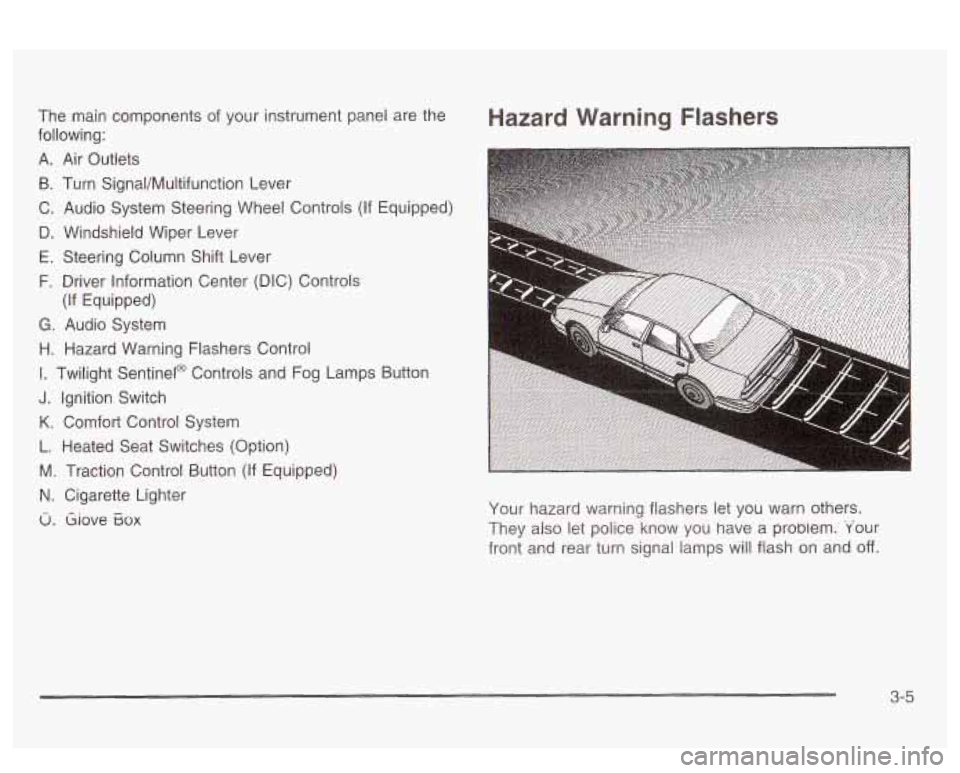
The main components of your instrument panel are the
following:
A. Air Outlets
B. Turn Signal/Multifunction Lever
C. Audio System Steering Wheel Controls (If Equipped)
D. Windshield Wiper Lever
E. Steering Column Shift Lever
F. Driver Information Center (DIC) Controls
G. Audio System
H. Hazard Warning Flashers Control
I. Twilight Sentinel@ Controls and Fog Lamps Button
J. Ignition Switch
K. Comfort Control System
L. Heated Seat Switches (Option)
M. Traction Control Button (If Equipped)
N. Cigarette Lighter
u. Giove Eox
(If Equipped)
Hazard Warning Flashers
Your hazard warning flashers let you warn others.
They also let police know you have a probiem. 'Your
front and rear turn signal lamps will flash on and
off.
3-5
Page 130 of 418
Fog Lamps
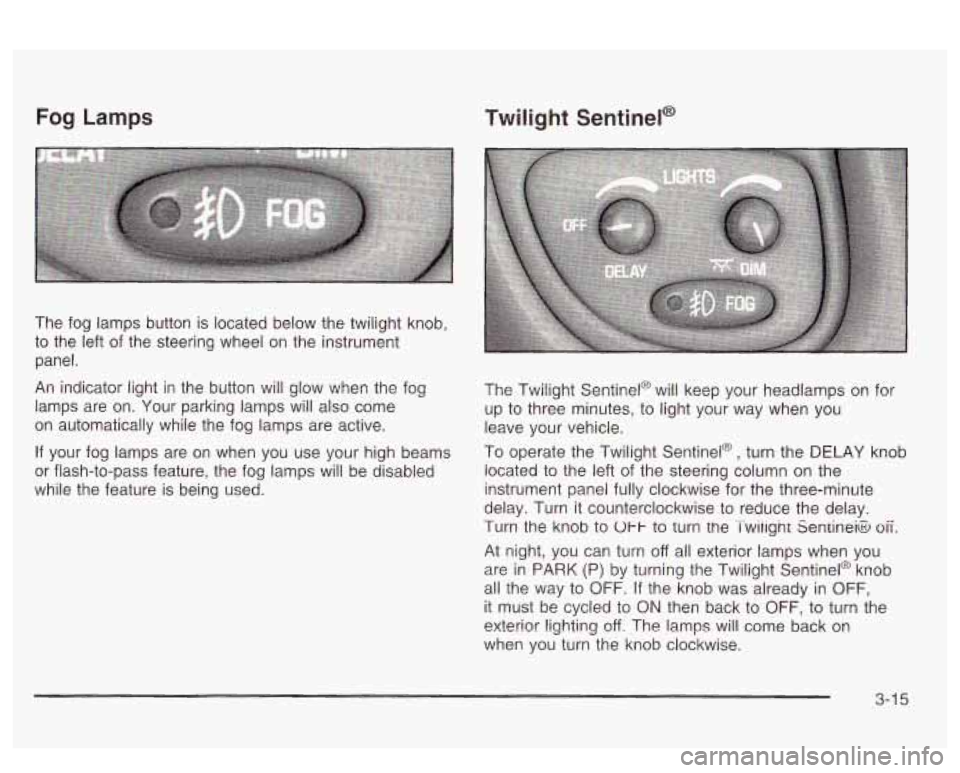
The fog lamps button is located below the twilight knob,
to the left of the steering wheel on the instrument
panel.
An indicator light i~ the b~itton will glow when the fog
lamps are on. Your parking lamps will also come
on automatically while the fog lamps are active.
If your fog lamps are on when you use your high beams
or flash-to-pass feature, the fog lamps will be disabled
while the feature is being used.
Twilight Sentinel@
The Twilight Sentinel@ will keep your head!amps or! for
up to three minutes, to light your way when you
leave your vehicle.
To operate the Twilight Sentinel@, turn the DELAY knob
located to the left of the steering column on the
instrument panel fully clockwise for the three-minute
delay. Turn it counterclockwise to reduce the delay.
Turn the knob to
Ul-I- to turn tne Twiiignt Seniineia oii.
At night, you can turn off all exterior lamps when you
are in PARK (P) by turning the Twilight Sentinel@ knob
all the way to OFF. If the knob was already
in OFF,
it must be cycled to ON then back to OFF, to turn the
exterior
!ighting off. The lamps will come back on
when you turn the knob clockwise.
3-1 5
Page 135 of 418
Inadvertent Power Battery Saver
This feature is designed to protect your vehicle’s battery
against drainage from the interior lamps, trunk lamp,
glove box lamp or cigarette lighters. When the ignition is
turned
off, the power to these features will automatically
turn
off after 10 minutes. Power will be restored for
an additional
10 minutes if any door is opened, the trunk
is opened or the courtesy lamps are turned on. To
restore power back to the cigarette lighters the ignition
must be turned back to
ON.
Battery Load Management
The battery load management feature is designed to
monitor the vehicle’s electrical load and determine when
the battery is in a heavy discharge condition. During
times of high electrical loading, the engine may idle at
higher revolutions per minute (rpm) than normal to
make sure the battery charges. High electrical loads
may occur when several
of the following are on:
headlamps, high beams, fog lamps, rear window
defogger, fan on high speed, heated seats and engine
cooling fans.
If your vehicle’s battery remains in a heavy discharge
condition for a long period of time, the fan, rear
defogger, heated seats and heated mirrors will be
disabled and the DIC will display BATTERY SAVER
ACTIVE. This can happen either under long periods of
idling or low speed driving with high electrical loading,
or in the event of a charging system fault.
Monitor the battery voltage when in the BATTERY
SAVER ACTIVE mode.
If the voltmeter remains in the shaded area (below
11 volts) when driving then have the charging
system serviced immediately.
If the voltage increases above 12 volts then the
battery needs to be recharged.
Try driving on
the highway with as few electrical accessories on
as possible.
3-20
Page 141 of 418

.1#t A/C (Air Conditioning): Press this button to turn
the air conditioning compressor on and off. When
A/C is
pressed, an indicator light in the button will come on
to let you know that air conditioning is activated.
If your
climate control system is
off, you may also turn it
back on in vent mode by selecting the
A/C button.
On hot days, open the windows
to let hot inside
air escape; then close them. This helps
to reduce the
time
it takes for your vehicle to cool down. It also helps
the system
to operate more efficiently.
For quick cool down on hot days, do the following:
1. Select the vent mode.
2. Select the recirculation mode.
3. Select NC.
4. Select the coolest temperature.
5. Select the highest fan speed.
Using these settings together for long periods of time
may cause the air inside
of your vehicle to become too
dry.
To prevent this from happening, after the air in
your vehicle has cooled, turn the recirculation mode
off.
The air conditioning system removes moisture from
the air,
so you may sometimes notice a small amount of
water dripping underneath your vehicle while idling or
after turning off the engine. This is normal.
Sensors
The solar sensor on your vehicle monitors
radiation and the air inside of your vehicle, the solar
then uses the
information
to maintain the selected temperature by
initiating needed adjustments
to the temperature, the fan
speed and the air delivery system. The system may
also supply cooler air to the side of the vehicle facing the
sun. The recirculation mode will also be activated, as
necessary.
Do not cover the solar sensor located in the
center of the instrument panel, near the windshield,
or the system will not work properly.
Defogging and Defrosting
There are two modes to clear fog or frost from your
windshield. Use the defog mode to clear the windows of
fog or moisture and warm the passengers. Use the
defrost mode
to remove fog or frost from the windshield
more quickly.
Press one of the available mode buttons
to select the
defog or defrost mode.
+3 (Defog): This mode directs most of the air to the
windshield and the floor outlets.
A small amount of air is
also directed to the outboard outlets (for the side
windows). When you select this mode, the system turns
off recirculation and runs the air conditioning compressor
unless the outside temperature is at or below freezing.
The recirculation mode cannot be selected while in
the defog mode.
3-26
Page 144 of 418
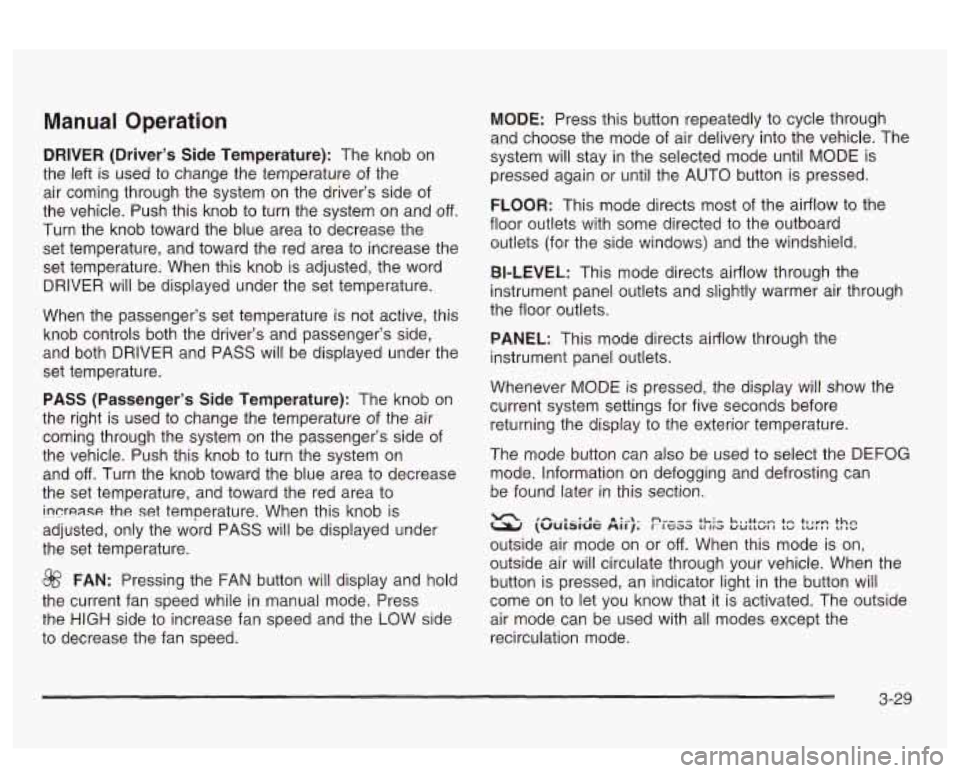
Manual Operation
DRIVER (Driver’s Side Temperature): The knob on
the left is used to change the temperature of the
air coming through the system on the driver’s side of
the vehicle. Push this knob to turn the system on and
off.
Turn the knob toward the blue area to decrease the
set temperature, and toward the red area to increase the
set temperature. When this knob is adjusted, the word
DRIVER will be displayed under the set temperature.
When the passenger’s set temperature is not active, this
knob controls both the driver’s and passenger’s side,
and both DRIVER and PASS will be displayed under the
set temperature.
PASS (Passenger’s Side Temperature): The knob on
the right is used to change the temperature of the air
coming through the system on the passenger’s side of
the vehicle. Push this knob to turn the system on
and
off. Turn the knob toward the blue area to decrease
the set temperature, and toward the red area to
increase the set temperature. When this knob is
adjusted, only the word PASS will be displayed under
the set temperature.
@ FAN: Pressing the FAN button will display and hold
the current fan speed while in manual mode. Press
the
HIGH side to increase fan speed and the LOW side
to decrease the fan speed.
MODE: Press this button repeatedly to cycle through
and choose the mode of air delivery into the vehicle. The
system will stay in the selected mode until MODE is
pressed again or until the AUTO button is pressed.
FLOOR: This mode directs most of the airflow to the
floor outlets with some directed to the outboard
outlets (for the side windows) and the windshield.
BI-LEVEL: This mode directs airflow through the
instrument panel outlets and slightly warmer air through
the floor outlets.
PANEL: This mode directs airflow through the
instrument panel outlets.
Whenever MODE is pressed, the display will show the
current system settings for five seconds before
returning the display to the exterior temperature.
The mode button can also be used to select the DEFOG
mode. Information
on defogging and defrosting can
be found later in this section.
(Uulslut: nrrj. r ttaa Lilia UULIWI I cu LCII~I *---*-:-n- a:--\- nu-,, +L:- L,,++-- tr +ha
outside air mode on or off. When this mode is on,
outside air will circulate through your vehicle. When the
button is pressed, an indicator light in the button will
come on
to let you know that it is activated. The outside
air mode can be used with all modes except the
recirculation mode.
3-29
Page 352 of 418

Fuses
1
2
3
7 A
5
6
7
Usage
Not Used
Accessory
Windshield Wipers
>!ct L'sd
Headlamp Low Beam Left
Headlamp Low Beam Right
Spare
Fuses
8
9
10
11
12
13
14
15
16
17
18
19
20
21 22
23
24
r)r LU
26
Usage
Powertrain Control Module Battery
Headlamp High Beam Right
Headlamp High Beam Left Ignition
1
Not Used
Transaxle
Cruise Control Direct Ignition System
Injector Bank
#2
Not Used
Not Used
Powertrain Control Module Ignition
Oxygen Sensor
Injector Bank #1
Auxiliary Power Cigar Lighter
Fog Lamps/Daytime Running Lamps
!-!%-!
Air Conditioning Clutch
5-93
Page 358 of 418
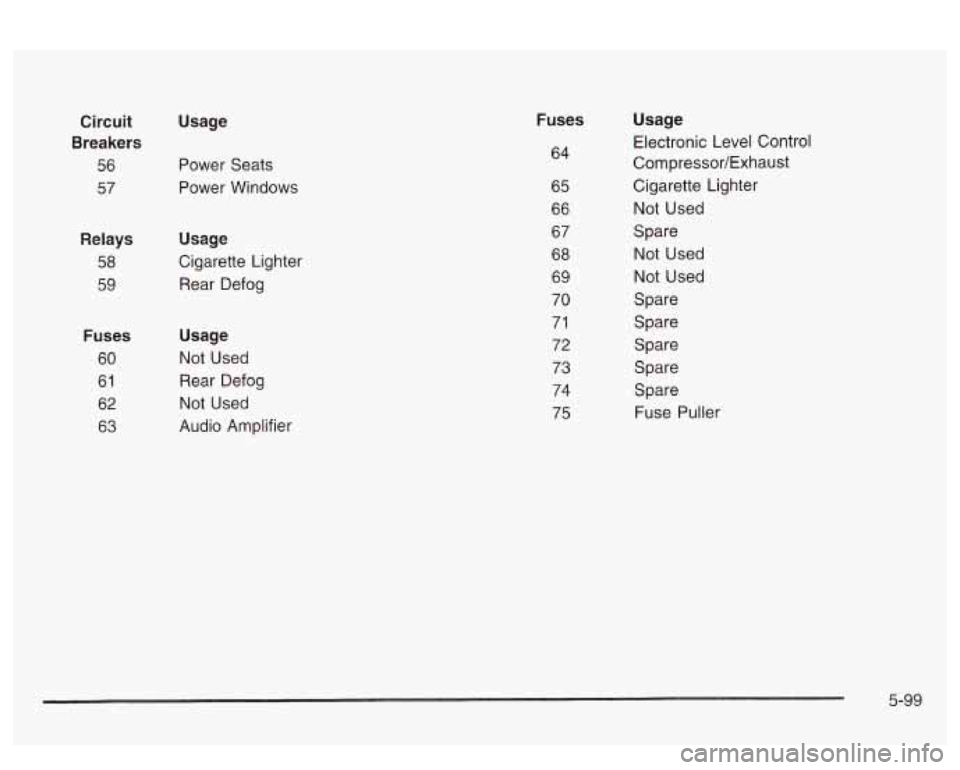
Circuit
Breakers
56
57
Relays
58
59
Fuses
60
61 62
63
Usage
Power Seats
Power Windows
Usage
Cigarette Lighter
Rear Defog
Usage
Not Used Rear Defog
Not Used
Audio Amplifier
Fuses
64
65
66
67
68 69 70
71
72
73
74
75
Usage
Electronic Level Control
Compressor/Exhaust
Cigarette Lighter
Not Used
Spare Not Used
Not Used
Spare
Spare
Spare Spare Spare Fuse Puller
5-99