2003 PONTIAC BONNEVILLE fuel
[x] Cancel search: fuelPage 2 of 418
The 2003 Pontiac Bonneville Owner Manual
Seats and Restraint Systems ........................... 1-1
Front Seats
............................................... 1-2
Safety Belts
.............................................. 1-7
Child Restraints
....................................... 1-27
Air Bag Systems
...................................... 1-47
Restraint System Check
............................ 1-56
Features and Controls ..................................... 2-1
Keys
........................................................ 2-3
Doors and Locks
...................................... 2-10
Windows
................................................. 2-1 9
Theft-Deterrent Systems
............................ 2-21
Starting and Operating Your Vehicle
........... 2-25
Mirrors
.................................................... 2-38
OnStap
.................................................. 2-40
HomeLink@ Transmitter
............................. 2-42
Storage Areas
......................................... 2-46
SlJnroof
................................................. 2-47
Vehicle Personalization
............................. 2-48
Instrument Panel ............................................. 3-1
Instrument Panel Overview
.......................... 3-4
Climate Controls
...................................... 3-25
Warning Lights, Gages and Indicators
......... 3-34
Systems Monitor
...................................... 3-55
Driver Information Center (DIC)
.................. 3-57 Secondary
Information Center (SIC)
............ 3-68
Audio System(s)
....................................... 3-71
Driving Your Vehicle ....................................... 4-1
Your Driving, the Road, and Your Vehicle
..... 4-2
Towing
................................................... 4-32
Service
..................................................... 5-3
Fuel
......................................................... 5-5
Checking Things Under the Hood
............... 5-12
Headlamp Aiming
..................................... 5-52
Bulb Replacement
.................................... 5-56
Windshield Wiper Blade Replacement
......... 5-61
Tires
...................................................... 5-62
Appearance Care
..................................... 5-82
Vehicle Identification
................................. 5-90
Electrical System
...................................... 5-91
C8pa.citigs
and Specifications ......... 5-100
Normal Maintenance Replacement Parts .... 5-101
Maintenance Schedule
................................ 6-2
Customer Assistance Information .................... 7-1
Customer Assistance Information
.................. 7-2
Reporting Safety Defects
............................ 7-8
index ................................................................ 1
Service and Appearance Care .......................... 5-1
Maintenance Schedule ..................................... 6-1
Page 71 of 418
Remote Keyless Entry System
Operation
If your vehicle has this feature, you can lock and unlock
your doors or unlock your trunk from about
3 feet (1 m) up
to
30 feet (9 m) away using the remote keyless entry
transmitter supplied with your vehicle.
The numbers on the back
of the transmitters correspond
to DRIVER
#1 and DRIVER #2 on the DIC (if equipped).
See
Driver Information Center (DIC) on page 3-57 for
more information.
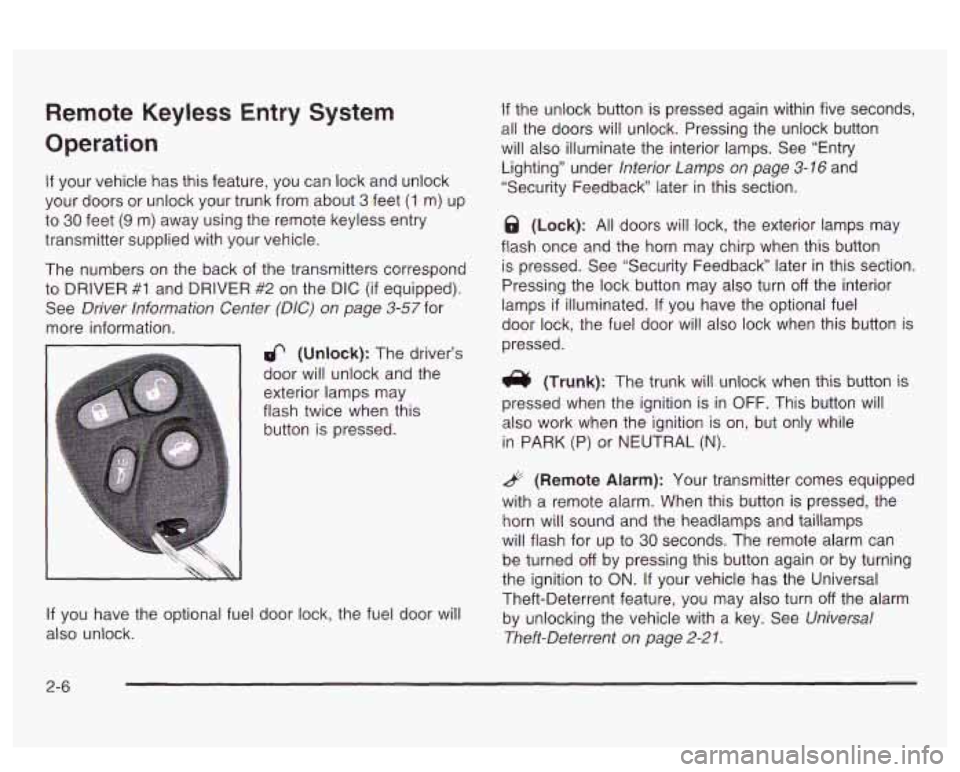
6 (Unlock): The driver’s
door will unlock and the
exterior lamps may
flash twice when this
button is pressed.
If you have the optional fuel door lock, the fuel door will
also unlock.
If the unlock button is pressed again within five seconds,
all the doors will unlock. Pressing the unlock button
will also illuminate the interior lamps. See “Entry
Lighting” under
Interior Lamps on page 3-16 and
“Security Feedback later in this section.
@ (Lock): All doors will lock, the exterior lamps may
flash once and the horn may chirp when this button
is pressed. See “Security Feedback” later in this section.
Pressing the lock button may also turn
off the interior
lamps
if illuminated. If you have the optional fuel
door lock, the fuel door will also lock when this button is
pressed.
(Trunk): The trunk will unlock when this button is
pressed when the ignition is in
OFF. This button will
also work when the ignition is on, but only while
in
PARK (P) or NEUTRAL (N).
& (Remote Alarm): Your transmitter comes equipped
with a remote alarm. When this button
is pressed, the
horn will sound and the headlamps and taillamps
will flash for up to
30 seconds. The remote alarm can
be turned
off by pressing this button again or by turning
the ignition to ON. If your vehicle has the Universal
Theft-Deterrent feature, you may also turn
off the alarm
by unlocking the vehicle with a key. See
Universal
Theft-Deterrent on page
2-21.
2-6
Page 88 of 418
PASS-Key@ 111 Operation
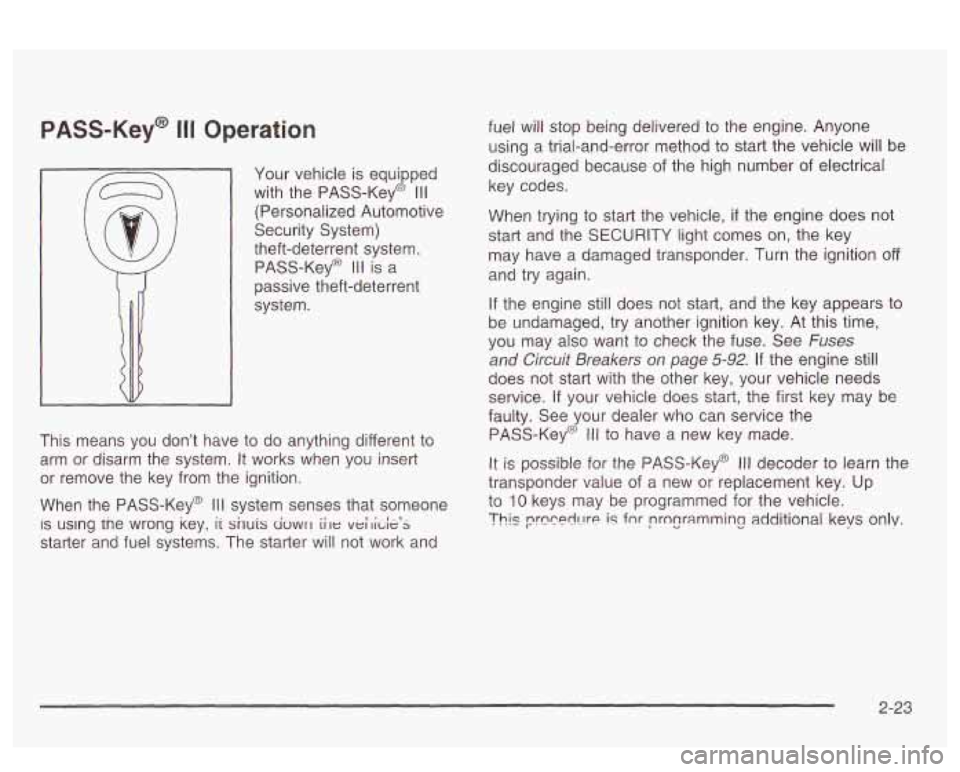
Your vehicle is equipped
with the PASS-Key@
Ill
(Personalized Automotive
Security System)
theft-deterrent system.
PASS-Key@
I II is a
passive theft-deterrent
system.
This means you don’t have
to do anything different to
arm or disarm the system. It works when you insert
or remove the key from the ignition.
When the PASS-Key@
Ill system senses that someone
IS using tne wrong key, ii snuis civwrl iile veilide’s
starter and fuel systems. The starter will not work and fuel will stop being delivered to the
engine. Anyone
using a trial-and-error method to start the vehicle will be
discouraged because of the high number
of electrical
key codes.
When trying to start the vehicle,
if the engine does not
start and the SECURITY light comes on, the key
may have a damaged transponder. Turn the ignition
off
and try again.
If the engine
still does not start, and the key appears to
be undamaged, try another ignition key. At this time,
you may also want to check the fuse. See
Fuses
and Circuit Breakers on page 5-92. If the engine still
does not start with the other key, your vehicle needs
service.
ii your vehicle does star?, the first key ~ay be
faulty. See your dealer who can service the
PASS-Key@
Ill to have a new key made.
It is possible for the PASS-Key@ Ill decoder to learn the
transponder value of a new or replacement key. Up
to
10 keys may be programmed for the vehicle.
Thls prccerll-!re is fnr programming additional keys only.
2-23
Page 92 of 418
Notice: Holding your key in START for longer than
15 seconds at a time will cause your battery to
be drained much sooner. And the excessive heat
can damage your starter motor. Wait about
15
seconds between each try to help avoid draining
your battery
or damaging your starter.
2. If it doesn’t start within 10 seconds, hold your key in
START for about
10 seconds at a time until your
engine starts. Wait about 15 seconds between
each try.
stops), it could be flooded with too much gasoline.
Try pushing your accelerator pedal all the way to the
floor and holding it there as you hold the key
in
START for about three seconds. If the vehicle starts
briefly but then stops again, do the same thing.
This time keep the pedal down for five or six
seconds to clear the extra gasoline from the engine.
After waiting about 15 seconds, repeat the normal
starting procedure.
3. If your engine still won’t start (or starts but then
Notice: Your engine is designed to work with the
electronics
in your vehicle. If you add electrical
parts or accessories, you could change the way the
engine operates. Before adding electrical equipment,
check with your dealer. If you don’t, your engine might not perform properly.
Engine Coolant Heater
If your vehicle has this feature, in very cold weather,
0°F (-18°C) or colder, the engine coolant heater
can help. You’ll get easier starting and better fuel
economy during engine warm-up. Usually, the coolant
heater should be plugged in a minimum of four
hours prior to starting your vehicle. At temperatures
above
32°F (OOC), use of the coolant heater is not
required.
2-27
Page 95 of 418
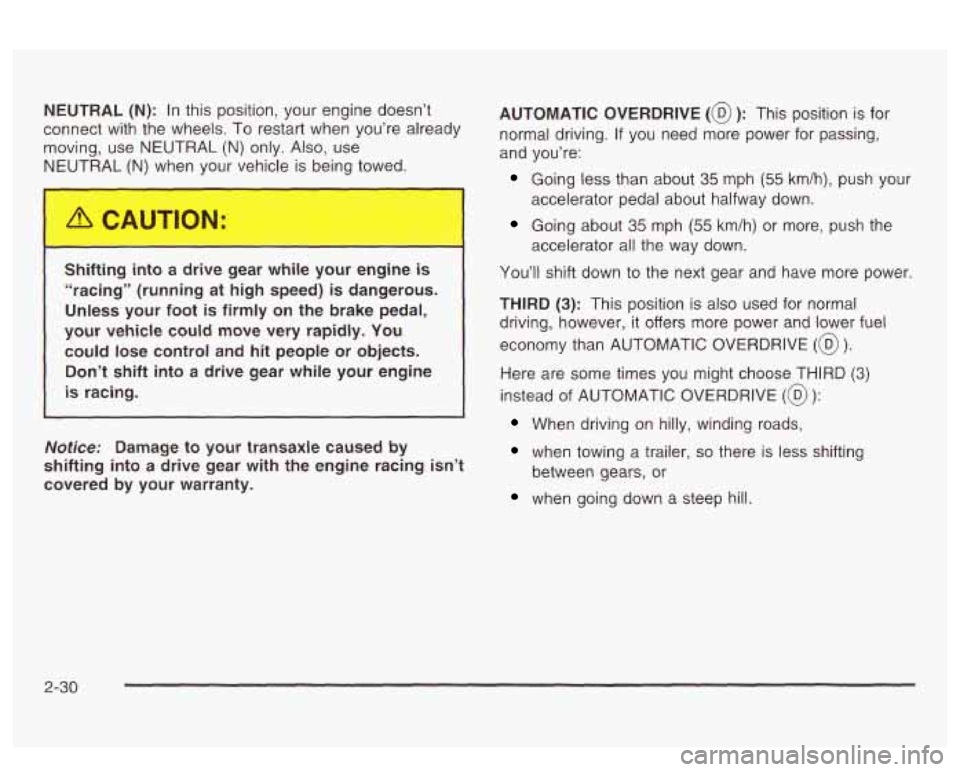
NEUTRAL (N): In this position, your engine doesn’t
connect with the wheels. To restart when you’re already
moving, use NEUTRAL
(N) only. Also, use
NEUTRAL
(N) when your vehicle is being towed.
Sh.- ..ng in{ ~ a driv ~ ~ ~ ~r while your engine is
“racing” (running at high speed) is dangerous.
Unless your foot is firmly on the brake pedal,
your vehicle could move very rapidly. You
could lose control and hit people or objects. Don’t shift into a drive gear while your engine
is racing.
Notice: Damage to your transaxle caused by
shifting into a drive gear with the engine racing isn’t
covered by your warranty. AUTOMATIC
OVERDRIVE
(a): This position is for
normal driving. If you need more power for passing,
and you’re:
Going less than about 35 mph (55 km/h), push your
Going about 35 mph (55 km/h) or more, push the
You’ll shift down to the next gear and have more power.
THIRD
(3): This position is also used for normal
driving, however, it offers more power and lower fuel
economy than AUTOMATIC OVERDRIVE
(@).
Here are some times you might choose THIRD (3)
instead of AUTOMATIC OVERDRIVE (@ ):
When driving on hilly, winding roads,
when towing a trailer, so there is less shifting
when going down a steep hill.
accelerator pedal about
halfway down.
accelerator all the way down.
between gears, or
2-30
Page 96 of 418
SECOND (2): This position gives you more power but
lower fuel economy.
You can use SECOND (2) on
hills. It can help control your speed as you go down
steep mountain roads, but then you would also want to
use your brakes
off and on.
Notice: Don’t drive in SECOND (2) for more than
5 miles (8 km), or at speeds over 55 mph (98 km/h),
or you can damage your transaxle. Use AUTOMATIC
OVERDRIVE
(@) or THIRD (3) as much as
possible.
Don’t shift into SECOND
(2) unless you are going
slower than
65 mph (105 km/h), or you can damage
your engine.
FIRST
(1): This position gives you even more power
but lower fuel economy than SECOND
(2). You can use
it on very steep hills, or
in deep snow or mud. If the
shift lever is put in
FIRST (l), the transaxle won’t shift
into first gear until the vehicle is going slowly enough.
Notice: If your front wheels won’t turn, don’t
try to drive. This might happen if you were stuck
in
very deep sand or mud or were up against a solid
object. You could damage your transaxle.
Also,
if you stop when going uphill, don’t hold your
vehicle there with only the accelerator pedal. This
could overheat and damage the transaxle. Use your
brakes to
hold your vehicle in position on a hill.
Parking Brake
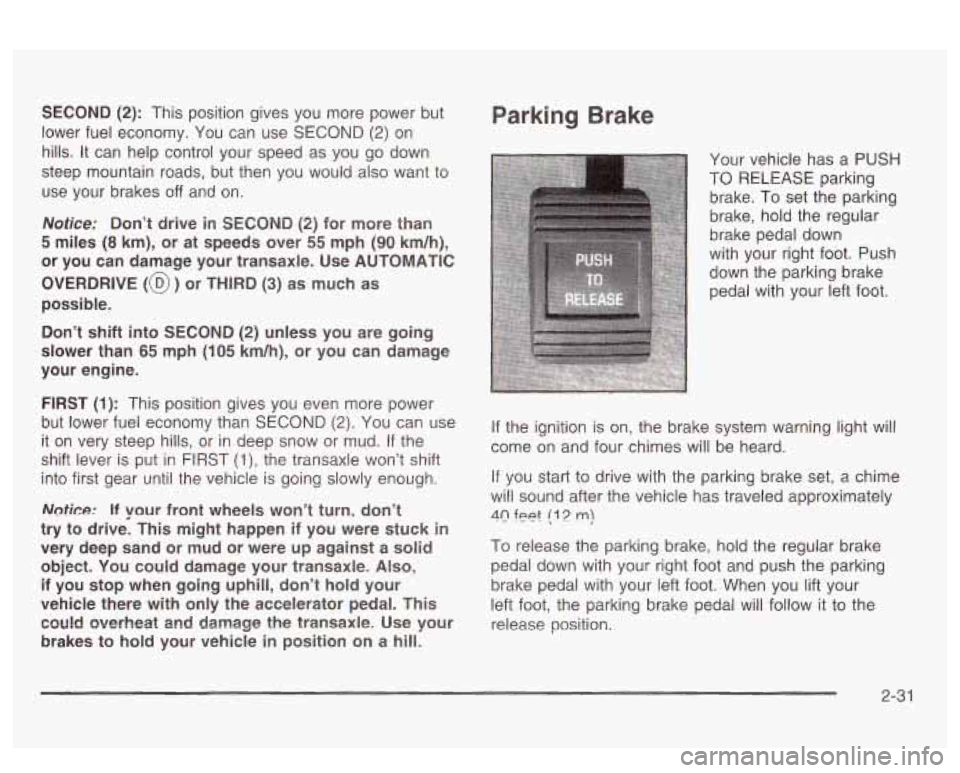
Your vehicle has a PUSH
TO RELEASE parking
brake. To set the parking
brake, hold the regular
brake pedal down
with your right foot. Push
down the parking brake
pedal with your left foot.
If the ignition is on, the brake system warning light will
come on and four chimes will be heard.
If you start to drive with the parking brake set, a chime
will sound after the vehicle has traveled approximately
40 feet (1 2 m)
To release the parking brake, hold the regular brake
pedal down with your right foot and push the parking
brake pedal with your left foot. When you lift your
left foot, the parking brake pedal will follow it to the
release position.
2-3 1
Page 116 of 418
Section 3 Instrument Panel
Instrument Panel Overview ............................... 3.4
Hazard Warning Flashers
................................ 3.5
Other Warning Devises
................................... 3.6
Horn
............................................................. 3.6
Tilt Wheel
..................................................... 3.6
Turn SignaVMultifunction Lever
......................... 3.7
Exterior Lamps
............................................. 3.13
Interior Lamps
.............................................. 3.16
Head-Up Display (HUD)
................................. 3-21
Accessory Power Outlets
............................... 3.23
Ashtrays and Cigarette Lighter
........................ 3.24
Ciimate Controls ............................................ 3.25
Climate Control System ................................. 3.25
Automatic Climate Control System
................... 3.28
Outlet Adjustment
......................................... 3.32
Climate Controls Personalization
..................... 3.33
Warning Lights, Gages and Indicators ............. 3.34
Instrument Panel Cluster
................................ 3-35
Speedometer and Odometer
-8-38
Tachometer ................................................. 3.39
Safety Belt Reminder Light
............................. 3.39
. -- ..........................
Air Bag Readiness Light ............................. 3.40
Battery Warning bight
.................................... 3-41
Voltmeter Gage
............................................ 3-41
Brake System Warning Light
.......................... 3-42
Warning Light
........................................... 3-43
Traction Control System (TCS) Warning Light
...... 3-43
Low Traction Active Light ............................... 3-44
Engine Coolant Temperature Gage
.................. 3-45
Tire Pressure Light
....................................... 3-46
Anti-Lock
Brake System
Malfunction Indicator Lamp
....... ............... 3-46
Oil Pressure Gage
.................. ............... 3-49
Check Oil Level Light
J-50
Low Washer Fluid Warning Light ..................... 3-51
n ....................................
Security Light ............................................... 3-51
Check Gages Warning Light
........................... 3-51
Door Ajar Light
............................................. 3-52
Trunk Ajar Light
............................................ 3-52
............... 3-53
Fuel Gage
............................. ............... 3-53
Boost Gage
....................... ................... 3-54
Cnnrirn vu, Y . "1 \!nhirlo I . ..-.- Snnn - - - . lizht . ~
3- 1
Page 136 of 418
Head-Up Display (HUD)
If the HUD image is too bright, or too high in
your field
of view, it may take you more time to
see things you need to see when it's dark
outside. Be sure to keep the HUD image dim
and placed low in your field of view.
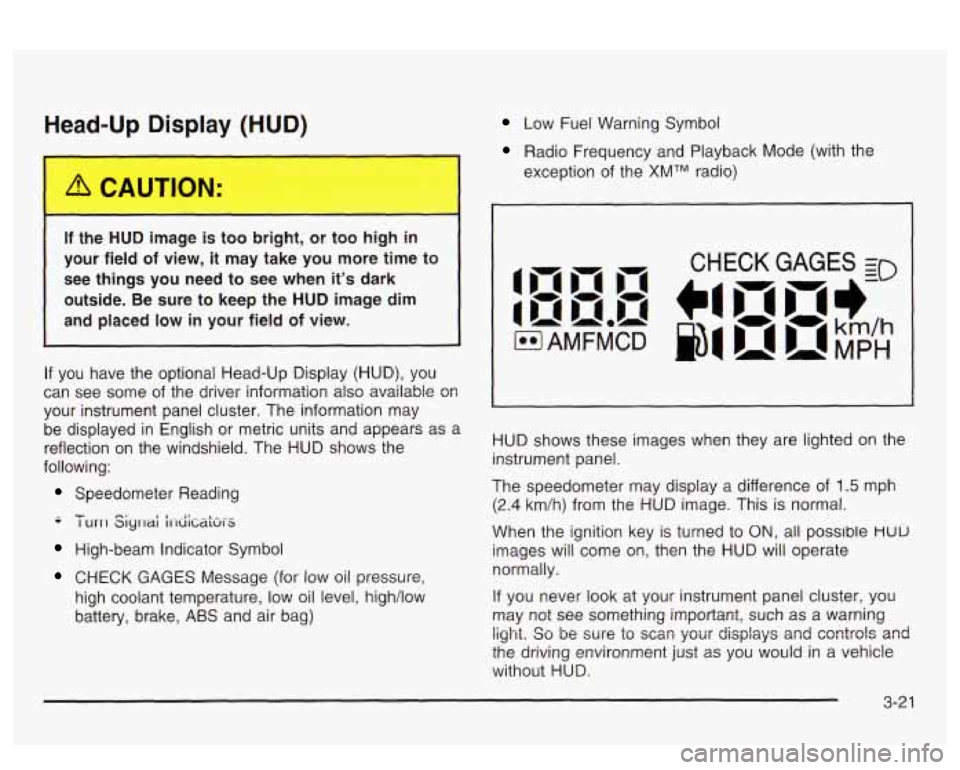
If you have the optional Head-Up Display (HUD), you
can see
some of the driver information also available 08
your instrument panel cluster. The information may
be displayed in English
or metric units and appears as a
reflection on the windshield. The HUD shows the
following:
Speedometer Reading
-- - I urrl Siyrlai i1-diCaki-S
High-beam Indicator Symbol
CHECK GAGES Message (for low oil pressure,
high coolant temperature, low oil level, high/low
battery, brake,
ABS and air bag)
Low Fuel Warning Symbol
Radio Frequency and Playback Mode (with the
exception of the
XMTM radio)
HUD shows these images when they are lighted on the
instrument panel.
The speedometer may display a difference of
1.5 mph
(2.4 km/h) from the HUD image. This is normal.
When the ignition key is turned to
ON, all possible HUU
images will come on, then the HUD will operate
normally.
If you never look at your instrument panel cluster, you
may not see something important, such as a warning
light. So be wre to scm your displays and csntrols and
the driving environment just as you would in a vehicle
without HUD.