2003 Oldsmobile Alero instrument panel
[x] Cancel search: instrument panelPage 119 of 354
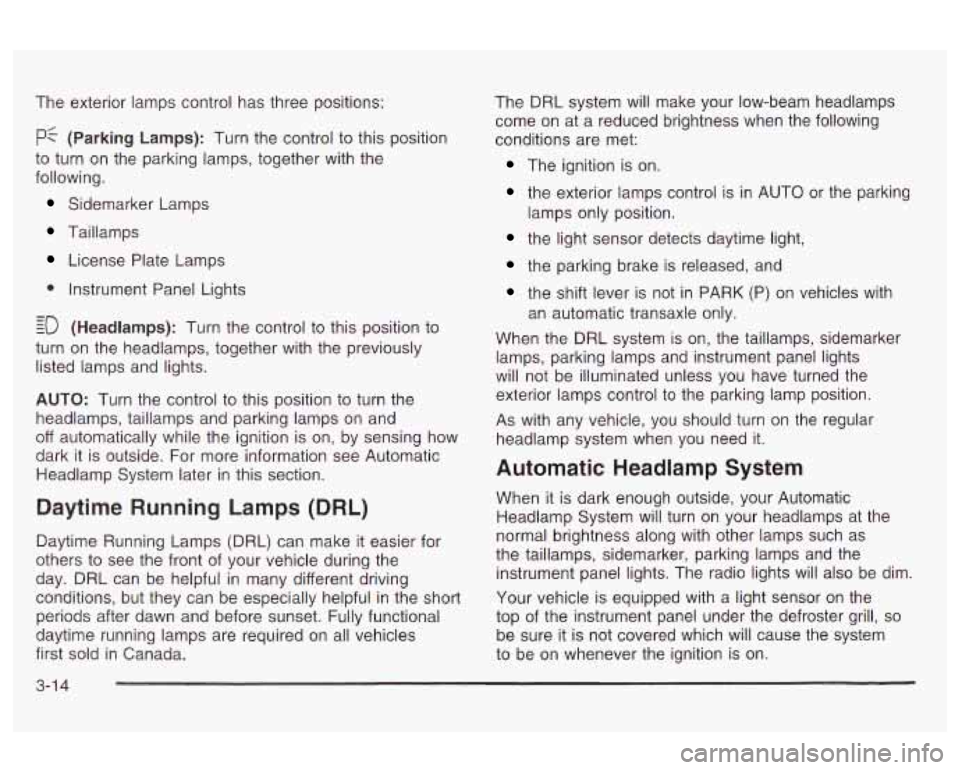
The exterior lamps control has three positions:
pf (Parking Lamps): Turn the control to this position
to turn on the parking lamps, together with the
following.
Sidemarker Lamps
Taillamps
License Plate Lamps
0 Instrument Panel Lights
- - EO (Headlamps): Turn the control to this position to
turn on the headlamps, together with the previously
listed lamps and lights.
AUTO: Turn the control to this position to turn the
headlamps, taillamps and parking lamps on and
off automatically while the ignition is on, by sensing how
dark it is outside. For more information see Automatic
Headlamp System later in this section.
Daytime Running Lamps (DRL)
Daytime Running Lamps (DRL) can make it easier for
others to see the front
of your vehicle during the
day. DRL can be helpful
in many different driving
conditions, but they can be especially helpful in the
short
periods after dawn and before sunset. Fully functional
daytime running lamps are required on all vehicles
first sold in Canada. The DRL
system will make your low-beam headlamps
come on at a reduced brightness when the following
conditions are met:
The ignition is on.
the exterior lamps control is in AUTO or the parking
the light sensor detects daytime light,
lamps
only position.
the parking brake is released, and
the shift lever is not in PARK (P) on vehicles with
When the DRL system
is on, the taillamps, sidemarker
lamps, parking lamps and instrument panel lights
will not be illuminated unless you have turned the
exterior lamps control to the parking lamp position.
As with any vehicle, you should turn on the regular
headlamp system when you need it. an
automatic transaxle only.
Automatic Headlamp System
When it is dark enough outside, your Automatic
Headlamp System will turn on your headlamps at the
normal brightness along with other lamps such as
the taillamps, sidemarker, parking lamps and the
instrument panel lights. The radio lights will also be dim.
Your vehicle is equipped with a light sensor on the
top of the instrument panel under the defroster grill,
so
be sure it is not covered which will cause the system
to be on whenever the ignition
is on.
3-1 4
Page 120 of 354

The system may also be on when driving through a
parking garage, heavy overcast weather or a tunnel.
This is normal.
There is a delay in the transition between the daytime
and nighttime operation of the DRL and the Automatic
Headlamp System
so that driving under bridges or bright
overhead street lights does not affect the system. The
DRL and Automatic Headlamp Systems will only be
affected when the light sensor sees a change in lighting
lasting longer than this delay.
To idle your vehicle with the system off, set the parkin9
brake while the ignition is
off. Then start the vehicle.
The system will stay
off until you release the parking
brake.
As with any vehicle, you should turn on the regular
headlamps when you need them.
Headlamps Off in PARK (P)
To turn the headlamps off when it is dark outside, turn
the exterior lamps control
to the parking lamp position.
In this position, the parking lamps, sidemarker lamps,
taillamps, license plate lamps and instrument panel
lights will be on, but the headlamps will be off.
To turn on the headlamps along with the other lamps
when it is dark outside, turn the exterior lamps control
to
the AUTO or headlamp position.
Delayed Headlamps
The delayed headlamps feature will continue to
illuminate the headlamps for
20 seconds after the key is
turned to
OFF, then the headlamps will automatically
turn off.
To override the
20 second delayed headlamp feature
while it is active turn the turn signal/muItifunction
lever up one position and then back
to AUTO.
Fog Lamps
If your vehicle has this feature, the button for your fog
lamps is located on the instrument panel, to the left
of the steering wheel, beside the instrument panel
brightness thumbwheel.
When using the fog lamps, the ignition must be on as
well as the parking lamps or the low-beam headlamps.
Press the button to turn the fog lamps on. An indicator
light on the button will glow when the fog lamps are on.
Press the button again to turn the fog lamps off.
TI-- I--. I ... :I1 I ..... LT . I. . . I I luy I~III~ WIII Lull1 UII WII~II~V~I iile iliyil-bed1r1
headlamps are turned on. When the high beams
are turned off, the fog lamps will come on again.
3-1 5
Page 121 of 354
Interior Lamps
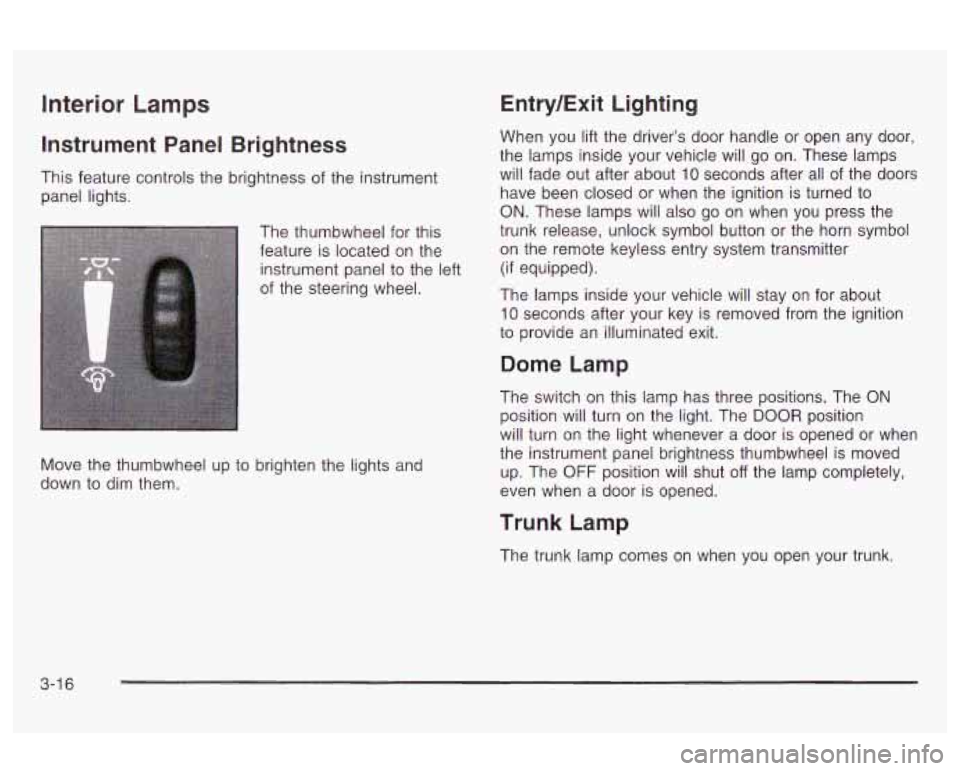
Instrument Panel Brightness
This feature controls the brightness of the instrument
panel lights.
The thumbwheel for this
feature is located on the
instrument panel to the left
of the steering wheel.
Move the thumbwheel up to brighten the lights and
down to dim them.
Entry/Exit Lighting
When you lift the driver’s door handle or open any door,
the lamps inside your vehicle will go on. These lamps
will fade out after about
10 seconds after all of the doors
have been closed or when the ignition is turned to
ON. These lamps will also go on when you press the
trunk release, unlock symbol button or the horn symbol
on the remote keyless entry system transmitter
(if equipped).
The lamps inside your vehicle will stay on for about
10 seconds after your key is removed from the ignition
to provide an illuminated exit.
Dome Lamp
The switch on this lamp has three positions. The ON
position will turn on the light. The DOOR position
will turn on the light whenever a door is opened or when
the instrument panel brightness thumbwheel is moved
up. The
OFF position will shut off the lamp completely,
even when a door is opened.
Trunk Lamp
The trunk lamp comes on when you open your trunk.
3-1 6
Page 122 of 354
Battery Run-Down Protection
Your vehicle has a battery run-down protection feature
designed to protect your vehicle's battery.
When any interior lamp (trunk, mirror reading lamps,
dome lamp or glove box) is left on when the ignition is
turned
off, the battery saver system will automatically
shut the lamp
off after 20 minutes. This will avoid
draining the battery.
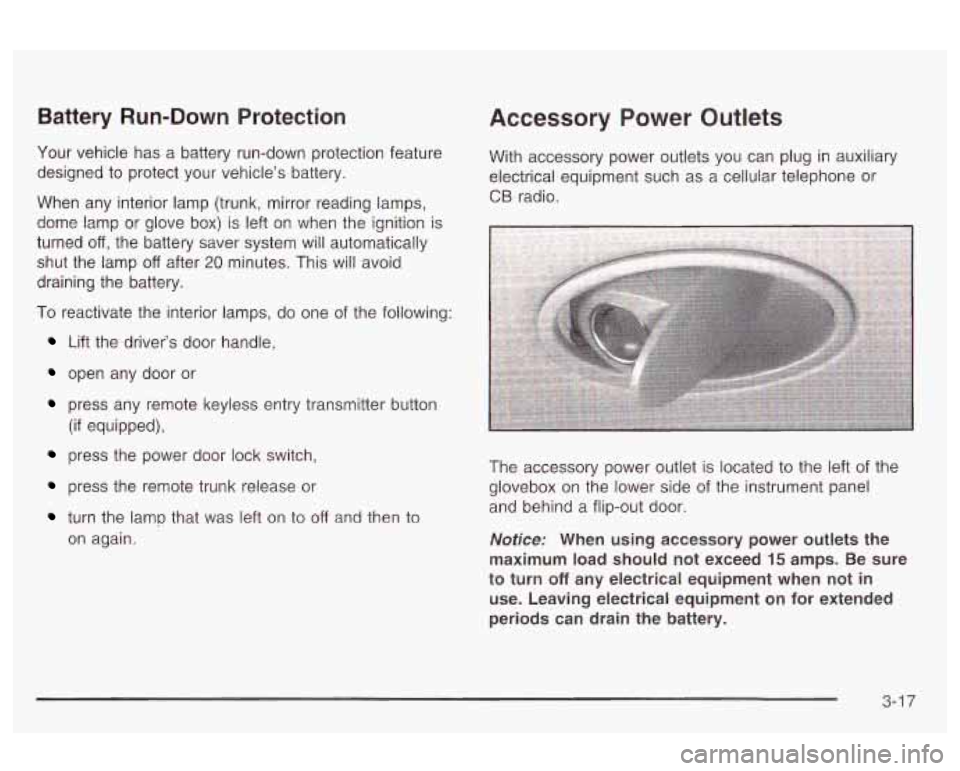
Accessory Power Outlets
With accessory power outlets you can plug in auxiliary
electrical equipment such as a cellular telephone or
CB radio.
I
To reactivate the interior lamps, do one of the following: I
Lift the driver's door handle,
open any door or
press any remote keyless entry transmitter button
(if equipped),
press the power door lock switch,
press the remote trunk release or
turn the lamp that was left on to off and then to
on again. The accessory power
outlet is located to the left of the
glovebox on the lower side of the instrument panel
and behind a flip-out door.
Notice: When using accessory power outlets the
maximum load should not exceed
15 amps. Be sure
to turn
off any electrical equipment when not in
use. Leaving electrical equipment on for extended
periods can drain the battery.
3-1 7
Page 124 of 354
Climate Controls
Climate Control System
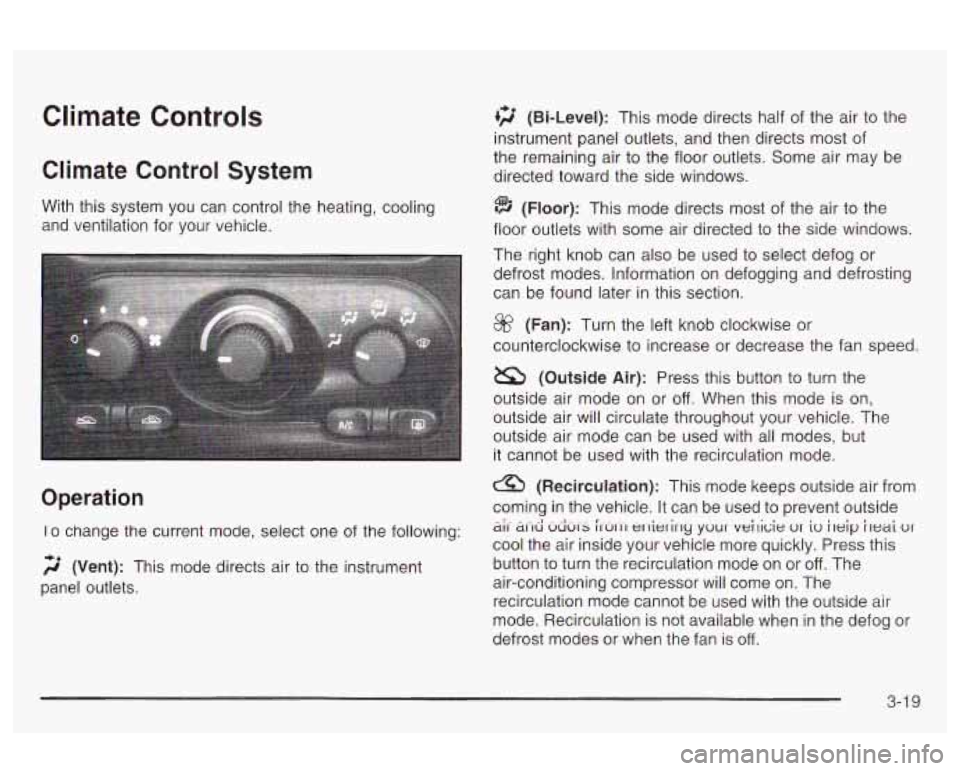
With this system you can control the heating, cooling
and ventilation for your vehicle.
Operation
Io change the current mode, select one of the following:
2 (Vent): This mode directs air to the instrument
panel outlets.
+2 (Bi-Level): This mode directs half of the air to the
instrument panel outlets, and then directs most of
the remaining air to the floor outlets. Some air may be
directed toward the side windows.
(Floor): This mode directs most of the air to the
floor outlets with some air directed to the side windows.
The right knob can also be used to select defog or
defrost modes. Information on defogging and defrosting
can be found later in this section.
@? (Fan): Turn the left knob clockwise or
counterclockwise to increase or decrease the fan speed.
a (Outside Air): Press this button to turn the
outside air mode on or
off. When this mode is on,
outside air will circulate throughout your vehicle. The
outside air mode can be used with all modes, but
it cannot be used with the recirculation mode.
(Recirculation): This mode keeps outside air from
coming in the vehicle. It can be used
to prevent outside
cool the air inside your vehicle more quickly. Press this
button to turn the recirculation mode on or
off. The
air-conditioning compressor will come on. The
recirculation mode cannot be used with the outside air
mode. Recirculation is not available when
in the defog or
defrost modes or when the fan
is off.
5i-d UdUI-s ~IUI-II er-lietirly ywur veilicie ur iw ileip i~eai ur
3-1 9
Page 126 of 354
+3 (Defog): This mode directs half of the air to the
windshield and most of the remaining air to the
floor outlets with a small amount directed at the side
windows. When you select this mode, the system turns
off recirculation and runs the air-conditioning
compressor unless the outside temperature is at or
below freezing. The recirculation mode cannot be
selected while in the defog mode.
To help clear the side windows quickly while using air
conditioning, do the following:
1. Select the bi-level mode.
2. Select the highest fan speed.
3. Select NC.
4. Select the temperature.
9 (Defrost): This mode directs most of the air to
the windshield with some air directed to the floor
outlets. In this mode, the system will automatically
turn
off recirculation and run the air-conditioning
compressor, unless the outside temperature is at
or
in the defrost mode.
To help clear the windshield quickly, do the following:
L-I -... r ”--- :-.- ne-: --.. I-&:-.- I I- - I- _I_ -I ... 1.11- uctuvv tt GGLII ty. ncx,lIbuIauuI I l,cu II 161 ue SeIe‘uttw WI III~
1. Select the defrost mode.
2. Select the outside air mode.
3. Select the highest temperature.
4. Select the highest fan speed. Your
vehicle is equipped with side window defogger
outlets located above the side instrument panel outlets.
To help clear the side windows quickly, do the following:
1. Select the floor mode.
2. Select the outside air mode.
3. Select the highest temperature.
4. Select the highest fan speed.
Rear Window Defogger
The rear window defogger uses a warming grid to
remove fog from the rear window.
Lut] REAR: Press this button to turn the rear window
defogger on or
off. An indicator light in the button
will come on to let you know that the rear window
defogger is activated. Be sure to clear as much snow
from the rear window as possible.
The rear window defogger will turn
off approximately
10 minutes after the button is pressed. If turned on
again, the defogger will only run for approximately
five minutes before turning
off. The defogger can also
be turned
off by pressing the button again or by turning
off the engine.
Notice: Don’t use anything sharp on the inside of
the rear window. If you do, you could cut or damage
the warming grid, and the repairs wouldn’t
be
vehicle license, tape, a decal or anything similar
to the defogger grid.
cGvered by ycx: warranty. oc not attach a temporaiy
3-2 1
Page 127 of 354
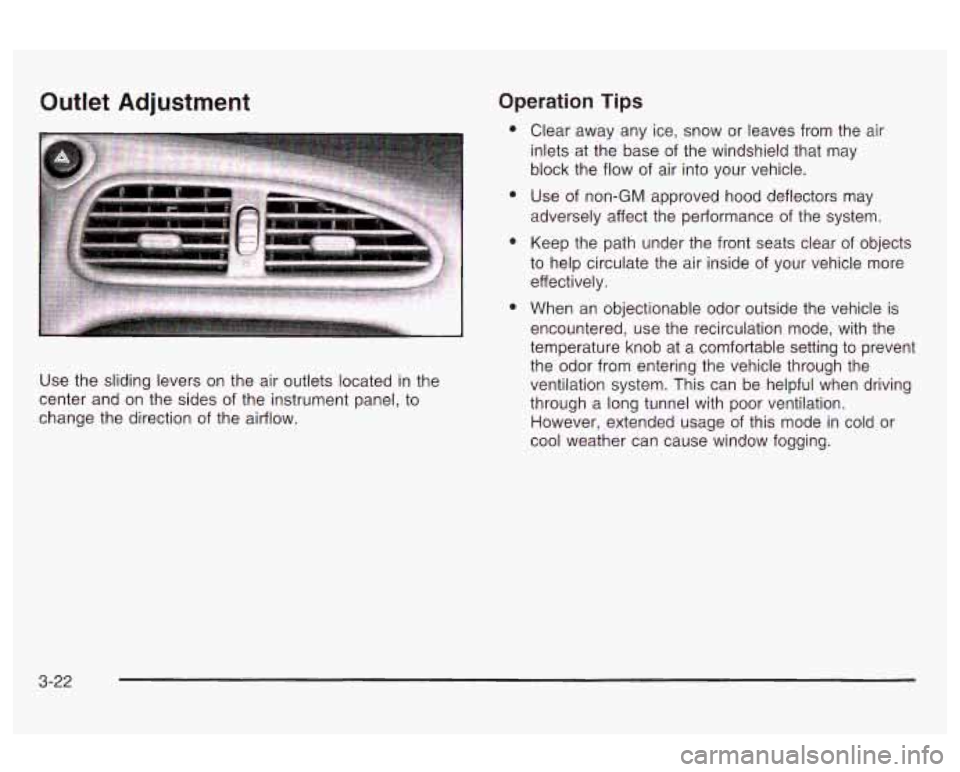
Outlet Adjustment
Use the sliding levers on the air outlets located in the
center and on the sides of the instrument panel, to
change the direction of the airflow.
Operation Tips
a
a
Clear away any ice, snow or leaves from the air
inlets at the base of the windshield that may
block the flow of air into your vehicle.
Use of non-GM approved hood deflectors may
adversely affect the performance of the system.
Keep the path under the front seats clear of objects
to help circulate the air inside of your vehicle more
effectively.
When an objectionable odor outside the vehicle is
encountered, use the recirculation mode, with the
temperature knob at a comfortable setting to prevent
the odor from entering the vehicle through the
ventilation system. This can be helpful when driving
through a long tunnel with poor ventilation.
However, extended usage of this mode in cold or
cool weather can cause window fogging.
3-22
Page 129 of 354
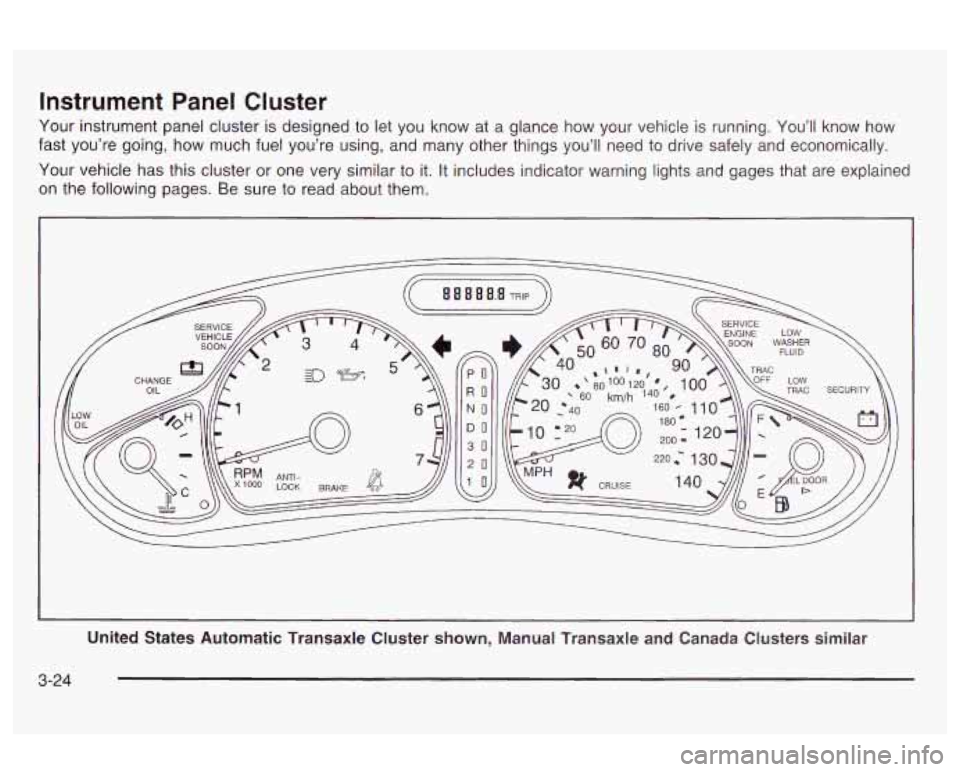
Instrument Panel Cluster
Your instrument panel cluster is designed to let you know at a glance how your vehicle is running. You’ll know how
fast you’re going, how much fuel you’re using, and many other things you’ll need to drive safely and economically.
Your vehicle has this cluster
or one very similar to it. It includes indicator warning lights and gages that are explained
on the following pages. Be sure to read about them.
PO
RO
NO
DO
30
20
United States Automatic Transaxle Cluster shown, Manual Transaxle and Canada Clusters similar
3-24