Page 1193 of 3189

2 DETECT MALFUNCTIONING PART
Check the following.
Fuse block (J/B) connector E104
10A fuse
40A fusible link
Harness for open or short between cooling fan relay-1 and fuse
Harness for open or short between cooling fan relay-1 and battery
Repair open circuit or short to ground or short to power in harness or connectors.
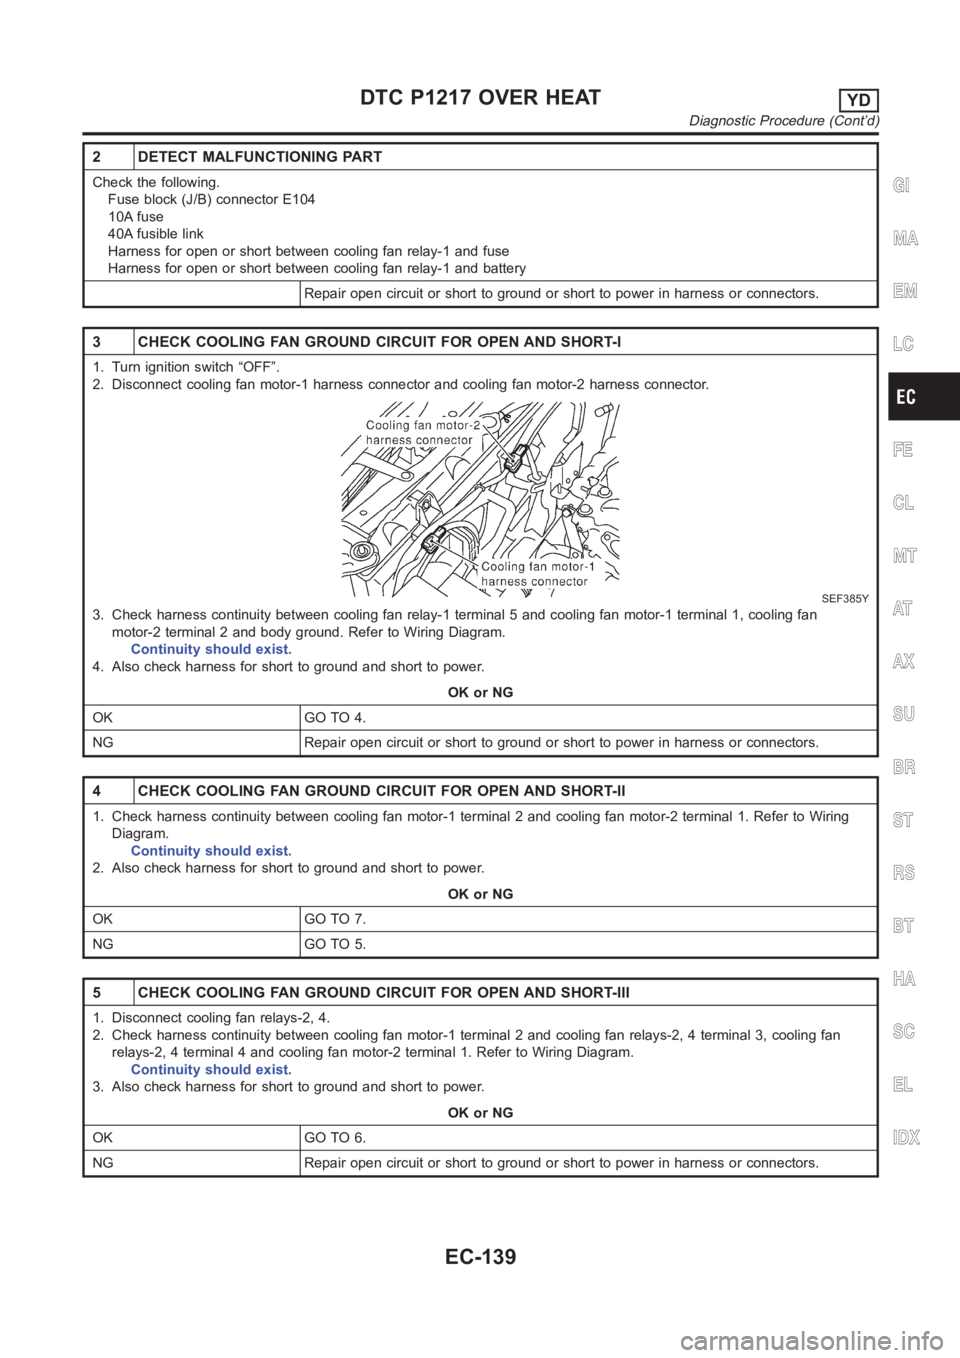
3 CHECK COOLING FAN GROUND CIRCUIT FOR OPEN AND SHORT-I
1. Turn ignition switch “OFF”.
2. Disconnect cooling fan motor-1 harness connector and cooling fan motor-2 harness connector.
SEF385Y
3. Check harness continuity between cooling fan relay-1 terminal 5 and cooling fan motor-1 terminal 1, cooling fan
motor-2 terminal 2 and body ground. Refer to Wiring Diagram.
Continuity should exist.
4. Also check harness for short to ground and short to power.
OK or NG
OK GO TO 4.
NG Repair open circuit or short to ground or short to power in harness or connectors.
4 CHECK COOLING FAN GROUND CIRCUIT FOR OPEN AND SHORT-II
1. Check harness continuity between cooling fan motor-1 terminal 2 and cooling fan motor-2 terminal 1. Refer to Wiring
Diagram.
Continuity should exist.
2. Also check harness for short to ground and short to power.
OK or NG
OK GO TO 7.
NG GO TO 5.
5 CHECK COOLING FAN GROUND CIRCUIT FOR OPEN AND SHORT-III
1. Disconnect cooling fan relays-2, 4.
2. Check harness continuity between cooling fan motor-1 terminal 2 and cooling fan relays-2, 4 terminal 3, cooling fan
relays-2, 4 terminal 4 and cooling fan motor-2 terminal 1. Refer to Wiring Diagram.
Continuity should exist.
3. Also check harness for short to ground and short to power.
OK or NG
OK GO TO 6.
NG Repair open circuit or short to ground or short to power in harness or connectors.
GI
MA
EM
LC
FE
CL
MT
AT
AX
SU
BR
ST
RS
BT
HA
SC
EL
IDX
DTC P1217 OVER HEATYD
Diagnostic Procedure (Cont’d)
EC-139
Page 1195 of 3189
10 CHECK COOLING FAN MOTORS-1 AND -2
Supply battery voltage between the following terminals and check operation.
YEC059A
OK or NG
OK GO TO 11.
NG Replace cooling fan motors.
11 CHECK INTERMITTENT INCIDENT
Perform “TROUBLE DIAGNOSIS FOR INTERMITTENT INCIDENT”, EC-71.
INSPECTION END
PROCEDURE BNJEC0666S06
1 CHECK COOLING FAN POWER SUPPLY CIRCUIT
1. Turn ignition switch “OFF”.
2. Disconnect cooling fan relays-2, 3 and 4.
SEF384Y
3. Turn ignition switch “ON”.
4. Check voltage between cooling fan relays-2, 4 terminals 1 and ground, cooling fan relay-3 terminals 2, 3 and ground
with CONSULT-II or tester.
YEC394A
OK or NG
OK GO TO 3.
NG GO TO 2.
GI
MA
EM
LC
FE
CL
MT
AT
AX
SU
BR
ST
RS
BT
HA
SC
EL
IDX
DTC P1217 OVER HEATYD
Diagnostic Procedure (Cont’d)
EC-141
Page 1197 of 3189
6 CHECK COOLING FAN RELAYS-2 AND -4
Check continuity between cooling fan relay-2, -3 terminals 3 and 4, 3 and 5 under the following conditions.
SEF900Y
OK or NG
OK GO TO 7.
NG Replace cooling fan relays.
7 CHECK COOLING FAN RELAY-3
Check continuity between cooling fan relay-3 terminals 3 and 5 under the following conditions.
YEC395A
OK or NG
OK GO TO 8.
NG Replace cooling fan relay.
8 CHECK COOLING FAN MOTORS
Supply battery voltage between the following terminals and check operation.
YEC059A
OK or NG
OK GO TO 9.
NG Replace cooling fan motors.
GI
MA
EM
LC
FE
CL
MT
AT
AX
SU
BR
ST
RS
BT
HA
SC
EL
IDX
DTC P1217 OVER HEATYD
Diagnostic Procedure (Cont’d)
EC-143
Page 1231 of 3189

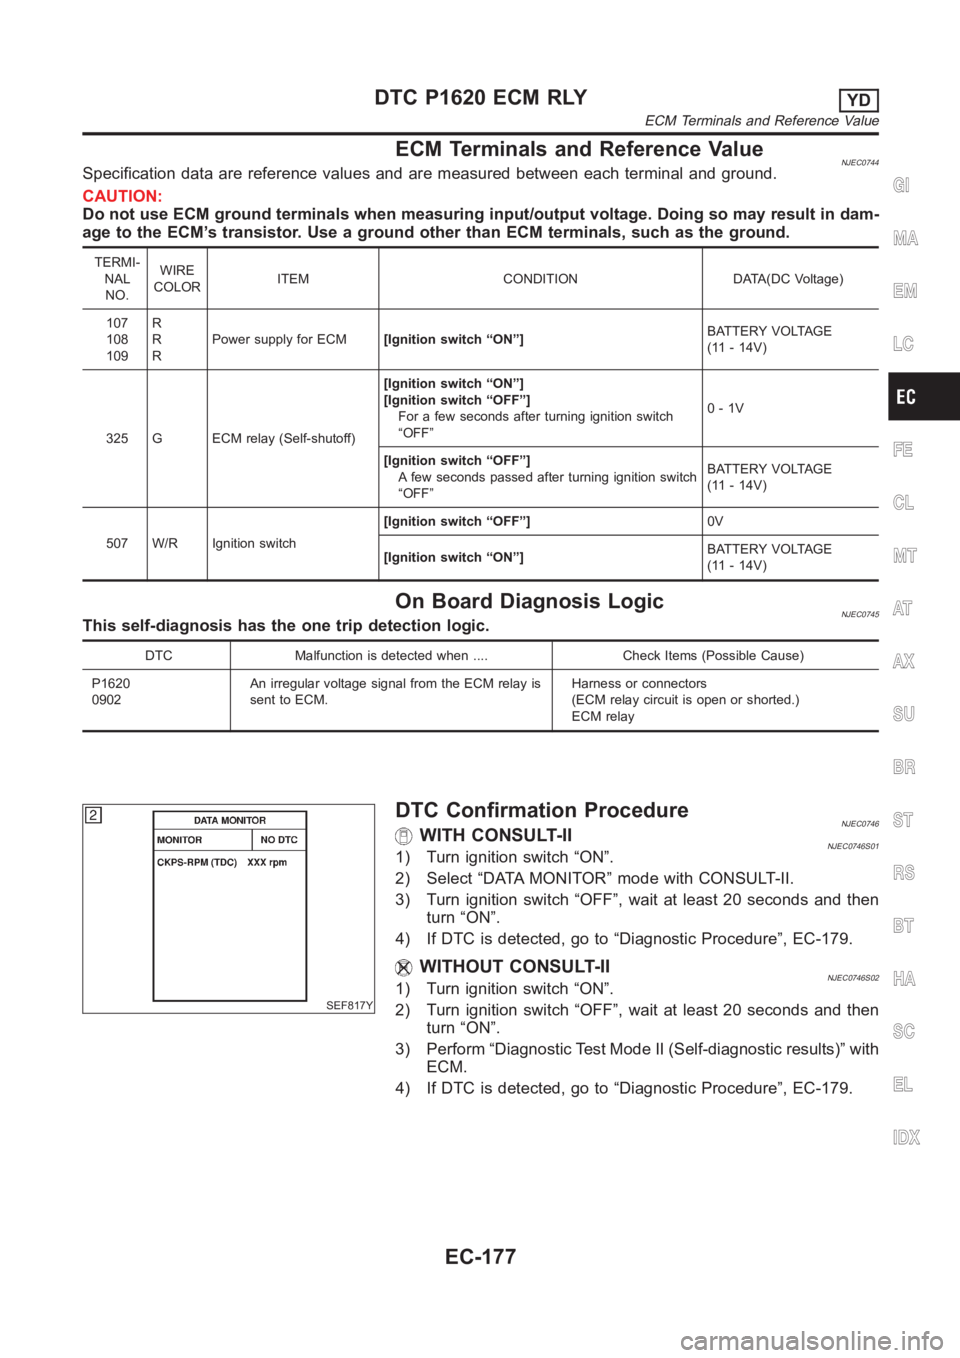
ECM Terminals and Reference ValueNJEC0744Specification data are reference values and are measured between each terminal and ground.
CAUTION:
Do not use ECM ground terminals when measuring input/output voltage. Doing so may result in dam-
age to the ECM’s transistor. Use a ground other than ECM terminals, such as the ground.
TERMI-
NAL
NO.WIRE
COLORITEM CONDITION DATA(DC Voltage)
107
108
109R
R
RPower supply for ECM[Ignition switch “ON”]BATTERY VOLTAGE
(11 - 14V)
325 G ECM relay (Self-shutoff)[Ignition switch “ON”]
[Ignition switch “OFF”]
For a few seconds after turning ignition switch
“OFF”0-1V
[Ignition switch “OFF”]
A few seconds passed after turning ignition switch
“OFF”BATTERY VOLTAGE
(11 - 14V)
507 W/R Ignition switch[Ignition switch “OFF”]0V
[Ignition switch “ON”]BATTERY VOLTAGE
(11 - 14V)
On Board Diagnosis LogicNJEC0745This self-diagnosis has the one trip detection logic.
DTC Malfunction is detected when .... Check Items (Possible Cause)
P1620
0902An irregular voltage signal from the ECM relay is
sent to ECM.Harness or connectors
(ECM relay circuit is open or shorted.)
ECM relay
SEF817Y
DTC Confirmation ProcedureNJEC0746WITH CONSULT-IINJEC0746S011) Turn ignition switch “ON”.
2) Select “DATA MONITOR” mode with CONSULT-II.
3) Turn ignition switch “OFF”, wait at least 20 seconds and then
turn “ON”.
4) If DTC is detected, go to “Diagnostic Procedure”, EC-179.
WITHOUT CONSULT-IINJEC0746S021) Turn ignition switch “ON”.
2) Turn ignition switch “OFF”, wait at least 20 seconds and then
turn “ON”.
3) Perform “Diagnostic Test Mode II (Self-diagnostic results)” with
ECM.
4) If DTC is detected, go to “Diagnostic Procedure”, EC-179.
GI
MA
EM
LC
FE
CL
MT
AT
AX
SU
BR
ST
RS
BT
HA
SC
EL
IDX
DTC P1620 ECM RLYYD
ECM Terminals and Reference Value
EC-177
Page 1233 of 3189

Diagnostic ProcedureNJEC0748
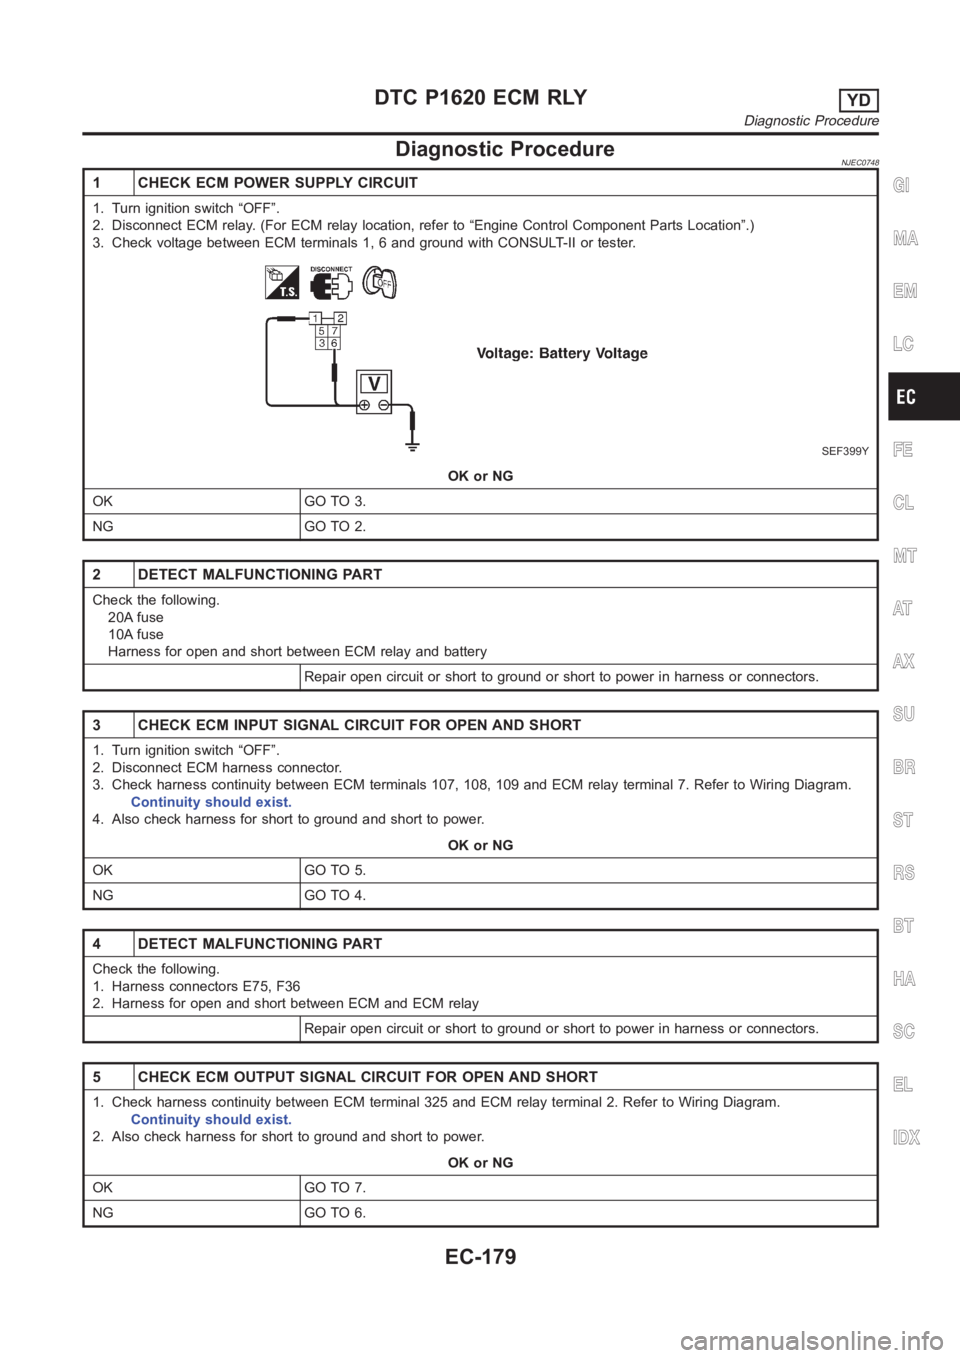
1 CHECK ECM POWER SUPPLY CIRCUIT
1. Turn ignition switch “OFF”.
2. Disconnect ECM relay. (For ECM relay location, refer to “Engine ControlComponent Parts Location”.)
3. Check voltage between ECM terminals 1, 6 and ground with CONSULT-II or tester.
SEF399Y
OK or NG
OK GO TO 3.
NG GO TO 2.
2 DETECT MALFUNCTIONING PART
Check the following.
20A fuse
10A fuse
Harness for open and short between ECM relay and battery
Repair open circuit or short to ground or short to power in harness or connectors.
3 CHECK ECM INPUT SIGNAL CIRCUIT FOR OPEN AND SHORT
1. Turn ignition switch “OFF”.
2. Disconnect ECM harness connector.
3. Check harness continuity between ECM terminals 107, 108, 109 and ECM relay terminal 7. Refer to Wiring Diagram.
Continuity should exist.
4. Also check harness for short to ground and short to power.
OK or NG
OK GO TO 5.
NG GO TO 4.
4 DETECT MALFUNCTIONING PART
Check the following.
1. Harness connectors E75, F36
2. Harness for open and short between ECM and ECM relay
Repair open circuit or short to ground or short to power in harness or connectors.
5 CHECK ECM OUTPUT SIGNAL CIRCUIT FOR OPEN AND SHORT
1. Check harness continuity between ECM terminal 325 and ECM relay terminal 2. Refer to Wiring Diagram.
Continuity should exist.
2. Also check harness for short to ground and short to power.
OK or NG
OK GO TO 7.
NG GO TO 6.
GI
MA
EM
LC
FE
CL
MT
AT
AX
SU
BR
ST
RS
BT
HA
SC
EL
IDX
DTC P1620 ECM RLYYD
Diagnostic Procedure
EC-179
Page 1237 of 3189

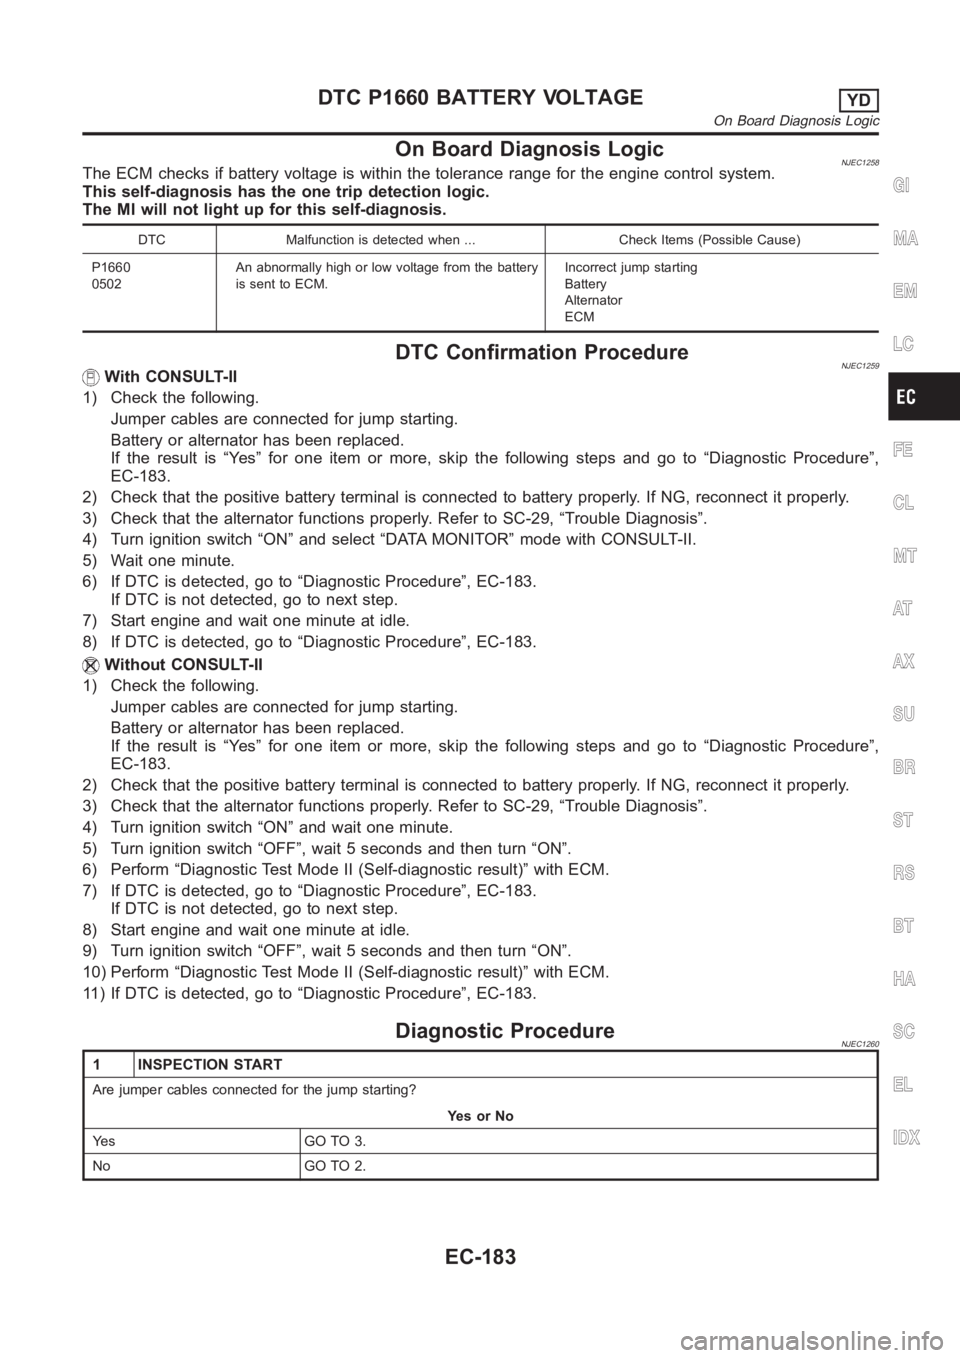
On Board Diagnosis LogicNJEC1258The ECM checks if battery voltage is within the tolerance range for the engine control system.
This self-diagnosis has the one trip detection logic.
The MI will not light up for this self-diagnosis.
DTC Malfunction is detected when ... Check Items (Possible Cause)
P1660
0502An abnormally high or low voltage from the battery
is sent to ECM.Incorrect jump starting
Battery
Alternator
ECM
DTC Confirmation ProcedureNJEC1259With CONSULT-II
1) Check the following.
Jumper cables are connected for jump starting.
Battery or alternator has been replaced.
If the result is “Yes” for one item or more, skip the following steps and go to“Diagnostic Procedure”,
EC-183.
2) Check that the positive battery terminal is connected to battery properly. If NG, reconnect it properly.
3) Check that the alternator functions properly. Refer to SC-29, “TroubleDiagnosis”.
4) Turn ignition switch “ON” and select “DATA MONITOR” mode with CONSULT-II.
5) Wait one minute.
6) If DTC is detected, go to “Diagnostic Procedure”, EC-183.
If DTC is not detected, go to next step.
7) Start engine and wait one minute at idle.
8) If DTC is detected, go to “Diagnostic Procedure”, EC-183.
Without CONSULT-II
1) Check the following.
Jumper cables are connected for jump starting.
Battery or alternator has been replaced.
If the result is “Yes” for one item or more, skip the following steps and go to“Diagnostic Procedure”,
EC-183.
2) Check that the positive battery terminal is connected to battery properly. If NG, reconnect it properly.
3) Check that the alternator functions properly. Refer to SC-29, “TroubleDiagnosis”.
4) Turn ignition switch “ON” and wait one minute.
5) Turn ignition switch “OFF”, wait 5 seconds and then turn “ON”.
6) Perform “Diagnostic Test Mode II (Self-diagnostic result)” with ECM.
7) If DTC is detected, go to “Diagnostic Procedure”, EC-183.
If DTC is not detected, go to next step.
8) Start engine and wait one minute at idle.
9) Turn ignition switch “OFF”, wait 5 seconds and then turn “ON”.
10) Perform “Diagnostic Test Mode II (Self-diagnostic result)” with ECM.
11) If DTC is detected, go to “Diagnostic Procedure”, EC-183.
Diagnostic ProcedureNJEC1260
1 INSPECTION START
Are jumper cables connected for the jump starting?
YesorNo
Ye s G O T O 3 .
No GO TO 2.
GI
MA
EM
LC
FE
CL
MT
AT
AX
SU
BR
ST
RS
BT
HA
SC
EL
IDX
DTC P1660 BATTERY VOLTAGEYD
On Board Diagnosis Logic
EC-183
Page 1238 of 3189
2 CHECK BATTERY AND ALTERNATOR
Check that the proper type of battery and alternator is installed.
Refer to SC-37, “Battery” and SC-38, “Alternator”.
OK or NG
OK GO TO 5.
NG Replace with a proper one.
3 CHECK JUMPER CABLES INSTALLATION
Check that the jumper cables are connected in the correct sequence.
SEF439Z
OK or NG
OK GO TO 4.
NG Reconnect jumper cables properly.
4 CHECK BATTERY FOR BOOSTER
Check that the battery for the booster is a 12V battery.
OK or NG
OK GO TO 5.
NG Change the vehicle for booster.
5 PERFORM DTC CONFIRMATION PROCEDURE AGAIN
Perform “DTC Confirmation Procedure”, EC-183, again.
OK or NG
OK GO TO 6.
NG Replace ECM.
6 CHECK ELECTRICAL PARTS DAMAGE
Check the following for damage.
Wiring harness and harness connectors for burn
Fuses for short
OK or NG
OKINSPECTION END
NG Repair or replace malfunctioning part.
DTC P1660 BATTERY VOLTAGEYD
Diagnostic Procedure (Cont’d)
EC-184
Page 1243 of 3189
ECM Terminals and Reference ValueNJEC0761Specification data are reference values and are measured between each terminal and ground.
CAUTION:
Do not use ECM ground terminals when measuring input/output voltage. Doing so may result in dam-
age to the ECM’s transistor. Use a ground other than ECM terminals, such as the ground.
TERMI-
NAL
NO.WIRE
COLORITEM CONDITION DATA (DC Voltage)
214 W/B Glow relay Refer to “SYSTEM DESCRIPTION”, EC-188.
508 OR Glow indicator lamp[Ignition switch “ON”]
Glow indicator lamp is “ON”Approximately 1V
[Ignition switch “ON”]
Glow indicator lamp is “OFF”BATTERY VOLTAGE
(11 - 14V)
GI
MA
EM
LC
FE
CL
MT
AT
AX
SU
BR
ST
RS
BT
HA
SC
EL
IDX
GLOW CONTROL SYSTEMYD
ECM Terminals and Reference Value
EC-189