Page 57 of 106
At a glance
Controls
Driving tips
Mobility
Reference
57
Automatic climate control*
1Air onto the windshield and the side
windows
2Air for the upper body area59
3Air for the footwell
4Individual air distribution58
5Defrost windows and remove
condensation58
6Automatic air distribution and air
supply587Air supply/blower58
8Air conditioning56
9Maximum cooling58
10Temperature58
11Outside air/Automatic recirculated air
control AUC/recirculated air mode58
12Rear window defroster59
Page 58 of 106

Controlling the climate for pleasant driving
58
Tips for pleasant driving
Use the automatic system – switch on with
AUTO button 6. Select the desired interior
temperature.
Detailed setting options are described for
you below.
Automatic air distribution and
supply
The AUTO program assumes the
adjustment of the air distribution
and air supply for you and in addi-
tion adapts the temperature to
external influences – summer, winter – to
meet preferences you can specify.
Individual air distribution
You can also direct air flow onto
the windows , toward the
upper body and into the foot-
well as you require. The arrow
lights up. The automatic air supply remains
unchanged. All intermediate settings are
possible. By pressing the AUTO button,
you can reactivate the air distribution.
Temperature
The interior temperature that
appears on the display panel is a
general figure intended for refer-
ence purposes. When you start
the vehicle, the system ensures that the
selected temperature is reached as quickly
as possible. It then maintains this tempera-
ture, regardless of the season.
Air supply/blower
You can set the blower through
an infinitely variable range of
speeds. This shuts off the auto-
matic air supply. The arrow lights
up. The automatic air distribution remains
unchanged. You can reactivate the auto-
matic air supply by pressing the AUTO but-
ton.
When you turn the rotary control toward
zero: the blower, heating and air condi-
tioner are switched off, and the air supply is stopped. You can reactivate the system by
turning the control toward the right again.
To defrost windows and remove
condensation
This program quickly removes ice
and condensation from the wind-
shield and the side windows.
Maximum cooling
This program gives you maximum
cooling within a short period of
time.
The temperature is set to the lowest possi-
ble value. The system switches into the
recirculated air mode and air flows at max-
imum blower speed from the air outlets
only. Therefore, the air outlets must always
be open when you select this program.
Air conditioning
The air is cooled and dehumidi-
fied and – depending on the tem-
perature setting – rewarmed.
Depending on the weather, the
windshield may fog over briefly when the
engine is started.
The air conditioning system is automati-
cally switched on when you use the AUTO
program.
Condensation forms during operation
of the air conditioning system, which
then exits under the vehicle. Traces of con-
densed water on the ground underneath
the vehicle are thus normal.<
Outside air/Automatic recirculated
air control AUC/recirculated air
mode
You can respond to unpleasant
external odors or pollutants by
temporarily stopping the flow of
outside air. The system then
recirculates the air currently within the
vehicle.
By repeatedly pressing the button, you can
select one of three different operating
modes.
Page 59 of 106

At a glance
Controls
Driving tips
Mobility
Reference
59
>Indicator lamps off: outside air flows
into the vehicle
>Left-hand indicator lamp on – AUC
mode: the system detects pollutants in
the outside air and responds by deacti-
vating the outside airflow as required.
The system then recirculates the air
currently within the vehicle. Depending
on air quality requirements, the system
automatically switches between out-
side air supply and recirculation of the
air already within the vehicle
>Right-hand indicator lamp on: the flow
of outside air is permanently blocked.
The system recirculates the air already
within the vehicle.
If the windows fog over in the recir-
culated air mode, switch this mode
off and increase the air supply as re-
quired.<
Rear window defroster
The indicator lamp lights up when
the rear window defroster is
active. The rear window defroster
switches off automatically.
Ventilation
You can adjust the blower controls for the
upper body area to obtain the optimum air-
flow rates and directions for your personal
requirements:
1Rotary dials for opening and closing the
vents at any setting desired
2Lever for adjusting airflow direction
Microfilter/activated-charcoal filter
The built-in microfilter removes dust and
pollen from the incoming air. The activated-
charcoal filter provides additional protec-
tion by filtering gaseous pollutants from the
outside air. Your BMW center will replace
this combined filter as a standard part of
your scheduled maintenance. A substantial
reduction in airflow indicates that the filter
needs to be replaced earlier.
Page 60 of 106

Interior conveniences
60
Interior conveniences
Glove compartment
To open
Press the two push buttons together.
To close
Swing the door up.
To prevent injury in the event of an
accident, close the glove compart-
ment immediately after use.<
Storage compartments
Storage compartment between
backrests
To open
1.Press button; see arrow 1
2.Swing the cover downward.
To close
Swing the door up.
Locking/unlocking
The storage compartment between the
backrests is automatically locked and
unlocked with the central locking system.
Releasing manually
In the event of an electrical malfunction of
the central locking system, you can manu-
ally unlock the storage compartment
between the seats.
1.Pull on the cord in the rear luggage
compartment panel.
The storage compartment between the
seats unlocks
2.Press button; see arrow 1.
Other compartments and nets*
You will find additional storage compart-
ments in the front doors and in the center
console.
Depending on the particular version, the
vehicle may also be equipped with two
storage compartments behind the seats.
A net
* is located on the passenger side
along the center console.
Page 61 of 106

At a glance
Controls
Driving tips
Mobility
Reference
61
Beverage holder
Beverage holders are located on each side
beneath the air outlets.
1.Press the trim piece beneath the air
outlets; see arrow 1
2.Place the beverage can into the holder
3.Adjust the holder to fit the size of the
beverage can; see arrow 2.
Preparations for the cellular
phone*
Hands-free system
In vehicles that are wired for a telephone*,
the cover of the hands-free microphone is
located in the headliner close to the interior
lamps.
For further information on the cellular
phone, refer to the Owner's Manual for the
telephone.
Ashtray*
To empty
1.Open cover
2.Pull out ashtray 1.
Cigarette lighter
Press in lighter 2. As soon as the lighter
springs back out, it can be removed.
Hold or touch the hot cigarette lighter
by the knob only. Holding or touching
it in other areas could result in burns.
The cigarette lighter remains operational
even when the ignition key has been
removed. For this reason, children should
never be left in the vehicle unattended.<
Cigarette lighter socket
This can be used for attaching power sup-
plies for flashlights, car vacuum cleaners
and other similar appliances up to a rating
of approx. 200 watts at 12 volts.
Do not damage the socket by insert-
ing plugs of a different shape or
size.<
Page 62 of 106
Page 63 of 106
Driving tips
"Driving tips" provides you with information
you will require in certain driving situations
and when using special operating modes.
Page 64 of 106

Special operating instructions
64
Special operating instructions
Break-in procedures
To ensure that your vehicle provides maxi-
mum economy throughout a long service
life, we request that you observe the fol-
lowing:
Engine and differential
Up to 1,250 miles / 2,000 km:
Drive at varying engine and road speeds,
but do not exceed the following engine or
road speed:
4,500/min or 100 mph / 160 km/h:
Obey your local and state maximum speed
limits.
Refrain from using full throttle and avoid
pressing the accelerator beyond the kick-
down point.
After you have driven 1,250 miles /
2,000 km, you can gradually increase the
engine or road speeds.
You should also comply with these break-in
procedures if the engine or differential is
replaced later in the course of the vehicle's
service life.
Tires
Due to technical factors associated with
their manufacture, tires do not achieve their
full traction potential until an initial break-in
period has elapsed. You should therefore
drive with extra caution during the first
200 miles / 300 km.
Obey your local and state maximum speed
limits.
When the vehicle is operated on wet
or slushy roads, a wedge of water
may form between the tire and the road
surface. This phenomenon is referred to as
hydroplaning and can lead to partial or
complete loss of traction, vehicle control
and braking effectiveness. Reduce your
speed on wet roads.<
Brake system
Approx. 300 miles / 500 km must elapse
before the brake pads and rotors achieve
their optimal surface and wear pattern.
To break in the separate parking brake
drums, apply the parking brake lightly when
coasting to a standstill – at a traffic signal,
for instance; use caution to avoid posing a
danger to other road users.
To avoid corrosion, repeat this procedure
from time to time.
The brake lamps do not come on when the
parking brake is set.
Vacuum for the brake system servo
unit on your BMW is available only
when the engine is running. When you
move the car with the engine off – e.g., by
towing – substantially higher levels of pedal
force will be required to brake the vehicle.<
Clutch
The clutch will achieve its optimal function-
ality after approx. 300 miles / 500 km. Shift
gears carefully during the break-in period.
 1
1 2
2 3
3 4
4 5
5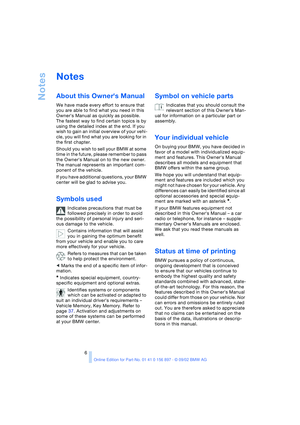 6
6 7
7 8
8 9
9 10
10 11
11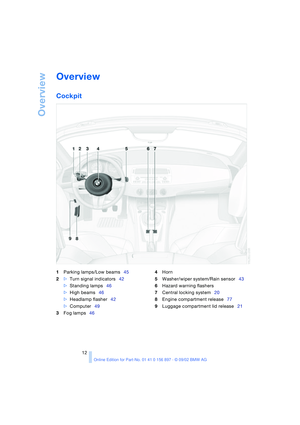 12
12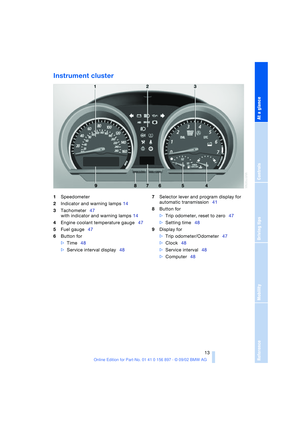 13
13 14
14 15
15 16
16 17
17 18
18 19
19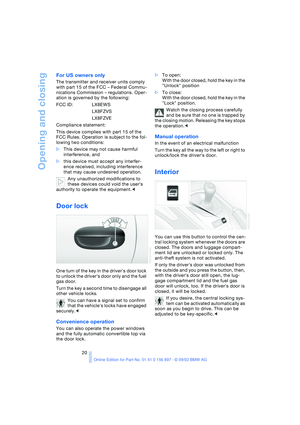 20
20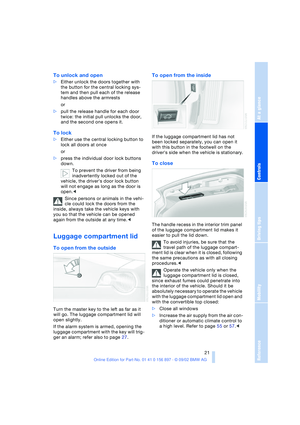 21
21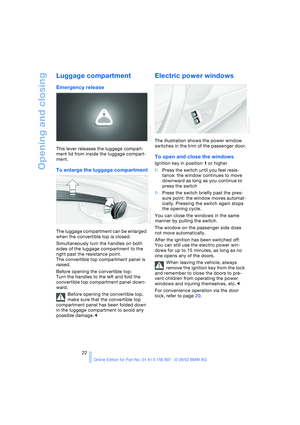 22
22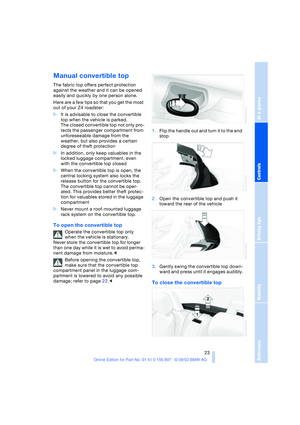 23
23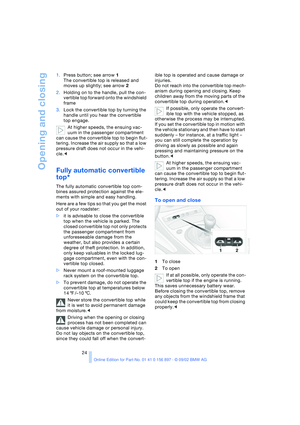 24
24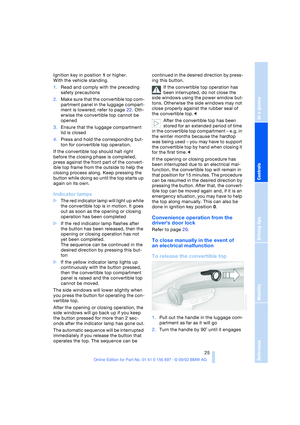 25
25 26
26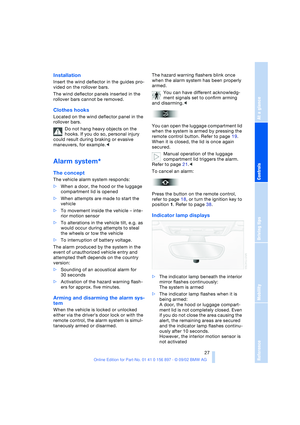 27
27 28
28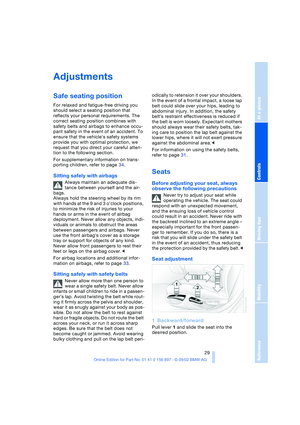 29
29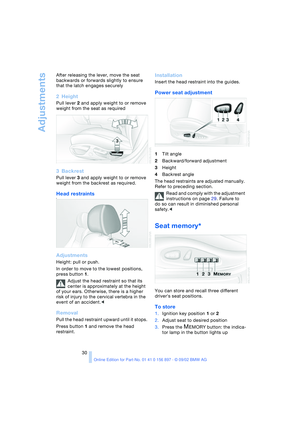 30
30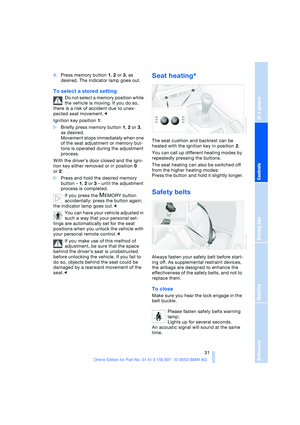 31
31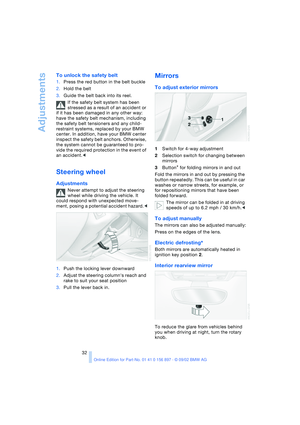 32
32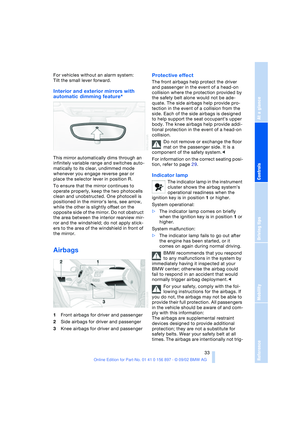 33
33 34
34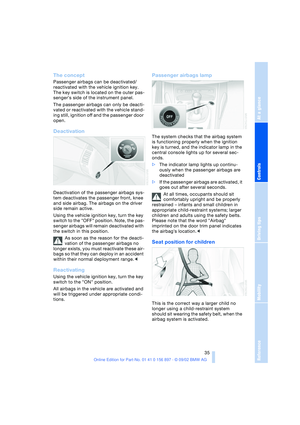 35
35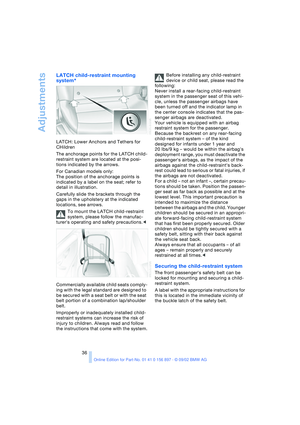 36
36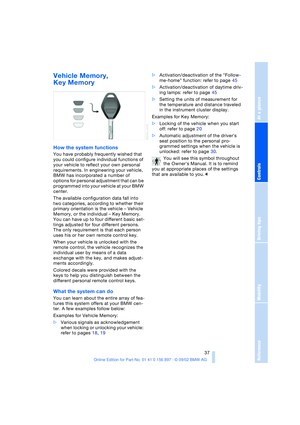 37
37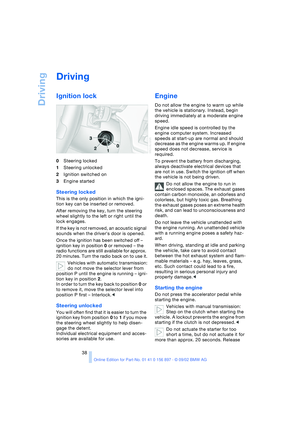 38
38 39
39 40
40 41
41 42
42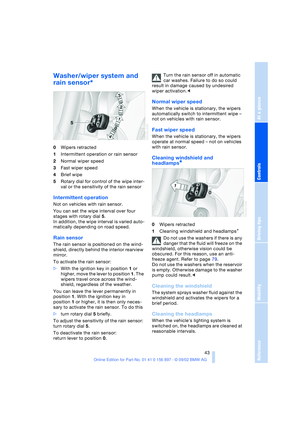 43
43 44
44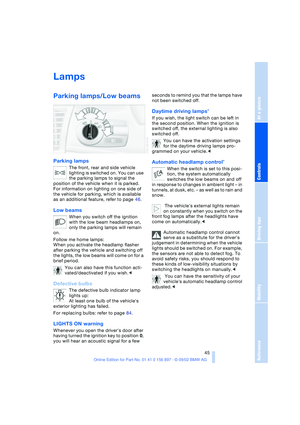 45
45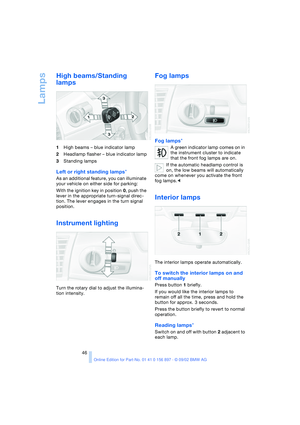 46
46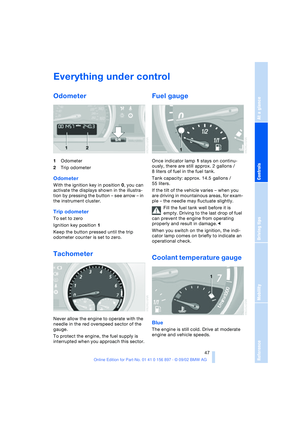 47
47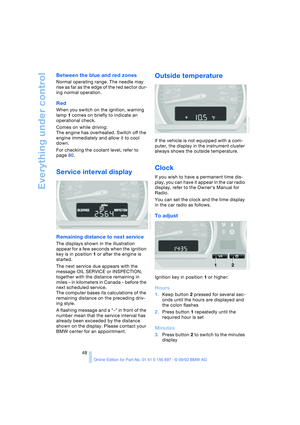 48
48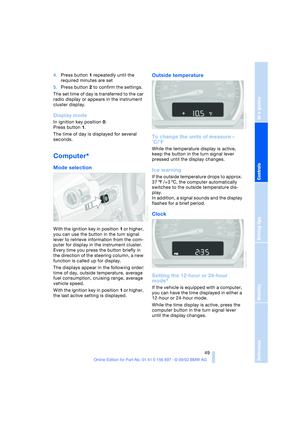 49
49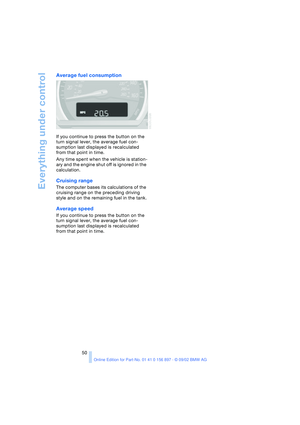 50
50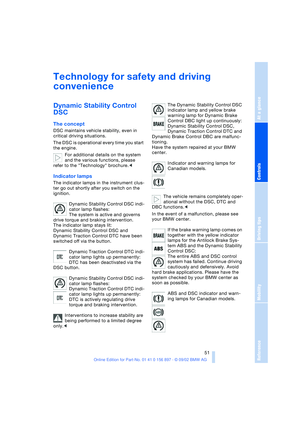 51
51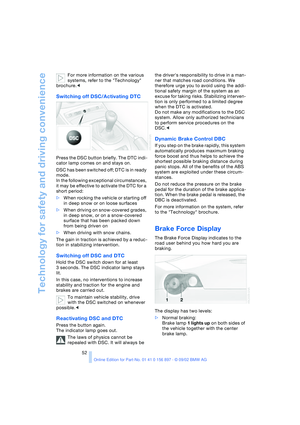 52
52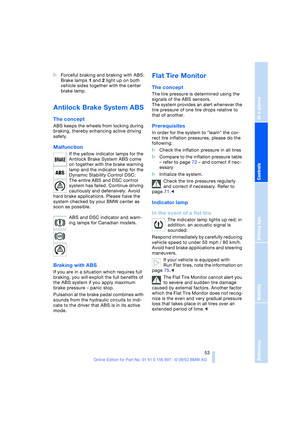 53
53 54
54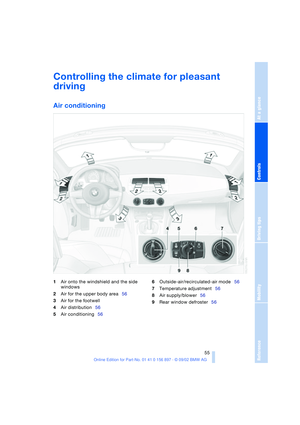 55
55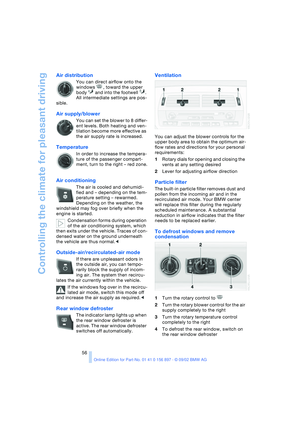 56
56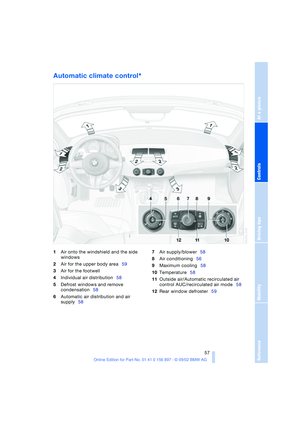 57
57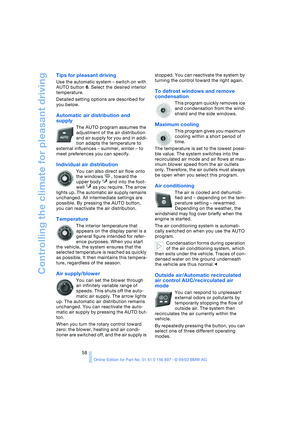 58
58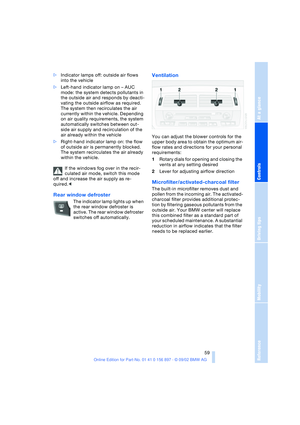 59
59 60
60 61
61 62
62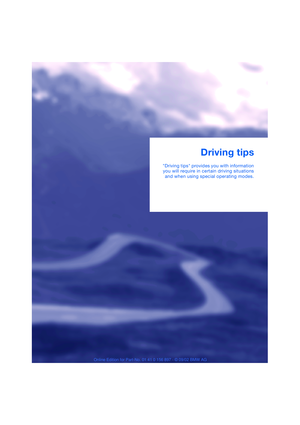 63
63 64
64 65
65 66
66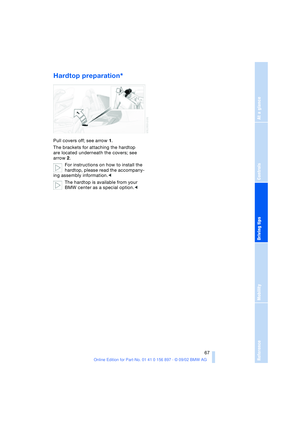 67
67 68
68 69
69 70
70 71
71 72
72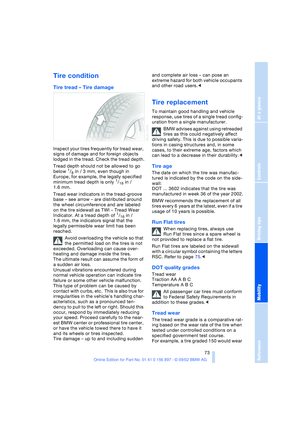 73
73 74
74 75
75 76
76 77
77 78
78 79
79 80
80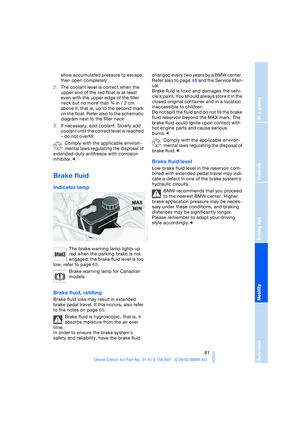 81
81 82
82 83
83 84
84 85
85 86
86 87
87 88
88 89
89 90
90 91
91 92
92 93
93 94
94 95
95 96
96 97
97 98
98 99
99 100
100 101
101 102
102 103
103 104
104 105
105

