2001 YAMAHA XVZ1300TF cruise control
[x] Cancel search: cruise controlPage 15 of 132

3
INSTRUMENT AND CONTROL FUNCTIONS
Main switch/steering lock ..................................... 3-1
Indicator and warning lights ................................ 3-3
Speedometer unit ................................................ 3-5
Cruise control system ........................................... 3-6
Fuel gauge ........................................................... 3-8
Anti-theft alarm (optional) .................................... 3-8
Handlebar switches ............................................. 3-9
Clutch lever ........................................................ 3-10
Shift pedal .......................................................... 3-10
Brake lever ......................................................... 3-11
Brake pedal ........................................................ 3-11
Fuel tank cap ..................................................... 3-11
Fuel .................................................................... 3-12Fuel tank breather hose .................................... 3-13
Fuel cock ........................................................... 3-13
Starter (choke) knob ......................................... 3-14
Locking the steering with a padlock .................. 3-14
Rider seat .......................................................... 3-15
Helmet holders .................................................. 3-15
Side cases and travel trunk ............................... 3-16
Adjusting the front fork ...................................... 3-19
Adjusting the shock absorber assembly ............ 3-20
Sidestand .......................................................... 3-21
Ignition circuit cut-off system ............................. 3-22
Auxiliary DC jack and terminals ........................ 3-24
E_5jc.book Page 1 Monday, January 22, 2001 12:12 PM
Page 19 of 132

INSTRUMENT AND CONTROL FUNCTIONS
3-4
3
EAU00079
6. Fuel level warning light “ ”
This warning light comes on when the
fuel level drops below approximately
3.5 L. When this occurs, turn the fuel
cock lever to the “RES” position and re-
fuel as soon as possible.
EAU01773
7. Cruise control indicator lights
See page 3-6 for an explanation of
these indicator lights.
EAU00061
8. Neutral indicator light “ ”
This indicator light comes on when the
transmission is in the neutral position.
EAU01707
9. Coolant temperature warning
light “ ”
This warning light comes on when the
engine overheats. When this occurs,
stop the engine immediately and allow
the engine to cool.
The electrical circuit of the warning light
can be checked according to the fol-
lowing procedure.
1. Set the engine stop switch to “ ”
and turn the key to “ON”.
2. Shift the transmission into the neu-
tral position or pull the clutch lever.
3. Push the start switch. If the warn-
ing light does not come on while
pushing the start switch, have a
Yamaha dealer check the electri-
cal circuit.
EC000002
CAUTION:@ Do not operate the engine if it is
overheated. @
E_5jc.book Page 4 Monday, January 22, 2001 12:12 PM
Page 21 of 132

INSTRUMENT AND CONTROL FUNCTIONS
3-6
3 To set the clock:
1. Push both the “SELECT” and
“RESET” buttons for at least two
seconds.
2. When the hour digits start flashing,
push the “RESET” button to set
the hours.
3. Push the “SELECT” button, and
the minute digits will start flashing.
4. Push the “RESET” button to set
the minutes.
5. Push the “SELECT” button to start
the clock.
NOTE:@ After setting the clock, be sure to push
the “SELECT” button before turning the
key to “OFF”, otherwise the clock will
not be set. @
EAU04037
Cruise control systemThis motorcycle is equipped with a
cruise control system designed to
maintain a set traveling speed.
Activating and setting the cruise
control system
The cruise control system can only be
activated when riding in 4th or 5th gear
at speeds between 50 km/h and
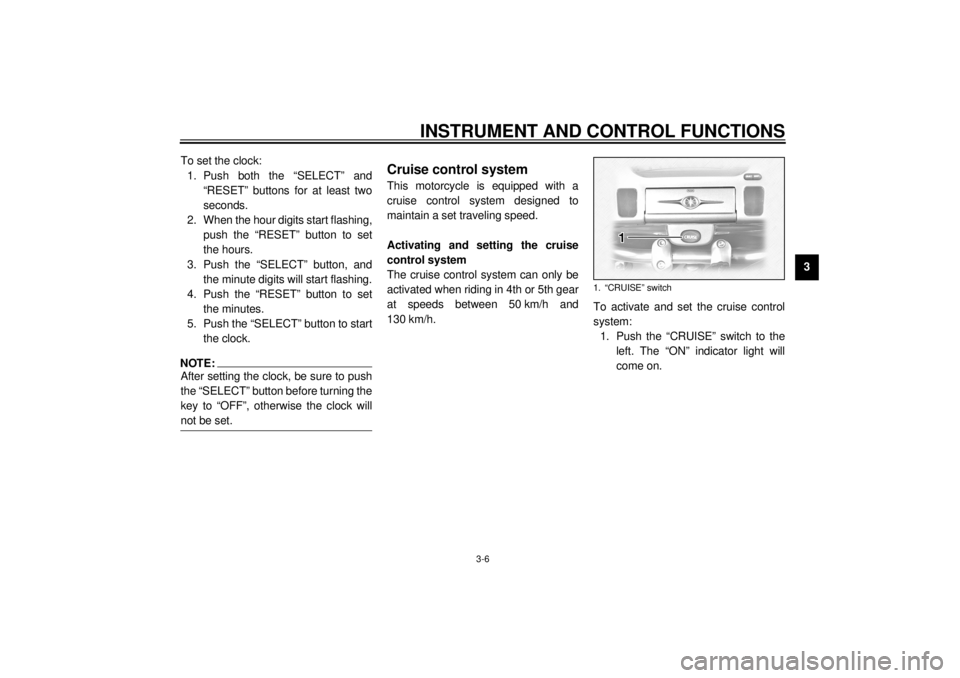
130 km/h.To activate and set the cruise control
system:
1. Push the “CRUISE” switch to the
left. The “ON” indicator light will
come on.
1. “CRUISE” switch
E_5jc.book Page 6 Monday, January 22, 2001 12:12 PM
Page 22 of 132

INSTRUMENT AND CONTROL FUNCTIONS
3-7
3
2. Press the “SET/DEC” (set/decel-
erate) side of the cruise control
switch to activate the cruise con-
trol system. The “SET” indicator
light comes on.
3. Set the desired traveling speed as
follows. Press the “RES/ACC” (re-
sume/accelerate) side of the
cruise control switch to increase
the set speed or the “SET/DEC”
side to decrease the speed.
NOTE:_ Pressing the cruise control switch once
will change the speed in increments of
1.6 km/h. Holding the cruise control
switch down will increase or decrease
the speed continuously until the switch
is released. _The traveling speed can be set to a
maximum of 130 km/h and a minimum
of 50 km/h.
When the cruise control system is acti-
vated and the throttle grip is turned to
increase the speed by up to 8 km/h, the
cruise control system will return to theset speed after the throttle grip is re-
leased. However, if the speed is in-
creased by more than 8 km/h, the
cruise control system will be deactivat-
ed until the traveling speed is within
8 km/h of the set speed.
Deactivating the cruise control
system
Applying the front or rear brake or dis-
engaging the clutch will automatically
deactivate the cruise control system.
Push the “CANCEL” switch to manually
deactivate cruise control.
NOTE:_ l
When the cruise control system is
deactivated, the “RES” (resume)
indicator light will come on.
l
Traveling speed decreases as
soon as the cruise control system
is deactivated; unless the throttle
grip is turned.
_
1. Cruise control switch
2. “CANCEL” switch
1. “SET” indicator light
2. “RES” indicator light
3. “ON” indicator light
E_5jc.book Page 7 Monday, January 22, 2001 12:12 PM
Page 23 of 132

INSTRUMENT AND CONTROL FUNCTIONS
3-8
3 Push the “RES/ACC” side of the cruise
control switch to reactivate the system.
The traveling speed will return to the
previously set speed. The “RES” indi-
cator light will flash during this time and
then go off. Once the cruise control
system is reactivated, the “SET” indica-
tor light will come on.
Push the “CRUISE” switch to the right
to turn the cruise control system off
completely.
EWA00019
WARNING
_ If the cruise control system is defec-
tive, the “SET” and “RES” indicator
lights will flash simultaneously. If
this occurs, turn the cruise control
system off and have a Yamaha deal-
er check it. _
EAU01779
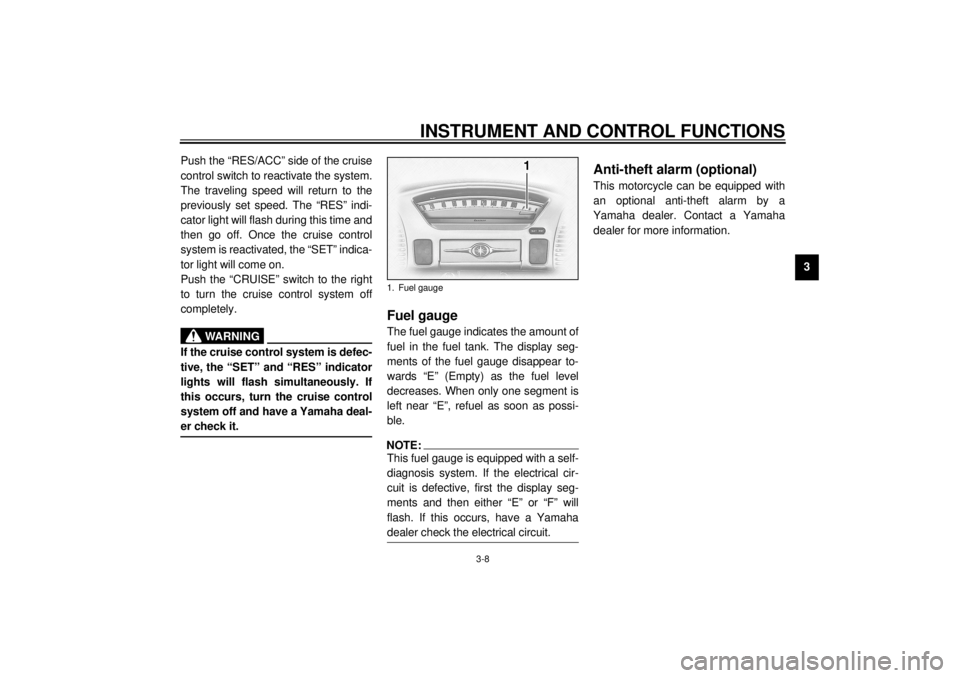
Fuel gauge The fuel gauge indicates the amount of
fuel in the fuel tank. The display seg-
ments of the fuel gauge disappear to-
wards “E” (Empty) as the fuel level
decreases. When only one segment is
left near “E”, refuel as soon as possi-
ble.NOTE:@ This fuel gauge is equipped with a self-
diagnosis system. If the electrical cir-
cuit is defective, first the display seg-
ments and then either “E” or “F” will
flash. If this occurs, have a Yamaha
dealer check the electrical circuit. @
EAU00109
Anti-theft alarm (optional) This motorcycle can be equipped with
an optional anti-theft alarm by a
Yamaha dealer. Contact a Yamaha
dealer for more information.
1. Fuel gauge
E_5jc.book Page 8 Monday, January 22, 2001 12:12 PM
Page 25 of 132

INSTRUMENT AND CONTROL FUNCTIONS
3-10
3
EAU01859
7. Cruise control switches
See page 3-6 for an explanation of the
cruise control system.
EAU00143
8. Start switch “ ”
Push this switch to crank the engine
with the starter.
EC000005
CAUTION:@ See page 6-1 for starting instruc-
tions prior to starting the engine. @
EAU00152
Clutch lever The clutch lever is located at the left
handlebar grip. To disengage the
clutch, pull the lever toward the handle-
bar grip. To engage the clutch, release
the lever. The lever should be pulled
rapidly and released slowly for smooth
clutch operation.
The clutch lever is equipped with a
clutch switch, which is part of the ignition
circuit cut-off system. (See page 3-22
for an explanation of the ignition circuit
cut-off system.)
EAU01215
Shift pedal The shift pedal is located on the left
side of the engine and is used in com-
bination with the clutch lever when
shifting the gears of the 5-speed con-
stant-mesh transmission equipped on
this motorcycle.NOTE:@ Use your toes or heel to shift up and
your toes to shift down. @
1. Clutch lever
1. Shift pedal
E_5jc.book Page 10 Monday, January 22, 2001 12:12 PM
Page 99 of 132

PERIODIC MAINTENANCE AND MINOR REPAIR
7-26
7
EAU01746
Adjusting the brake pedal
position The top of the brake pedal should be
positioned approximately 100 mm
above the top of the footrest as shown.
Periodically check the brake pedal po-
sition and, if necessary, have a
Yamaha dealer adjust it.
EW000109
WARNING
@ A soft or spongy feeling in the brake
pedal can indicate the presence of
air in the hydraulic system. If there
is air in the hydraulic system, have a
Yamaha dealer bleed the system be-
fore operating the motorcycle. Air in
the hydraulic system will diminish
the braking performance, which
may result in loss of control and an
accident. @
EAU01799
Adjusting the rear brake light
switch The rear brake light switch, which is ac-
tivated by the brake pedal, is properly
adjusted when the brake light comes
on just before braking takes effect.
Since the brake light switch is a compo-
nent of the cruise control system, it
must be adjusted by a Yamaha dealer,
who has the necessary professional
knowledge and experience.
a. Distance between brake pedal and footrest
E_5jc.book Page 26 Monday, January 22, 2001 12:12 PM
Page 106 of 132

PERIODIC MAINTENANCE AND MINOR REPAIR
7-33
7To charge the battery
Have a Yamaha dealer charge the bat-
tery as soon as possible if it seems to
have discharged. Keep in mind that the
battery tends to discharge more quickly
if the motorcycle is equipped with op-
tional electrical accessories.
To store the battery
1. If the motorcycle will not be used
for more than one month, remove
the battery, fully charge it, and
then place it in a cool, dry place.
2. If the battery will be stored for
more than two months, check it at
least once a month and fully
charge it if necessary.
3. Fully charge the battery before in-
stallation.
4. After installation, make sure that
the battery leads are properly con-
nected to the battery terminals.
EC000102
CAUTION:@ l
Always keep the battery
charged. Storing a discharged
battery can cause permanent
battery damage.
l
To charge a sealed-type (MF)
battery, a special (constant-
voltage) battery charger is re-
quired. Using a conventional
battery charger will damage the
battery. If you do not have ac-
cess to a sealed-type (MF) bat-
tery charger, have a Yamaha
dealer charge your battery.
@
EAU01801*
Replacing the fuses The main fuse box is located behind
panel C. (See page 7-10 for panel re-
moval and installation procedures.)
Fuse box 1 is located behind cowling A.
(See page 7-6 for cowling removal and
installation procedures.)1. Cruise control fuse
2. Carburetor heater fuse
3. Auxiliary DC terminal fuse
4. Auxiliary DC jack fuse
5. Audio system fuse
6. Spare fuse (´ 2)
E_5jc.book Page 33 Monday, January 22, 2001 12:12 PM