2001 YAMAHA XVZ1300TF CD changer
[x] Cancel search: CD changerPage 41 of 132
AUDIO SYSTEM
4
Location of parts ............................................................................... 4-1
Headsets (optional) ........................................................................... 4-2
Control unit ........................................................................................ 4-3
Making basic settings ........................................................................ 4-5
Making mode settings ....................................................................... 4-5
Cassette deck operation .................................................................... 4-9
Radio operation ............................................................................... 4-12
Optional CD changer operation ....................................................... 4-17
Auxiliary audio source operation ..................................................... 4-18
E_5jc.book Page 1 Monday, January 22, 2001 12:12 PM
Page 44 of 132
AUDIO SYSTEM
4-3
4
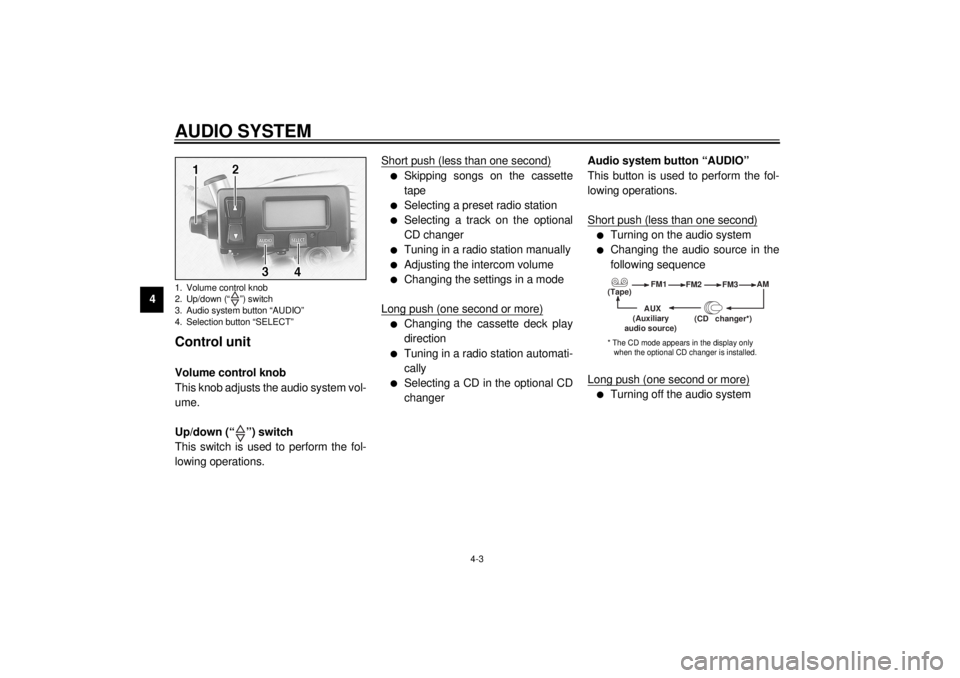
Control unit Volume control knob
This knob adjusts the audio system vol-
ume.
Up/down (“ ”) switch
This switch is used to perform the fol-
lowing operations.Short push (less than one second)
l
Skipping songs on the cassette
tape
l
Selecting a preset radio station
l
Selecting a track on the optional
CD changer
l
Tuning in a radio station manually
l
Adjusting the intercom volume
l
Changing the settings in a mode
Long push (one second or more)
l
Changing the cassette deck play
direction
l
Tuning in a radio station automati-
cally
l
Selecting a CD in the optional CD
changerAudio system button “AUDIO”
This button is used to perform the fol-
lowing operations.
Short push (less than one second)
l
Turning on the audio system
l
Changing the audio source in the
following sequence
Long push (one second or more)
l
Turning off the audio system
1. Volume control knob
2. Up/down (“ ”) switch
3. Audio system button “AUDIO”
4. Selection button “SELECT”
(Tape)FM1
FM2
FM3AM
AUX
(CD changer
*)
(Auxiliary
audio source)
* The CD mode appears in the display only
when the optional CD changer is installed.
E_5jc.book Page 3 Monday, January 22, 2001 12:12 PM
Page 46 of 132

AUDIO SYSTEM
4-5
4
Making basic settings Turning on/off the audio system
To turn the power on1. Make sure that the key is in the
“ACC” or “ON” position.
2. Push the “AUDIO” button once for
less than one second.
To turn the power offPush the “AUDIO” button once for one
second or more.Adjusting the audio system volume
Turn the volume control knob until the
desired audio system volume is dis-
played (e.g., “Vo:10”). The audio sys-
tem volume can be set between “0”
and “30”. After the adjustment is made,
the audio system returns to normal op-
eration and the current audio mode ap-
pears in the display.
Making mode settings General procedure
The following setting procedure applies
to the audio system and optional CD
changer.NOTE:_ In order to make settings in any of the
audio system modes, make sure that
the audio system is selected. If neces-
sary, push the “AUDIO” button for less
than one second. _1. Push the “AUDIO” button for less
than one second.
2. Repeatedly push the “SELECT”
button for less than one second
until the desired mode appears in
the display. With each press of the
button, the mode changes in the
following sequence.
E_5jc.book Page 5 Monday, January 22, 2001 12:12 PM
Page 54 of 132
AUDIO SYSTEM
4-13
4
NOTE:_ l
Lift the sleeve to fold the antenna
down.
l
Be sure to lower the sleeve fully
after putting the antenna back to
the original position.
_
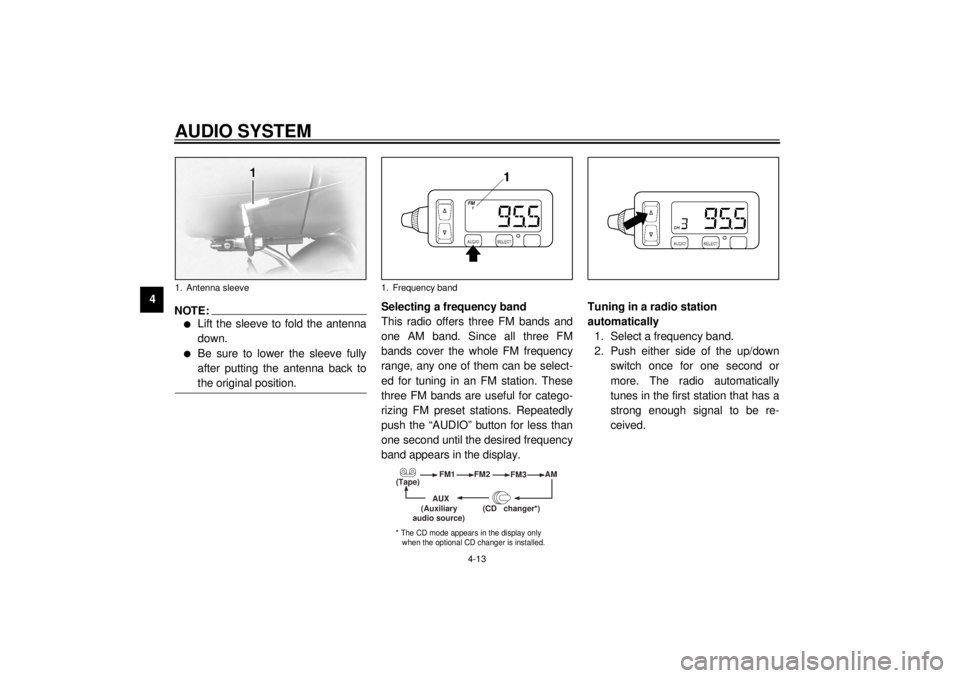
Selecting a frequency band
This radio offers three FM bands and
one AM band. Since all three FM
bands cover the whole FM frequency
range, any one of them can be select-
ed for tuning in an FM station. These
three FM bands are useful for catego-
rizing FM preset stations. Repeatedly
push the “AUDIO” button for less than
one second until the desired frequency
band appears in the display.Tuning in a radio station
automatically
1. Select a frequency band.
2. Push either side of the up/down
switch once for one second or
more. The radio automatically
tunes in the first station that has a
strong enough signal to be re-
ceived.
1. Antenna sleeve
1. Frequency band
(Tape)FM1
FM2
FM3AM
AUX
(CD changer
*)
(Auxiliary
audio source)
* The CD mode appears in the display only
when the optional CD changer is installed.
E_5jc.book Page 13 Monday, January 22, 2001 12:12 PM
Page 58 of 132
AUDIO SYSTEM
4-17
4
Optional CD changer
operation
WARNING
_ l
It is dangerous to operate the
CD changer while riding. Never
take your hands off the handle-
bars while riding.
l
Keep the volume at a low
enough level to be aware of traf-
fic conditions and ensure safe-
ty.
_An optional six-disc CD changer can be
mounted in the travel trunk. Ask a
Yamaha dealer to install the genuine
Clarion CDC635 model.Playing a CD
1. Insert up to six CDs into the CD
changer. Follow the manufactur-
er’s directions.
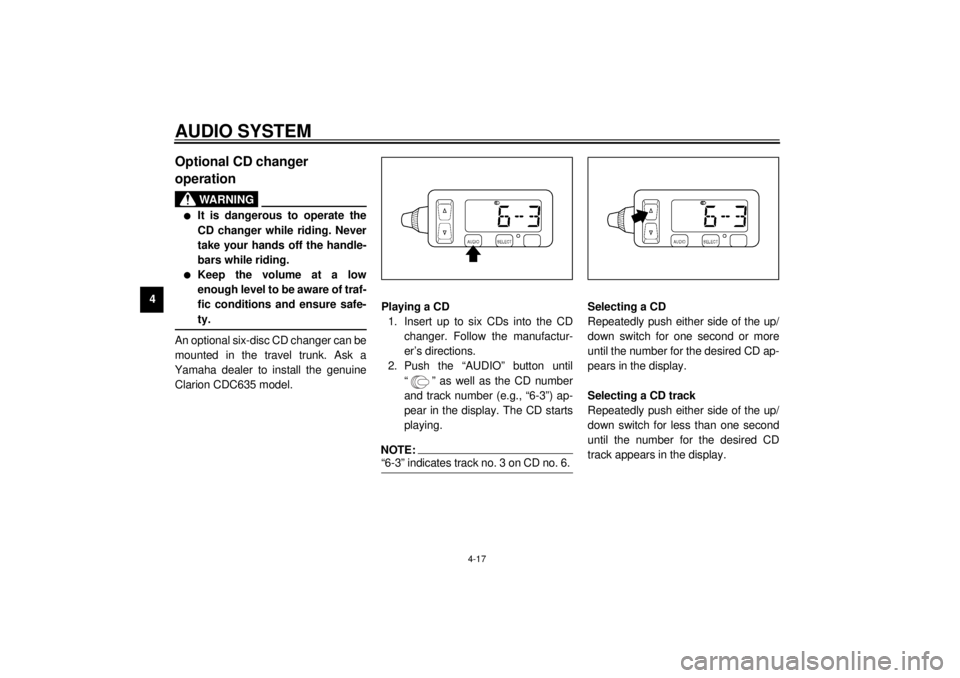
2. Push the “AUDIO” button until
“ ” as well as the CD number
and track number (e.g., “6-3”) ap-
pear in the display. The CD starts
playing.
NOTE:_ “6-3” indicates track no. 3 on CD no. 6. _
Selecting a CD
Repeatedly push either side of the up/
down switch for one second or more
until the number for the desired CD ap-
pears in the display.
Selecting a CD track
Repeatedly push either side of the up/
down switch for less than one second
until the number for the desired CD
track appears in the display.
E_5jc.book Page 17 Monday, January 22, 2001 12:12 PM
Page 128 of 132
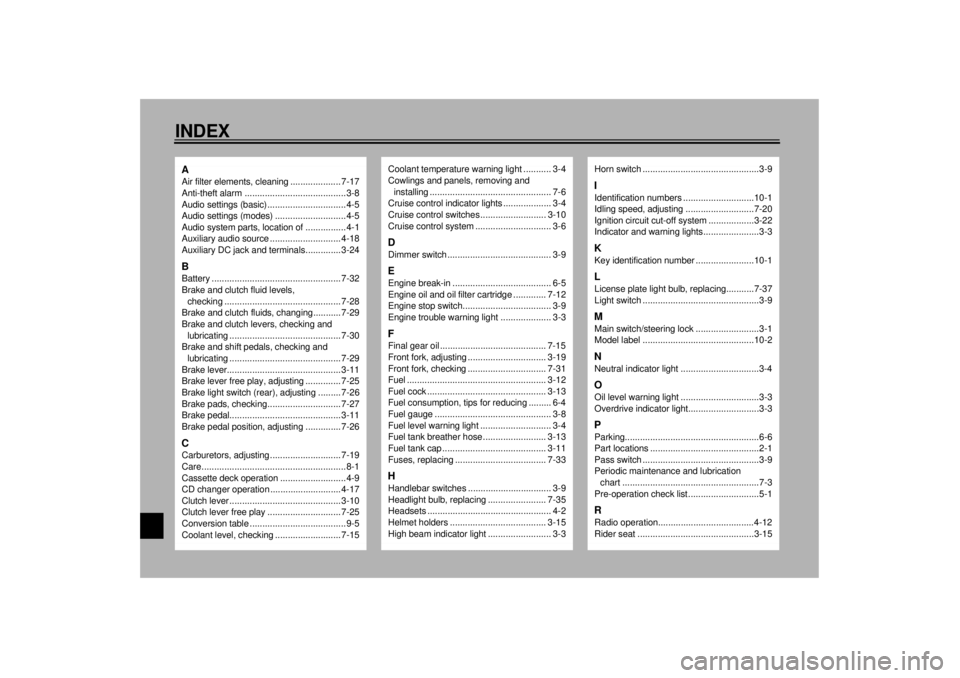
11-INDEXAAir filter elements, cleaning .................... 7-17
Anti-theft alarm ........................................3-8
Audio settings (basic) ...............................4-5
Audio settings (modes) ............................4-5
Audio system parts, location of................4-1
Auxiliary audio source ............................ 4-18
Auxiliary DC jack and terminals.............. 3-24BBattery ................................................... 7-32
Brake and clutch fluid levels,
checking .............................................. 7-28
Brake and clutch fluids, changing........... 7-29
Brake and clutch levers, checking and
lubricating ............................................ 7-30
Brake and shift pedals, checking and
lubricating ............................................ 7-29
Brake lever............................................. 3-11
Brake lever free play, adjusting .............. 7-25
Brake light switch (rear), adjusting ......... 7-26
Brake pads, checking............................. 7-27
Brake pedal............................................ 3-11
Brake pedal position, adjusting .............. 7-26CCarburetors, adjusting............................ 7-19
Care.........................................................8-1
Cassette deck operation ..........................4-9
CD changer operation ............................ 4-17
Clutch lever ............................................ 3-10
Clutch lever free play ............................. 7-25
Conversion table ......................................9-5
Coolant level, checking .......................... 7-15
Coolant temperature warning light ........... 3-4
Cowlings and panels, removing and
installing................................................ 7-6
Cruise control indicator lights ................... 3-4
Cruise control switches .......................... 3-10
Cruise control system .............................. 3-6DDimmer switch ......................................... 3-9EEngine break-in ....................................... 6-5
Engine oil and oil filter cartridge ............. 7-12
Engine stop switch................................... 3-9
Engine trouble warning light .................... 3-3FFinal gear oil .......................................... 7-15
Front fork, adjusting ............................... 3-19
Front fork, checking ............................... 7-31
Fuel ....................................................... 3-12
Fuel cock ............................................... 3-13
Fuel consumption, tips for reducing ......... 6-4
Fuel gauge .............................................. 3-8
Fuel level warning light ............................ 3-4
Fuel tank breather hose ......................... 3-13
Fuel tank cap ......................................... 3-11
Fuses, replacing .................................... 7-33HHandlebar switches ................................. 3-9
Headlight bulb, replacing ....................... 7-35
Headsets ................................................. 4-2
Helmet holders ...................................... 3-15
High beam indicator light ......................... 3-3
Horn switch ..............................................3-9IIdentification numbers ............................10-1
Idling speed, adjusting ...........................7-20
Ignition circuit cut-off system ..................3-22
Indicator and warning lights......................3-3KKey identification number .......................10-1LLicense plate light bulb, replacing...........7-37
Light switch ..............................................3-9MMain switch/steering lock .........................3-1
Model label ............................................10-2NNeutral indicator light ...............................3-4OOil level warning light ...............................3-3
Overdrive indicator light............................3-3PParking.....................................................6-6
Part locations ...........................................2-1
Pass switch ..............................................3-9
Periodic maintenance and lubrication
chart ......................................................7-3
Pre-operation check list ............................5-1RRadio operation......................................4-12
Rider seat ..............................................3-15
E_5jc.book Page 1 Monday, January 22, 2001 12:12 PM