Page 49 of 132

AUDIO SYSTEM
4-8
4
Adjusting the intercom volume
1. Repeatedly push the “SELECT”
button for less than one second
until the intercom volume (e.g.,
“IC:10”) appears in the display.
2. Repeatedly push either side of the
up/down switch for less than one
second until the desired volume is
displayed. The intercom volume
can be set between “0” and “20”.Adjusting the auto volume
When riding the motorcycle, external
noise may override the audio system
output volume. The audio system fea-
tures an automatic volume control
function which compensates for exter-
nal noise.
1. Repeatedly push the “SELECT”
button for less than one second
until the auto volume (e.g., “AV: 3”)
appears in the display.
2. Repeatedly push either side of the
up/down switch for less than one
second until the desired volume is
displayed. The auto volume can
be set between “0” and “5”.Intercom operation
Provided both the rider and passenger
are wearing headsets, they can talk to
each other through the intercom at any
time.
E_5jc.book Page 8 Monday, January 22, 2001 12:12 PM
Page 50 of 132
AUDIO SYSTEM
4-9
4
Cassette deck operation
WARNING
_ l
It is dangerous to operate the
cassette deck while riding. Nev-
er take your hands off the han-
dlebars while riding.
l
Keep the volume at a low
enough level to be aware of traf-
fic conditions and ensure
safety.
_
CAUTION:_ l
Keep the cassette deck lid
closed at all times, except when
inserting or removing a cas-
sette.
l
Do not leave cassette tapes in
direct sunlight for a long period
of time.
l
Do not allow the inside of the
cassette deck to get wet. If this
happens, keep the cassette
deck lid open and dry out the
deck in the shade.
l
To clean the tape head, use a
de-magnetizing cleaning cas-
sette, but be sure to turn the
volume all the way down to
avoid speaker damage.
_
1. Cassette deck compartment
2. Eject (“ ”) button
3. Cassette deck lidE_5jc.book Page 9 Monday, January 22, 2001 12:12 PM
Page 51 of 132

AUDIO SYSTEM
4-10
4
Playing a cassette tape
1. Make sure that the audio system is
turned on. (See page 4-3.)
2. Insert a cassette tape into the cas-
sette compartment as shown.
“LOAD”, then “PLAY” appears in
the display. (If a cassette is al-
ready inserted, push the “AUDIO”
button until “PLAY” appears in the
display.) The tape starts playing.Skipping songs
While a cassette tape is playing, push
either side of the up/down switch once
for less than one second for each song
to be skipped. Pushing “ ” skips
songs in the forward direction. Pushing
“ ” skips songs in the reverse direc-
tion. “APC” (auto program control) and
the number of songs to be skipped
(e.g., “3”) appear in the display. When
skipping songs in reverse, a minus sign
appears in front of the number of songs
to be skipped (e.g., “-2”). (“-1” indicates
that the current song will be played
again.)
NOTE:_ l
The maximum number of songs
that can be skipped in either direc-
tion is 9.
l
To stop skipping songs, push the
up/down switch in the opposite di-
rection that songs are being
skipped.
_
E_5jc_Audio.fm Page 10 Thursday, January 25, 2001 3:20 PM
Page 52 of 132
AUDIO SYSTEM
4-11
4
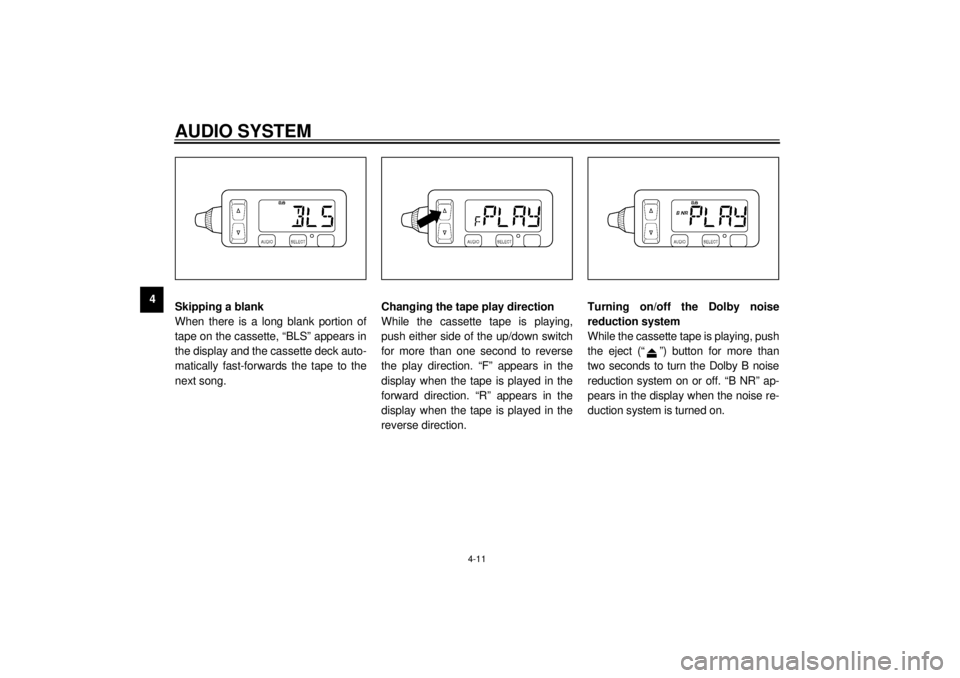
Skipping a blank
When there is a long blank portion of
tape on the cassette, “BLS” appears in
the display and the cassette deck auto-
matically fast-forwards the tape to the
next song.Changing the tape play direction
While the cassette tape is playing,
push either side of the up/down switch
for more than one second to reverse
the play direction. “F” appears in the
display when the tape is played in the
forward direction. “R” appears in the
display when the tape is played in the
reverse direction.Turning on/off the Dolby noise
reduction system
While the cassette tape is playing, push
the eject (“ ”) button for more than
two seconds to turn the Dolby B noise
reduction system on or off. “B NR” ap-
pears in the display when the noise re-
duction system is turned on.
E_5jc.book Page 11 Monday, January 22, 2001 12:12 PM
Page 53 of 132
AUDIO SYSTEM
4-12
4
NOTE:_ l
The Dolby noise reduction system
has been manufactured under li-
cense from Dolby Laboratories Li-
censing Corporation.
l
Dolby and the double “D” symbol
are registered trademarks of Dol-
by Laboratories Licensing Corpo-
ration.
_
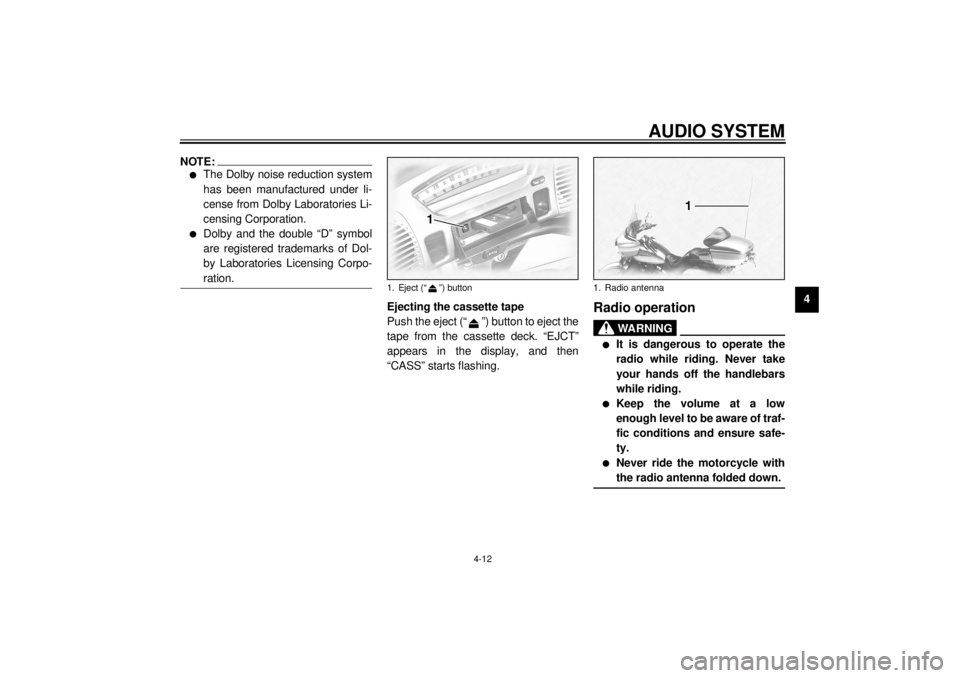
Ejecting the cassette tape
Push the eject (“ ”) button to eject the
tape from the cassette deck. “EJCT”
appears in the display, and then
“CASS” starts flashing.
Radio operation
WARNING
_ l
It is dangerous to operate the
radio while riding. Never take
your hands off the handlebars
while riding.
l
Keep the volume at a low
enough level to be aware of traf-
fic conditions and ensure safe-
ty.
l
Never ride the motorcycle with
the radio antenna folded down.
_
1. Eject (“ ”) button
1. Radio antenna
E_5jc.book Page 12 Monday, January 22, 2001 12:12 PM
Page 54 of 132

AUDIO SYSTEM
4-13
4
NOTE:_ l
Lift the sleeve to fold the antenna
down.
l
Be sure to lower the sleeve fully
after putting the antenna back to
the original position.
_
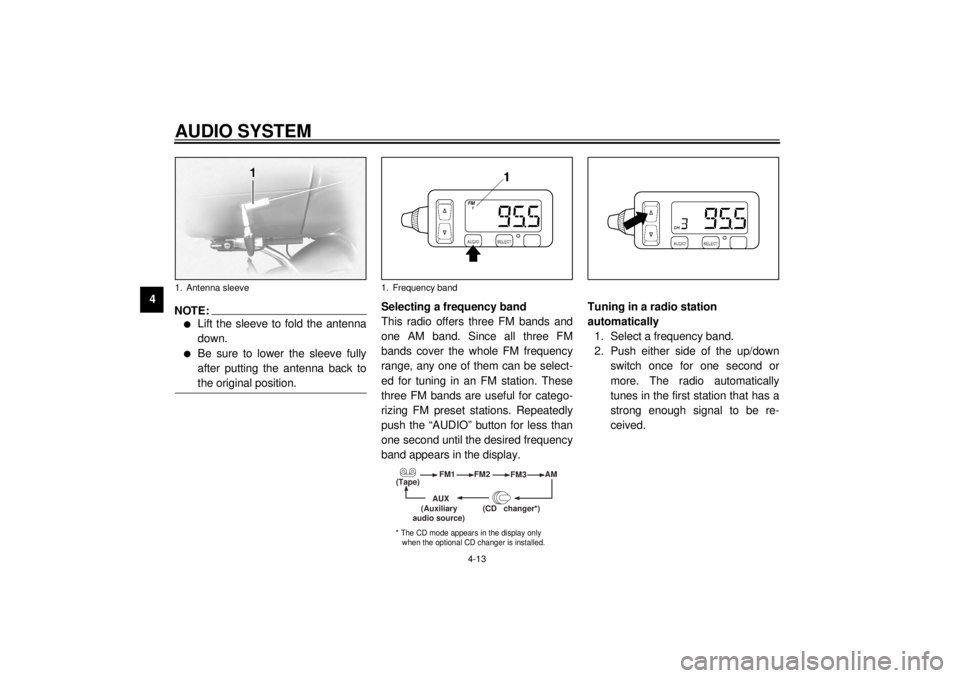
Selecting a frequency band
This radio offers three FM bands and
one AM band. Since all three FM
bands cover the whole FM frequency
range, any one of them can be select-
ed for tuning in an FM station. These
three FM bands are useful for catego-
rizing FM preset stations. Repeatedly
push the “AUDIO” button for less than
one second until the desired frequency
band appears in the display.Tuning in a radio station
automatically
1. Select a frequency band.
2. Push either side of the up/down
switch once for one second or
more. The radio automatically
tunes in the first station that has a
strong enough signal to be re-
ceived.
1. Antenna sleeve
1. Frequency band
(Tape)FM1
FM2
FM3AM
AUX
(CD changer
*)
(Auxiliary
audio source)
* The CD mode appears in the display only
when the optional CD changer is installed.
E_5jc.book Page 13 Monday, January 22, 2001 12:12 PM
Page 55 of 132

AUDIO SYSTEM
4-14
4
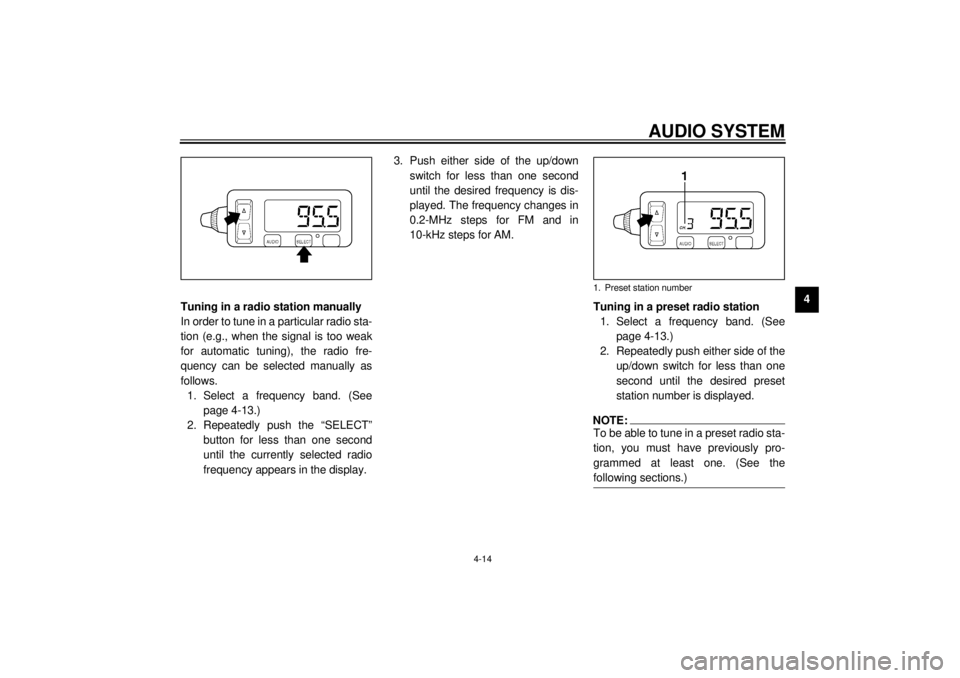
Tuning in a radio station manually
In order to tune in a particular radio sta-
tion (e.g., when the signal is too weak
for automatic tuning), the radio fre-
quency can be selected manually as
follows.
1. Select a frequency band. (See
page 4-13.)
2. Repeatedly push the “SELECT”
button for less than one second
until the currently selected radio
frequency appears in the display.3. Push either side of the up/down
switch for less than one second
until the desired frequency is dis-
played. The frequency changes in
0.2-MHz steps for FM and in
10-kHz steps for AM.
Tuning in a preset radio station
1. Select a frequency band. (See
page 4-13.)
2. Repeatedly push either side of the
up/down switch for less than one
second until the desired preset
station number is displayed.
NOTE:_ To be able to tune in a preset radio sta-
tion, you must have previously pro-
grammed at least one. (See the
following sections.) _1. Preset station number
E_5jc.book Page 14 Monday, January 22, 2001 12:12 PM
Page 56 of 132

AUDIO SYSTEM
4-15
4
Programing preset radio stations
manually
Up to six stations can be programmed
for each frequency band (FM1, FM2,
FM3, and AM) using either manual or
automatic tuning.
Using manual tuning
1. Manually tune in a radio station
that you wish to preset. (See page
4-14.)
2. Push the “SELECT” button once
for two seconds or more. The ra-
dio frequency and preset station
number “1” (to the right of “CH.”)
start flashing.3. Repeatedly push either side of the
up/down switch for less than one
second until the desired preset
number (“1” through “6”) is dis-
played.
NOTE:_ Selecting “A” will automatically pro-
gram the preset stations. See the fol-
lowing section. _4. Push the “SELECT” button once
for less than one second to store
the radio station selected in step 1
under the preset number selected
in step 3.
5. Repeat this procedure to preset
other radio stations.Using automatic tuning
1. Select a frequency band. (See
page 4-13.)
2. Push the “SELECT” button once
for two seconds or more. The ra-
dio frequency and preset station
number “1” (to the right of “CH.”)
start flashing.
3. Push either side of the up/down
switch once for one second or
more to tune in a station automati-
cally.
4. Repeatedly push either side of the
up/down switch for less than one
second until the desired preset
number (“1” through “6”) is dis-
played.
5. Push the “SELECT” button once
for less than one second to store
the radio station selected in step 3
under the preset number selected
in step 4.
6. Repeat this procedure to preset
other radio stations.
E_5jc.book Page 15 Monday, January 22, 2001 12:12 PM