Page 952 of 4284

Symptom:
HORN INPUT STUCK
When Monitored and Set Condition:
HORN INPUT STUCK
When Monitored: Continuously with the ignition on.
Set Condition: The FCM has detected a fault in the Horn Switch Sense circuit.
POSSIBLE CAUSES
FRONT CONTROL MODULE INTERNAL MALFUNCTION
FUSE AND RELAY CENTER INTERNAL MALFUNCTION
INTERMITTENT CONDITION
HORN SWITCH SENSE CIRCUIT SHORTED TO GROUND
TEST ACTION APPLICABILITY
1 Turn the ignition on.
With the DRBIIIt, erase the current Front Control Module DTC's.
Turn the ignition off, wait 10 seconds then turn the ignition on.
With the DRBIIIt, read the current Front Control Module DTC's.
Does the DRBIIItdisplay: HORN INPUT STUCK?All
Ye s®Go To 2
No®The condition that caused this symptom is currently not present.
Inspect the related wiring harness for a possible intermittent
condition.
Perform VTSS VERIFICATION TEST - 1A.
2 Turn the ignition off.
Disconnect the Front Control Module from the Fuse and Relay Center.
Measure the resistance between ground and the Horn Switch Sense circuit at the
Fuse and Relay Center side of the FCM connector.
Is the resistance below 5.0 ohms?All
Ye s®Go To 3
No®Replace the Front Control Module.
Perform VTSS VERIFICATION TEST - 1A.
3 Turn the ignition off.
Disconnect connector C7 on the Fuse and Relay Center.
Measure the resistance between ground and the Horn Switch Sense circuit at the
Fuse and Relay Center C7 connector.
Is the resistance below 5.0 ohms?All
Ye s®Repair the Horn Switch Sense circuit for a short to ground.
Perform VTSS VERIFICATION TEST - 1A.
No®Replace the Fuse and Relay Center.
Perform VTSS VERIFICATION TEST - 1A.
923
VEHICLE THEFT/SECURITY
Page 953 of 4284

Symptom:
HORN RELAY OPEN
When Monitored and Set Condition:
HORN RELAY OPEN
When Monitored: Continuously with the ignition on.
Set Condition: The FCM has detected an open in the Horn Relay Control circuit.
POSSIBLE CAUSES
FRONT CONTROL MODULE INTERNAL MALFUNCTION
FUSE AND RELAY CENTER INTERNAL MALFUNCTION
INTERMITTENT CONDITION
HORN RELAY
TEST ACTION APPLICABILITY
1 Turn the ignition on.
With the DRBIIIt, erase the current Front Control Module DTC's.
Turn the ignition off, wait 10 seconds then turn the ignition on.
With the DRBIIIt, read the current Front Control Module DTC's.
Does the DRBIIItdisplay: HORN RELAY OPEN?All
Ye s®Go To 2
No®The condition that caused this symptom is currently not present.
Inspect the related wiring harness for a possible intermittent
condition.
Perform VTSS VERIFICATION TEST - 1A.
2 Turn the ignition off.
Disconnect the Front Control Module from the Fuse and Relay Center.
Measure the voltage of the Horn Relay Control circuit at the Fuse and Relay Center
side of the FCM connector.
Is the voltage above 10.0 volts?All
Ye s®Replace the Front Control Module.
Perform VTSS VERIFICATION TEST - 1A.
No®Go To 3
3 Turn the ignition off.
Disconnect the Horn Relay from the Fuse and Relay Center.
Measure the resistance of the Horn Relay Control circuit between the FCM connector
cavity 10 and the Horn Relay connector cavity 85.
Is the resistance below 5.0 ohms?All
Ye s®Replace the Horn Relay.
Perform VTSS VERIFICATION TEST - 1A.
No®Replace the Fuse and Relay Center.
Perform VTSS VERIFICATION TEST - 1A.
924
VEHICLE THEFT/SECURITY
Page 954 of 4284

Symptom:
HORN RELAY SHORTED TO BATTERY
When Monitored and Set Condition:
HORN RELAY SHORTED TO BATTERY
When Monitored: Continuously with the ignition on.
Set Condition: The FCM has detected a short to battery in the Horn Relay Control circuit.
POSSIBLE CAUSES
FUSE AND RELAY CENTER INTERNAL MALFUNCTION
HORN RELAY
INTERMITTENT CONDITION
FRONT CONTROL MODULE
TEST ACTION APPLICABILITY
1 Turn the ignition on.
With the DRBIIIt, erase the current Front Control Module DTC's.
Turn the ignition off, wait 10 seconds then turn the ignition on.
With the DRBIIIt, read the current Front Control Module DTC's.
Does the DRBIIItdisplay: HORN RELAY SHORTED TO BATTERY?All
Ye s®Go To 2
No®The condition that caused this symptom is currently not present.
Inspect the related wiring harness for a possible intermittent
condition.
Perform VTSS VERIFICATION TEST - 1A.
2 Turn the ignition off.
Disconnect the Horn Relay from the Fuse and Relay Center.
Substitute the original Horn Relay with a known good relay.
Turn the ignition on.
Attempt to operate the horn.
With the DRBIIIt, read the current Front Control Module DTC's.
Does the DRBIIItdisplay: HORN RELAY SHORTED TO BATTERY?All
Ye s®Go To 3
No®Replace the Horn Relay.
Perform VTSS VERIFICATION TEST - 1A.
925
VEHICLE THEFT/SECURITY
Page 955 of 4284
TEST ACTION APPLICABILITY
3 Turn the ignition off.
Disconnect the Front Control Module from the Fuse and Relay Center.
Disconnect the Horn Relay from the Fuse and Relay Center.
Measure the voltage of the Horn Relay Control circuit at the Fuse and Relay Center
side of the FCM connector.
Is the voltage above 10.0 volts?All
Ye s®Replace the Fuse and Relay Center.
Perform VTSS VERIFICATION TEST - 1A.
No®Replace the Front Control Module.
Perform VTSS VERIFICATION TEST - 1A.
926
VEHICLE THEFT/SECURITY
HORN RELAY SHORTED TO BATTERY ÐContinued
Page 979 of 4284

Symptom:
*VTSS INDICATOR INOPERATIVE
POSSIBLE CAUSES
OPEN VTSS INDICATOR FUSED B(+) SUPPLY
OPEN VTSS LED
VTSS INDICATOR DRIVER CIRCUIT OPEN
BODY CONTROL MODULE INTERNAL MALFUNCTION
TEST ACTION APPLICABILITY
1 Disconnect the Message Center harness connector.
Measure the voltage of the Fused B+ circuit.
Is the voltage above 10.0 volts?All
Ye s®Go To 2
No®Repair the Fused B(+) (Hazard) circuit for an open.
Perform VTSS VERIFICATION TEST - 1A.
2 Disconnect the Message Center harness connector.
With a 12-volt test light connected to 12-volts, connect the test light probe to the
VTSS Indicator Driver circuit.
Turn the ignition on.
With the DRBIIItin Vehicle Theft, actuate the VTSS Indicator lamp.
Does the test light illuminate when the VTSS Indicator lamp is actuated?All
Ye s®Replace the Message Center assembly.
Perform VTSS VERIFICATION TEST - 1A.
No®Go To 3
3 Disconnect the Message Center harness connector.
Disconnect the Body Control Module C4 harness connector.
Measure the resistance of the VTSS Indicator Driver circuit.
Is the resistance below 5.0 ohms?All
Ye s®Replace the Body Control Module.
Perform VTSS VERIFICATION TEST - 1A.
No®Repair the VTSS Indicator Driver circuit for an open.
Perform VTSS VERIFICATION TEST - 1A.
950
VEHICLE THEFT/SECURITY
Page 985 of 4284

Symptom:
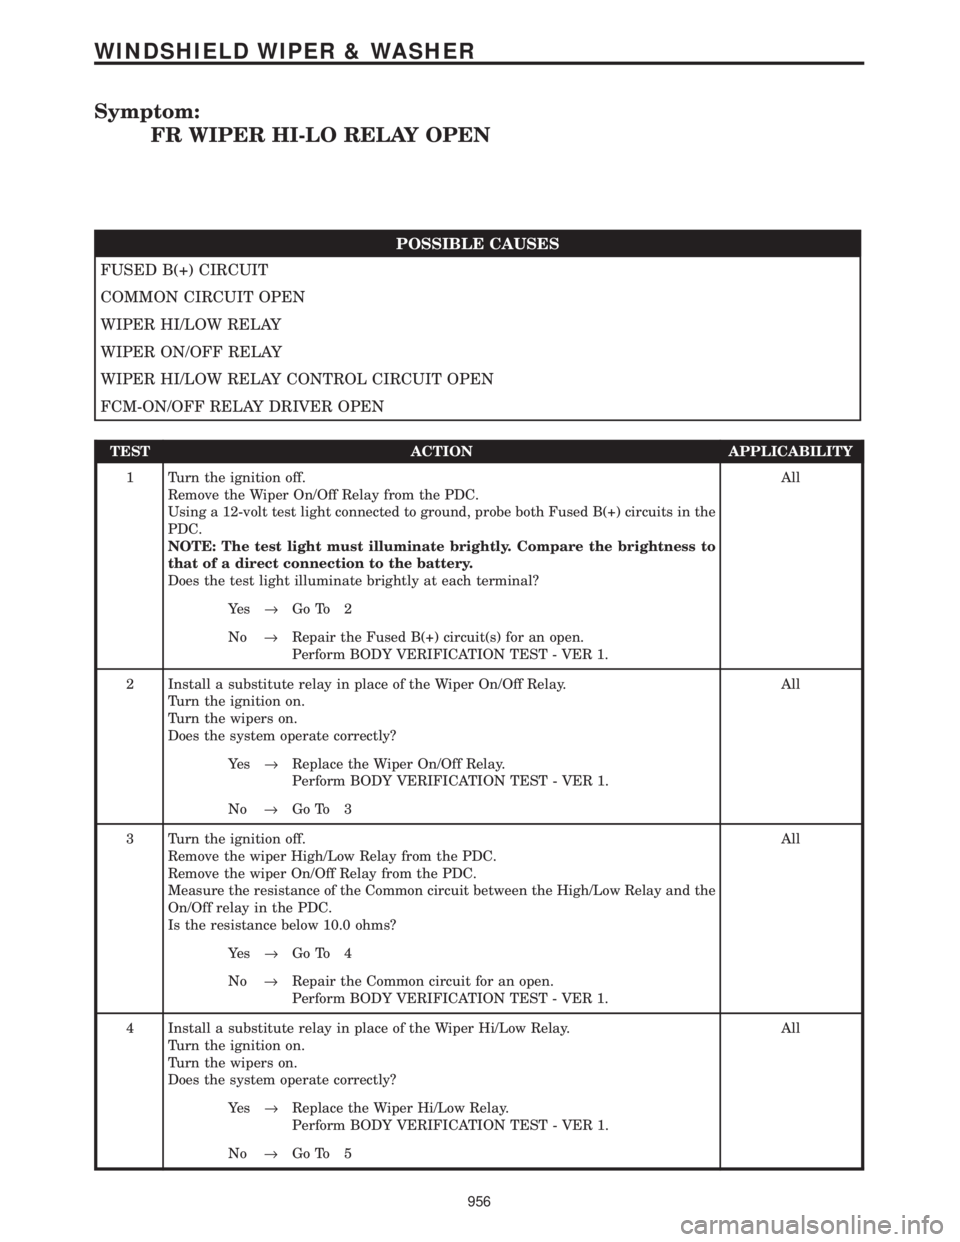
FR WIPER HI-LO RELAY OPEN
POSSIBLE CAUSES
FUSED B(+) CIRCUIT
COMMON CIRCUIT OPEN
WIPER HI/LOW RELAY
WIPER ON/OFF RELAY
WIPER HI/LOW RELAY CONTROL CIRCUIT OPEN
FCM-ON/OFF RELAY DRIVER OPEN
TEST ACTION APPLICABILITY
1 Turn the ignition off.
Remove the Wiper On/Off Relay from the PDC.
Using a 12-volt test light connected to ground, probe both Fused B(+) circuits in the
PDC.
NOTE: The test light must illuminate brightly. Compare the brightness to
that of a direct connection to the battery.
Does the test light illuminate brightly at each terminal?All
Ye s®Go To 2
No®Repair the Fused B(+) circuit(s) for an open.
Perform BODY VERIFICATION TEST - VER 1.
2 Install a substitute relay in place of the Wiper On/Off Relay.
Turn the ignition on.
Turn the wipers on.
Does the system operate correctly?All
Ye s®Replace the Wiper On/Off Relay.
Perform BODY VERIFICATION TEST - VER 1.
No®Go To 3
3 Turn the ignition off.
Remove the wiper High/Low Relay from the PDC.
Remove the wiper On/Off Relay from the PDC.
Measure the resistance of the Common circuit between the High/Low Relay and the
On/Off relay in the PDC.
Is the resistance below 10.0 ohms?All
Ye s®Go To 4
No®Repair the Common circuit for an open.
Perform BODY VERIFICATION TEST - VER 1.
4 Install a substitute relay in place of the Wiper Hi/Low Relay.
Turn the ignition on.
Turn the wipers on.
Does the system operate correctly?All
Ye s®Replace the Wiper Hi/Low Relay.
Perform BODY VERIFICATION TEST - VER 1.
No®Go To 5
956
WINDSHIELD WIPER & WASHER
Page 990 of 4284

Symptom:
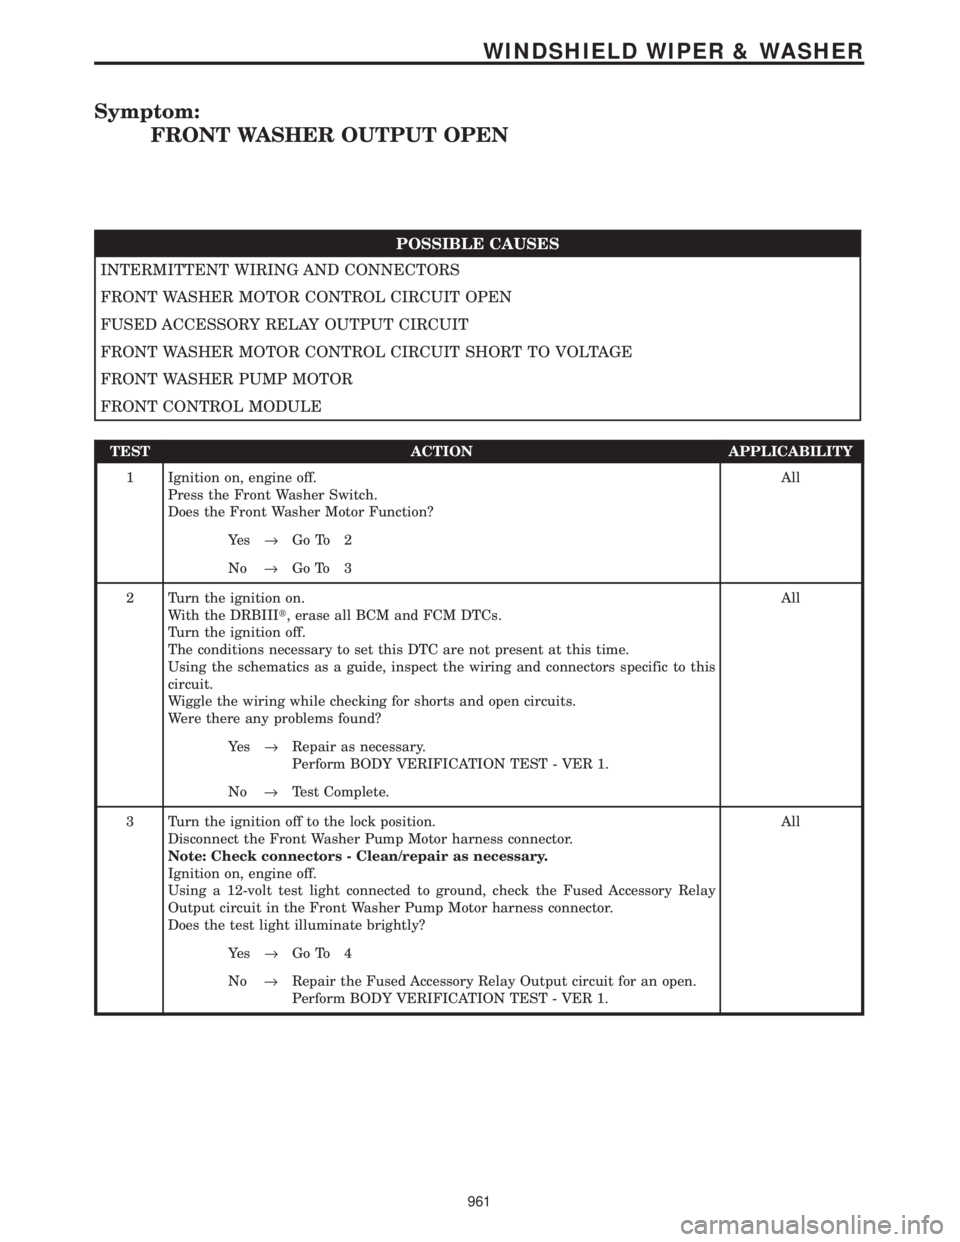
FRONT WASHER OUTPUT OPEN
POSSIBLE CAUSES
INTERMITTENT WIRING AND CONNECTORS
FRONT WASHER MOTOR CONTROL CIRCUIT OPEN
FUSED ACCESSORY RELAY OUTPUT CIRCUIT
FRONT WASHER MOTOR CONTROL CIRCUIT SHORT TO VOLTAGE
FRONT WASHER PUMP MOTOR
FRONT CONTROL MODULE
TEST ACTION APPLICABILITY
1 Ignition on, engine off.
Press the Front Washer Switch.
Does the Front Washer Motor Function?All
Ye s®Go To 2
No®Go To 3
2 Turn the ignition on.
With the DRBIIIt, erase all BCM and FCM DTCs.
Turn the ignition off.
The conditions necessary to set this DTC are not present at this time.
Using the schematics as a guide, inspect the wiring and connectors specific to this
circuit.
Wiggle the wiring while checking for shorts and open circuits.
Were there any problems found?All
Ye s®Repair as necessary.
Perform BODY VERIFICATION TEST - VER 1.
No®Test Complete.
3 Turn the ignition off to the lock position.
Disconnect the Front Washer Pump Motor harness connector.
Note: Check connectors - Clean/repair as necessary.
Ignition on, engine off.
Using a 12-volt test light connected to ground, check the Fused Accessory Relay
Output circuit in the Front Washer Pump Motor harness connector.
Does the test light illuminate brightly?All
Ye s®Go To 4
No®Repair the Fused Accessory Relay Output circuit for an open.
Perform BODY VERIFICATION TEST - VER 1.
961
WINDSHIELD WIPER & WASHER
Page 994 of 4284

Symptom:
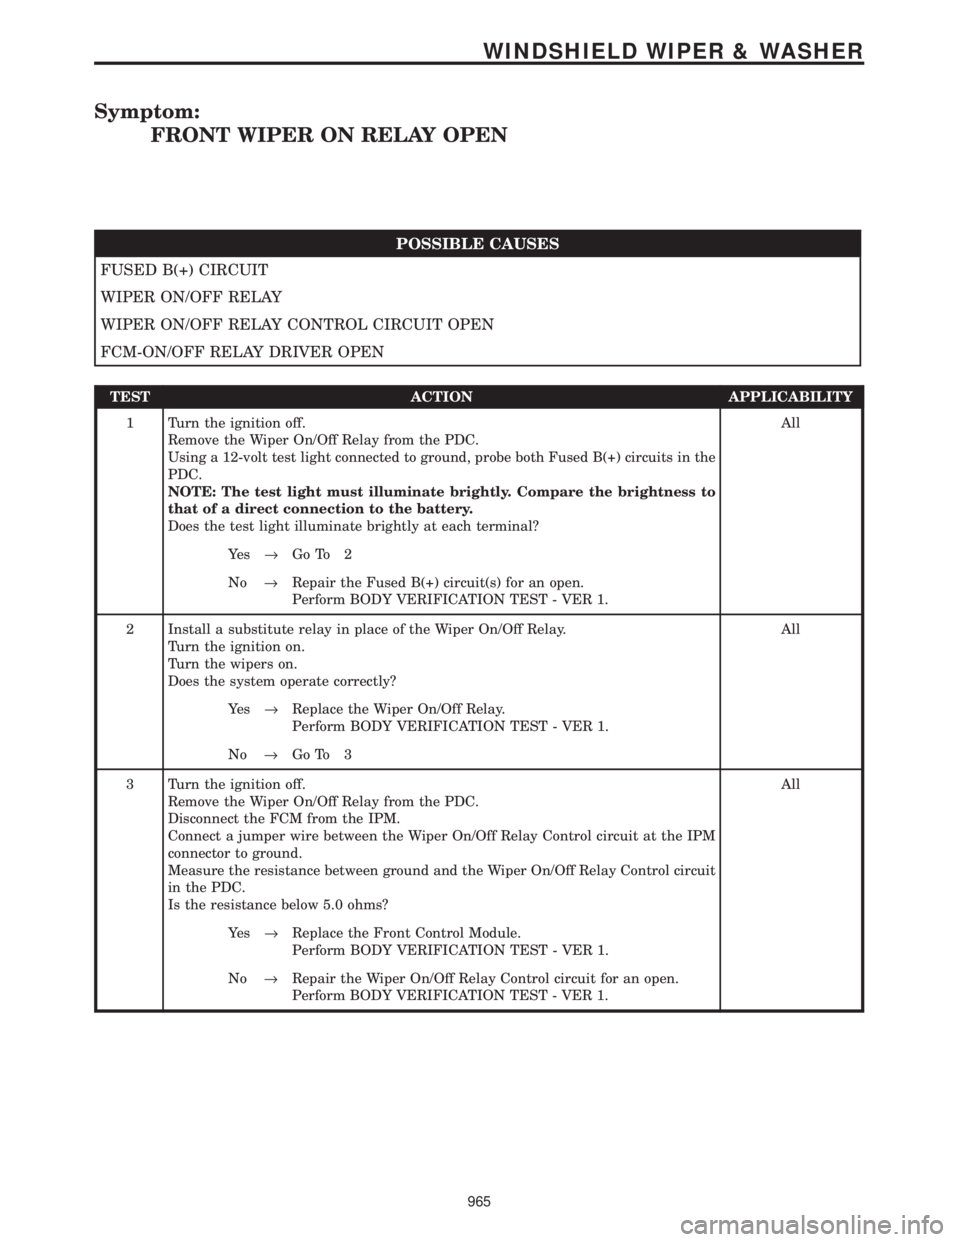
FRONT WIPER ON RELAY OPEN
POSSIBLE CAUSES
FUSED B(+) CIRCUIT
WIPER ON/OFF RELAY
WIPER ON/OFF RELAY CONTROL CIRCUIT OPEN
FCM-ON/OFF RELAY DRIVER OPEN
TEST ACTION APPLICABILITY
1 Turn the ignition off.
Remove the Wiper On/Off Relay from the PDC.
Using a 12-volt test light connected to ground, probe both Fused B(+) circuits in the
PDC.
NOTE: The test light must illuminate brightly. Compare the brightness to
that of a direct connection to the battery.
Does the test light illuminate brightly at each terminal?All
Ye s®Go To 2
No®Repair the Fused B(+) circuit(s) for an open.
Perform BODY VERIFICATION TEST - VER 1.
2 Install a substitute relay in place of the Wiper On/Off Relay.
Turn the ignition on.
Turn the wipers on.
Does the system operate correctly?All
Ye s®Replace the Wiper On/Off Relay.
Perform BODY VERIFICATION TEST - VER 1.
No®Go To 3
3 Turn the ignition off.
Remove the Wiper On/Off Relay from the PDC.
Disconnect the FCM from the IPM.
Connect a jumper wire between the Wiper On/Off Relay Control circuit at the IPM
connector to ground.
Measure the resistance between ground and the Wiper On/Off Relay Control circuit
in the PDC.
Is the resistance below 5.0 ohms?All
Ye s®Replace the Front Control Module.
Perform BODY VERIFICATION TEST - VER 1.
No®Repair the Wiper On/Off Relay Control circuit for an open.
Perform BODY VERIFICATION TEST - VER 1.
965
WINDSHIELD WIPER & WASHER