Page 539 of 698

6A1-38 ENGINE MECHANICAL (M13 ENGINE)
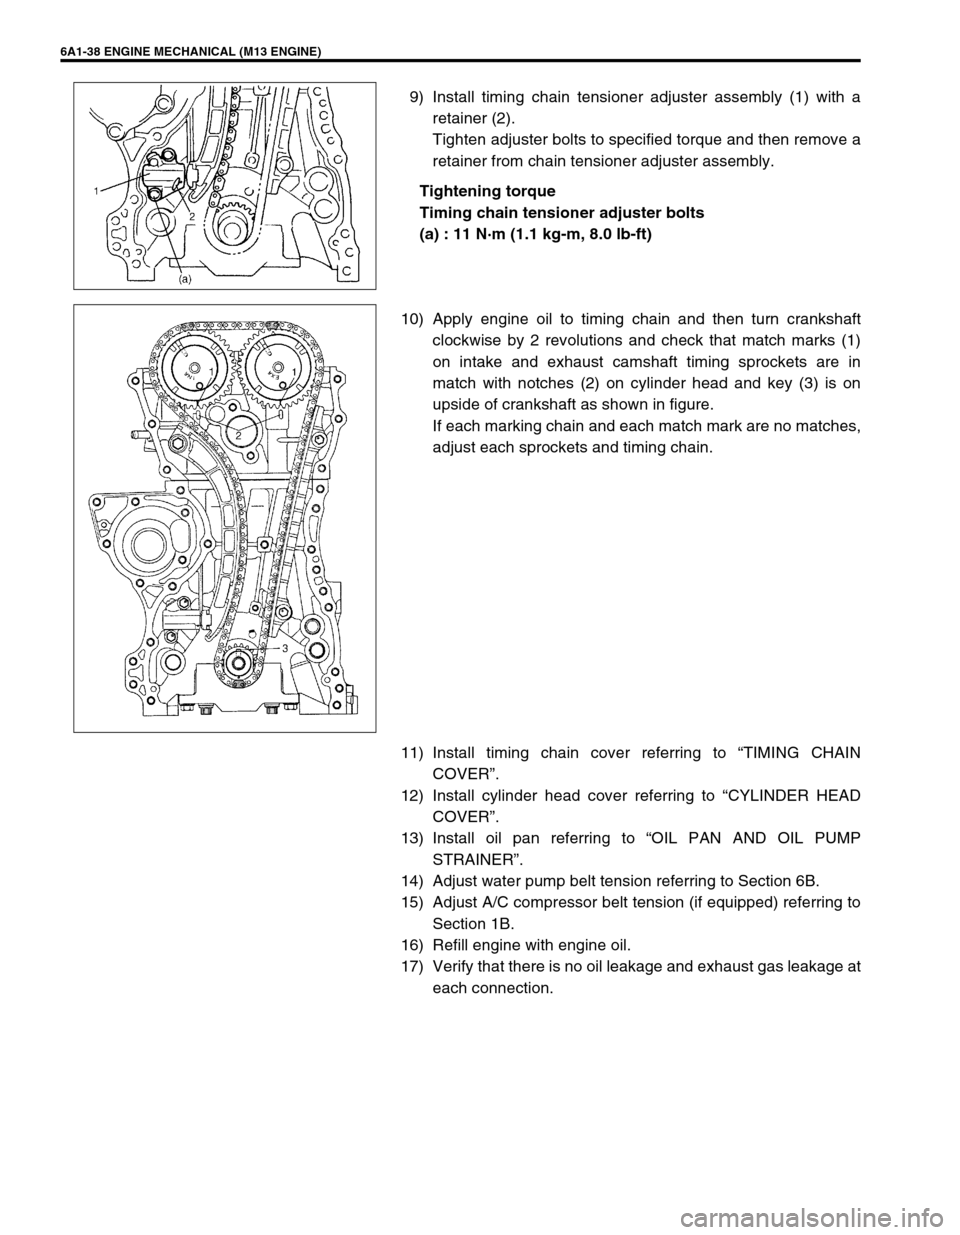
9) Install timing chain tensioner adjuster assembly (1) with a
retainer (2).
Tighten adjuster bolts to specified torque and then remove a
retainer from chain tensioner adjuster assembly.
Tightening torque
Timing chain tensioner adjuster bolts
(a) : 11 N·m (1.1 kg-m, 8.0 lb-ft)
10) Apply engine oil to timing chain and then turn crankshaft
clockwise by 2 revolutions and check that match marks (1)
on intake and exhaust camshaft timing sprockets are in
match with notches (2) on cylinder head and key (3) is on
upside of crankshaft as shown in figure.
If each marking chain and each match mark are no matches,
adjust each sprockets and timing chain.
11) Install timing chain cover referring to “TIMING CHAIN
COVER”.
12) Install cylinder head cover referring to “CYLINDER HEAD
COVER”.
13) Install oil pan referring to “OIL PAN AND OIL PUMP
STRAINER”.
14) Adjust water pump belt tension referring to Section 6B.
15) Adjust A/C compressor belt tension (if equipped) referring to
Section 1B.
16) Refill engine with engine oil.
17) Verify that there is no oil leakage and exhaust gas leakage at
each connection.
Page 543 of 698

6A1-42 ENGINE MECHANICAL (M13 ENGINE)
Wear of tappet and shim
Check tappet and shim for pitting, scratches or damage.
If any malcondition is found, replace.
Measure cylinder head bore and tappet outside diameter to deter-
mine cylinder head-to-tappet clearance. If clearance exceeds
limit, replace tappet or cylinder head.
Cylinder head to tappet clearance
Standard : 0.025 – 0.066 mm (0.0010 – 0.0026 in.)
Limit : 0.15 mm (0.0059 in.)
Tappet outside diameter [A]
Standard : 30.959 – 30.975 mm (1.2189 – 1.2195 in.)
Cylinder head tappet bore [B]
Standard : 31.000 – 31.025 mm (1.2205 – 1.2215 in.)
INSTALLATION
1) Install tappets and shims to cylinder head.
Apply engine oil around tappet and then install it to cylinder
head.
2) Install camshafts (1).
Apply engine oil to sliding surface of each camshaft and camshaft
journal then install them as shown in figure.
NOTE:
When installing shim, make sure to direct shim No. side
toward tappet.
NOTE:
Before installing camshafts, turn crankshaft until key
position faces upward. Refer to “TIMING CHAIN AND
CHAIN TENSIONER”.
Page 544 of 698

ENGINE MECHANICAL (M13 ENGINE) 6A1-43
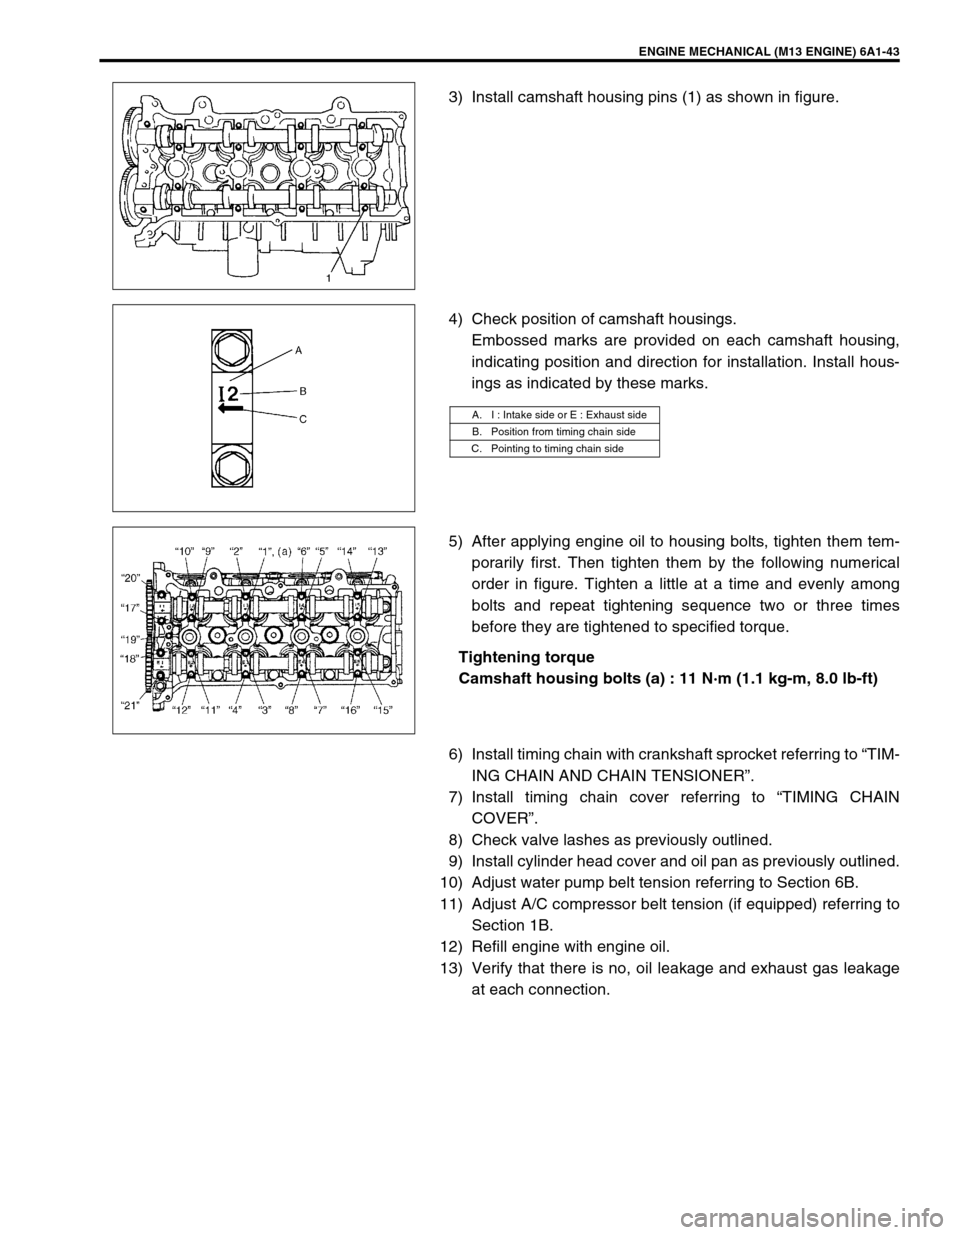
3) Install camshaft housing pins (1) as shown in figure.
4) Check position of camshaft housings.
Embossed marks are provided on each camshaft housing,
indicating position and direction for installation. Install hous-
ings as indicated by these marks.
5) After applying engine oil to housing bolts, tighten them tem-
porarily first. Then tighten them by the following numerical
order in figure. Tighten a little at a time and evenly among
bolts and repeat tightening sequence two or three times
before they are tightened to specified torque.
Tightening torque
Camshaft housing bolts (a) : 11 N·m (1.1 kg-m, 8.0 lb-ft)
6) Install timing chain with crankshaft sprocket referring to “TIM-
ING CHAIN AND CHAIN TENSIONER”.
7) Install timing chain cover referring to “TIMING CHAIN
COVER”.
8) Check valve lashes as previously outlined.
9) Install cylinder head cover and oil pan as previously outlined.
10) Adjust water pump belt tension referring to Section 6B.
11) Adjust A/C compressor belt tension (if equipped) referring to
Section 1B.
12) Refill engine with engine oil.
13) Verify that there is no, oil leakage and exhaust gas leakage
at each connection.
A. I : Intake side or E : Exhaust side
B. Position from timing chain side
C. Pointing to timing chain side
Page 547 of 698

6A1-46 ENGINE MECHANICAL (M13 ENGINE)
10) Remove intake manifold stiffener (1).
11) Remove oil pan referring to “OIL PAN AND OIL PUMP
STRAINER”.
12) Remove cylinder head cover referring to “CYLINDER HEAD
COVER”.
13) Remove timing chain cover referring to “TIMING CHAIN
COVER”.
14) Remove timing chain referring to “TIMING CHAIN AND
CHAIN TENSIONER”.
15) Remove intake and exhaust camshafts referring to “CAM-
SHAFT, TAPPET AND SHIM”.
16) Loosen cylinder head bolts in such order as indicated in fig-
ure by using a 12 corner socket wrenches and remove them.
17) Check all around cylinder head for any other parts required
to be removed or disconnected and remove or disconnect
whatever necessary.
18) Remove exhaust manifold, if necessary, referring to
“EXHAUST MANIFOLD”.
19) Remove cylinder head with intake manifold and exhaust
manifold. Use lifting device, if necessary.
NOTE:
Don’t forget to remove bolt (M8) (1) as shown in figure.
Never reuse cylinder head bolts once disassembled it
due to plastic deformation tightening. Be sure to use
new cylinder head bolts when installing.
Page 555 of 698

6A1-54 ENGINE MECHANICAL (M13 ENGINE)
3) Ream valve guide bore with special tool (6.0 mm reamer for
engine equipped with 69G type valve or 5.5 mm reamer for
engine equipped with 54G type valve). After reaming, clean
bore.
Special tool
(A) : 09916-34542
(B) : 09916-37810 (6 mm) for engine equipped with 69G
type valve
(B) : 09916-34550 (5.5 mm) for engine equipped with 54G
type valve
4) Install valve spring seat to cylinder head.
5) Install new valve stem seal (1) to valve guide.
After applying engine oil to seal and spindle of special tool
(Valve guide installer handle), fit oil seal to spindle, and then
install seal to valve guide by pushing special tool by hand.
After installing, check to be sure that seal is properly fixed to
valve guide.
Special tool
(A) : 09917-98221
(B) : 09916-57350 (For engine equipped with 69G type
valve)
(B) : 09916-58210 (For engine equipped with 54G type
valve)
6) Install valve to valve guide.
Before installing valve to valve guide, apply engine oil to
stem seal, valve guide bore and valve stem.
1. Valve
2. Emboss mark 54G or 69G
NOTE:
Do not reuse once-disassembled seal. Be sure to
install new seal.
When installing, never tap or hit special tool with a
hammer or else. Install seal to guide only by pushing
special tool by hand. Tapping or hitting special tool
may cause damage to seal.
2. Valve
3. Emboss mark 54G or 69G
Page 557 of 698

6A1-56 ENGINE MECHANICAL (M13 ENGINE)
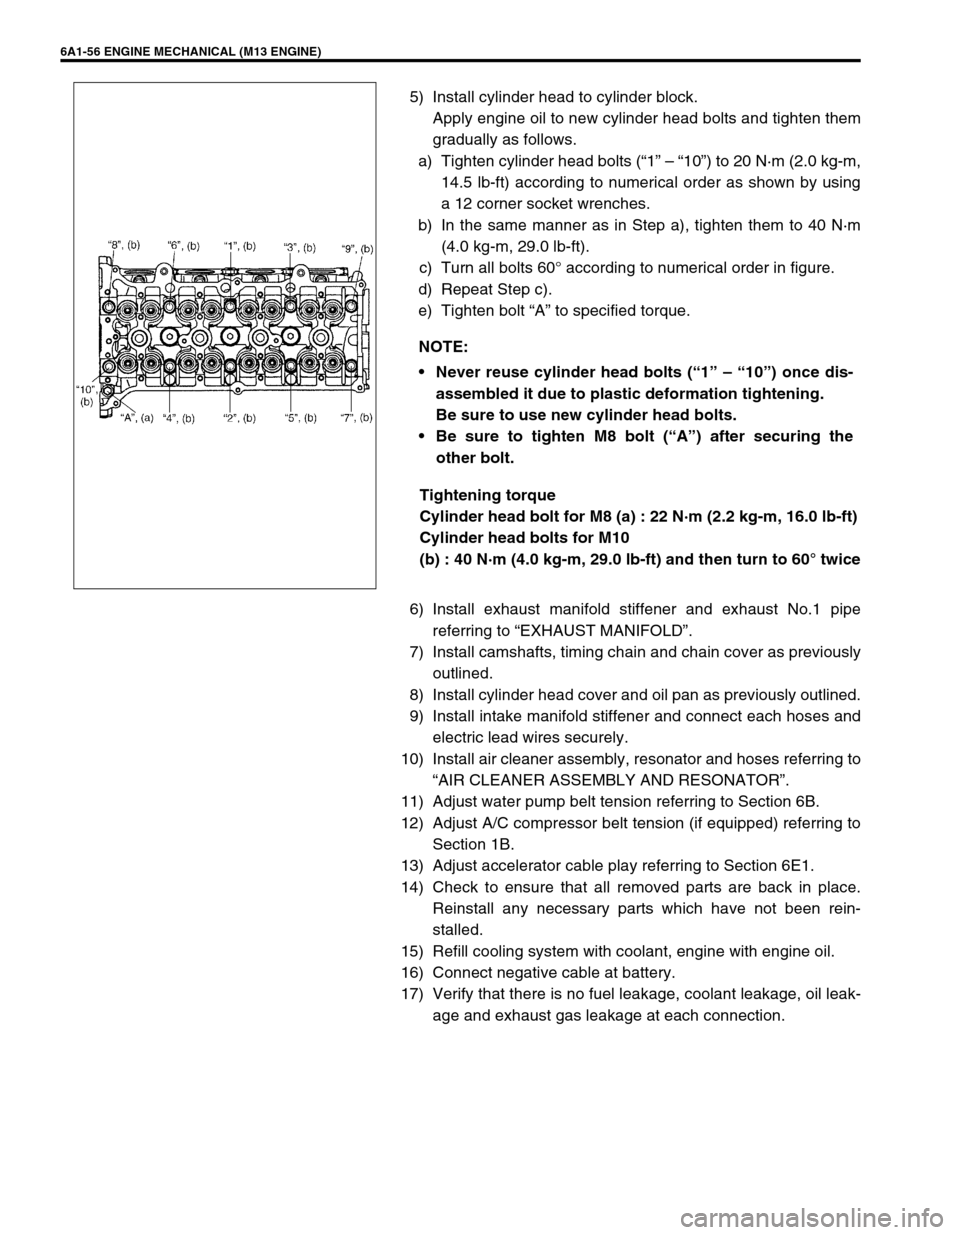
5) Install cylinder head to cylinder block.
Apply engine oil to new cylinder head bolts and tighten them
gradually as follows.
a) Tighten cylinder head bolts (“1” – “10”) to 20 N·m (2.0 kg-m,
14.5 lb-ft) according to numerical order as shown by using
a 12 corner socket wrenches.
b) In the same manner as in Step a), tighten them to 40 N·m
(4.0 kg-m, 29.0 lb-ft).
c) Turn all bolts 60° according to numerical order in figure.
d) Repeat Step c).
e) Tighten bolt “A” to specified torque.
Tightening torque
Cylinder head bolt for M8 (a) : 22 N·m (2.2 kg-m, 16.0 lb-ft)
Cylinder head bolts for M10
(b) : 40 N·m (4.0 kg-m, 29.0 lb-ft) and then turn to 60° twice
6) Install exhaust manifold stiffener and exhaust No.1 pipe
referring to “EXHAUST MANIFOLD”.
7) Install camshafts, timing chain and chain cover as previously
outlined.
8) Install cylinder head cover and oil pan as previously outlined.
9) Install intake manifold stiffener and connect each hoses and
electric lead wires securely.
10) Install air cleaner assembly, resonator and hoses referring to
“AIR CLEANER ASSEMBLY AND RESONATOR”.
11) Adjust water pump belt tension referring to Section 6B.
12) Adjust A/C compressor belt tension (if equipped) referring to
Section 1B.
13) Adjust accelerator cable play referring to Section 6E1.
14) Check to ensure that all removed parts are back in place.
Reinstall any necessary parts which have not been rein-
stalled.
15) Refill cooling system with coolant, engine with engine oil.
16) Connect negative cable at battery.
17) Verify that there is no fuel leakage, coolant leakage, oil leak-
age and exhaust gas leakage at each connection. NOTE:
Never reuse cylinder head bolts (“1” – “10”) once dis-
assembled it due to plastic deformation tightening.
Be sure to use new cylinder head bolts.
Be sure to tighten M8 bolt (“A”) after securing the
other bolt.
Page 561 of 698

6A1-60 ENGINE MECHANICAL (M13 ENGINE)
Piston clearance:
Measure cylinder bore diameter and piston diameter to find
their difference which is piston clearance. Piston clearance
should be within specification as given below. If it is out of
specification, rebore cylinder and use oversize piston.
Piston clearance
: 0.032 – 0.061 mm (0.0013 – 0.0024 in.)
: 0.016 – 0.045 mm (0.0006 – 0.0018 in.) with coating
Ring groove clearance:
Before checking, piston grooves must be clean, dry and free
of carbon deposits.
Fit new piston ring (1) into piston groove, and measure clear-
ance between ring and ring land by using thickness gauge
(2). If clearance is out of limit, replace piston.
Ring groove clearance
Top ring
Standard : 0.03 – 0.07 mm (0.0012 – 0.0028 in.)
Limit : 0.12 mm (0.0047 in.)
2nd ring
Standard : 0.02 – 0.06 mm (0.0008 – 0.0024 in.)
Limit : 0.10 mm (0.0039 in.)
Oil ring
Standard : 0.03 – 0.17 mm (0.0012 – 0.0067 in.)
Piston Pin
Check piston pin, connecting rod small end bore and piston
bore for wear or damage, paying particular attention to con-
dition of small end bore bush. If pin, connecting rod small
end bore or piston bore is badly worn or damaged, replace
pin, connecting rod and/or piston. NOTE:
Cylinder bore diameters used here are measured in
thrust direction at two positions.
“a” : 19.5 mm (0.77 in.)
Page 562 of 698

ENGINE MECHANICAL (M13 ENGINE) 6A1-61
Piston pin clearance :
Check piston pin clearance in small end and piston. Replace
connecting rod and/or piston if its small end is badly worn or
damaged or if measured clearance exceeds limit.
Piston pin clearance in connecting rod small end
: 0.003 – 0.014 mm (0.0001 – 0.0006 in.)
Piston pin clearance in piston
: 0.006 – 0.017 mm (0.00026 – 0.00067 in.)
Small-end bore
: 20.003 – 20.011 mm (0.7875 – 0.7878 in.)
Piston pin dia.
: 19.997 – 20.000 mm (0.7873 – 0.7874 in.)
Piston bore
: 20.006 – 20.014 mm (0.7870 – 0.7874 in.)
Piston Rings
To measure end gap, insert piston ring (1) into cylinder bore and
then measure the gap by using thickness gauge (2).
If measured gap is out of specification, replace ring.
Piston ring end gap
Connecting Rod
Big-end side clearance:
Check big-end of connecting rod for side clearance, with rod
fitted and connected to its crank pin in the normal manner. If
measured clearance is found to exceed its limit, replace con-
necting rod.
Big-end side clearance
Standard : 0.25 - 0.40 mm (0.0098 - 0.0157 in.)
Limit : 0.35 mm (0.0138 in.)
NOTE:
Decarbonize and clean top of cylinder bore before insert-
ing piston ring.
Item Standard Limit
Top ring0.20 – 0.35 mm
(0.0079 – 0.0138 in.)0.7 mm
(0.0276 in.)
2nd ring0.30 – 0.45 mm
(0.0118 – 0.0177 in.)1.0 mm
(0.0039 in.)
Oil ring0.20 – 0.70 mm
(0.0079 – 0.0276 in.)1.5 mm
(0.059 in.)
“a” : 120 mm (4.72 in.)