Page 530 of 1111

P10918
A02646
A02645
Turn
A02656
A02691
SST
± ENGINE MECHANICAL (2JZ±GE)TIMING BELT
EM±27
1381 Author�: Date�:
2000 LEXUS GS300/GS400 (RM718U)
16. INSTALL TIMING BELT TENSIONER
(a) Temporarily install the tensioner with the 2 bolts.
(b) Alternately tighten the 2 bolts.
Torque: 27 N´m (270 kgf´cm, 20 ft´lbf)
(c) Remove the 1.5 mm hexagon wrench from the tensioner
with pliers.
17. CHECK VALVE TIMING
(a) Slowly turn the crankshaft pulley 2 revolutions from TDC
to TDC.
NOTICE:
Always turn the crankshaft clockwise.
(b) Check that each pulley aligns with the timing marks as
shown in the illustration.
If the marks do not align, remove the timing belt and reinstall it.
18. TIGHTEN CRANKSHAFT PULLEY BOLT
Using SST, install the pulley bolt.
SST 09213±70010, 09330±00021
Torque: 330 N´m (3,300 kgf´cm, 243 ft´lbf)
19. INSTALL DRIVE BELT TENSIONER
Install the tensioner with the 3 bolts.
Torque: 21 N´m (210 kgf´cm, 15 ft´lbf)
NOTICE:
Be careful not to drop the bolts inside the timing belt cover.
Page 531 of 1111

A02803Plate Washer
A
B
A EM±28
± ENGINE MECHANICAL (2JZ±GE)TIMING BELT
1382 Author�: Date�:
2000 LEXUS GS300/GS400 (RM718U)
20. INSTALL NO.2 TIMING BELT COVER
(a) Install the gasket on the timing belt cover.
(b) Using a 5 mm hexagon wrench, install the timing belt cov-
er with the 3 bolts.
Torque: 8.0 N´m (80 kgf´cm, 71 in.´lbf)
21. INSTALL NO.3 TIMING BELT COVER
(a) Install the gasket on the timing belt cover.
(b) Using a 5 mm hexagon wrench, install the timing belt cov-
er with the 4 bolts.
Torque: 8.0 N´m (80 kgf´cm, 71 in.´lbf)
(c) Install the oil filler cap.
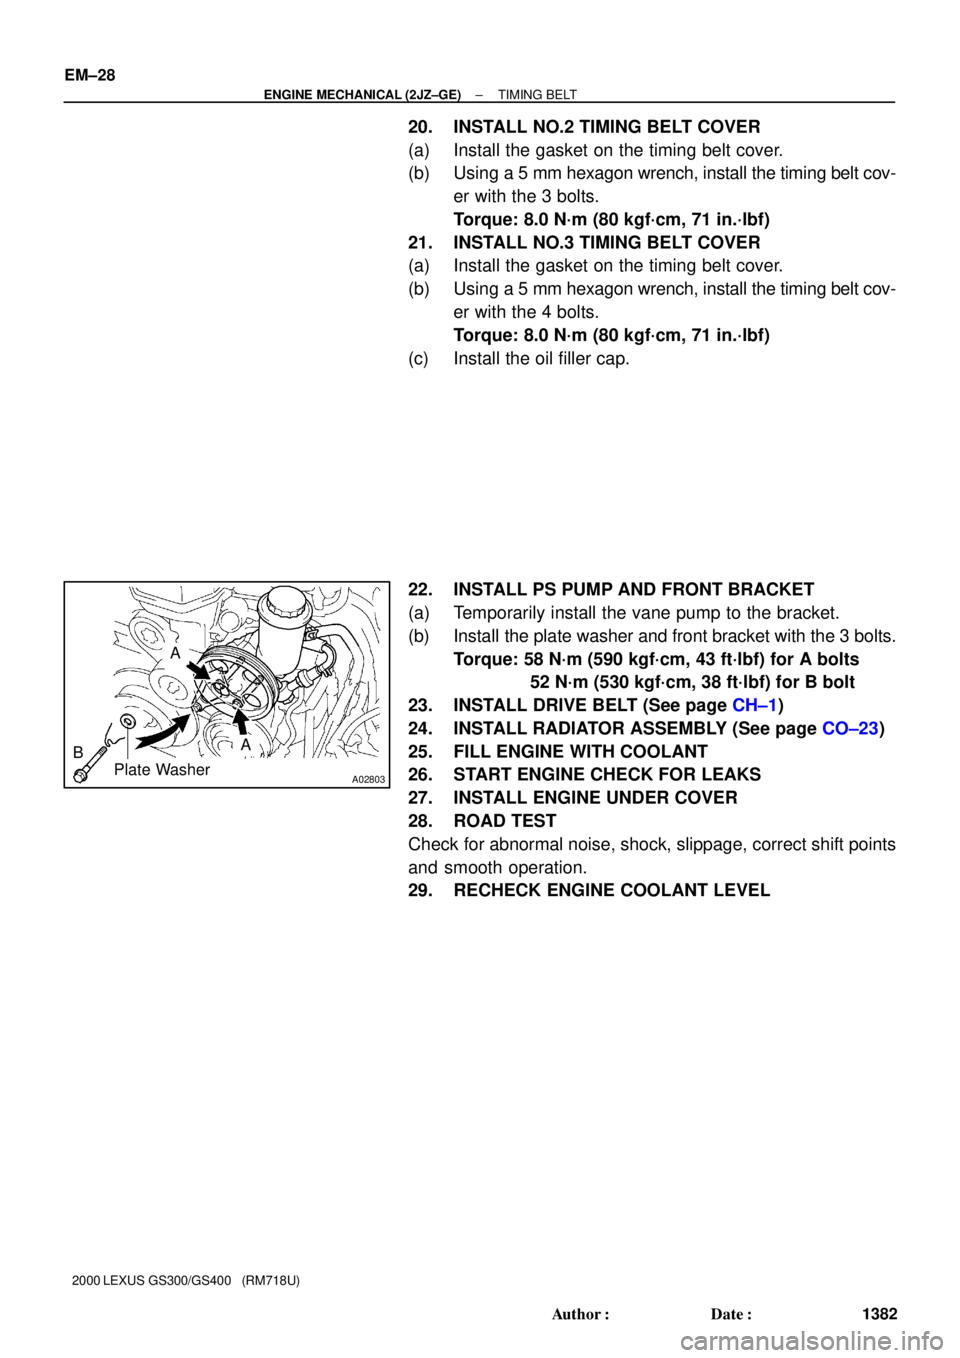
22. INSTALL PS PUMP AND FRONT BRACKET
(a) Temporarily install the vane pump to the bracket.
(b) Install the plate washer and front bracket with the 3 bolts.
Torque: 58 N´m (590 kgf´cm, 43 ft´lbf) for A bolts
52 N´m (530 kgf´cm, 38 ft´lbf) for B bolt
23. INSTALL DRIVE BELT (See page CH±1)
24. INSTALL RADIATOR ASSEMBLY (See page CO±23)
25. FILL ENGINE WITH COOLANT
26. START ENGINE CHECK FOR LEAKS
27. INSTALL ENGINE UNDER COVER
28. ROAD TEST
Check for abnormal noise, shock, slippage, correct shift points
and smooth operation.
29. RECHECK ENGINE COOLANT LEVEL
Page 536 of 1111

EM0D1±05
A11132
Compression Tester
± ENGINE MECHANICAL (2JZ±GE)COMPRESSION
EM±3
1357 Author�: Date�:
2000 LEXUS GS300/GS400 (RM718U)
COMPRESSION
INSPECTION
HINT:
If there is lack of power, excessive oil consumption or poor fuel
economy, measure the compression pressure.
1. WARM UP AND STOP ENGINE
Allow the engine to warm up to normal operating temperature.
2. REMOVE ENGINE COVER
Remove the 4 nuts and engine cover.
3. DISCONNECT IGNITION COILS AND HIGH±TENSION
CORD SET ASSEMBLY (See page IG±7)
4. REMOVE SPARK PLUGS
5. DISCONNECT INJECTOR CONNECTORS
6. CHECK CYLINDER COMPRESSION
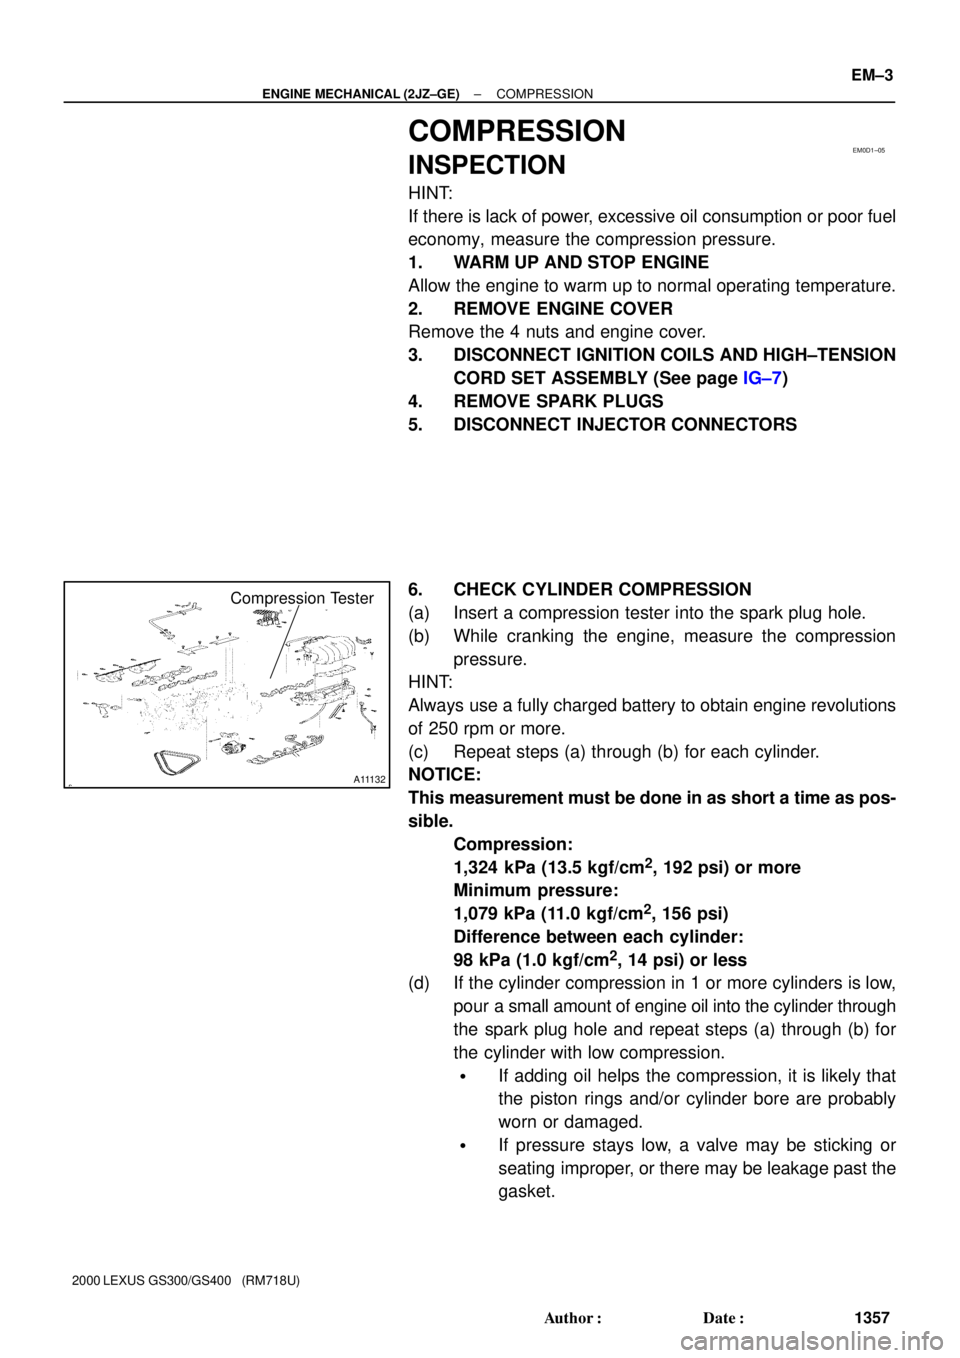
(a) Insert a compression tester into the spark plug hole.
(b) While cranking the engine, measure the compression
pressure.
HINT:
Always use a fully charged battery to obtain engine revolutions
of 250 rpm or more.
(c) Repeat steps (a) through (b) for each cylinder.
NOTICE:
This measurement must be done in as short a time as pos-
sible.
Compression:
1,324 kPa (13.5 kgf/cm
2, 192 psi) or more
Minimum pressure:
1,079 kPa (11.0 kgf/cm
2, 156 psi)
Difference between each cylinder:
98 kPa (1.0 kgf/cm
2, 14 psi) or less
(d) If the cylinder compression in 1 or more cylinders is low,
pour a small amount of engine oil into the cylinder through
the spark plug hole and repeat steps (a) through (b) for
the cylinder with low compression.
�If adding oil helps the compression, it is likely that
the piston rings and/or cylinder bore are probably
worn or damaged.
�If pressure stays low, a valve may be sticking or
seating improper, or there may be leakage past the
gasket.
Page 546 of 1111
A02707
A02711P02145
P02135
P02144
A03796
A02708
EM0580
± ENGINE MECHANICAL (2JZ±GE)CYLINDER HEAD
EM±41
1395 Author�: Date�:
2000 LEXUS GS300/GS400 (RM718U)
(d) Clean the cylinder head.
Using a soft brush and solvent, thoroughly clean the cylin-
der head.
3. INSPECT CYLINDER HEAD
(a) Inspect for the flatness.
Using precision straight edge and feeler gauge, measure
the surfaces contacting the cylinder block, intake and ex-
haust manifolds for warpage.
Maximum warpage: 0.10 mm (0.0039 in.)
If warpage is greater than maximum, replace the cylinder head.
(b) Inspect for the cranks.
Using a dye penetrant, check the combustion chamber,
intake ports, exhaust ports and cylinder block surface for
cracks.
If cracked, replace the cylinder head.
4. CLEAN VALVES
(a) Using a gasket scraper, chip off any carbon from the valve
head.
(b) Using a wire brush, thoroughly clean the valve.
Page 547 of 1111

Z02413
Z00052
Z00054
44.5°
EM0181
Margin Thickness EM±42
± ENGINE MECHANICAL (2JZ±GE)CYLINDER HEAD
1396 Author�: Date�:
2000 LEXUS GS300/GS400 (RM718U)
5. INSPECT VALVE STEMS AND GUIDE BUSHINGS
(a) Using a caliper gauge, measure the inside diameter of the
guide bushing.
Bushing inside diameter:
6.010 ± 6.030 mm (0.2366 ± 0.2374 in.)
(b) Using a micrometer, measure the diameter of the valve
stem.
Valve stem diameter:
Intake5.970 ± 5.985 mm (0.2350 ± 0.2356 in.)
Exhaust5.965 ± 5.980 mm (0.2348 ± 0.2354 in.)
(c) Subtract the valve stem diameter measurement from the
guide bushing inside diameter measurement.
Standard oil clearance:
Intake0.025 ± 0.060 mm (0.0010 ± 0.0024 in.)
Exhaust0.030 ± 0.065 mm (0.0012 ± 0.0026 in.)
Maximum oil clearance:
Intake0.08 mm (0.0031 in.)
Exhaust0.10 mm (0.0039 in.)
If the clearance is greater than maximum, replace the valve and
guide bushing. (See page EM±48)
6. INSPECT AND GRIND VALVES
(a) Grind the valve enough to remove pits and carbon.
(b) Check that the valve is ground to the correct valve face
angle.
Valve face angle: 44.5°
(c) Check the valve head margin thickness.
Standard margin thickness:
0.8 ± 1.2 mm (0.031 ± 0.047 in.)
Minimum margin thickness:
0.5 mm (0.020 in.)
If the margin thickness is less than minimum, replace the valve.
Page 548 of 1111

EM2534
Overall
Length
EM0255
A02709
45° Carbide Cutter
Z00373
Width
P03966
Width 45°
15°
± ENGINE MECHANICAL (2JZ±GE)CYLINDER HEAD
EM±43
1397 Author�: Date�:
2000 LEXUS GS300/GS400 (RM718U)
(d) Check the valve overall length.
Standard overall length:
Intake98.29 ± 98.79 mm (3.8697 ± 3.8894 in.)
Exhaust98.84 ± 99.34 mm (3.8913 ± 3.9110 in.)
Minimum overall length:
Intake98.19 mm (3.8657 in.)
Exhaust98.74 mm (3.8874 in.)
If the overall length is less than minimum, replace the valve.
(e) Check the surface of the valve stem tip for wear.
If the valve stem tip is worn, resurface the tip with a grinder or
replace the valve.
NOTICE:
Do not grind off more than the minimum overall length.
7. INSPECT AND CLEAN VALVE SEATS
(a) Using a 45° carbide cutter, resurface the valve seats.
Remove only enough metal to clean the seats.
(b) Check the valve seating position.
Apply a thin coat of Prussian blue (or white lead) to the
valve face. Lightly press the valve against the seat. Do not
rotate the valve.
(c) Check the valve face and seat for the following:
�If blue appears 360° around the face, the valve is
concentric. If not, replace the valve.
�If blue appears 360° around the valve seat, the
guide and face are concentric. If not, resurface the
seat.
�Check that the seat contact is in the middle of the
valve face with the following width:
If not, correct the valve seats as follows:
Intake1.0 ± 1.4 mm (0.039 ± 0.055 in.)
Exhaust1.2 ± 1.6 mm (0.047 ± 0.063 in.)
(1) If the seating is too high on the valve face, use 15°
and 45° cutters to correct the seat.
Page 550 of 1111

A02820
EM2011
EM2538
A02817
Plastigage
± ENGINE MECHANICAL (2JZ±GE)CYLINDER HEAD
EM±45
1399 Author�: Date�:
2000 LEXUS GS300/GS400 (RM718U)
9. INSPECT CAMSHAFTS FOR RUNOUT
(a) Place the camshaft on V±blocks.
(b) Using a dial indicator, measure the circle runout at the
center journal.
Maximum circle runout: 0.08 mm (0.0031 in.)
If the circle runout is greater than maximum, replace the cam-
shaft.
10. INSPECT CAM LOBES
Using a micrometer, measure the cam lobe height.
Standard cam lobe height:
Intake44.310 ± 44.360 mm (1.7445 ± 1.7465 in.)
Exhaust44.250 ± 44.350 mm (1.7421 ± 1.7461 in.)
Minimum cam lobe height:
Intake44.16 mm (1.7386 in.)
Exhaust44.10 mm (1.7362 in.)
If the cam lobe height is less than minimum, replace the cam-
shaft.
11. INSPECT CAMSHAFT JOURNALS
Using a micrometer, measure the journal diameter.
Journal diameter:
28.949 ± 28.965 mm (1.1397 ± 1.1404 in.)
If the journal diameter is not as specified, check the oil clear-
ance.
12. INSPECT CAMSHAFT BEARING
Check the bearings for flaking and scoring.
If the bearings are damaged, replace the bearing caps and cyl-
inder head as a set.
13. INSPECT CAMSHAFT JOURNAL OIL CLEARANCE
(a) Clean the bearing caps and camshaft journals.
(b) Place the camshafts on the cylinder head.
(c) Lay a strip of Plastigage across each of the camshaft jour-
nals.
(d) Install the bearing caps. (See page EM±52)
Torque: 20 N´m (200 kgf´cm, 14 ft´lbf)
NOTICE:
Do not turn the camshaft.
(e) Remove the bearing caps.
Page 556 of 1111

A02638
A02651
A02664
EX
IN135
24
135
24 1 1
EM±6
± ENGINE MECHANICAL (2JZ±GE)VALVE CLEARANCE
1360 Author�: Date�:
2000 LEXUS GS300/GS400 (RM718U)
5. REMOVE NO.3 TIMING BELT COVER
Using a 5 mm hexagon wrench, remove the 4 bolts, oil filler cap,
timing belt cover and gasket.
6. REMOVE IGNITION COILS AND HIGH±TENSION
CORD SET ASSEMBLY (See page IG±7)
7. REMOVE SPARK PLUGS
8. DISCONNECT ENGINE WIRE FROM CYLINDER HEAD
COVERS
9. REMOVE CYLINDER HEAD COVERS
(See page EM±33)
10. SET NO.1 CYLINDER TO TDC/COMPRESSION
(a) Turn the crankshaft pulley and align its groove with the
timing mark º0º of the No.1 timing belt cover.
NOTICE:
Always turn the crankshaft clockwise.
(b) Check that the timing marks of the camshaft timing pul-
leys are aligned with the timing marks of the No.4 timing
belt cover.
If not, turn the crankshaft 1 revolution (360°).
11. INSPECT VALVE CLEARANCE
(a) Check only those valves indicated in the illustration.
�Using a feeler gauge, measure the clearance be-
tween the valve lifter and camshaft.
�Record the valve clearance measurements of those
that are out of specification. They will be used later
to determine the required replacement adjusting
shim.
Valve clearance (Cold):
Intake0.15 ± 0.25 mm(0.006 ± 0.010 in.)
Exhaust0.25 ± 0.35 mm (0.010 ± 0.014 in.)
(b) Turn the crankshaft pulley 1 revolution (360°), and align
the groove with the timing mark º0º of the No.1 timing belt
cover.