Page 157 of 306

CONTROLS
AND EQUIPMENT---------------------
Turn signals, headlight dimmer switch lever
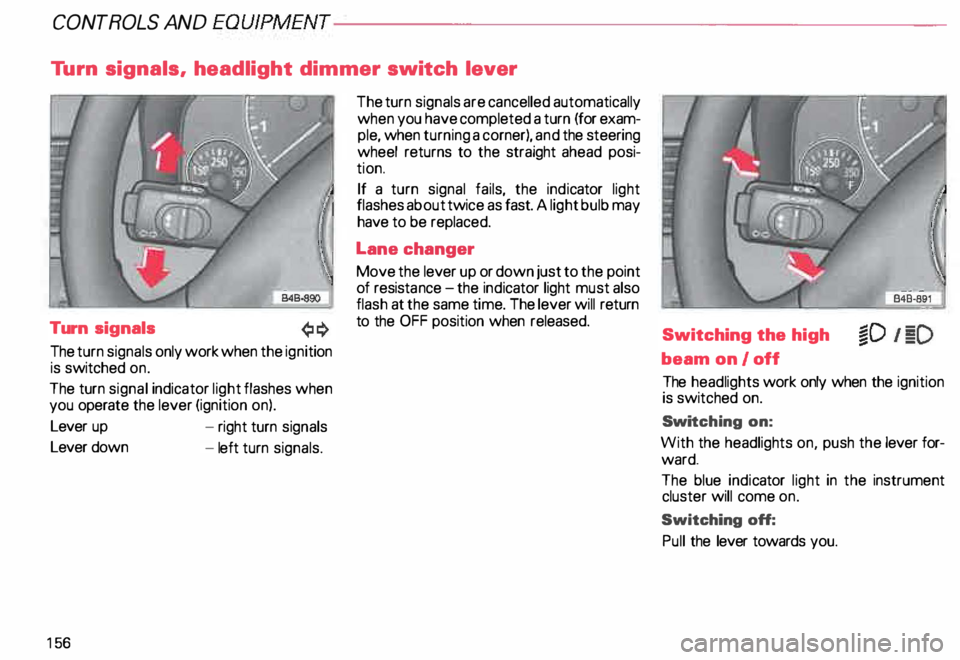
Turn signals
The turn signals only work when the ignition
is switched on.
The turn signal indicator light flashes when
you operate the lever (ignition on).
Lever up
Lever down
15 6 -
right turn signals
- left turn signals. The
turn signals are cancelled automatically
when you have completed a turn (for exam
ple, when turning a corner), and the steering
wheel returns to the straight ahead posi
tion.
If a turn signal fails, the indicator light
flashes about twice as fast. A light bulb may
have to be replaced.
Lane changer
Move the lever up or down just to the point
of resista nce-the ind icator light must also
flash at the same time. The lever will return
to the OFF position when released.
Switching the high
beam on/off
The headlights work only when the ignition
is switched on.
Swi tching on:
With the headlights on, push the lever for
ward.
The blue indicator light in the instrument
cluster will come on.
Switching off:
Pull the lever towards you.
Page 158 of 306
Headlight flasher
You can signal with your headlights by pull
ing the lever toward the steering wheel.
When flashing headlights, the blue indicator
light will come on. Xenon
lights*
After starting the engine the Xenon head
ligh ts are automatically adjusted to the load
and angle of the vehicle (for example, during
acceleration, braking). This prevents on
coming traffic from experiencing unneces
sary glare from your headlights.
If the system is not operating properly, a
warning symbol will be displayed in the
Auto Check Control -see page 144. CONTROLS
AND EQUIPMENT
157
Page 275 of 306

DO-IT-YOURSELF
SERVICE----------------------
Fuses
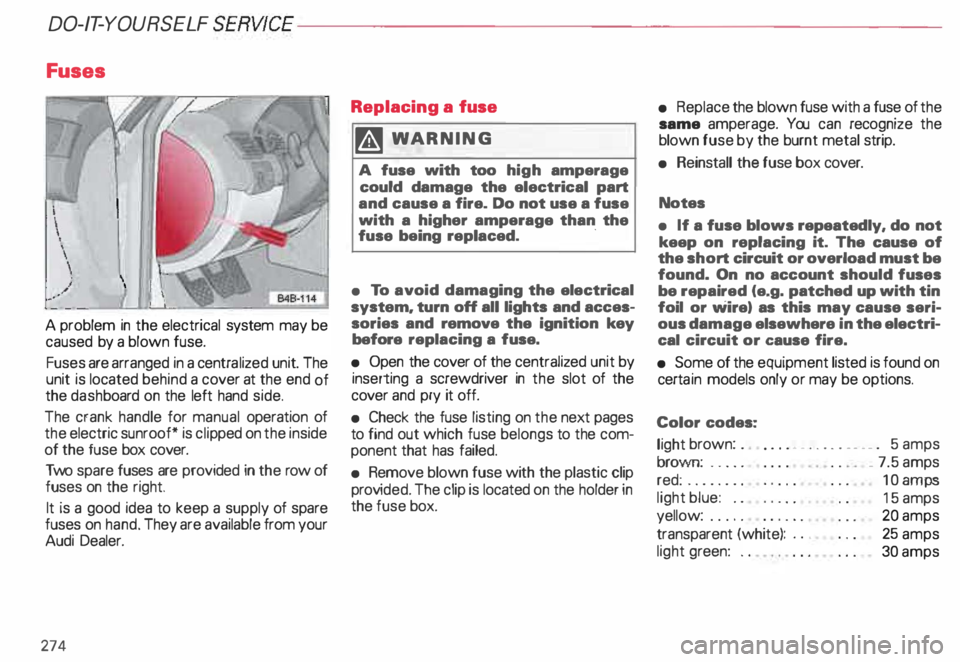
A problem in the electrical system may be
caused by a blown fuse.
Fuses are arranged in a centra lized unit. The
unit is located behind a cover at the end of
the dash board on the left hand side.
The crank handle for manual operation of
the electric sunroof* is cli pped on the inside
of the fuse box cover.
Two spare fuses are provided in the row of
fuses on the right.
It is a good idea to keep a supply of spare
fuses on hand. They are available from your
Audi Dealer.
274 Replacing
a fuse
� WARNING
A fuse with too high amperage
could damage the electrical part
and cause a fire. Do not use a fuse
with a higher amperage than the
fuse being replaced. ·
• To avoid damaging the electrical
system. turn off all lights and acces
sories and remove the ignition key
before replacing a fuse.
• Open the cover of the centralized unit by
inserting a screwdriver in the slot of the
cover and pry it off.
• Check the fuse listing on the next pages
to find out which fuse belongs to the com
ponent that has failed.
• Remove blown fuse with the plastic clip
prov ided. The clip is located on the holder in
the fuse box. •
Replace the blown fuse with a fuse of the
same amperage. You can recognize the
blown fuse by the burnt metal strip.
• Reinstall the fuse box cover.
Notes
• If a fuse blows repeatedly. do not
keep on replacing it. The cause of
the short circuit or overload must be
found. On no account should fuses
be repaired (e.g. patched up with tin
foil or wire) as this may cause seri
ous damage elsewhere in the electri
cal circuit or cause fire.
• Some of the equipment listed is found on
certa in models only or may be options.
Color codes:
light brown: . .
... • _ .. .. . __ . _ . 5 amps
brown: .... .
red: ....... .
light blue: ..
yellow: .....
transparent (white): ..•
light green: .. _
7.5 amps
10 amps
15 amps
20 amps
25 amps
30 amps