2000 AUDI ALLROAD ESP
[x] Cancel search: ESPPage 74 of 306
---------------------CONTROLS AND
EQUIPMENT
�W ARNING
• The right hand outside mirror
has a convex (curved) surface. Re
member that vehicles or other ob
jects seen in a convex mirror will
appear smaller and farther away
than when seen in a flat mirror. If
you use this mirror to estimate dis
tances of following vehicles when
changing lanes, you could esti
mate incorrectly and cause an ac
cident.
• Whenever possible, use the in
side mirror to determine the actual
distance and size of vehicles or
other objects seen in the convex
mirror. Adj
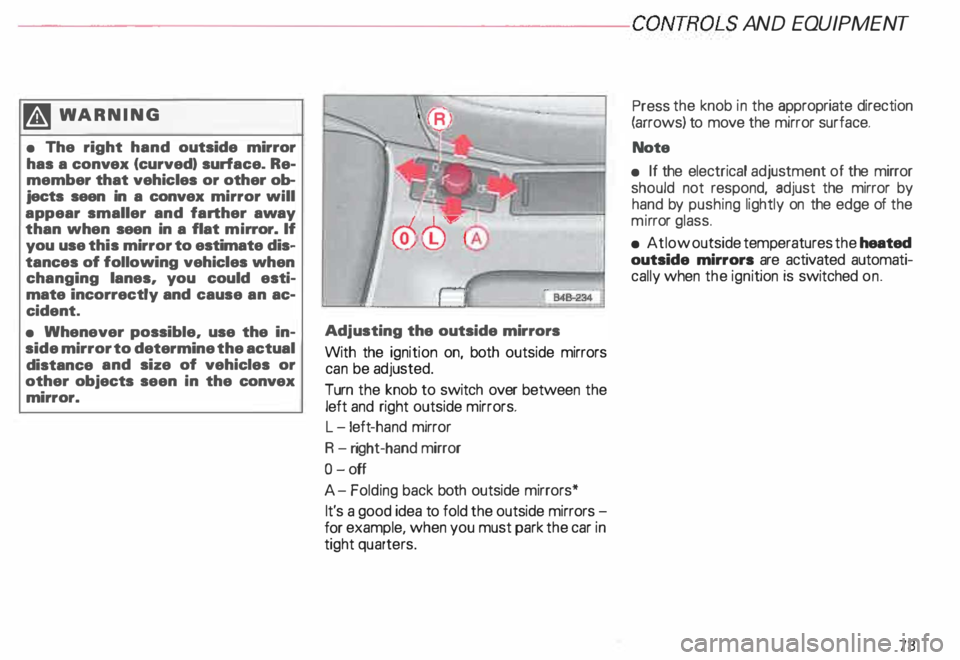
usting the outside mirrors
With the ignition on, both outside mirrors
can be adjusted.
Turn the knob to switch over between the
left and right outside mirrors.
L -l eft -hand mirror
R -right-hand mirror
0- off
A- Folding back both outside mirrors*
It's a good idea to fold the outside mirrors
for example, when you must park the car in
tight quarters. Press
the knob in the appropriate direction
(arrows) to move the mirror surface.
Note
• If the electrical adjustment of the mirror
should not respond, adjust the mirror by
hand by pushing lightly on the edge of the
mi rror glass.
• At low outside temperatures the heated
outside mirrors are activated automati
cally when the ignition is switched on.
73
Page 81 of 306
CONT
ROLS AND EQUIPMENT---------------------
Lumbar
support
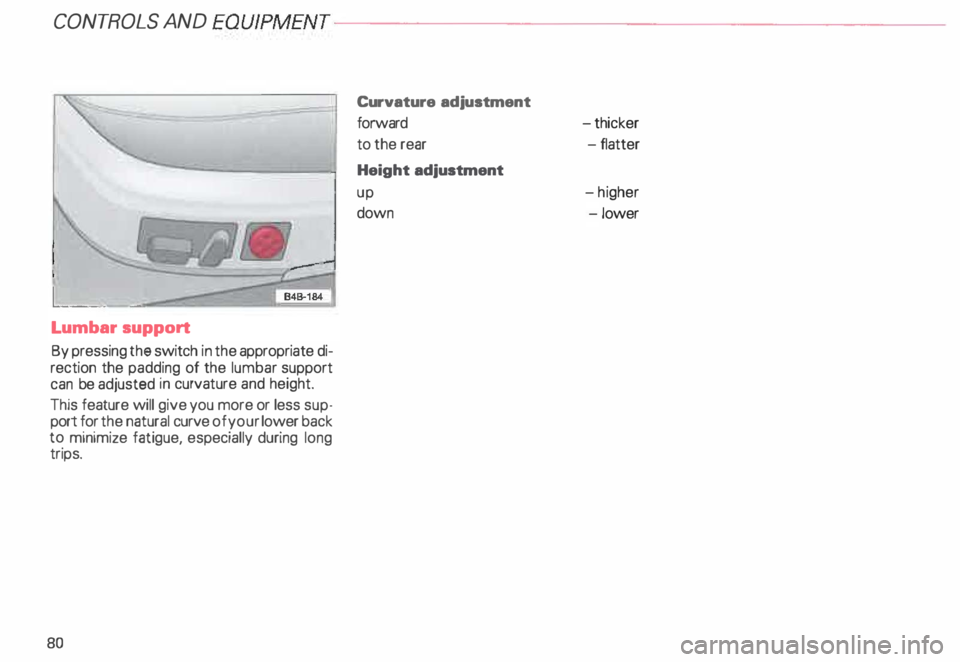
By pressing the switch in the appropriate di
rection the padding of the lumbar support
can be adjusted in curvature and height.
This feature will give you more or less sup
port for the natural curve of your lower back
to minimize fatigue, especially during long
trips.
80 Curvature
adjustment
forward
to the rear
Height adjustment
up
down -t
hicker
-f latter
-h igher
-l ower
Page 82 of 306
Memor
y for front seats*
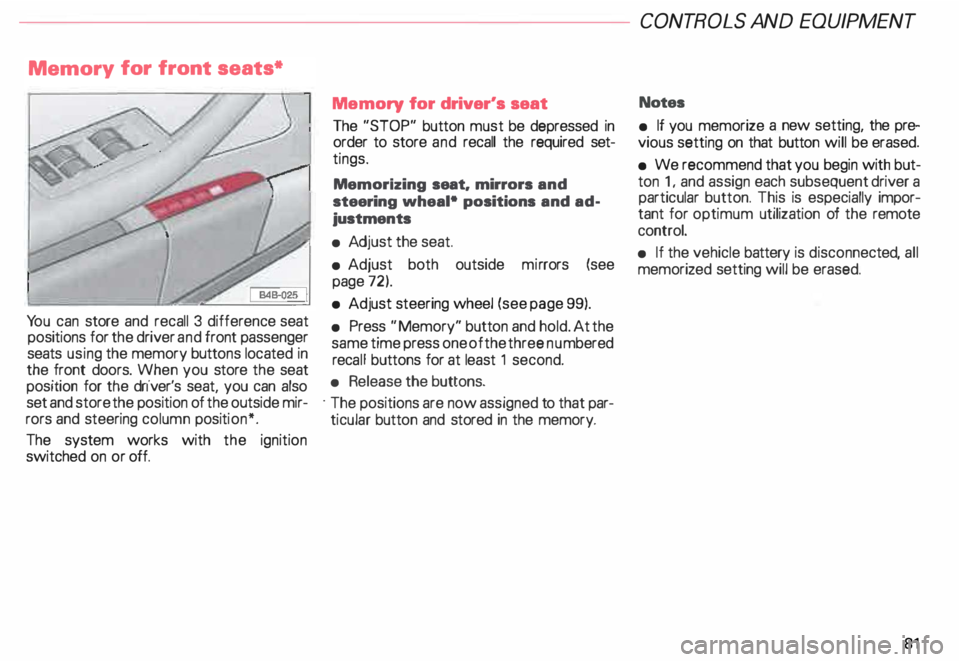
Yo u can store and recall 3 difference seat
positions for the driver and front passenger
seats using the memory buttons located in
the front doors. When you store the seat
position for the driver's seat, you can also
set and store the position of the outside mir
rors and steering column position*.
The system works with the ignition
switched on or off. Memory
for driver's seat
The "STOP" button must be depressed in
order to store and recall the required set
tings.
Memorizing seat. mirrors and
steering wheal• positions and ad
justments
• Adj ust the seat.
• Adjust both outside mirrors (see
page 72).
• Adjust steering wheel (see page 99).
• Press "Memory" button and hold. At the
same time press one of the three numbered
reca ll buttons for at least 1 second.
• Release the buttons.
· The positions are now assigned to that par
ticular button and stored in the memory. CONT
ROLS AND EQUIPMEN T
Notes
• If you memorize a new setting, the pre
vious setting on that button will be erased.
• We recommend that you begin with but
ton 1, and assign each subsequent driver a
particular button. This is especially impor
tant for optimum utilization of the remote
control.
• If the vehicle battery is disconne cted, all
memorized setting will be erased.
81
Page 87 of 306
CONT
ROLS AND
EQUIPMENT---------------------
Rear seats
General hints
� WARNING
• Do not allow passengers to
occupy the rear load surface while
the vehicle is in motion. Vehicle
occupants must always be proper
ly restrained.
• Do not let anyone ride in the ve
hicle without the head restraints
provided. Head restraints help re
duce injuries.
• Loose items inside the passen
ger compartment. can fly forward
in an accident or sudden maneuver
and injure occupants. Always
store articles in the luggage
compartment and use the fasten
ing eyes. espec ially when the rear
seat backs have been folded down.
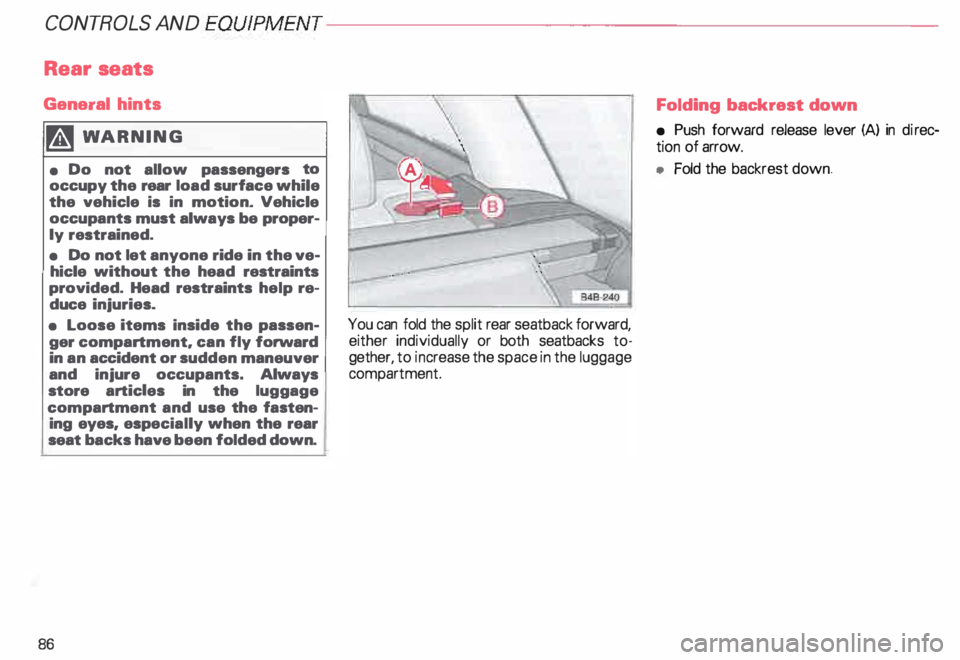
86 You can fold the
split rear seatback forward,
either individually or both seatbacks to
gether, to increase the space in the luggage
compartment. Folding
backrest down
• Push forward release lever (A) in direc
tion of arrow.
• Fold the backrest down.
Page 89 of 306
CONTROLS
AND EQUIPMENT---------------------
Luggage
compartment
Increasing size of the luggage
compartment
Yo u can fold the backrest forward to in
crease the size of the luggage compart
ment.
Tr ansporting heavy objects
Tra nsporting heavy objects can change the
way your vehicle behaves. For best han
dling under these conditions, distribute
loads evenly.
Always place heavy cargo as far forward as
possible in the luggage compartment.
When transporting heavy objects, drive
slowly and avoid sudden maneuvers.
�W ARNING
• Never exceed the Gross Axle
Weight Rating or the Gross Vehicle
Weight Rat�ng specified on the
safety compliance sticker on the
left door jamb. Exceed ing permis
sible weight ratings can change
the way the vehicle handles and
could result in accidents, personal
injur y, and vehicle damage.
88 M
WARNING continued
• Do not allow passengers to
occupy the rear load surface while
the vehicle Is in motion. Vehicle
occupants must always be prop
erly restrained.
• Loose items inside the passen
ger compartment, can fly forward
in an accident or sudden maneuver
and injure occupants. Always
store articles in the luggage
compartment and use the fasten
ing eyes, especially when the rear
seat backs have been folded down.
In particular, when traveling on
rough roads or rugged terrain, ma
ke cert ain that all luggage and
other items are stowed in the lug
gage compartment and that they
are secured in such a way that they
cannot shift. M
WARNING continued
• To help prevent poisonous ex
haust gas from being drawn into
the vehicle, always keep the rear
lid closed while driving. Never
transport objects larger than
those fitting completely into the
luggage area, because the rear lid
cannot be fully closed.
• If you must drive with the rear
lid open under exceptional circum
stances always take the following
precautions to help reduce the risk
of deadly carbon monoxide (CO)
from the exhaust system from be
ing drawn into the passengers
compartment:
open all of the windows
turn off the air recirculation
switch
- select maximum fan speed.
Page 113 of 306

CONTROLS AND
EQUIPMENT--------------------
Acoustic park assist*
The acoustic parking warning system will
help make parking and maneuvering in tight
places easier for you. But since there are
technical limitations to what it can do, al
ways exercise the utmost care and
attention when parking and when
maneuvering your vehicle in tight
places.
When you are backing up in parking maneu
vers, a _ park assist warning system using ul
trasonrc sensors helps you determine the
distance between your rear bumper, where
the sensors are located, and obstacles be
hind the vehicle.
The parking assist system is activated as
soon as you put the vehicle in Re
verse. A brief tone confirms that the sys
tem is activated.
Distance warning in reverse begins at a dis
tance of about 5.2 ft. (1.60 m) from the ob
stacle. As the distance becomes smaller,
the time inteNal between the audible tones
grows shorter.
112 The
danger zone begins at a distance of
about 1 ft. (0.30 m). Do not back up any fur
ther once you have reached the danger
z _one. The danger zone is signaled by a con
trnuous tone.
�W ARNING
• The park assist system is not a
substitute for the driver's own
caution and alertness. Ultimate re
sponsibility always lies with the
driver during parking and similar
maneuvers.
• Sensors have dead spaces in
which objects cannot be detected.
Be especially alert for small chil
dren and animals, since they are
not always detected by the sen
sors.
• Objects. such as trailer hitches,
thin painted rods, or fences, may
not always be detected by the sys
tem, but they can damage your ve
hicle. Note
• If a warning tone is audible for about 5
seco �ds when you turn on th e ignition, a
fault rs present in the system. Have the
problem corrected by your authorized Audi
dealer.
• The sensors must be kept clean and free
of ice for the park assist system to function
properly.
Page 125 of 306

CONTROLS AND
EQUIPMEN T--------------------
If the warning light is flashing, it can also
mean that the vehicle is riding ''too high"
(above the highest level). Once again, do
not drive off until the warning light stops
flashing.
If the .warning light stays on continuous ly,
there 1s a problem with the ride height ad
JUStment system. The light will also come
on continuously if the vehicle is on an ex
treme incline.
Tro uble in the ESP may also cause the warn
ing light to remain on continuously.
A system failure can cause the vehicle to
have too little or too much ground clear
ance. Drive very carefully and slowly to your
nearest authorized Audi dealer and have the
fault corrected.
See page 153 for additional information.
12 4 Electronic Stability
Program {ESP)
The indicator light lights up when the igni
tion is turned on, and it must go out after
about 2 seconds.
When the ESP system is in control mode,
this indicator light will flash while the ve
hicle is being operated.
When you start the engine, the ESP
may shut off for safety reasons. The indica
tor light also turns on to indicate this statu s.
If this should happen, you can reactivate the
ESP by turning the ignition off and then on
� gain. This indicator light will go out, indicat
Ing that the system is once again operating
properly.
If the system is off or is malfunctioning, the
indi cator light will remain on.
Since the ESP system works together with
the ABS system, the ESP indicator light will
also come on if the ABS stops operating. Electronic
immobilizer
�
When you turn on the ignition, the vehicle
key data are automatically scanned. The in
dicator light will come on briefly, indicating
that the data verification procedure has
been acknowledged.
If a non-coded vehicle key was used (for ex
ample a duplic ate key), the control light
goes to a continuous flashing mode. If this
happens, the vehicle cannot be started. See
also page 57
Page 127 of 306
CONTROLS
AND EQUIPMENT---------------------
If there is an ABS problem:
o The ABS warning light to come
on. The vehicle can still be braked,
however, the ABS will not work. See
your authorized Audl Dealer as soon
as possible.
• The ABS warning light and the
brake warning light come on to
gether. The ABS will not work and
you will notice a change in braking
characteristics and performance.
�W ARNING
If both warning lights (ABS and
BRAKE warning light) come on at
the same time, the rear wheels
could lock up first under hard
braking. Rear wheel brake lock-up
can cause loss of vehicle control
and an accident. Have your vehicle
repaired immediately by your au
thorized Audi Dealer or a qualified
workshop. Drive slowly and avoid
sudden, hard brake application.
12 6 If
the ABS fails, the ESP warning light will
come on. See page and pages 202 -205.
Electronic differential lock (EDL)
The electronic differential lock works in con
junction with the ABS system. A fault in the
ABS causes therefore a malfunction of the
electr onic differential lock.
For more details on how the EDL works, go
to page 204.
Brake
USA models:
BRAKE
Canada models:
(Q))
The light comes on while the engine is
cranking. It goes out after the engine has
been started and the parking brake is fully
released. This is your assurance that the
brake warning light is functioning properly. A If the brake warning light does ¥ not light up when the engine is
cra nking or the parking brake is ap
plied, there may be a malfunction in
the electrical system. In this case,
contact your Audi Dealer.
When the light comes on, an audible warn
ing signal is also given.
�W ARNING
• If both warning lights (ABS and
BRAKE warning light) come on at
the same time, the rear wheels
could lock up first under hard
braking. Rear wheel brake lock-up
can cause loss of vehicle control
and an accident. Have your vehicle
repaired immediately by your au
thorized Audi Dealer or a qualified
workshop. Drive slowly and avoid
sudden, hard brake application.