Page 3714 of 4592
Toyota Supports ASE CertificationPage 1 of 1
BO017-03Title:
TRIM GARNISH LOOSE
Models:
All Models
Technical Service
BULLETIN
September 9, 2003
TSB REVISION NOTICE:
March 3, 2004: The TSB has been changed to include new inspection and
replacement instructions.
Previous versions of this TSB should be discarded.
Customers may experience an interior trim panel either loose or fitting poorly due to a
deformed or missing panel attachment clips. When a trim garnish (A, B, C or D pillar
garnish, door trim panel, etc.) is removed and reinstalled using the old clips, there is a
possibility that the garnish may exhibit a loose condition. To prevent this condition from
occurring, please use the following procedures.
All Models ± All trim panel attachment clips must be inspected prior to reassembly and
replaced if any damage or wear is detected. If no damage is visible, the clip may be
reused. Always check to make sure that the garnish is properly attached after
reinstallation of all interior trim panels.
2002 ± 2004 model year Camry and 2004 model year Solara ± When removing the
A±pillar garnish panels, replace the white plastic attachment clips (P/N 90467±A0025).
�All models.
OP CODEDESCRIPTIONTIMEOFPT1T2
N/ANot Applicable to Warranty±±±±
BODY
Introduction
Inspection/
Replacement
Procedure
Applicable
Vehicles
Warranty
Information
Page 3715 of 4592
Toyota Supports ASE CertificationPage 1 of 2
BO017±99
Title:
DOOR GLASS DISPLACEMENT
Models:
'98 ± '99 TMMK Camry
Technical Service
BULLETIN
November 26, 1999
On some 1998 and 1999 Camry vehicles, the door glass may be displaced from the front
door glass run if the door is closed forcefully with the window partially down. A field fix
has been developed to remedy this condition.
�1998 ± 1999 TMMK Camrys vehicles produced prior to VINs listed below.
MODELSTARTING VIN
1999 TMMK produced Camry
4T1BG**K*XU602813
4T1BF**K*XU088877
4T1BG**K*XU917744
4T1BF**K*XU933406
NOTE:
Refer to 1998 Camry Repair Manual (Vol. 2) BO±Section for Door Panel Removal and
Window Regulator Servicing information.
OP CODEDESCRIPTIONTIMEOPNT1T2
BD9008R&R Door Trim / Modify Hole (both sides)0.567402±AA0115357
Applicable Warranty*:
This repair is covered under the Toyota Basic Warranty. This warranty is in effect for
36 months or 36,000 miles, whichever occurs first, from the vehicle's in±service date.
* Warranty application is limited to correction of a problem based upon a customer's specific complaint.
BODY
Introduction
Applicable
Vehicles
Production
Change
Information
Warranty
Information
Page 3717 of 4592
Toyota Supports ASE CertificationPage 1 of 2
BO019±99
Title:
DOOR MIRROR WIND NOISE
Models:
'97 ± '99 Camry
Technical Service
BULLETIN
December 3, 1999
Wind/road noise heard around the door mirrors of some Japan produced Camry vehicles
may be caused by an improperly positioned mirror wire harness grommet and/or harness
connector.
�1997 through 1999 Camry vehicles. (Japan produced only)
PLANTSTARTING VIN
TMC
JT2BG22K * X0367325
JT2BG28K * X0367352
TMCJT2BG28K X0367352
JT2BF22K * X0227381
JT2BF28K * X0227306
OP CODEDESCRIPTIONTIMEOPNT1T2
BD9006Adjust the Wire Harness Grommet
and/or Connector (both sides)0.487910±331505957
Applicable Warranty*:
This repair is covered under the Toyota Basic Warranty. This warranty is in effect for
36 months or 36,000 miles, whichever occurs first, from the vehicle's in±service date.
* Warranty application is limited to correction of a problem based upon a customer's specific complaint.
1. Carefully pry off the door speaker
cover and remove the nut using a 10
mm socket that secures the speaker
to the door.
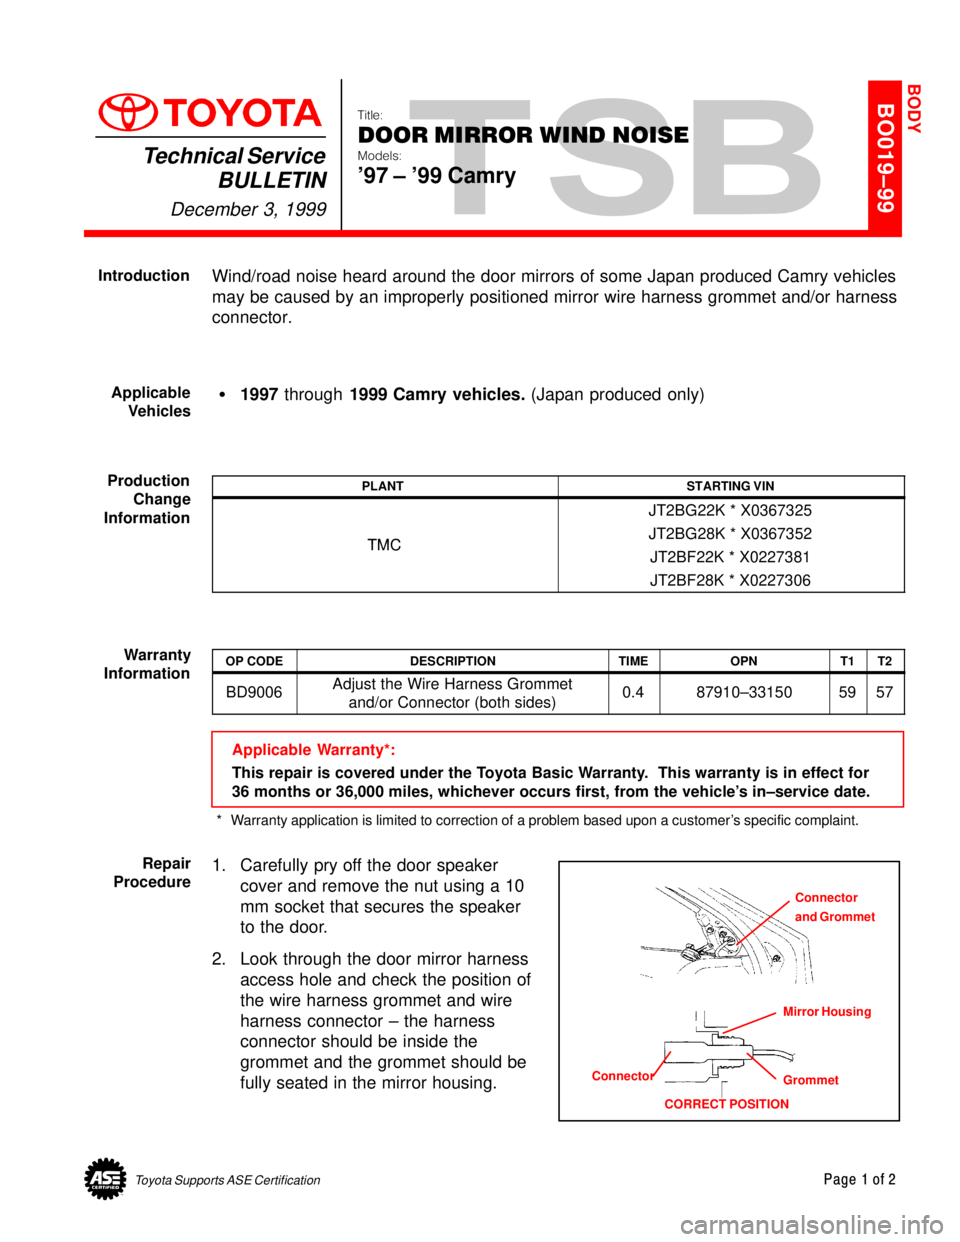
2. Look through the door mirror harness
access hole and check the position of
the wire harness grommet and wire
harness connector ± the harness
connector should be inside the
grommet and the grommet should be
fully seated in the mirror housing.
BODY
Introduction
Applicable
Vehicles
Production
Change
Information
Warranty
Information
Connector
and Grommet
Mirror Housing
Grommet Connector
CORRECT POSITION
Repair
Procedure
Page 3740 of 4592
Toyota Supports ASE CertificationPage 1 of 3
BO020±99
Title:
SEAT COVER LOOSENESS
Models:
'99 Camry & Sienna
Technical Service
BULLETIN
December 17, 1999
On some 1999 Camry front seats and Sienna captain seats, the seat bottom cover may
become loose at the front lower J±clip. To correct this condition a change has been
made to the way the seat cover is fastened to the seat bottom.
�1999 Camry & Sienna vehicles produced within the following VIN ranges.
MODEL/PLANTBETWEEN VIN
Camry (Plant 1)BG*XU575466 BF*XU578340 / BF*XU085983 BF*XU086274Camry (Plant 1)BG * XU575466 ± BF * XU578340 / BF * XU085983 ± BF * XU086274
Camry (Plant 2)BG * XU908651 ± BG * XU910853 / BF * XU932462 ± BF * XU932748
SiennaXU167107 ± XU168859
NOTE:
When working with sheet metal wear Kevlar Gloves to protect your hands.
Camry
OP CODECOMBODESCRIPTIONTIMEOPNT1T2
711041A&BRe±attach Lower Portion of1171071±xxxxx±xx6214711041A & BRe attach Lower Portion of
Front Seat Cover (RH & LH)1.171072±xxxxx±xx6214
Sienna
OP CODECOMBODESCRIPTIONTIMEOPNT1T2
711041A&BRe±attach Lower Portion of0671071±xxxxx±xx6214711041A & BRe attach Lower Portion of
Captain Seat Cover (RH & LH)0.671074±xxxxx±xx6214
Applicable Warranty*:
This repair is covered under the Toyota Basic Warranty. This warranty is in effect for
36 months or 36,000 miles, whichever occurs first, from the vehicle's in±service date.
* Warranty application is limited to correction of a problem based upon a customer's specific complaint.
BODY
Introduction
Applicable
Vehicles
Warranty
Information
Page 3743 of 4592

Toyota Supports ASE CertificationPage 1 of 2
BO021±99
Title:
SUNROOF OPERATION
Models:
'97 ± '99 TMMK Camry
Technical Service
BULLETIN
December 17, 1999
Some 1997 ± 1999 TMMK Camry vehicles may experience an interruption in sunroof
operation (not opening or closing). Changes have been made to the roof drip channel
guides to improve operation. The guides were modified to increase the clearance
between the sun shade and opening flange by 2 mm. A radius was added to eliminate
the sharp corners of the guides.
�1997 ± 1999 TMMK Camry vehicles built before the production change.
MODELPLANTSTARTING VIN
Camry (TMMK)Plant 14T1BG*XU543595/BF*XU083791Camry (TMMK)Plant 24T1BG*XU901534/BF*XU932010
PREVIOUS PART NUMBERCURRENT PART NUMBERPART NAME
63222±AA010SameRoof Drip Channel Guide ± LH
63221±AA010SameRoof Drip Channel Guide ± RH
OPCODEDESCRIPTIONTIMEOPNT1T2
614141R & R Drip Channel Guide, Both RH and LH2.063222±AA0105383
Applicable Warranty*:
This repair is covered under the Toyota Basic Warranty. This warranty is in effect for
36 months or 36,000 miles, whichever occurs first, from the vehicle's in±service date.
* Warranty application is limited to correction of a problem based upon a customer's specific complaint.
BODY
Introduction
Applicable
Vehicles
Production
Change
Information
Parts
Information
Warranty
Information
Page 3745 of 4592
Toyota Supports ASE CertificationPage 1 of 1
BO025-01Title:
SUNVISOR VANITY MIRROR
IMPROVEMENT
Models:
'97 ± '01 NAP Camry
Technical Service
BULLETIN
October 12, 2001
Production changes have been implemented on the 1997 ± 2001 model year NAP Camry
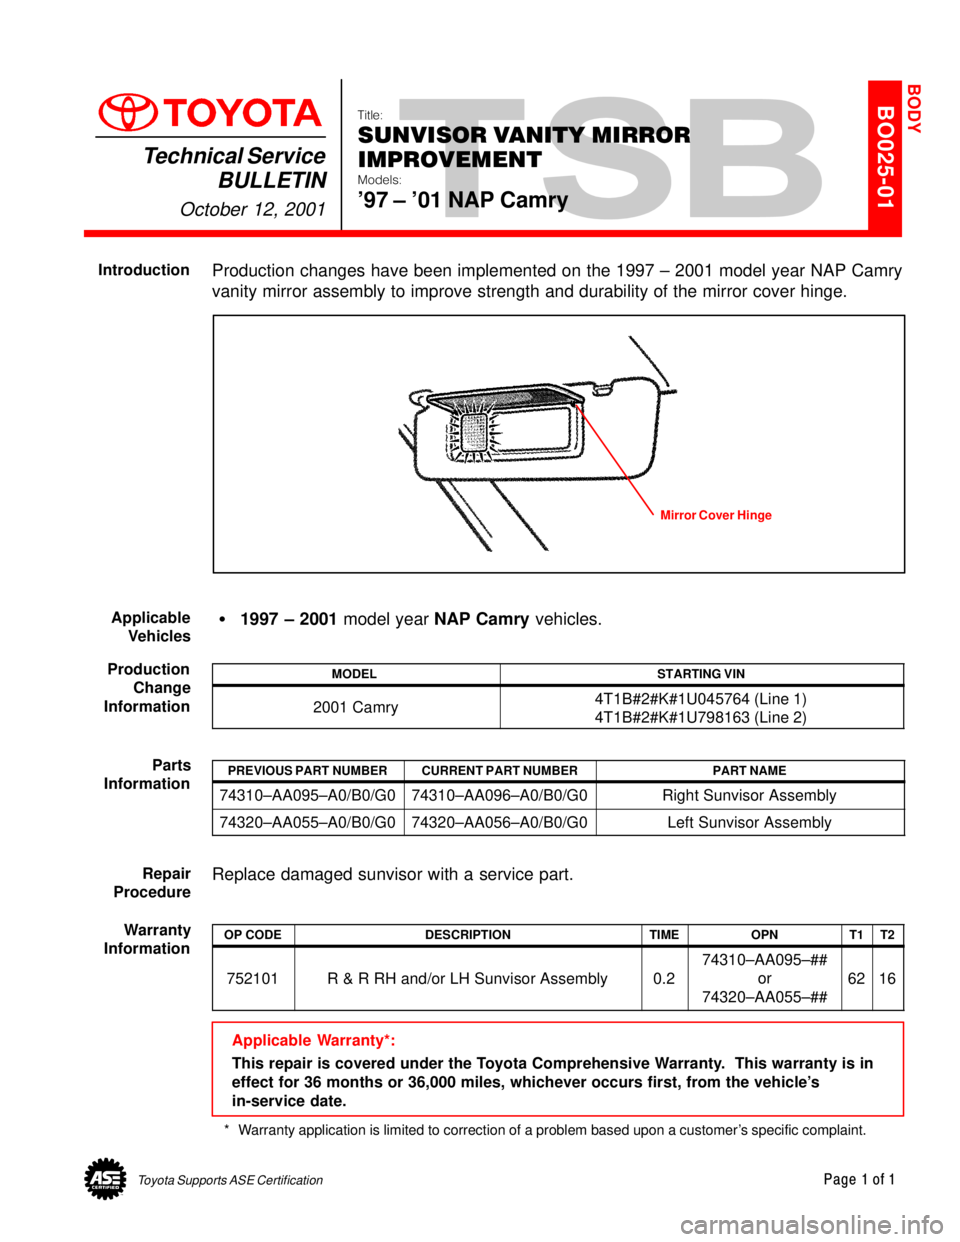
vanity mirror assembly to improve strength and durability of the mirror cover hinge.
Mirror Cover Hinge
�1997 ± 2001 model year NAP Camry vehicles.
MODELSTARTING VIN
2001 Camry4T1B#2#K#1U045764 (Line 1)
4T1B#2#K#1U798163 (Line 2)
PREVIOUS PART NUMBERCURRENT PART NUMBERPART NAME
74310±AA095±A0/B0/G074310±AA096±A0/B0/G0Right Sunvisor Assembly
74320±AA055±A0/B0/G074320±AA056±A0/B0/G0Left Sunvisor Assembly
Replace damaged sunvisor with a service part.
OP CODEDESCRIPTIONTIMEOPNT1T2
752101R & R RH and/or LH Sunvisor Assembly0.2
74310±AA095±##
or
74320±AA055±##
6216
Applicable Warranty*:
This repair is covered under the Toyota Comprehensive Warranty. This warranty is in
effect for 36 months or 36,000 miles, whichever occurs first, from the vehicle's
in-service date.
* Warranty application is limited to correction of a problem based upon a customer's specific complaint.
BODY
Introduction
Applicable
Vehicles
Production
Change
Information
Parts
Information
Repair
Procedure
Warranty
Information
Page 3750 of 4592
Toyota Supports ASE CertificationPage 1 of 1
BO028-00Title:
LEAKS INTO TRUNK
Models:
'97 - '01 Camry (U.S.), '98 - '01 Sienna,
'99 - '01 Solara & '01 Avalon
Technical Service
BULLETIN
November 3, 2000
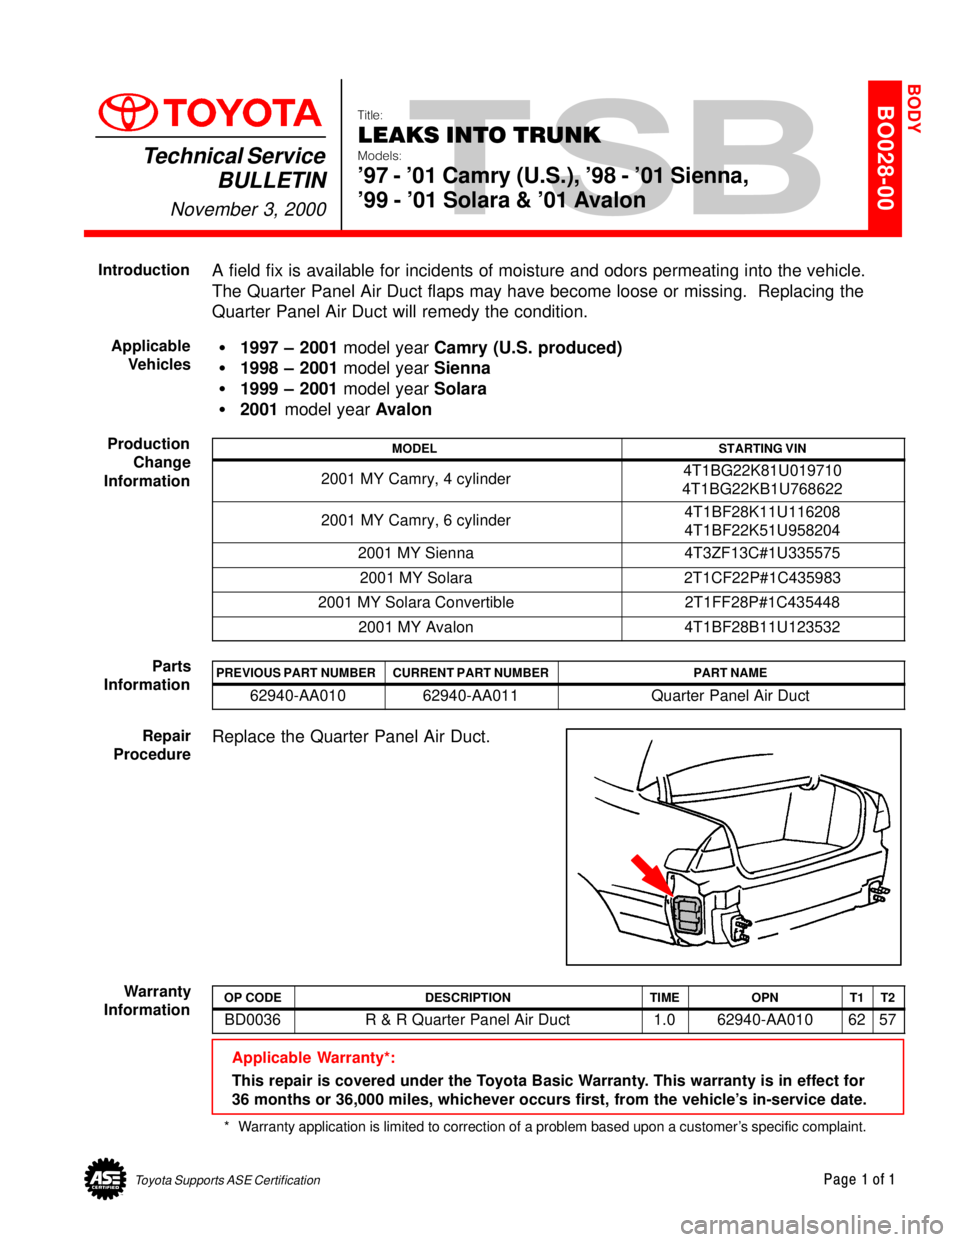
A field fix is available for incidents of moisture and odors permeating into the vehicle.
The Quarter Panel Air Duct flaps may have become loose or missing. Replacing the
Quarter Panel Air Duct will remedy the condition.
�1997 ± 2001 model year Camry (U.S. produced)
�1998 ± 2001 model year Sienna
�1999 ± 2001 model year Solara
�2001 model year Avalon
MODELSTARTING VIN
2001 MY Camry, 4 cylinder4T1BG22K81U019710
4T1BG22KB1U768622
2001 MY Camry, 6 cylinder4T1BF28K11U116208
4T1BF22K51U958204
2001 MY Sienna4T3ZF13C#1U335575
2001 MY Solara2T1CF22P#1C435983
2001 MY Solara Convertible2T1FF28P#1C435448
2001 MY Avalon4T1BF28B11U123532
PREVIOUS PART NUMBERCURRENT PART NUMBERPART NAME
62940-AA01062940-AA011Quarter Panel Air Duct
Replace the Quarter Panel Air Duct.
OP CODEDESCRIPTIONTIMEOPNT1T2
BD0036R & R Quarter Panel Air Duct1.062940-AA0106257
Applicable Warranty*:
This repair is covered under the Toyota Basic Warranty. This warranty is in effect for
36 months or 36,000 miles, whichever occurs first, from the vehicle's in-service date.
* Warranty application is limited to correction of a problem based upon a customer's specific complaint.
BODY
Introduction
Applicable
Vehicles
Production
Change
Information
Parts
Information
Repair
Procedure
Warranty
Information
Page 3757 of 4592
BR002±94
BRAKE VIBRATION AND/OR PULSATIONPage 2 of 6
B. PEDAL PULSATION
Applying brakes causes the brake pedal to pulsate. This brake pulsation sometimes
causes the steering wheel to oscillate when the brakes are applied (See Figure 2 below).
2) CAUSE OF VIBRATION/PULSATION PROBLEMS
Brake rotor thickness variation causes brake vibration due to changes in the braking force as
thick/thin portions of the rotor pass the pads. Brake rotor thickness variation can be measured
with a micrometer as shown in Figure 3 below.
Figure 2
10 mm
Divide Into
8 Equal Parts & Measure
at each location
Thickness Variation = Maximum ± Minimum
Figure 3