1998 CADILLAC SEVILLE change time
[x] Cancel search: change timePage 7 of 378
Downloaded from www.Manualslib.com manuals search engine GENERAL MOTORS, GM and the GM Emblem,
CADILLAC, the CADILLAC Emblem and the
name SEVILLE are registered trademarks of General
Motors Corporation.
This manual includes the latest information at the time it
was printed. We reserve the right to make changes
in the
product after that time without further notice. For
vehicles first sold in Canada, substitute the name
“General Motors of Canada Limited” for Cadillac Motor
Car Division whenever it appears in this manual.
Please keep this manual in your vehicle,
so it will be
there if you ever need it when you’re
on the road. If you
sell the vehicle, please leave this manual in it
so the new
owner can use
it.
WE SUPPORT
VOLUNTARY TECHNICIAN
CERTIFICATION THROUGH
National Institute for
AUTOMOTIVE
SERVICE
EXCELLENCE
We support voluntary
technician certification.
For Canadian Owners Who Prefer a
French Language Manual:
Aux propriktaires canadiens: Vous pouvez vous
procurer un exemplaire de ce guide en franqais chez votre concessionaire
ou au:
DGN Marketing Services Ltd.
1577 Meyerside Dr.
Mississauga, Ontario L5T 1B9
Litho in U.S.A. @Copyright General Motors Corporation 1997
Part No. 25665434 B First Edition All Rights Reserved
ii
Page 13 of 378
Downloaded from www.Manualslib.com manuals search engine Seats and Seat Controls
This section tells you about the power seats -- how to
adjust them, and also about reclining front seatbacks,
lumbar adjustments, heated seats and head restraints.
Power Seats
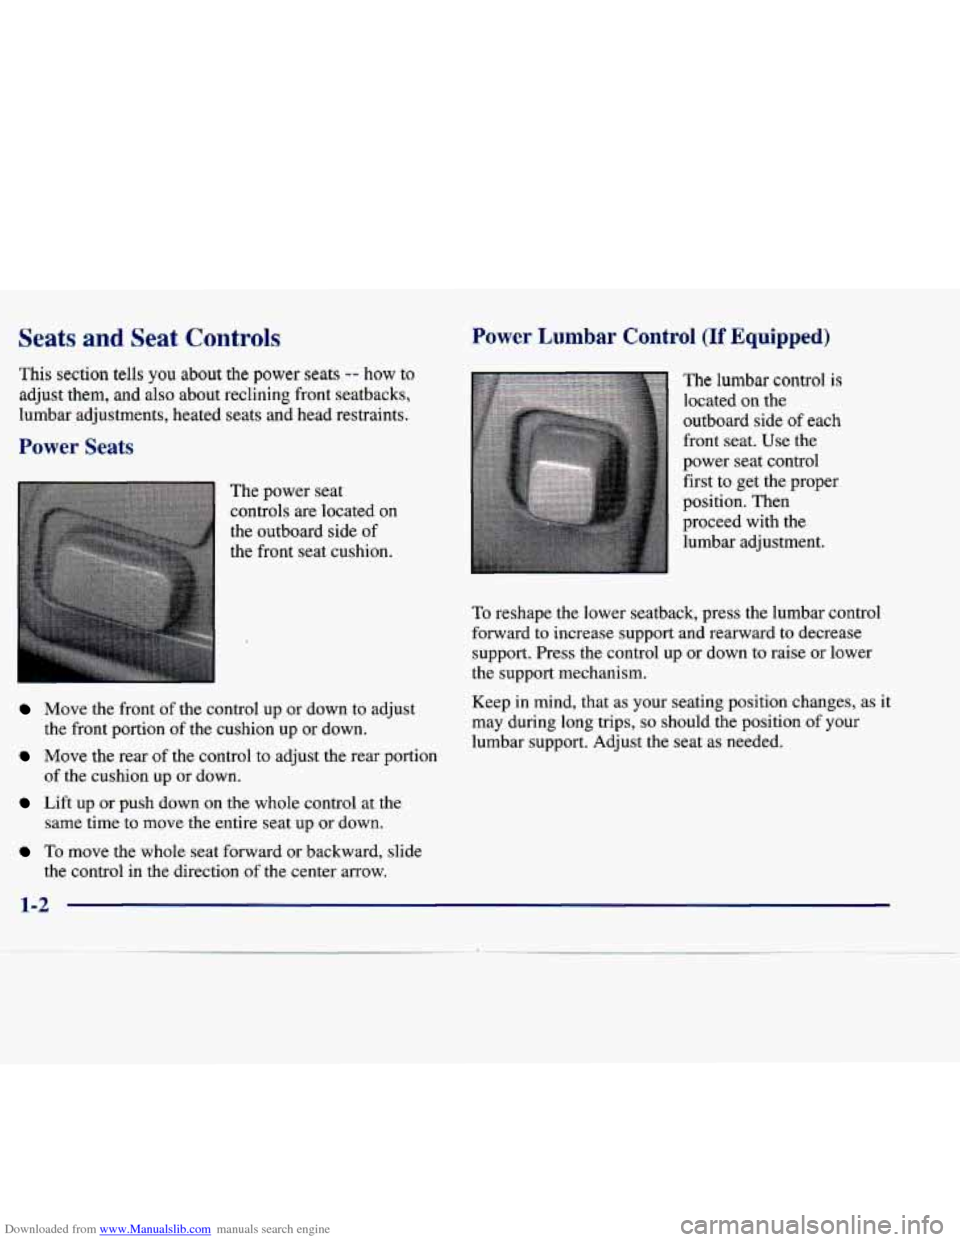
The power seat
controls are located on
the outboard side
of
the front seat cushion.
Power Lumbar Control (If Equipped)
I
The lumbar control is
located on the
outboard side
of each
front seat. Use the
power seat control first to get the proper
position. Then
proceed with the
lumbar adjustment.
To reshape the lower seatback, press the lumbar control
forward to increase support and rearward
to decrease
support. Press the control up or down to raise or lower
the support mechanism.
Move the front of the control up or down to adjust Keep in mind, that as your seating position changes, as it
the front portion of the cushion up or down. may during long trips,
so should the position of your
Move the rear of the control to adjust the rear portion
of the cushion up or down.
Lift up or push down on the whole control at the
same time to move the entire seat up or down. lumbar support. Adjust the seat
as needed.
To move the whole seat forward or backward, slide
the control in the direction
of the center arrow.
Page 68 of 378
Downloaded from www.Manualslib.com manuals search engine Remote Keyless Entry (RKE) System
I
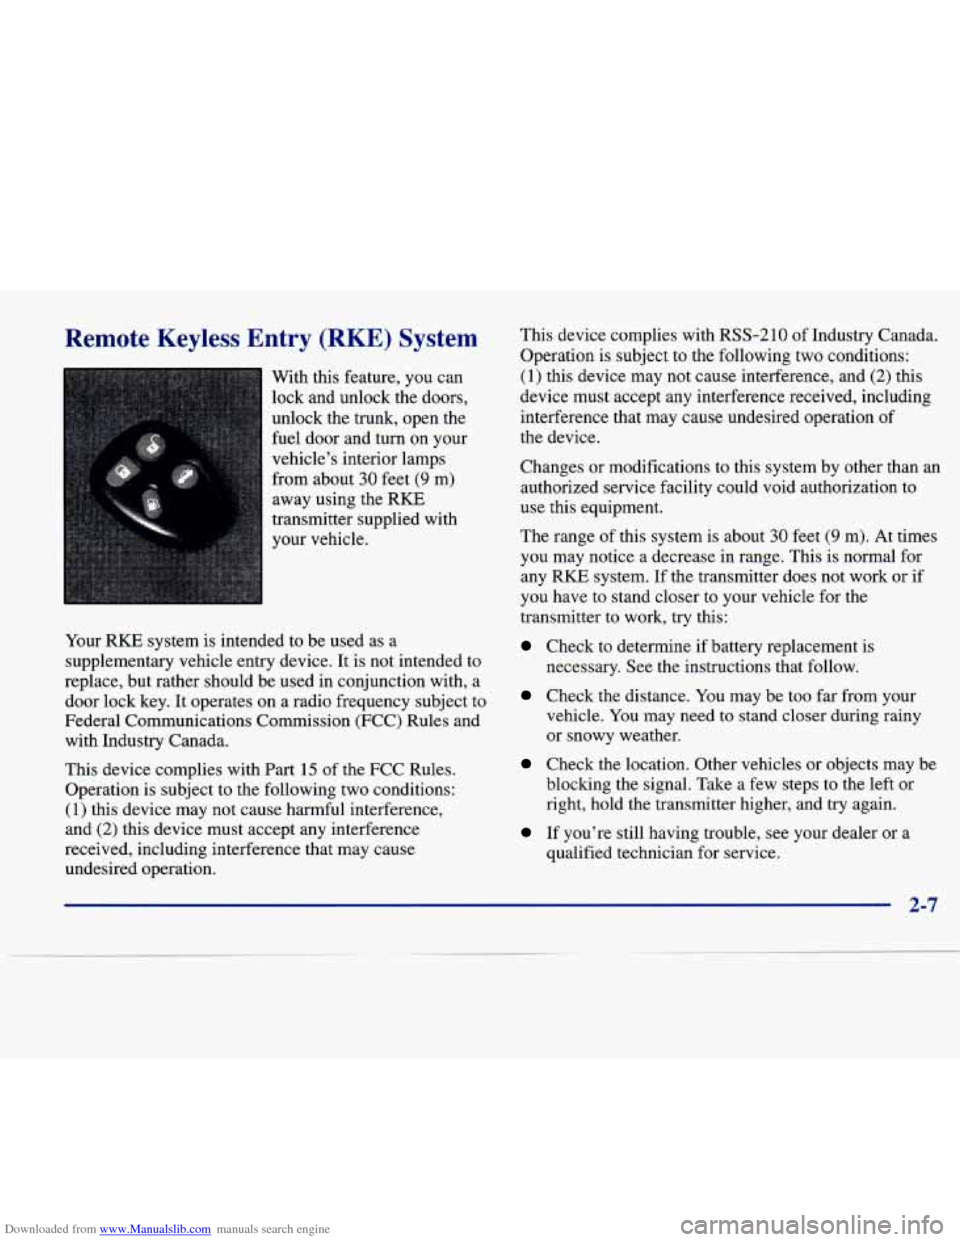
With this feature, you can
lock and unlock the doors,
unlock the trunk, open the
fuel door and turn on your
vehicle’s interior lamps
from about
30 feet (9 m)
away using the
RKE
transmitter supplied with
your vehicle.
Your
RKE system is intended to be used as a
supplementary vehicle entry device. It is not intended to
replace, but rather should be used in conjunction with, a
door lock key.
It operates on a radio frequency subject to
Federal Communications Commission (FCC) Rules and
with Industry Canada.
This device complies with Part
15 of the FCC Rules.
Operation is subject to the following two conditions:
(1) this device may not cause harmful interference,
and
(2) this device must accept any interference
received, including interference that may cause
undesired operation. This device complies with
RSS-210 of
Industry Canada.
Operation is subject to the following two conditions:
(1) this device may not cause interference, and (2) this
device must accept any interference received, including
interference that may cause undesired operation
of
the device.
Changes or modifications to this system by other than
an
authorized service facility could void authorization to
use this equipment.
The range of this system is about
30 feet (9 m). At times
you may notice
a decrease in range. This is normal for
any
RKE system. If the transmitter does not work or if
you have to stand closer to your vehicle for the
transmitter
to work, try this:
Check to determine if battery replacement is
necessary. See the instructions that follow.
Check the distance. You may be too far from your
vehicle. You may need to stand closer during rainy
or snowy weather.
Check the location. Other vehicles or objects may be
blocking the signal. Take a few steps to the left or
right, hold the transmitter higher, and
try again.
If you’re still having trouble, see your dealer or a
qualified technician for service.
2-7
Page 70 of 378
Downloaded from www.Manualslib.com manuals search engine Battery Replacement
Under normal use, the battery in your remote keyless
entry transmitter should last about four years.
You can tell the battery is weak if the transmitter won’t
work at the normal range in any location.
If you have to
get close to your vehicle before the transmitter works,
it’s probably time to change the battery.
I NOTICE:
When replacing the battery, use care not to touch
any of the circuitry. Static from your body
transferred to these surfaces may damage
the transmitter.
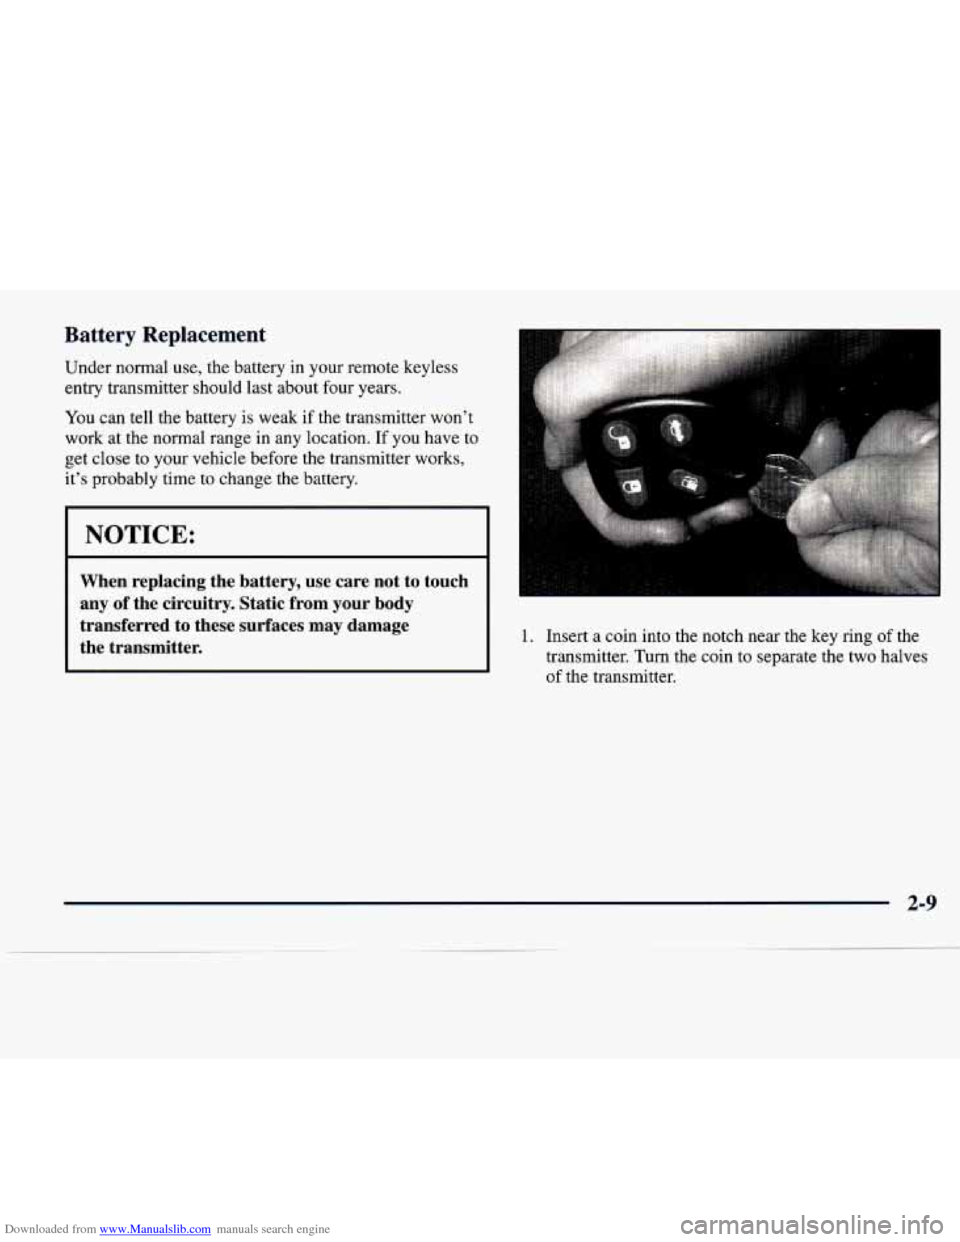
1. Insert a coin into the notch near the key ring of the
transmitter.
Turn the coin to separate the two halves
of the transmitter.
2-9
Page 108 of 378
Downloaded from www.Manualslib.com manuals search engine At night, when the glare is too high, the mirror will
gradually darken to reduce glare (this change may take a
few seconds). The mirror will return to its clear daytime
state when the glare is reduced.
Mirror Operation
To turn on the automatic dimming feature, press AUTO.
To turn off automatic dimming, press OFF. The
indicator light will be illuminated when this feature
is active.
Time Delay
The automatic mirror has a time delay feature which
prevents unnecessary switching from the night back to
the day position. This delay prevents rapid changing of
the mirror as you drive under lights and through traffic.
Cleaning the Photocells
Use a cotton swab and glass cleaner to clean the
photocells when necessary.
Electrochromic Daymight Rearview Mirror with Compass
(If Equipped)
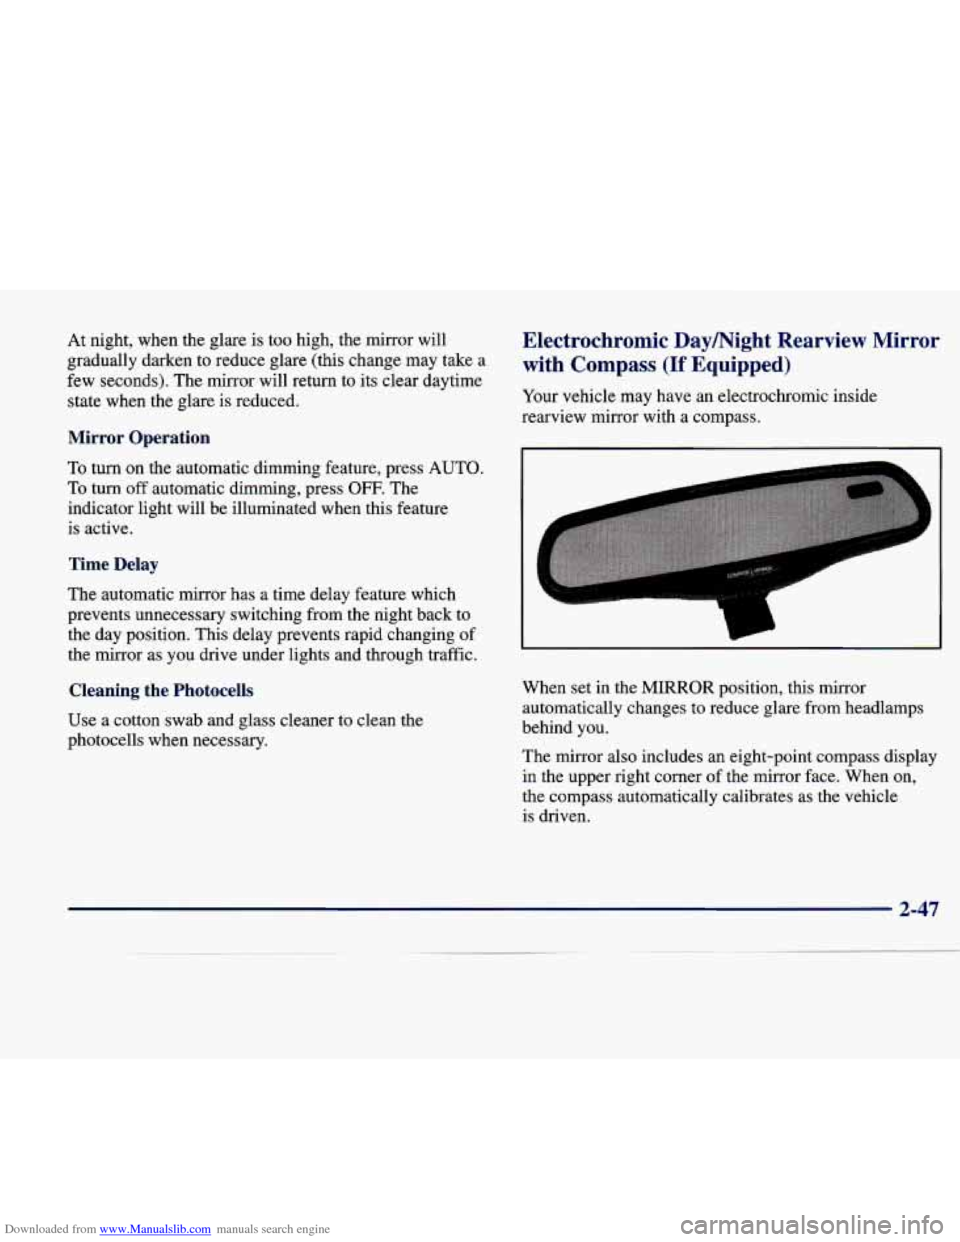
Your vehicle may have an electrochromic inside
rearview mirror with
a compass.
L
1
When set in the MIRROR position, this mirror
automatically changes to reduce glare from headlamps
behind you.
The mirror also includes an eight-point
Cti~pa"ss display
in the upper right corner of the mirror face. When on,
the compass automatically calibrates as the vehicle
is driven.
Page 136 of 378
Downloaded from www.Manualslib.com manuals search engine All of these situations are normal and do not indicate
that anything is wrong.
0 At the gas station the gas pump shuts off before the
gage reads
F.
0 The gage may change when you turn, stop quickly or
accelerate quickly.
GAL FUEL USED on the Driver Information Center
does not correspond exactly to the amount
of fuel
remaining as shown on the fuel gage.
Continuous Variable Road Sensing
Suspension (CVRSS)
The CVRSS automatically adjusts the ride of your
vehicle. Automatic ride control
is achieved through a
computer used to control and monitor the suspension
system. The controller receives input from various
sensors to determine the proper system response. If
the
controller detects a problem within the system, the DIC
will display a SERVICE SUSPENSION SYS message.
If this message appears, have your vehicle serviced at
your dealership.
Driver Information Center (DIC)
This display gives you the status of many of your
vehicle’s systems. The DIC is also used to display driver
personalization features and warninghtatus messages.
Memory and Personalization Features
(If Equipped)
Your vehicle may have memory personalization.
Memory settings that have been previously programmed (HVAC settings, radio preset settings, exterior lighting
choices, remote confirmation choices, seat positions,
column positions,
mirror and programmable automatic
door lock choices) can be recalled by pressing the
unlock button on the
RKE transmitter or by placing the
key
in your vehicle’s ignition.
To begin programming, the ignition must be in ON, your
vehicle in PARK
(P), and if your vehicle has memory,
press the appropriate memory button
“1” or “2”, located
on the driver’s door panel, prior to programming. Press
the
INFO button one or more times until the FEATURE
PROGRAMMING prompt appears on the Driver Information Center (DIC) display. Press the
ON/OFF
button to enter FEATURE PROGRAMMING. To exit,
press the INFO
RESET button.
2-75
Page 141 of 378
Downloaded from www.Manualslib.com manuals search engine Comfort Controls and Radio System Personalization
These features allow both drivers to personalize their
own climate control settings
as well as their radio
settings. For more information, see “Climate Control
Personalization” and “Radio Personalization” in
the Index.
The outside temperature is always available for display
when your vehicle is running unless an overriding
Driver Information Center message appears. You can
change the temperature from Fahrenheit to Celsius by
pressing the ENGMET (EnglisWmetric) button on the
instrument panel. For more information on the Driver
Information Center, see “Driver Information Center
Messages” in the Index.
The electronic sensor can be affected by road or engine
heat during idling, slow driving or when the engine
is
first stared after a short trip. In order to ensure proper
automatic climate control operation, the outside air
temperature display may not update as quickly as
expected.
This is to allow the air surrounding the outside
temperature sensor to be as close to the actual outside
conditions as possible. This is determined by how much
time has elapsed since the vehicle has been turned off and by vehicle speed.
Control Buttons
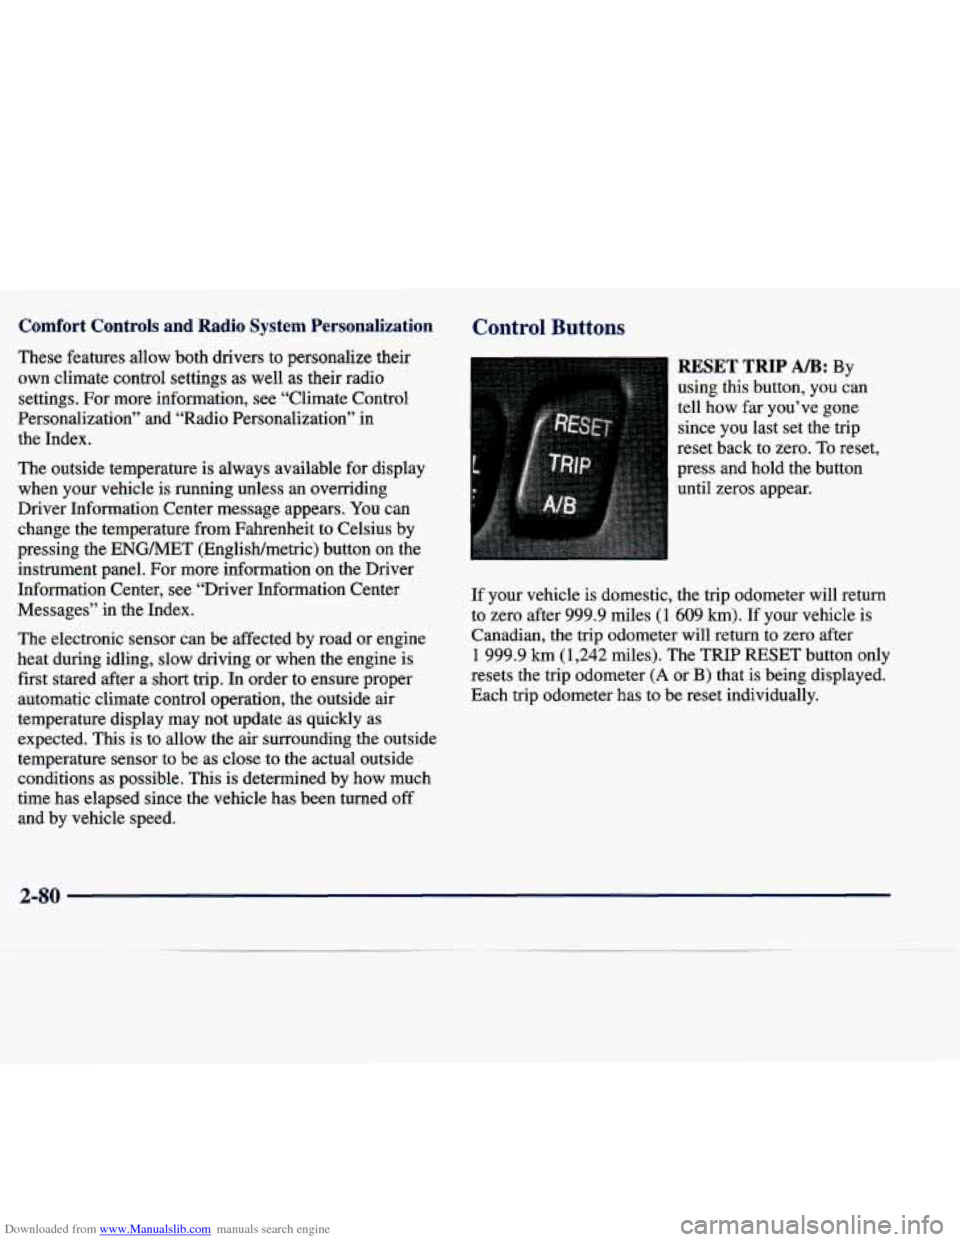
RESET TRIP AB: By
using this button, you can
tell how far.you’ve gone
since you last set the trip
reset back to zero. To reset,
press and hold the button
until zeros appear.
If your vehicle is domestic, the trip odometer will return
to zero after 999.9 miles
(1 609 km). If your vehicle is
Canadian, the trip odometer will
return to zero after
1 999.9 km (1,242 miles). The TRIP RESET button only
resets the trip odometer
(A or B) that is being displayed.
Each trip odometer has
to be reset individually.
2-80
Page 143 of 378
Downloaded from www.Manualslib.com manuals search engine Once TIMER 0O:OO:OO is displayed, press the ON/OFF
button to start the timing feature. Press the ON/OFF
button again to stop it. If you will be starting and
stopping your vehicle, during a trip for instance, the
TIMER feature will automatically start timing where it
left off when you last stopped.
To reset it, press and hold
the INFO RESET button until the display reads TIMER
0O:OO:OO. Press the INFO button to exit from the
TIMER function.
ENGINE OIL LIFE (Reset): Press the INFO button to
display the ENGINE OIL LIFE, then press and hold
the
INFO RESET button until 100% ENGINE OIL LIFE is
displayed. (This only needs to be reset after you have
had the oil changed.)
Transmission Fluid Life Monitor: Under normal
conditions, the rate of deterioration
of the transmission
fluid is slow. See the Maintenance Schedule booklet for
proper fluid and change intervals. Press the INFO button
to display the TRANS FLUID LEFT, then press and
hold the INFO RESET button until
100% TRANS
FLUID LEFT is displayed. (This only needs to be reset after you have had the fluid changed.)
Driver Information Center Messages
These messages will appear if there is a problem sensed
in one of your vehicle’s systems. Vehicles that
are first
sold in Canada will have a number after each message.
This number helps to identify the message which is only
displayed in English.
BATTERY NOT CHARGING - 7: This message will
appear if the battery is not being charged. Have the
electrical system checked by your dealership at your
earliest convenience.
BATTERY SAVER ACTIVE - 27: This message is
displayed when the vehicle has detected that the battery
voltage is dropping beyond a reasonable point. The
battery saver system will start reducing certain features
of the vehicle that you may not be able to notice. At the
point that features are disabled, this message is displayed. It is used to convey that the vehicle is trying
to save the charge in the battery. Turn
off unnecessary
accessories to allow the battery to recharge.
ENGMET: Press this button to display information in
the English (miles) or metric (kilometers) system.
2-82