1998 CADILLAC SEVILLE turn signal
[x] Cancel search: turn signalPage 10 of 378
Downloaded from www.Manualslib.com manuals search engine L
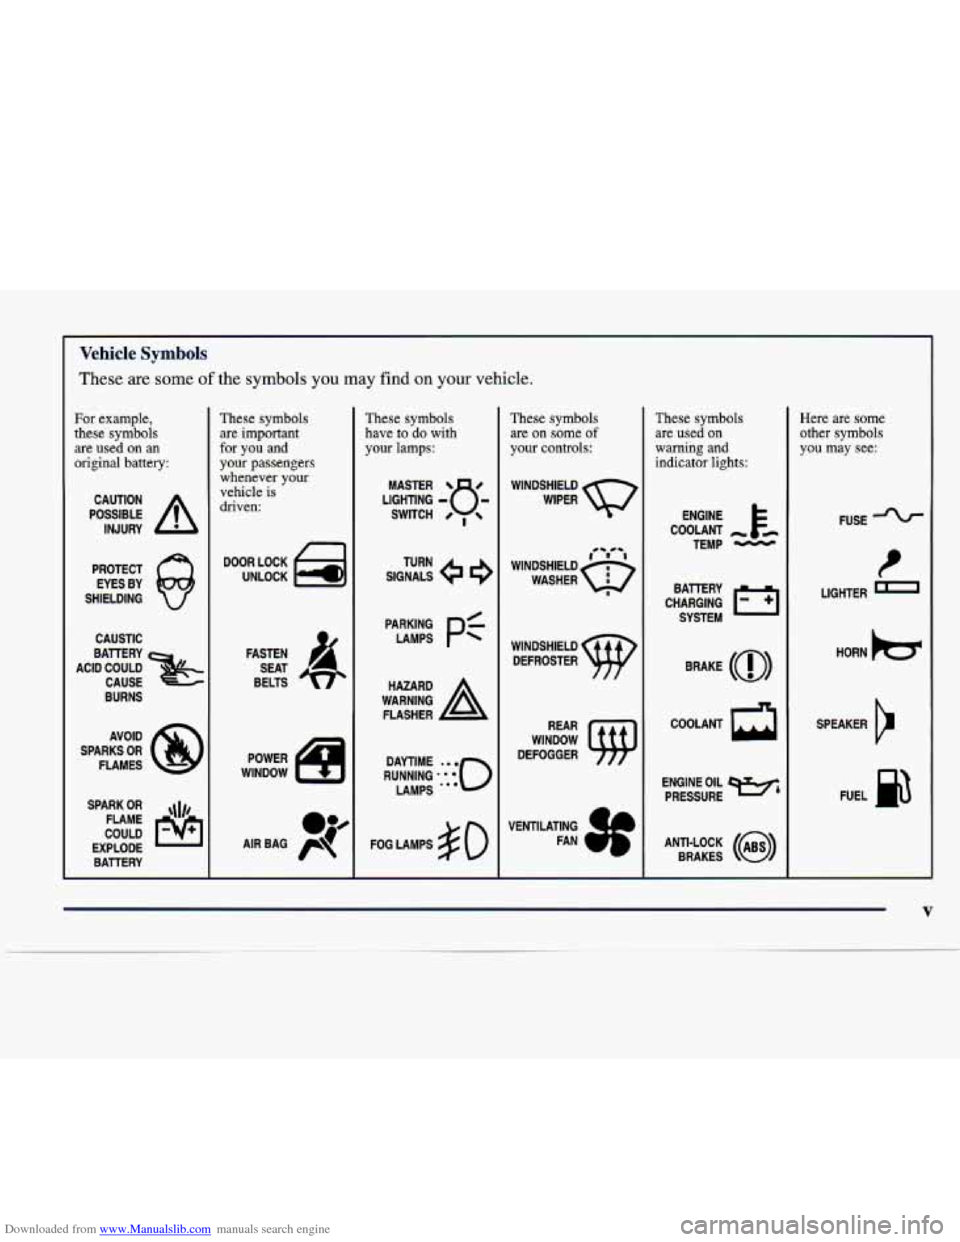
Vehicle Symbols
These are some of the symbols you may find on your vehicle.
For example,
these symbols are
used on an
original battery:
POSSIBLE A
CAUTION
INJURY
PROTECT EYES BY
SHIELDING
CAUSTIC
BURNS
SPARK
OR ,\I/,
COULD FLAME
EXPLODE BAlTERY
These symbols are important
for you and
your passengers whenever your
vehicle is
driven:
DOOR LOCK
UNLOCK
FASTEN SEAT
BELTS
These symbols have to
do with
your lamps:
SIGNALS e e
TURN
FOG LAMPS
# 0
These symbols
are on
some of
your controls:
WINDSHIELD
WIPER
WINDOW
DEFOGGER
These symbols are used on
warning and
indicator lights:
COOLANT -
TEMP -
CHARGING BAllERY
SYSTEM
BRAKE
(0)
COOLANT a
ENGINE OIL e,
PRESSURE
ANTI-LOCK
(a)
BRAKES
Here are some
other symbols
you may see:
FUSE
P
LIGHTER I
HORN be
SPEAKER
12
FUEL B
V
Page 68 of 378
Downloaded from www.Manualslib.com manuals search engine Remote Keyless Entry (RKE) System
I
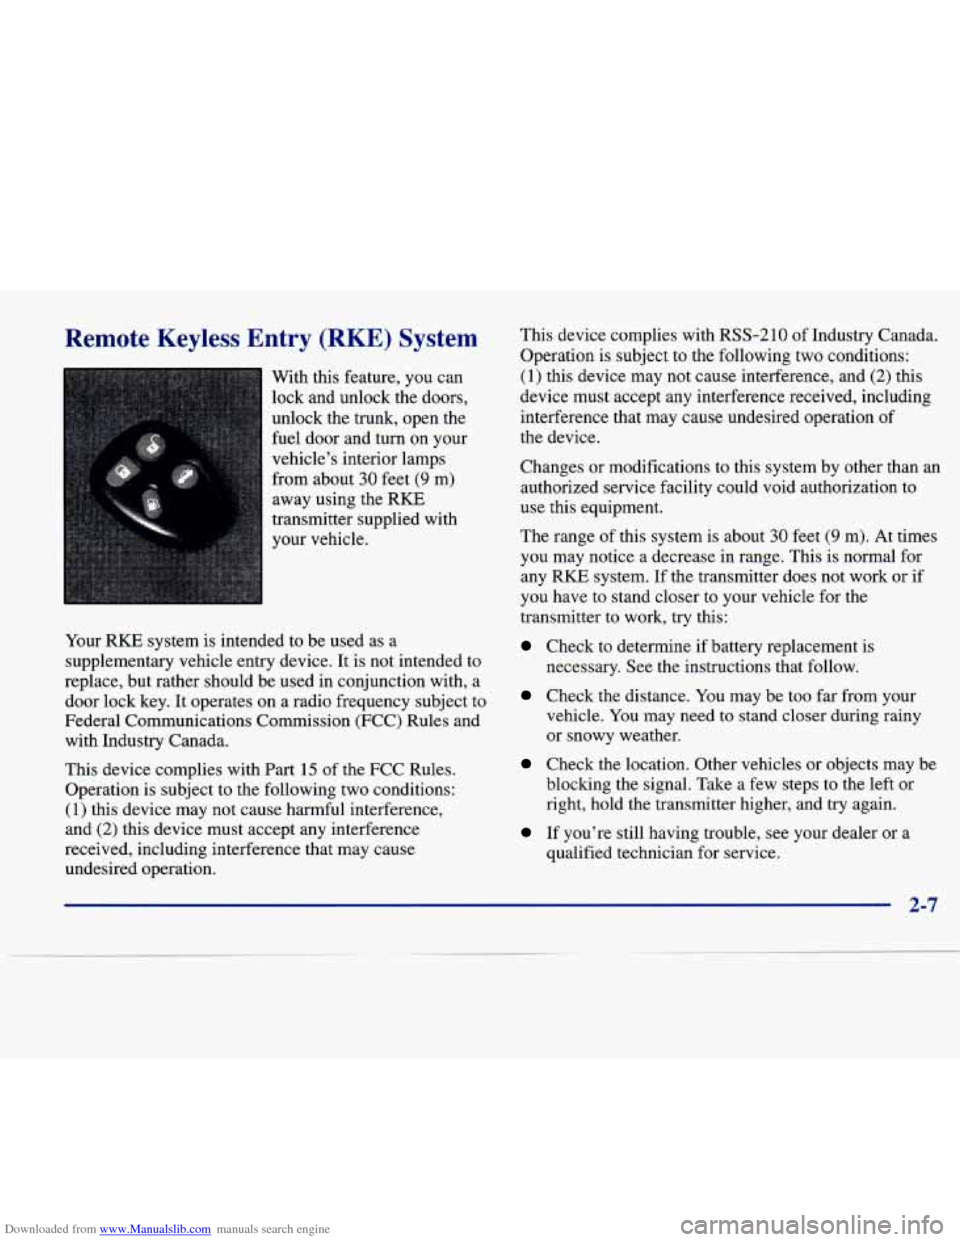
With this feature, you can
lock and unlock the doors,
unlock the trunk, open the
fuel door and turn on your
vehicle’s interior lamps
from about
30 feet (9 m)
away using the
RKE
transmitter supplied with
your vehicle.
Your
RKE system is intended to be used as a
supplementary vehicle entry device. It is not intended to
replace, but rather should be used in conjunction with, a
door lock key.
It operates on a radio frequency subject to
Federal Communications Commission (FCC) Rules and
with Industry Canada.
This device complies with Part
15 of the FCC Rules.
Operation is subject to the following two conditions:
(1) this device may not cause harmful interference,
and
(2) this device must accept any interference
received, including interference that may cause
undesired operation. This device complies with
RSS-210 of
Industry Canada.
Operation is subject to the following two conditions:
(1) this device may not cause interference, and (2) this
device must accept any interference received, including
interference that may cause undesired operation
of
the device.
Changes or modifications to this system by other than
an
authorized service facility could void authorization to
use this equipment.
The range of this system is about
30 feet (9 m). At times
you may notice
a decrease in range. This is normal for
any
RKE system. If the transmitter does not work or if
you have to stand closer to your vehicle for the
transmitter
to work, try this:
Check to determine if battery replacement is
necessary. See the instructions that follow.
Check the distance. You may be too far from your
vehicle. You may need to stand closer during rainy
or snowy weather.
Check the location. Other vehicles or objects may be
blocking the signal. Take a few steps to the left or
right, hold the transmitter higher, and
try again.
If you’re still having trouble, see your dealer or a
qualified technician for service.
2-7
Page 94 of 378
Downloaded from www.Manualslib.com manuals search engine Turn SignaVMultifunction Lever
’hrn and Lane Change Signals
To signal a turn, move the lever on the left side of the
steering wheel all the
way up or down. The lever returns
automatically when the turn is complete.
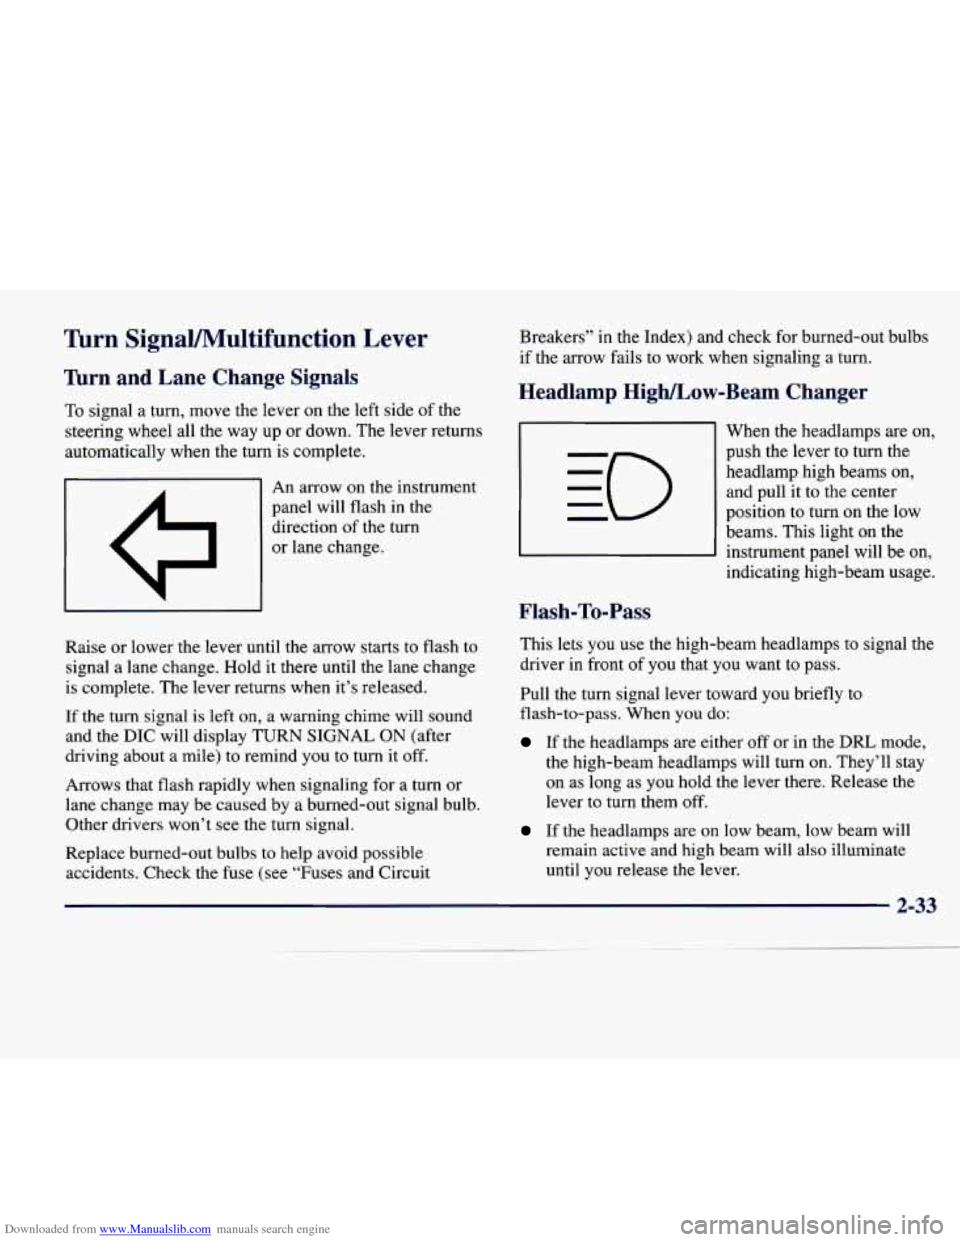
I A I An arrow on the instrument
panel will flash in the
direction of the turn
or lane change.
Raise or lower the lever until the arrow starts to flash to
signal a lane change. Hold it there until the lane change
is complete. The lever returns when it’s released.
If the turn signal is left
on, a warning chime will sound
and the
DIC will display TURN SIGNAL ON (after
driving about a mile) to remind you to turn it off.
Arrows that flash rapidly when signaling for
a turn or
lane change may be caused by a burned-out signal bulb. Other drivers won’t see the turn signal.
Replace burned-out bulbs
to help avoid possible
accidents. Check the fuse (see “Fuses and Circuit Breakers”
in the Index) and check
for burned-out bulbs
if the arrow fails to work when signaling
a turn.
Headlamp High/Low-Beam Changer
Flash-To-Pass
When the headlamps are on,
push the lever to turn the headlamp high beams on, and pull it to the center
position
to turn on the low
beams. This light on the
instrument panel will be on,
indicating high-beam usage.
This lets
you use the high-beam headlamps to signal the
driver in front
of you that you want to pass.
Pull the turn signal lever toward you briefly to
flash-to-pass. When
you do:
If the headlamps are either off or in the DRL mode,
the high-beam headlamps will turn
on. They’ll stay
on as long as you hold the lever there. Release the
lever to turn them off.
If the headlamps are on low beam, low beam will
remain active and high beam will also illuminate
until you release the lever.
Page 103 of 378
Downloaded from www.Manualslib.com manuals search engine To idle your vehicle with the DRL off, turn off the
twilight sentinel and shift the transaxle into
PARK (P).
Placing
your vehicle in PARK (P) disables the DRL.
The DRL will stay off until you shift out of PARK (P).
To drive your vehicle with the DlU off, turn off
the twilight sentinel and manually turn on the
parking lamps.
As with any vehicle, you should turn on the regular
headlamp system when you need it.
Fog Lamps (STS Only)
Use the fog lamps for better vision in foggy or misty
conditions. When you push the fog lamp switch located
next to the headlamp switch, a small indicator light and
the LIGHTS
ON and FOG LAMP ON telltales on the
instrument panel cluster will tell you that the fog lamps
and the parking lamps
are on. Pushing the fog lamp
switch again will turn them off.
If you switch on the high-beam headlamps, the fog
lamps will turn off. They’ll turn back
on again when you
switch
to low-beam headlamps. You can use the fog
button to turn the fog lamps on or off when the
parklamps
or headlamps are on. When the twilight sentinel
is on and the fog lamp switch
is activated, the
fog lamps, headlamps and parking
lamps will remain
on.
Cornering Lamps
The cornering lamps come on when the headlamps or
parking lamps are
on and you signal a turn. They
provide more light for cornering.
Twilight Sentinel
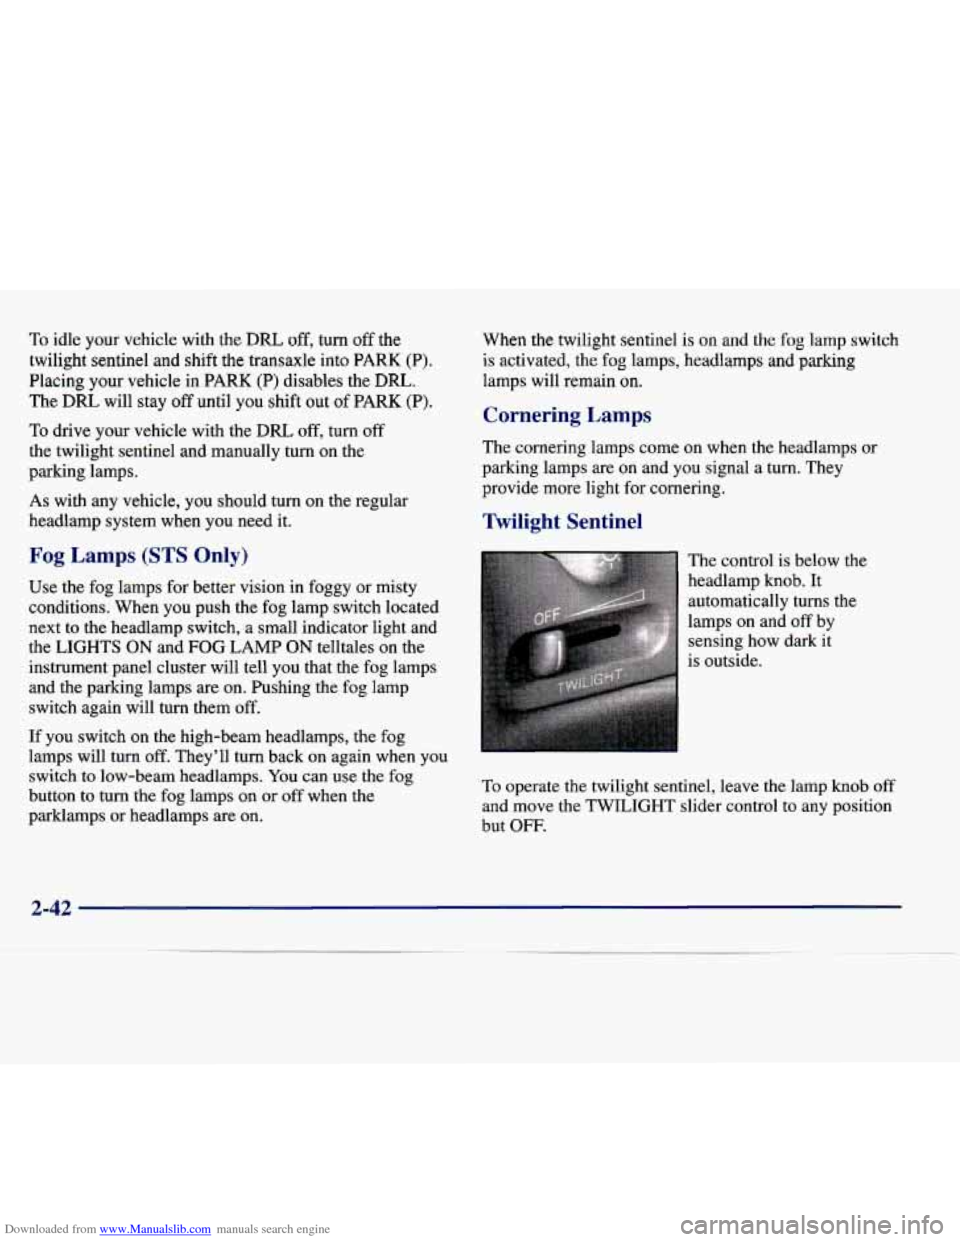
The control is below the
headlamp
knob. It
automatically turns the
lamps
on and off by
sensing how dark it
is outside.
To operate the twilight sentinel, leave the lamp knob off
and move the
TWILIGHT slider control to any position
but
OFF.
2-42
Page 149 of 378
Downloaded from www.Manualslib.com manuals search engine THEFT ATTEMPTED - 40: This message is
displayed
if the theft system has detected a break-in
attempt while
you were away from your vehicle.
TOP SPEED FUEL CUT-OFF - 111: This message
will appear when the
PCM senses that the maximum
speed for your vehicle has been reached. The speed of
your vehicle will surge as the fuel supply is cutoff. This
allows your vehicle to stay in
a safe tire operating range.
The top speed is set based on the top speed rating of
the tires.
TRACTION ENGAGED - 91 : When your traction
control system is limiting wheel spin, the TRACTION
ENGAGED message will be displayed. Slippery road conditions may exist if this message is displayed,
so
adjust your driving accordingly. This message will stay
on for a few seconds after the traction control system
stops limiting wheel spin.
TRACTION OFF - 89: This message will be displayed
after the traction control has been turned
off by the
button
on the center console.
TRACTION READY - 90: This message informs the
driver that the traction control system
is available. This
occurs when the traction ordoff button on the console has
been returned to ON (pressing the button once turns the
traction control system
off: pressing the button again turns
the system back on). This message will automatically
disappear from the display after five seconds.
TRACTION SUSPENDED - 56: This message
displays when the traction control system has been
temporarily shut off because your vehicle’s brakes have overheated. This message does not indicate a problem
with your vehicle’s traction control system. After a few
minutes, the traction control system will be available
again and the TRACTION
READY message
will appear.
TRANS HOT IDLE ENGINE - 112: This message
indicates that the transaxle fluid
in your vehicle is too
hot. Stop and allow your vehicle to idle until it cools
down or until this message is removed.
TRUNK OPEN - 24: This message indicates that the
trunk is open when the ignition is on.
TURN SIGNAL ON - 20: This message is a reminder,
after driving about a mile, that you have the turn signal
on.
A multiple chime will also sound when this message
is displayed.
2-88
Page 171 of 378
Downloaded from www.Manualslib.com manuals search engine FF: Press and hold the right arrow to fast forward to
another part of the MiniDisc. Release it to return to
playing speed.
TUNE-SEEK: When this button is pressed, it has
two positions. This button works the same, whether
it
is pressed to the first or second position. Press this
button to seek to the next or previous selection on
the MiniDisc.
SCAN: Press this button to listen to selections for a few
seconds. The MiniDisc will
go to a selection, stop for a
few seconds, then go on to the next selection. Press this
button again to stop scanning.
RDM: Press this button to hear the tracks in random,
rather than sequential, order. Press
RDM again to turn
off random play.
A EJECT Press the upward triangle button to the
right of the MiniDisc player to remove a MiniDisc. The
radio will play. Eject may be activated with the radio
off
andor the ignition off.
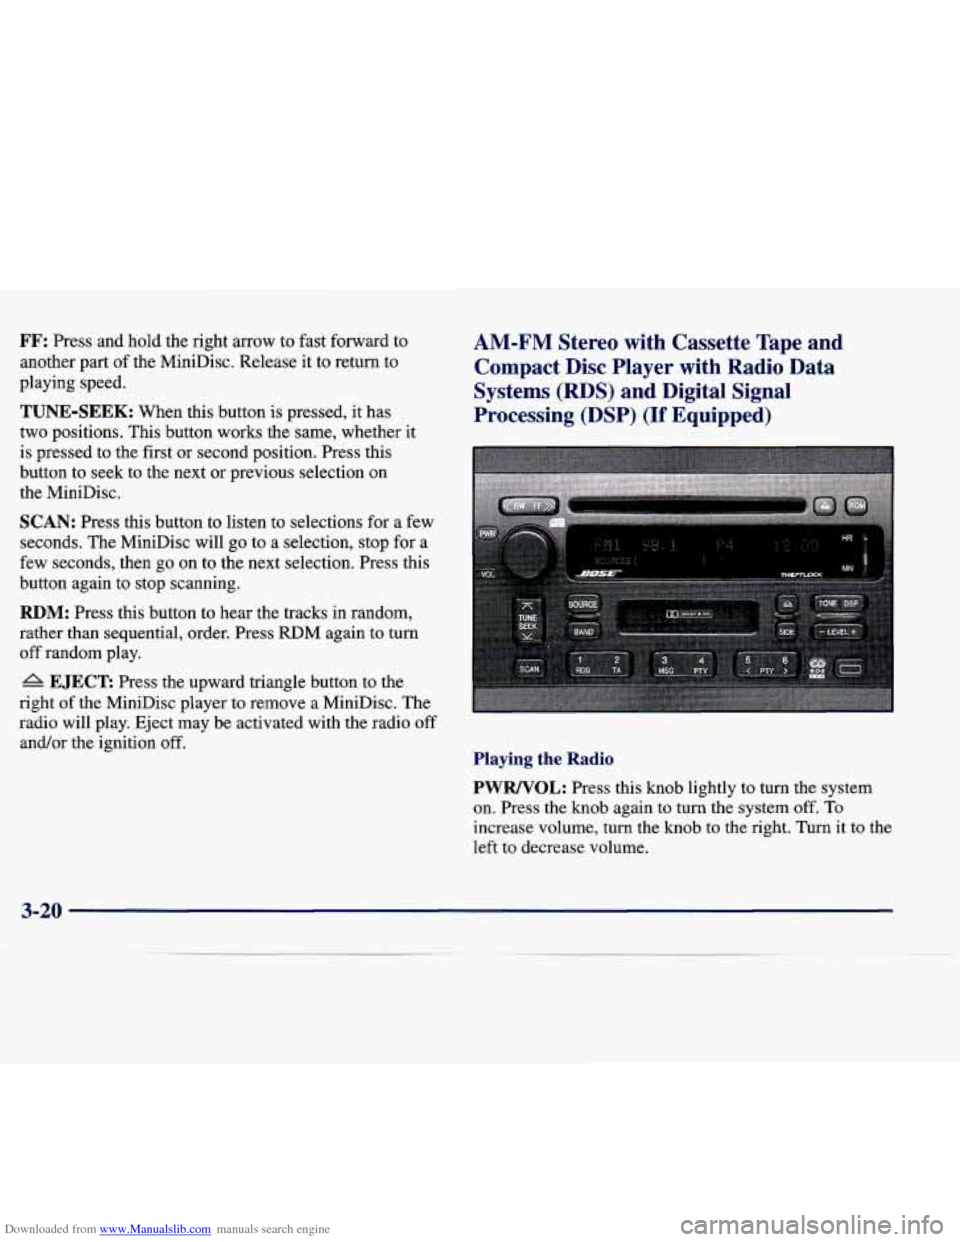
AM-FM Stereo with Cassette Tape and
Compact Disc Player with Radio Data
Systems
(RDS) and Digital Signal
Processing (DSP)
(If Equipped)
Playing the Radio
PWRNOL:
Press this knob lightly to turn the system
on. Press the knob again
to turn the system off. To
increase volume, turn the knob to the right. Turn it to the
left to decrease volume.
3-20
Page 177 of 378
Downloaded from www.Manualslib.com manuals search engine Using DSP Mode
DSP: The Digital Signal Processing (DSP) feature is used
to provide a choice of four different listening experiences:
TALK,
FRONT SEAT, AMBIENCE and SPACIOUS.
DSP can be used while listening to the radio, the cassette
tape player or the CD player. Press
this button to turn DSP
on. Press and release
this button until you reach the
desired selection. To
tum DSP off, press and hold this
button until DSP OFF appears on the display. When DSP
OFF is displayed, the system will provide the best overall
Bose@ performaxe. The radio keeps separate DSP
settings for each band (except weather band, which is
always set to TALK) and each source.
e
e
e
0
TALK: This setting is used when listening to
non-musical material
such as news, talk shows,
sports broadcasts and books on tape. TALK makes
spoken words sound very clear.
FRONT SEAT: This setting adjusts the audio to
give the front seat occupants the best possible sound
qualities. FRONT SEAT can be used at any time for
any material. Rear seat passengers in the vehicle may
not get the same effect.
AMBIENCE: This setting is used to enhance the
stereo effect.
SPACIOUS: This setting is used to make the
listening space seem larger.
Adjusting the Speakers
TONE:
Press and release this button until the desired
BALANCE or FADE control
is found.
LEVEL: After selecting the desired BALANCE or
FADE control, press the plus
(+) or minus (-) symbol on
this button to select the desired level.
Playing a Cassette Tape
With the radio on, insert a cassette tape. The tape will
begin playing as soon as it is inserted. When one side of
your cassette tape is done playing, auto reverse plays the
other side of your cassette tape. Cassette tapes may be
loaded with the radio
off but they will not start playing
until the radio is
on. If you want to insert a cassette tape
when the ignition is
off, first press the eject button.
While the tape
is playing, use the VOL, TONE, LEVEL
and DSP controls just as you do for the radio. Other
controls may have different functions when a tape
is
inserted. The display will show an underlined tape
symbol. TAPE PLAY will appear on the display when a
tape is playing, with an arrow to indicate which side
of
the tape is playing.
3-26
Page 180 of 378
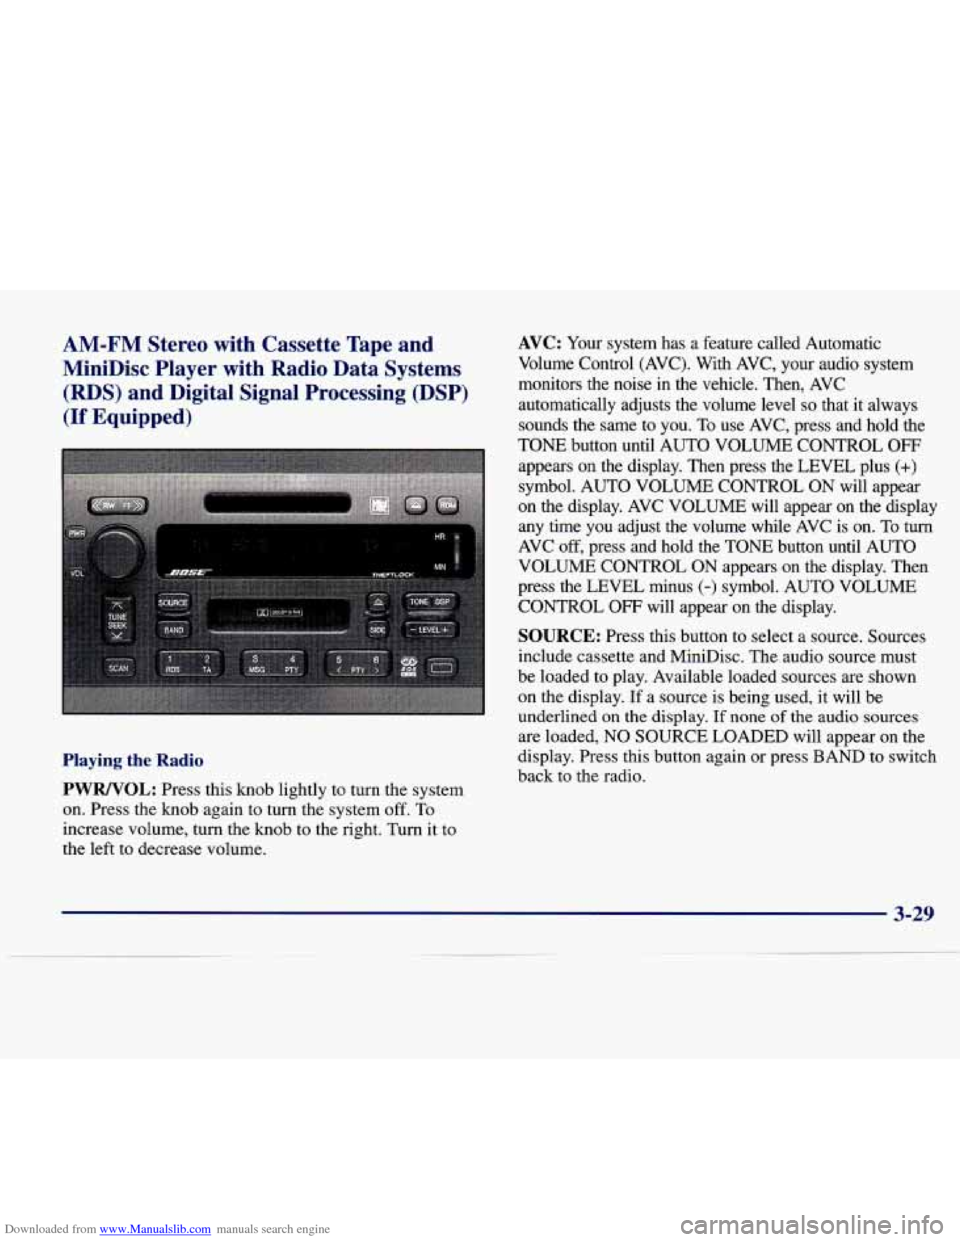
Downloaded from www.Manualslib.com manuals search engine AM-FM Stereo with Cassette Tape and
MiniDisc Player with Radio Data Systems
(RDS) and Digital Signal Processing (DSP)
(If Equipped)
Playing the Radio
PWRNOL:
Press this knob lightly to turn the system
on. Press the knob again to turn the system
off. To
increase volume, turn the knob to the right. Turn it to
the left to decrease volume.
AVC: Your system has a feature called Automatic
Volume Control (AVC). With AVC, your audio system
monitors the noise
in the vehicle. Then, AVC
automatically adjusts the volume level
so that it always
sounds the same to you. To use AVC, press and hold the
TONE button until AUTO VOLUME CONTROL
OFF
appears on the display. Then press the LEVEL plus (+)
symbol. AUTO VOLUME CONTROL ON will appear
on the display. AVC VOLUME will appear on the display
any time you adjust the volume while AVC
is on. To turn
AVC off, press and hold the TONE button until AUTO
VOLUME CONTROL
ON appears on the display. Then
press the LEVEL minus
(-) symbol. AUTO VOLUME
CONTROL
OFF will appear on the display.
SOURCE: Press this button to select a source. Sources
include cassette and MiniDisc. The audio source must
be loaded to play. Available loaded sources
are shown
on the display. If a source is being used, it will be
underlined on the display.
If none of the audio sources
are loaded, NO SOURCE LOADED will appear on the
display. Press this button again or press BAND to switch
back to the radio.
3-29