1998 CADILLAC SEVILLE radio
[x] Cancel search: radioPage 15 of 378
Downloaded from www.Manualslib.com manuals search engine A second &or, seating and column position may be
programmed by repeating the above steps and pressing
button
2. Each time a memory button is pressed, a single
beep will sound through the radio. Each time button
1 or 2
is pressed, the memory positions will be recalled. At the
factory, the exit position is preset with the steering wheel
full up and the seat full back. However, two personalized
exit positions can
be set by first recalling the driving
position (Driver
“1” or “2”), positioning the wheel and
seat in the desired exit positions and then pressing the
MEMORY SET and, within five seconds, pressing the
EXIT button. The exit position for either previously set
driver can
be recalled by pressing the EXIT button.
Heated Seat (Option)
This option is only available if your vehicle is equipped
with the power lumbar control feature.
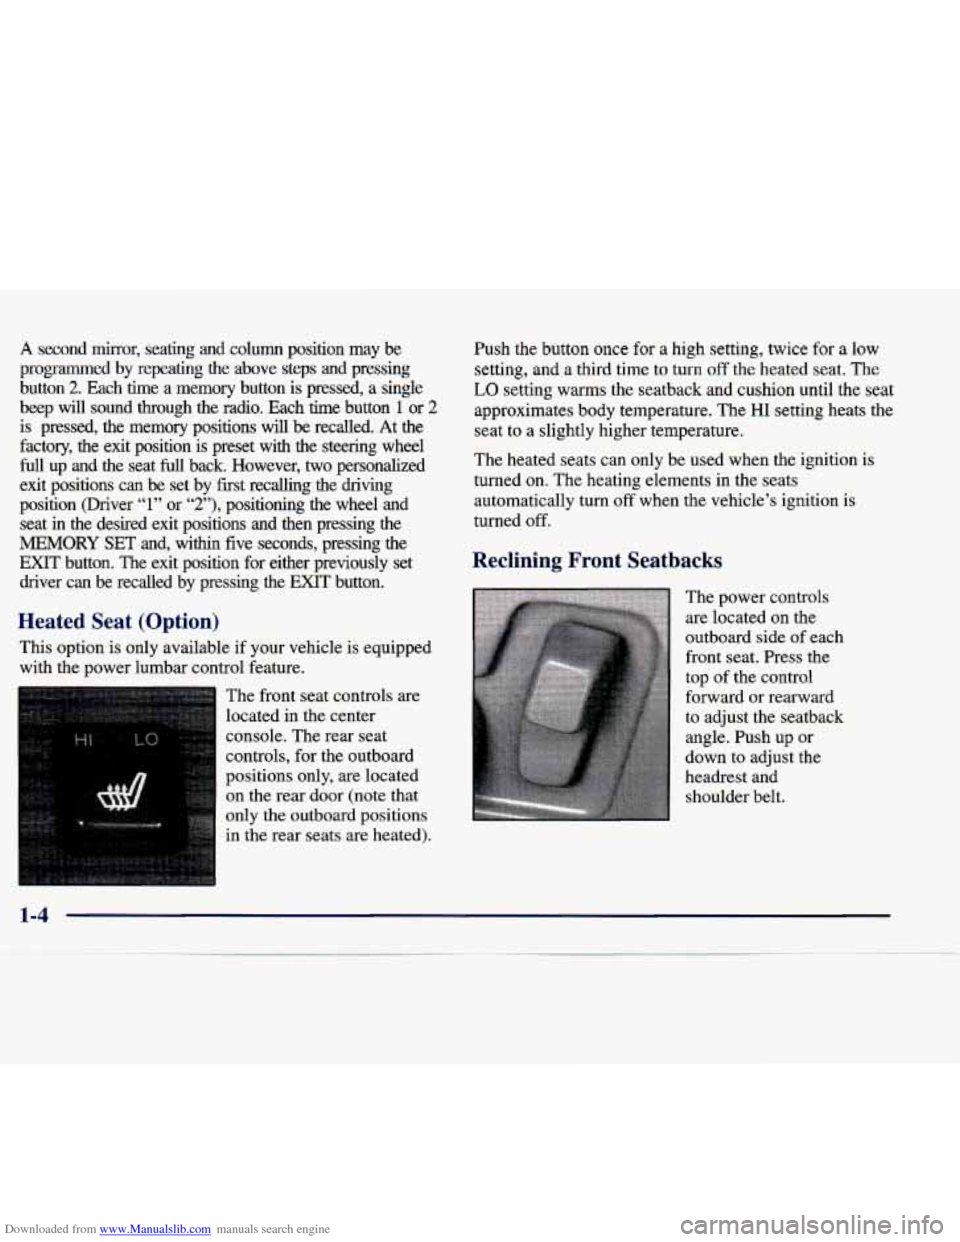
The front seat controls are
located in the center
console. The rear seat
controls, for the outboard
positions only, are located on the rear door (note that
only the outboard positions
in the rear seats are heated).
Push the button once for a high setting, twice for a low
setting, and a third time to turn
off the heated seat. The
LO setting warms the seatback and cushion until the seat
approximates body temperature. The
HI setting heats the
seat to a slightly higher temperature.
The heated seats can only be used when the ignition is
turned on. The heating elements in the seats
automatically
turn off when the vehicle’s ignition is
turned off.
Reclining Front Seatbacks
The power controls
are located on the
outboard side
of each
front seat. Press the
top of the control
forward or rearward
to adjust the seatback
angle. Push up or
down to adjust the
headrest and shoulder belt.
Page 68 of 378
Downloaded from www.Manualslib.com manuals search engine Remote Keyless Entry (RKE) System
I
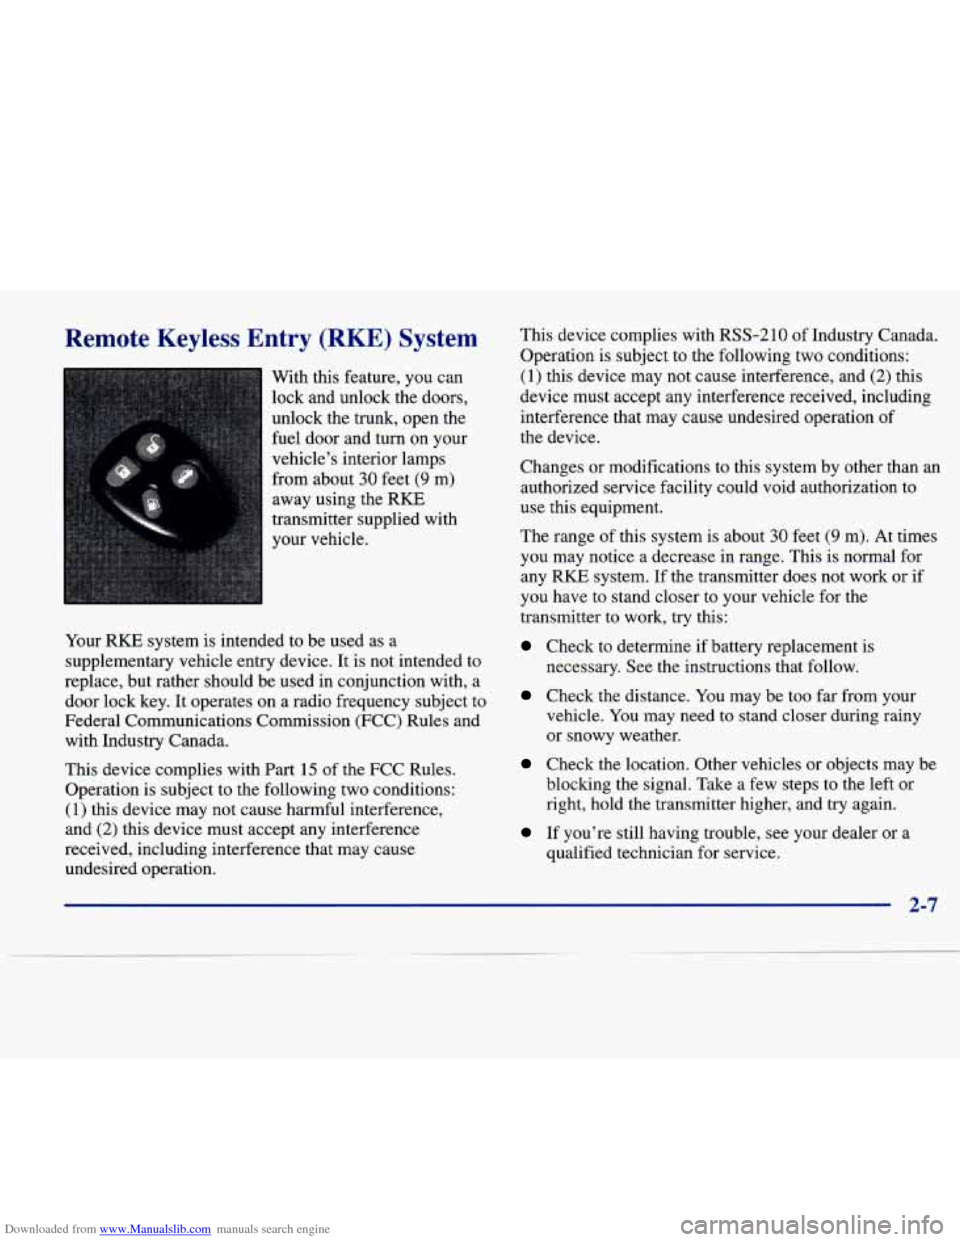
With this feature, you can
lock and unlock the doors,
unlock the trunk, open the
fuel door and turn on your
vehicle’s interior lamps
from about
30 feet (9 m)
away using the
RKE
transmitter supplied with
your vehicle.
Your
RKE system is intended to be used as a
supplementary vehicle entry device. It is not intended to
replace, but rather should be used in conjunction with, a
door lock key.
It operates on a radio frequency subject to
Federal Communications Commission (FCC) Rules and
with Industry Canada.
This device complies with Part
15 of the FCC Rules.
Operation is subject to the following two conditions:
(1) this device may not cause harmful interference,
and
(2) this device must accept any interference
received, including interference that may cause
undesired operation. This device complies with
RSS-210 of
Industry Canada.
Operation is subject to the following two conditions:
(1) this device may not cause interference, and (2) this
device must accept any interference received, including
interference that may cause undesired operation
of
the device.
Changes or modifications to this system by other than
an
authorized service facility could void authorization to
use this equipment.
The range of this system is about
30 feet (9 m). At times
you may notice
a decrease in range. This is normal for
any
RKE system. If the transmitter does not work or if
you have to stand closer to your vehicle for the
transmitter
to work, try this:
Check to determine if battery replacement is
necessary. See the instructions that follow.
Check the distance. You may be too far from your
vehicle. You may need to stand closer during rainy
or snowy weather.
Check the location. Other vehicles or objects may be
blocking the signal. Take a few steps to the left or
right, hold the transmitter higher, and
try again.
If you’re still having trouble, see your dealer or a
qualified technician for service.
2-7
Page 77 of 378
Downloaded from www.Manualslib.com manuals search engine Valet Lock
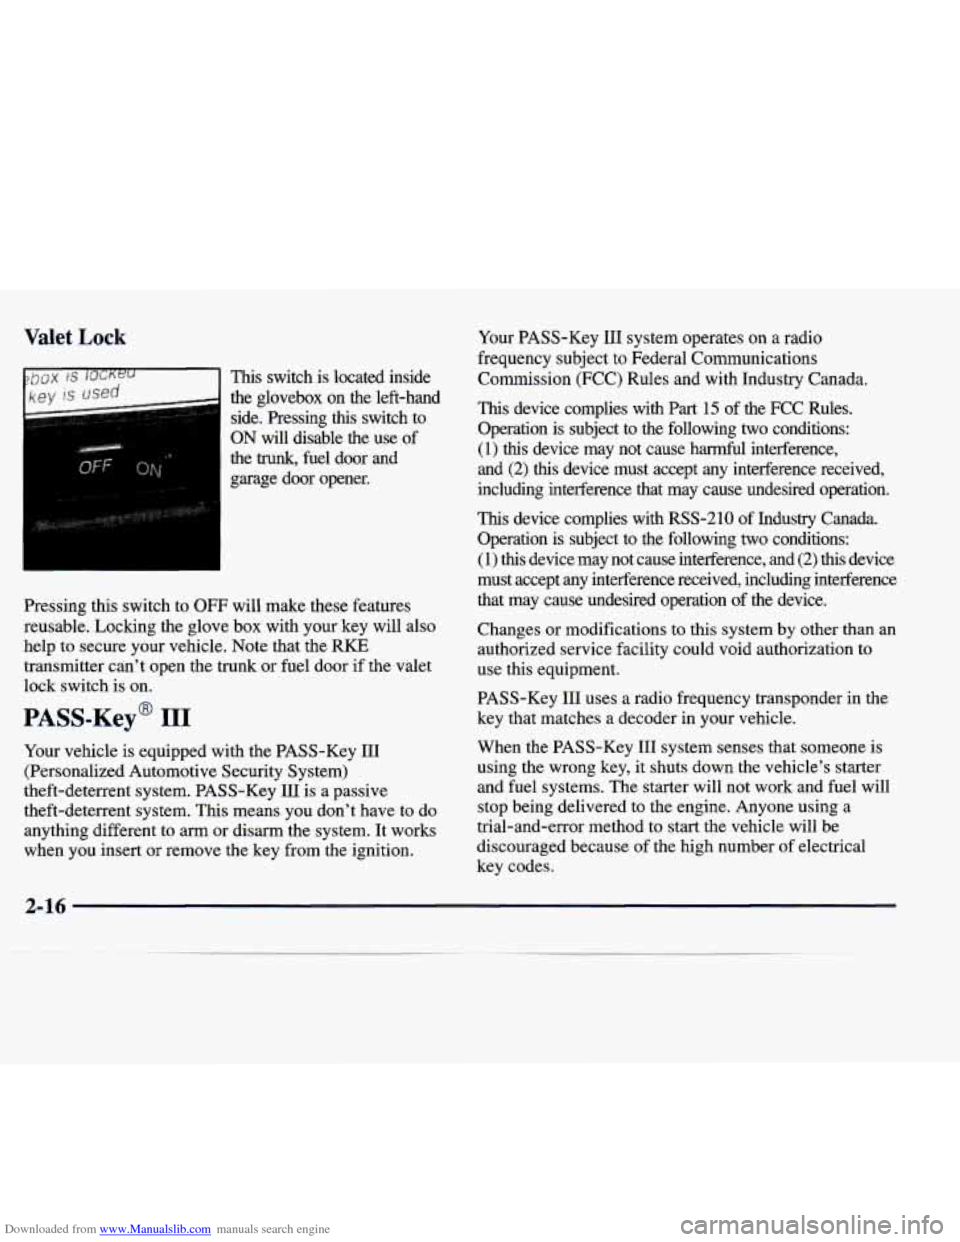
the glovebox on the left-hand side. Pressing this switch to
ON will disable the use of
the trunk, fuel door and
garage door opener.
Pressing this switch to OFF will make these features
reusable. Locking the glove
box with your key will also
help to secure your vehicle. Note that the RKE
transmitter can't open the
trunk or fuel door if the valet
lock switch is on.
PASS-Key' 111
Your vehicle is equipped with the PASS-Key I11
(Personalized Automotive Security System)
theft-deterrent system. PASS-Key
111 is a passive
theft-deterrent system. This means you don't have to do
anything different to arm or disarm the system. It works
when you insert
or remove the key from the ignition. Your PASS-Key
I11 system operates on a radio
frequency subject
to Federal Communications
Commission (FCC) Rules and with Industry Canada.
This device complies with Part 15 of the FCC Rules.
Operation is subject to the following two conditions:
(1) this device may not cause harmful interference,
and
(2) this device must accept any interference received,
including interference that may cause undesired operation.
This device complies with RSS-210 of Industry Canada.
Operation is subject to
the following two conditions:
(1) this device may not cause interference, and (2) this device
must accept any interference received, including interference
that may cause undesired operation
of the device.
Changes or modifications to this system by other than an authorized service facility could void authorization to
use this equipment.
PASS-Key
111 uses a radio frequency transponder in the
key that matches a decoder in your vehicle.
When the PASS-Key
111 system senses that someone is
using
the wrong key, it shuts down the vehicle's starter
and fuel systems. The starter will not work and fuel will
stop being delivered to the engine. Anyone using a
trial-and-error method
to start the vehicle will be
discouraged because of the high number of electrical
key codes.
2-16
Page 79 of 378
Downloaded from www.Manualslib.com manuals search engine Ignition Positions
With the ignition key in the ignition switch, you can turn
the key to four different positions:
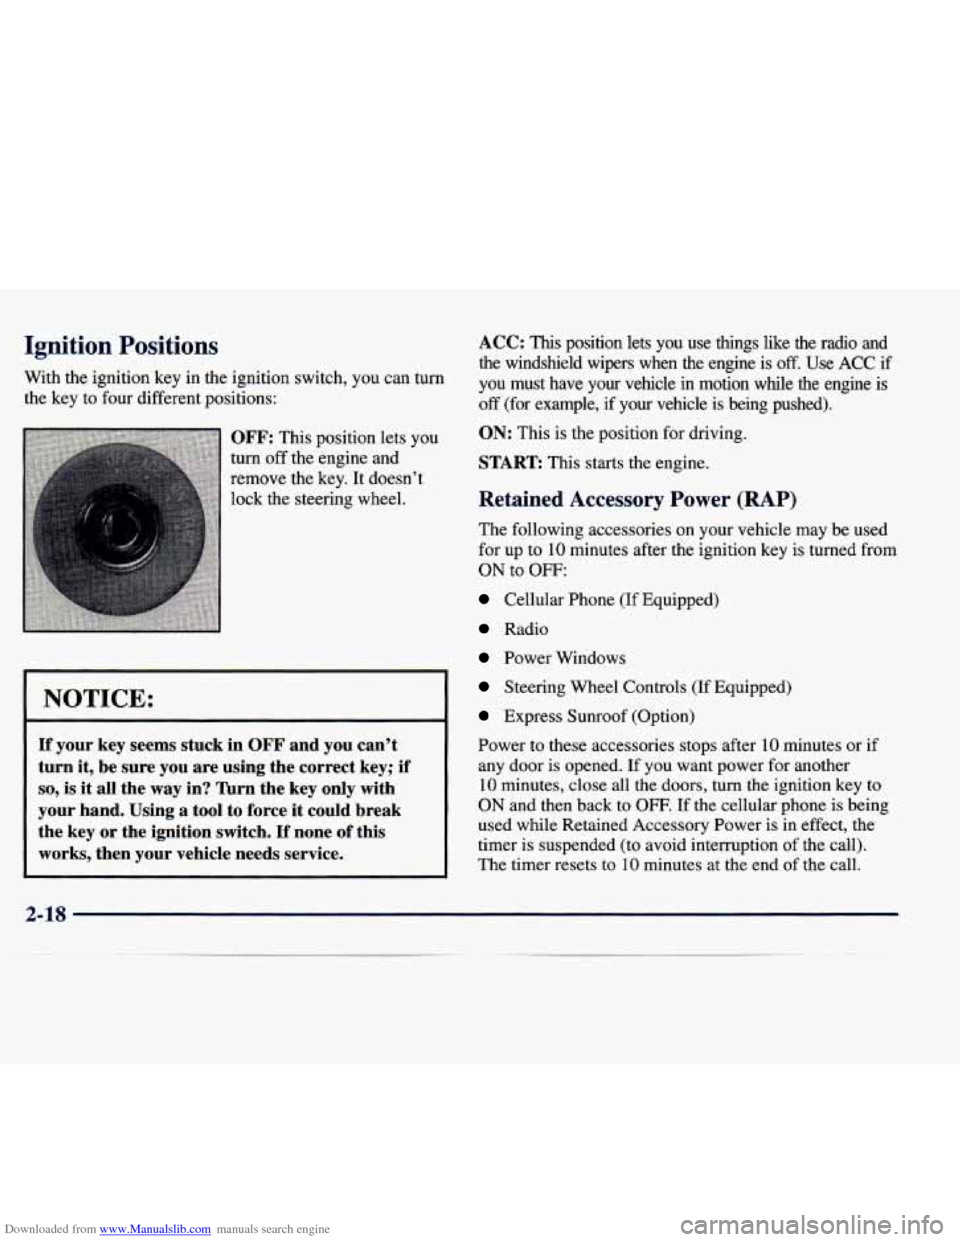
OFF: This position lets you
turn
off the engine and
remove the key. It doesn’t
lock the steering wheel.
NOTICE:
If your key seems stuck in OFF and you can’t
turn it, be sure you are using the correct key; if
so, is it all the way in? Turn the key only with
your hand. Using a tool to force it could break
the key
or the ignition switch. If none of this
works, then your vehicle needs service.
- ~
ACC: This position lets you use things like the radio and
the windshield wipers when the engine is
off. Use ACC if
you must have your vehicle in motion while
the engine is
off (for example, if your vehicle is being pushed).
ON: This is the position for driving.
START This starts the engine.
Retained Accessory Power (RAP)
The following accessories on your vehicle may be used
for up to
10 minutes after the ignition key is turned from
ON to OFF:
Cellular Phone (If Equipped)
Radio
Power Windows
Steering Wheel Controls (If Equipped)
Express Sunroof (Option)
Power to these accessories stops after
10 minutes or if
any door is opened. If you want power for another
10 minutes, close all the doors, turn the ignition key to
ON and then back to OFF. If the cellular phone is being
used while Retained Accessory Power is in effect, the
timer is suspended (to avoid interruption of the call).
The timer resets to
10 minutes at the end of the call.
2-18
Page 117 of 378
Downloaded from www.Manualslib.com manuals search engine Universal Transmitter (Option)
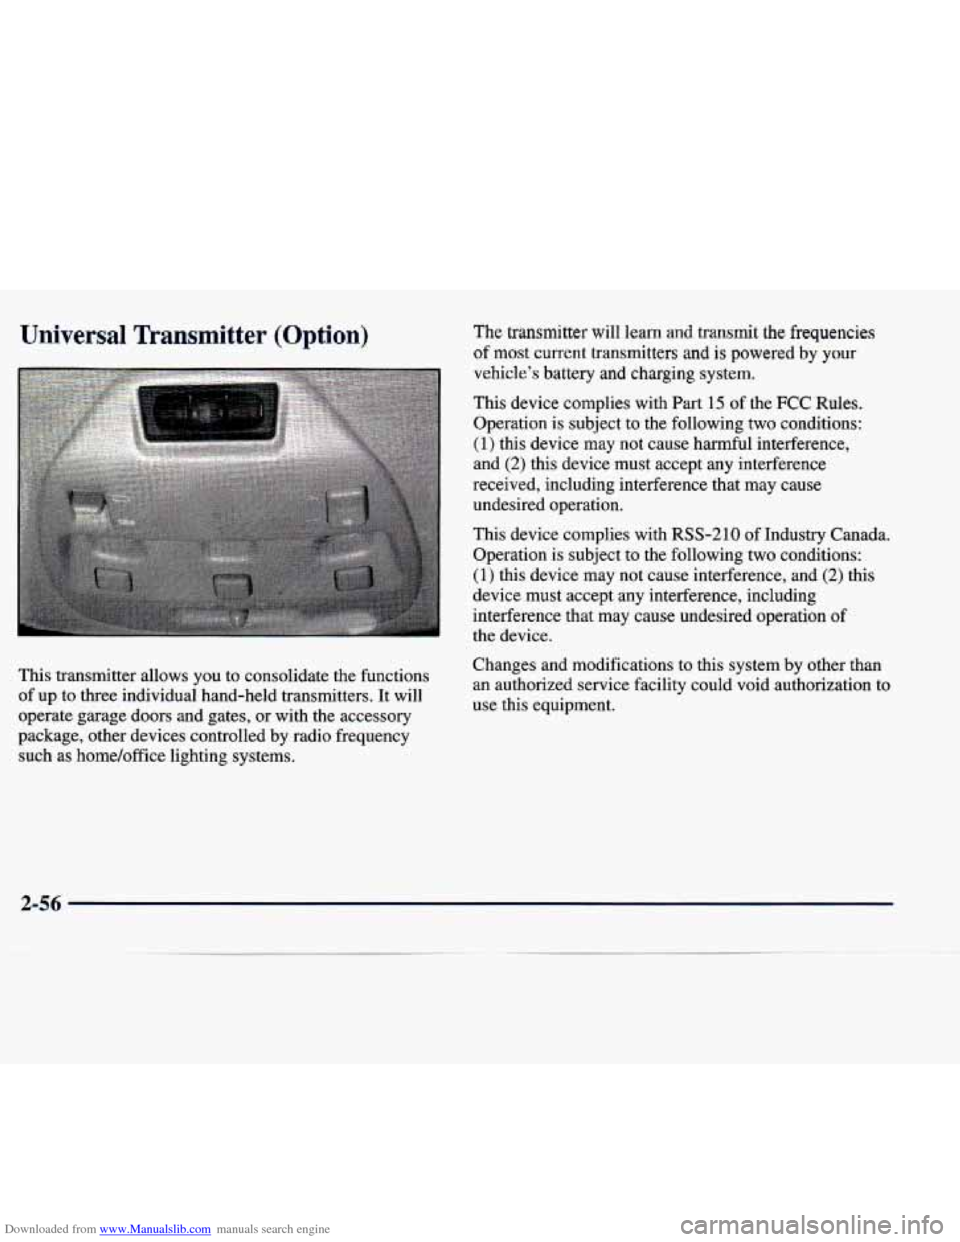
This transmitter allows you to consolidate the functions
of up to three individual hand-held transmitters. It will
operate garage doors and gates, or with the accessory
package, other devices controlled by radio frequency such as home/office lighting systems.
The transmitter will learn and transmit the frequencies
of most current transmitters and is powered by your
vehicle’s battery and charging system.
This device complies with
Part 15 of the FCC Rules.
Operation is subject to the following two conditions:
(1) this device may not cause harmful interference,
and
(2) this device must accept any interference
received, including interference that may cause
undesired operation.
This device complies with
RSS-210 of Industry Canada.
Operation is subject to the following two conditions:
(1) this device may not cause interference, and (2) this
device must accept any interference, including
interference that may cause undesired operation
of
the device.
Changes and modifications to this system
by other than
an authorized service facility could void authorization to
use this equipment.
2-56
Page 122 of 378
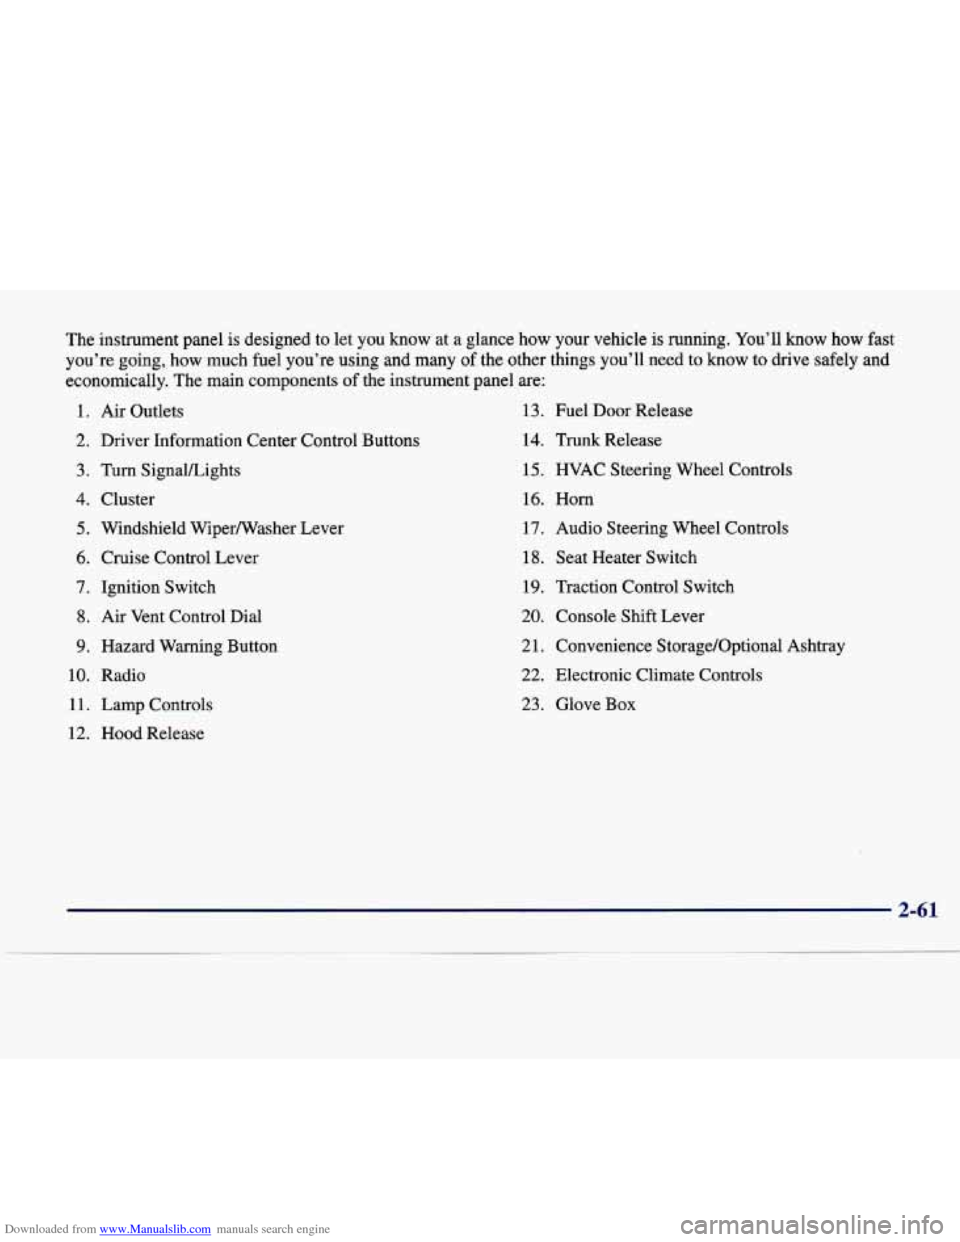
Downloaded from www.Manualslib.com manuals search engine The instrument panel is designed to let you know at a glance how your vehicle is running. You’ll know how fast
you’re going, how much fuel you’re using and many
of the other things you’ll need to know to drive safely and
economically. The main components of the instrument panel are:
1. Air Outlets 13. Fuel Door Release
2. Driver Information Center Control Buttons 14. Trunk Release
3. Turn SignaVLights 15. HVAC Steering Wheel Controls
4. Cluster 16. Horn
5. Windshield Wiperwasher Lever 17. Audio Steering Wheel Controls
6. Cruise Control Lever 18. Seat Heater Switch
7. Ignition Switch 19. Traction Control Switch
8. Air Vent Control Dial
20. Console Shift Lever
9. Hazard Warning Button
2 1. Convenience S torage/Optional Ashtray
10. Radio
22. Electronic Climate Controls
11. Lamp Controls 23. Glove Box
12. Hood Release
Page 136 of 378
Downloaded from www.Manualslib.com manuals search engine All of these situations are normal and do not indicate
that anything is wrong.
0 At the gas station the gas pump shuts off before the
gage reads
F.
0 The gage may change when you turn, stop quickly or
accelerate quickly.
GAL FUEL USED on the Driver Information Center
does not correspond exactly to the amount
of fuel
remaining as shown on the fuel gage.
Continuous Variable Road Sensing
Suspension (CVRSS)
The CVRSS automatically adjusts the ride of your
vehicle. Automatic ride control
is achieved through a
computer used to control and monitor the suspension
system. The controller receives input from various
sensors to determine the proper system response. If
the
controller detects a problem within the system, the DIC
will display a SERVICE SUSPENSION SYS message.
If this message appears, have your vehicle serviced at
your dealership.
Driver Information Center (DIC)
This display gives you the status of many of your
vehicle’s systems. The DIC is also used to display driver
personalization features and warninghtatus messages.
Memory and Personalization Features
(If Equipped)
Your vehicle may have memory personalization.
Memory settings that have been previously programmed (HVAC settings, radio preset settings, exterior lighting
choices, remote confirmation choices, seat positions,
column positions,
mirror and programmable automatic
door lock choices) can be recalled by pressing the
unlock button on the
RKE transmitter or by placing the
key
in your vehicle’s ignition.
To begin programming, the ignition must be in ON, your
vehicle in PARK
(P), and if your vehicle has memory,
press the appropriate memory button
“1” or “2”, located
on the driver’s door panel, prior to programming. Press
the
INFO button one or more times until the FEATURE
PROGRAMMING prompt appears on the Driver Information Center (DIC) display. Press the
ON/OFF
button to enter FEATURE PROGRAMMING. To exit,
press the INFO
RESET button.
2-75
Page 141 of 378
Downloaded from www.Manualslib.com manuals search engine Comfort Controls and Radio System Personalization
These features allow both drivers to personalize their
own climate control settings
as well as their radio
settings. For more information, see “Climate Control
Personalization” and “Radio Personalization” in
the Index.
The outside temperature is always available for display
when your vehicle is running unless an overriding
Driver Information Center message appears. You can
change the temperature from Fahrenheit to Celsius by
pressing the ENGMET (EnglisWmetric) button on the
instrument panel. For more information on the Driver
Information Center, see “Driver Information Center
Messages” in the Index.
The electronic sensor can be affected by road or engine
heat during idling, slow driving or when the engine
is
first stared after a short trip. In order to ensure proper
automatic climate control operation, the outside air
temperature display may not update as quickly as
expected.
This is to allow the air surrounding the outside
temperature sensor to be as close to the actual outside
conditions as possible. This is determined by how much
time has elapsed since the vehicle has been turned off and by vehicle speed.
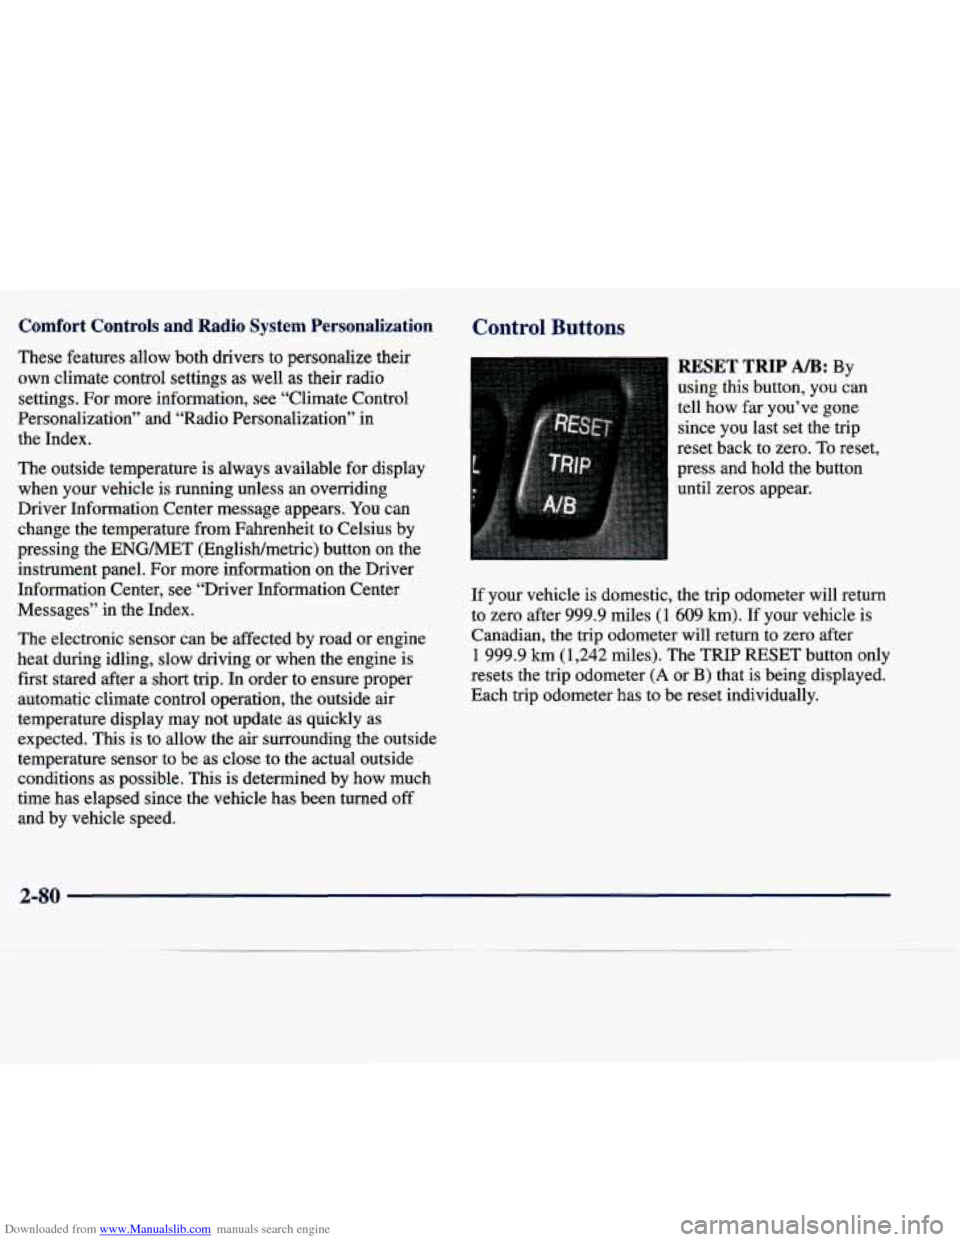
Control Buttons
RESET TRIP AB: By
using this button, you can
tell how far.you’ve gone
since you last set the trip
reset back to zero. To reset,
press and hold the button
until zeros appear.
If your vehicle is domestic, the trip odometer will return
to zero after 999.9 miles
(1 609 km). If your vehicle is
Canadian, the trip odometer will
return to zero after
1 999.9 km (1,242 miles). The TRIP RESET button only
resets the trip odometer
(A or B) that is being displayed.
Each trip odometer has
to be reset individually.
2-80