1998 CADILLAC SEVILLE garage door opener
[x] Cancel search: garage door openerPage 77 of 378

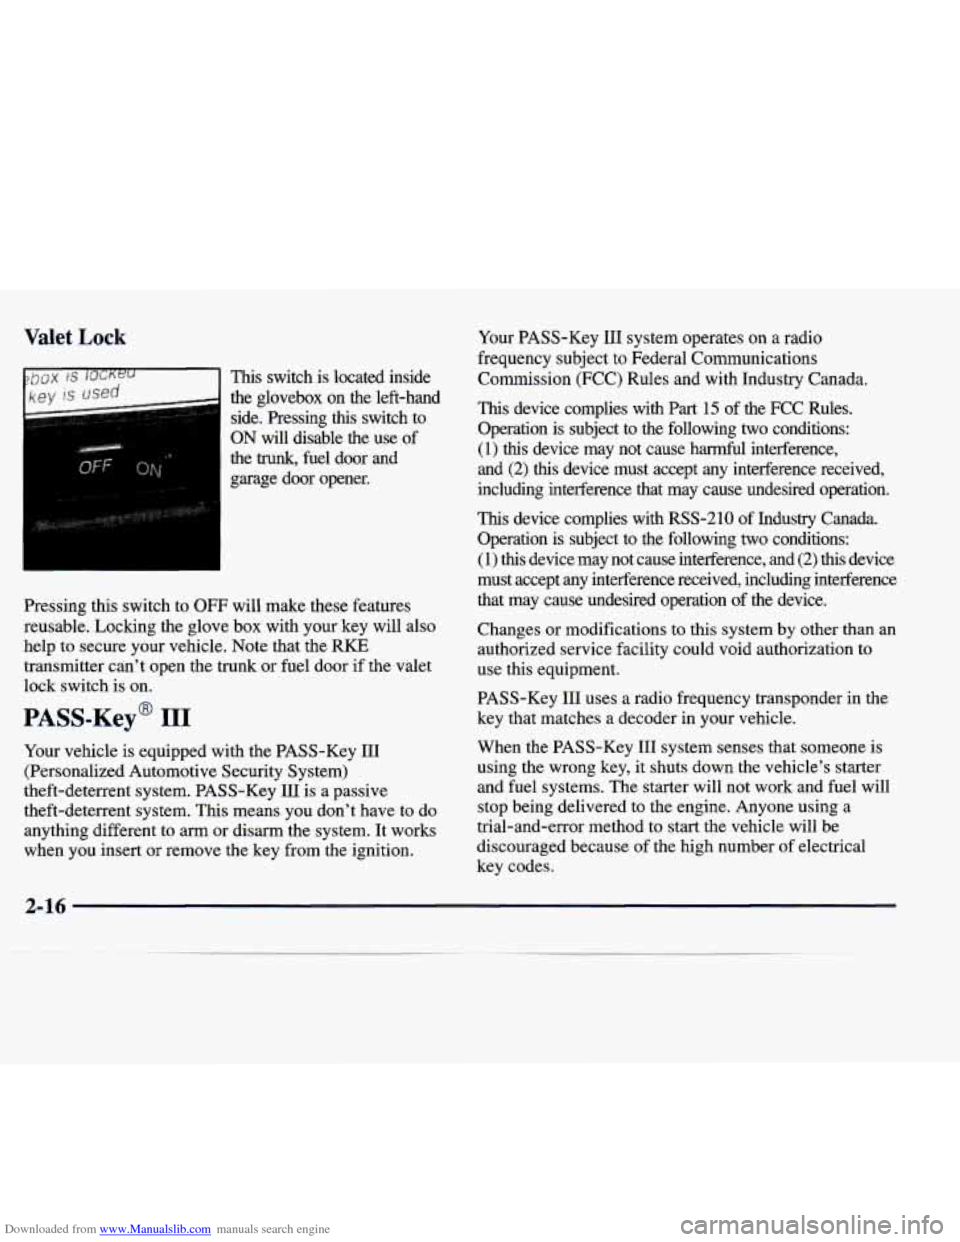
Downloaded from www.Manualslib.com manuals search engine Valet Lock
the glovebox on the left-hand side. Pressing this switch to
ON will disable the use of
the trunk, fuel door and
garage door opener.
Pressing this switch to OFF will make these features
reusable. Locking the glove
box with your key will also
help to secure your vehicle. Note that the RKE
transmitter can't open the
trunk or fuel door if the valet
lock switch is on.
PASS-Key' 111
Your vehicle is equipped with the PASS-Key I11
(Personalized Automotive Security System)
theft-deterrent system. PASS-Key
111 is a passive
theft-deterrent system. This means you don't have to do
anything different to arm or disarm the system. It works
when you insert
or remove the key from the ignition. Your PASS-Key
I11 system operates on a radio
frequency subject
to Federal Communications
Commission (FCC) Rules and with Industry Canada.
This device complies with Part 15 of the FCC Rules.
Operation is subject to the following two conditions:
(1) this device may not cause harmful interference,
and
(2) this device must accept any interference received,
including interference that may cause undesired operation.
This device complies with RSS-210 of Industry Canada.
Operation is subject to
the following two conditions:
(1) this device may not cause interference, and (2) this device
must accept any interference received, including interference
that may cause undesired operation
of the device.
Changes or modifications to this system by other than an authorized service facility could void authorization to
use this equipment.
PASS-Key
111 uses a radio frequency transponder in the
key that matches a decoder in your vehicle.
When the PASS-Key
111 system senses that someone is
using
the wrong key, it shuts down the vehicle's starter
and fuel systems. The starter will not work and fuel will
stop being delivered to the engine. Anyone using a
trial-and-error method
to start the vehicle will be
discouraged because of the high number of electrical
key codes.
2-16
Page 107 of 378

Downloaded from www.Manualslib.com manuals search engine If the battery continues to discharge, even with the
engine idling at a higher
RPM setting, some electrical
loads will automatically
be reduced. When this occurs,
the
rear window defogger may take slightly longer to
clear the glass, the heated seats may not get as warm as
they usually do and the fan blower may cut back to a
lower speed. For more battery saving information, see “Battery Saver Active Message” in the Index.
Inadvertent Power Battery Saver
This feature is designed to protect your vehicle’s battery against drainage from the interior lamps, trunk lamp,
glove box lamp, cigarette lighters or the garage door
opener. When the ignition is turned
off, the power to
these features will automatically
turn off after
10 minutes. Power will be restored for an additional
10 minutes if any door is opened, the trunk is opened or
the courtesy lamp switch is turned on.
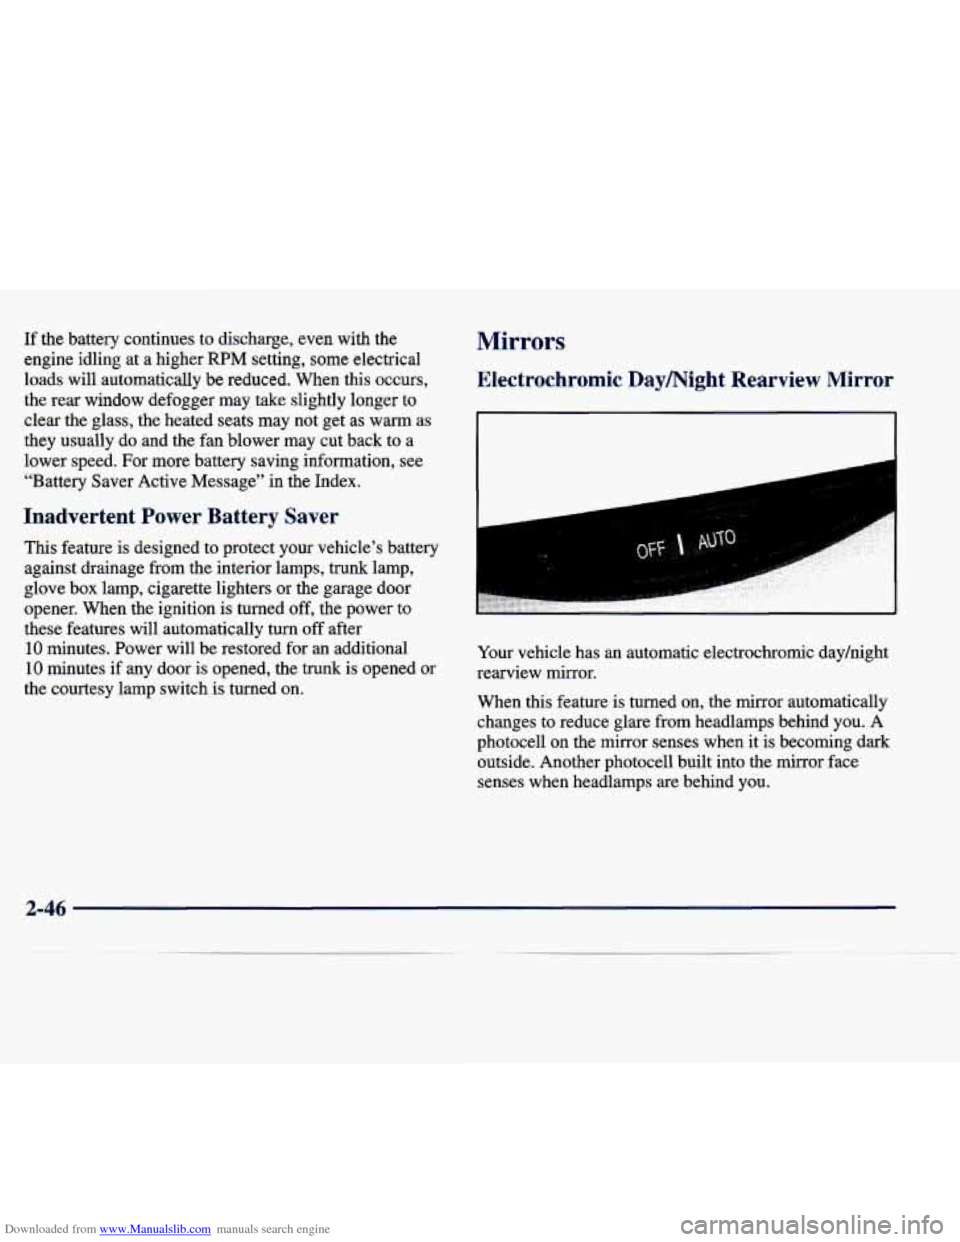
Mirrors
Electrochromic Daymight Rearview Mirror
I
Your vehicle has an automatic electrochromic dayhight
rearview mirror.
When this feature is turned on, the mirror automatically
changes to reduce glare from headlamps behind you.
A
photocell on the mirror senses when it is becoming dark
outside. Another photocell built into the mirror face
senses when headlamps are behind you.
2-46
Page 118 of 378

Downloaded from www.Manualslib.com manuals search engine Programming the Transmitter
Do not use the universal transmitter with any garage
door opener that does not have the “stop and reverse” safety feature. This includes any garage door opener
model manufactured before April
1, 1982.
Be sure that people and objects
are clear of the garage
door you are programming.
Turn the ignition
off while programming the transmitter.
Follow these steps to program up to three channels:
1.
2.
3.
If you have previously programmed a transmitter
channel, proceed to Step
2. Otherwise, hold down
the two outside buttons on the universal transmitter
until the light on the transmitter begins to flash
rapidly (approximately
20 seconds). Then release the
buttons. This procedure initializes the memory and erases any previous settings for all three channels.
Decide which one of the three channels you want
to program.
Hold the end of the hand-held transmitter against the
front surface of the universal transmitter
so that you
can still see the amber light.
4. Using both hands, press the hand-held transmitter
button and the desired button on the universal
transmitter. Continue to press both buttons through Step
5.
5. Hold down both buttons until you see the light on
the universal transmitter flash slowly and then
rapidly. The rapid flashing, which could take up to
90 seconds, indicates that the universal transmitter
has been programmed. Release both buttons once the
light starts to flash rapidly.
If you have trouble programming the universal
transmitter, make sure that you have followed the
directions exactly as described and that the battery in the
hand-held transmitter is not dead.
If you still cannot
program it, rotate the hand-held transmitter end over end
and
try again. The universal transmitter may not work
with older garage door openers that do not meet current
Federal Consumer Safety Standards.
If you cannot
program the transmitter after repeated attempts, consult
your dealer.
Page 120 of 378

Downloaded from www.Manualslib.com manuals search engine Training a Garage Door Opener with
“Rolling Codes”
(If Equipped)
If you have not previously programmed the hand-held
transmitter to the universal transmitter, see
“Programming the Transmitter” in the Index. If you
have completed this programming,
you need to train the
garage door opener receiver to recognize the universal
transmitter. Refer to
your garage door opener owner’s
manual for the proper transmitter training procedure for
your garage door opener brand.
1.
2.
3. Locate
the training button
on the garage door opener
receiver. The exact location and color of the button
may vary by garage door opener brand. If you have difficulty locating the training button, refer to your
garage door opener manual.
Press the training button on the garage door opener
receiver for one or
two seconds. A light indicator will
begin to
flash when the receiver enters the train mode.
Return to the universal transmitter
in your vehicle
and press the universal transmitter button you have
already programmed for two to three seconds. Press
the button again to make sure that the universal
transmitter has been trained to the garage door opener receiver. Check that the train was successful.
The receiver light should no longer be flashing. The
garage door opener should now recognize the
universal transmitter.
You may either use the universal
transmitter
or the hand-held transmitter to open the
garage door.
If after following these instructions you still have
problems training the garage door opener, consult
your dealer.
Erasing Chan--
To erase all three programmed channels, hold down the
two outside buttons until the red light begins to flash.
Individual channels cannot be erased, but can be
reprogrammed using the procedure for programming the
transmitter explained earlier.
-
Accessories
Accessories for the universal transmitter are available
from the manufacturer
of the unit. If you would like
additional information, please call 1-800-355-35
15.
2-59