1998 CADILLAC SEVILLE ignition
[x] Cancel search: ignitionPage 104 of 378
Downloaded from www.Manualslib.com manuals search engine If you move the control all the way to the right (MAX),
the lamps will remain on for approximately three
minutes after the ignition has been turned to
OFF or
ACC. If you move the control so it is just on, the lamps
will go
off quickly when you turn the ignition out of
ON. You can adjust the delay time from only a few
seconds to three minutes.
If it’s dark enough outside and the twilight sentinel
control is
off, a HEADLAMPS SUGGESTED message
will display on the
DIC. This message informs the
driver that turning on the exterior lamps
is
recommended (it’s become dark enough outside to
require the headlamps and/or other exterior lamps).
Turning on the twilight sentinel,
the headlamp switch or
the fog lamp switch will remove the
HEADLAMPS
SUGGESTED
message.
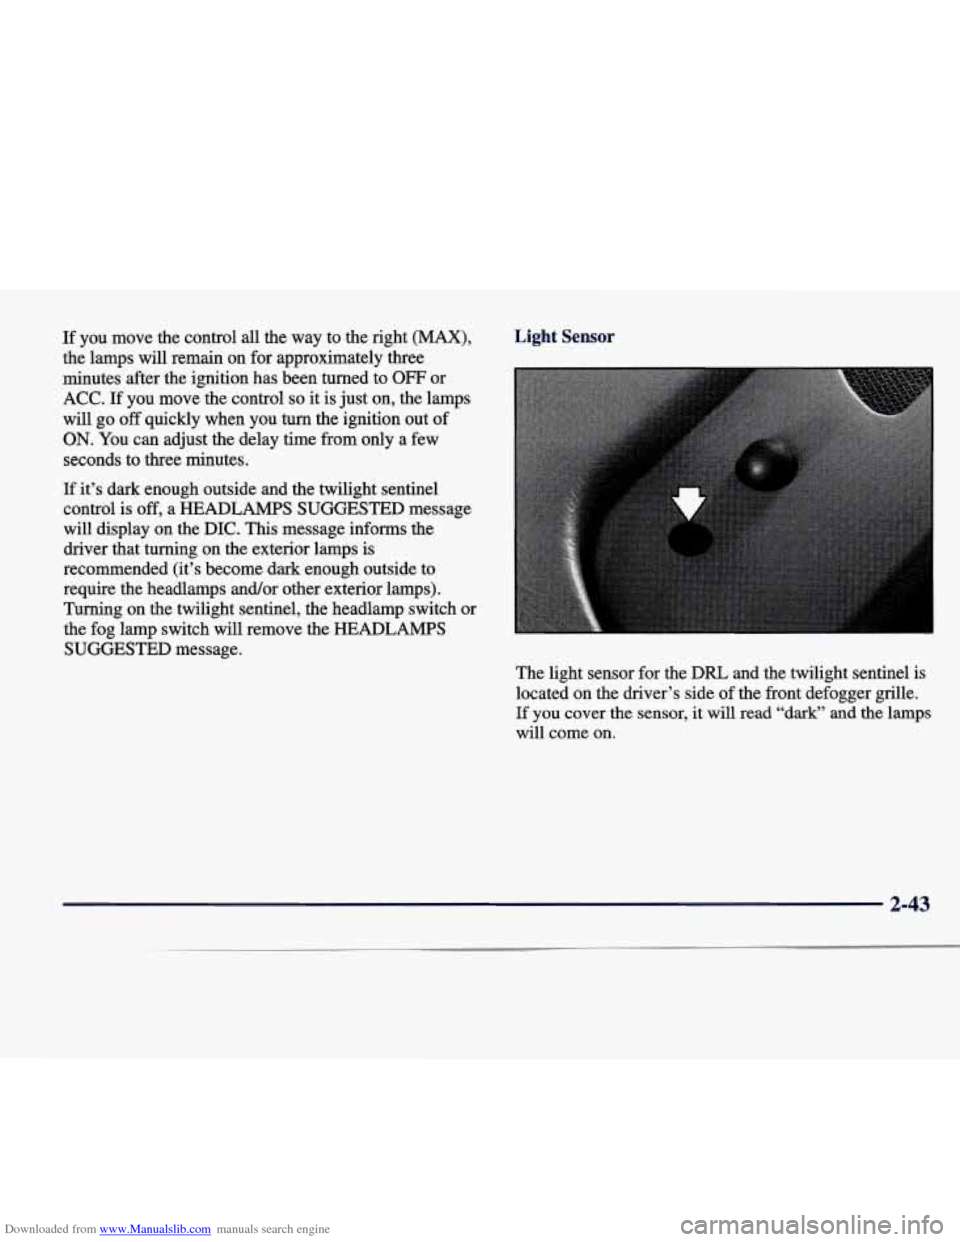
Light Sensor
The light sensor for the DRL and the twilight sentinel is
located on the driver’s side of the front defogger
grille.
If you cover the sensor, it will read “dark” and the lamps
will come on.
2-43
Page 105 of 378
Downloaded from www.Manualslib.com manuals search engine Exterior Lighting Battery Saver
If the manual parklamps or headlamps control has been
left on, the exterior lamps will
turn off approximately 10
minutes after the ignition is turned to OW. This protects
draining the battery in case you have accidentally left the
headlamps or parking lamps on.
If you need to leave the
lamps on for more than
10 minutes, use the manual control
to
turn the lamps back on. To delay the lamps from turning
off, see “Twilight Sentinel’, in the Index.
Interior Lamps
Instrument Panel Brightness Control
With the parking lamps on,
the instrument panel
lighting automatically dims
when it becomes dark
outside and brightens when
it becomes light outside.
When it’s dark,
and if the parklamps are on, the brightness
control can
be manually adjusted by using the control
located
to the right of the twilight sentinel control. Push
the button lightly to release it to the outward position. Tum
to the left to dirn and to the right to brighten the lightin\
g.
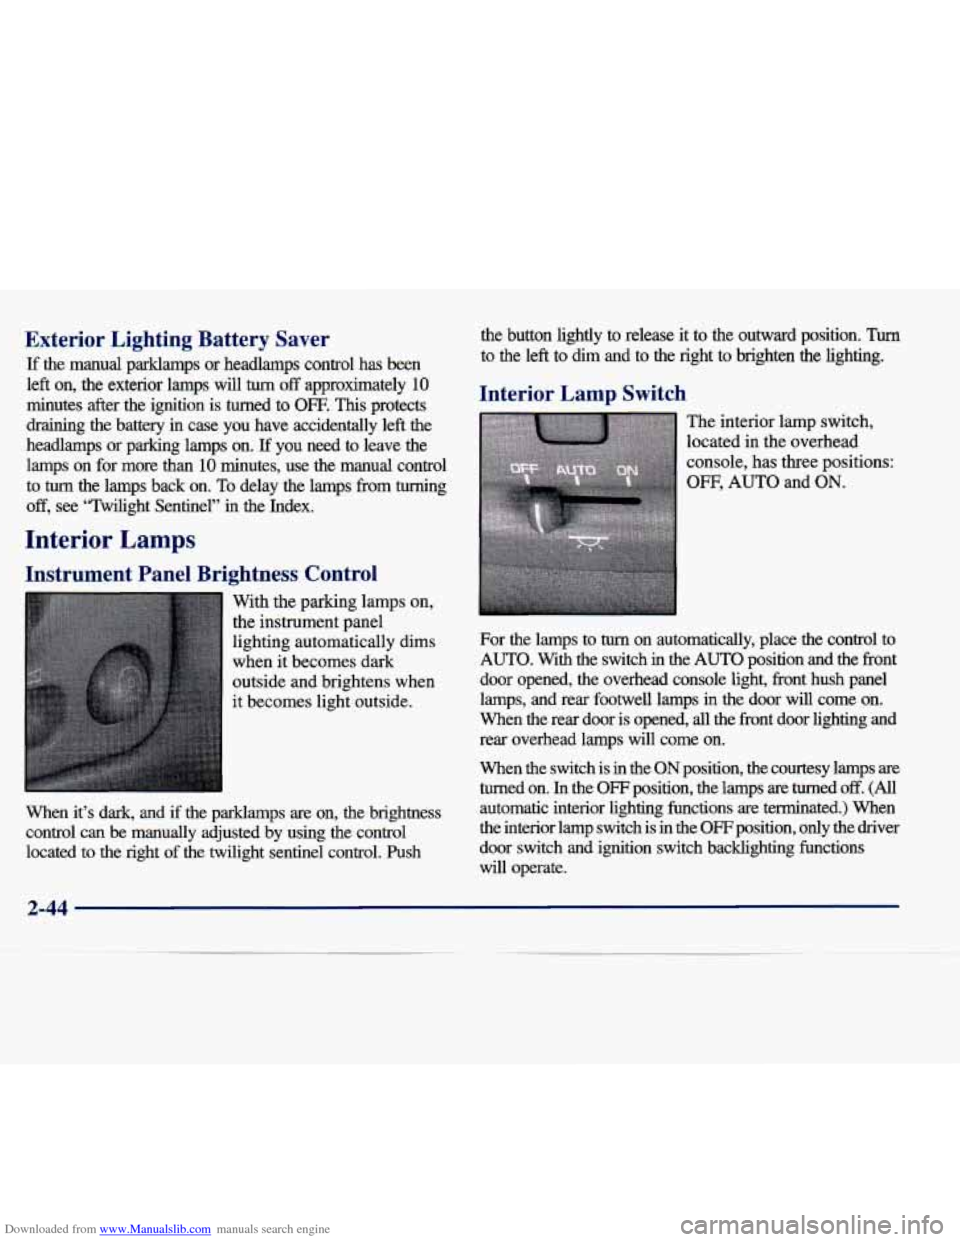
Interior Lamp Switch
The interior lamp switch,
located in the overhead
console, has three positions:
OFF, AUTO and ON.
For the lamps to turn on automatically, place the control to
AUTO. With the switch in the AUTO position and the front
door opened, the overhead console light, front hush panel
lamps, and rear footwell lamps
in the door will come on.
When the rear door is opened,
all the fiont door lighting and
rear overhead lamps will come on.
When the switch is in the ON position, the courtesy lamps are
turned on.
In the OFF position, the lamps are turned off. (All
automatic interior lighting functions are terminated.) When
the interior lamp switch
is in the OFF position, only the driver
door switch and ignition switch backlighting functions
will operate.
2-44
Page 106 of 378
Downloaded from www.Manualslib.com manuals search engine Illuminated Entry
The illuminated entry system turns on the courtesy
lamps and the backlighting to the driver's door switches
and to the ignition key when a door is opened or if you
press the
RKE transmitter unlock button. The
illuminated entry system works with the light sensor and
it must be dark outside in order for the courtesy lamps or
backlighting to turn on. The courtesy lamps turn off
approximately
25 seconds after the last door is closed or
after the ignition key is placed in the
RUN position or if
the
RKE transmitter lock button is pressed.
Reading Lamps
The reading lamps are located in the roof. These lamps
and the interior courtesy lamps come on when any door
is opened and it is dark outside. The rear lamps come
on when a rear door
is opened. Press the button to turn
them on. Press it again to turn them off.
Parade Dimming
This feature prohibits the dimming of the instrument
panel lights during daylight while the parking lamps are
on. This feature works with the light sensor and is fully
automatic. When the light sensor reads darkness outside,
the instrument panel lights can be adjusted. Backlighting
to the instrument panel will also turn on. If
the reading lamps are left on, they automatically shut
off
10 minutes after the ignition has been turned off.
Battery Load Management
The battery load management feature is designed to
monitor the vehicle electrical load and determine when
the battery
is in a heavy discharge condition. During
times of high electrical loading, the engine may idle at a
higher
R€" setting than normal to make sure the battery
charges. High electrical loads may occur when several
of the following are on: headlamps, high beams, fog
lamps, rear window defogger, high blower fan, heated seats and engine cooling fans.
2-45
Page 107 of 378
Downloaded from www.Manualslib.com manuals search engine If the battery continues to discharge, even with the
engine idling at a higher
RPM setting, some electrical
loads will automatically
be reduced. When this occurs,
the
rear window defogger may take slightly longer to
clear the glass, the heated seats may not get as warm as
they usually do and the fan blower may cut back to a
lower speed. For more battery saving information, see “Battery Saver Active Message” in the Index.
Inadvertent Power Battery Saver
This feature is designed to protect your vehicle’s battery against drainage from the interior lamps, trunk lamp,
glove box lamp, cigarette lighters or the garage door
opener. When the ignition is turned
off, the power to
these features will automatically
turn off after
10 minutes. Power will be restored for an additional
10 minutes if any door is opened, the trunk is opened or
the courtesy lamp switch is turned on.
Mirrors
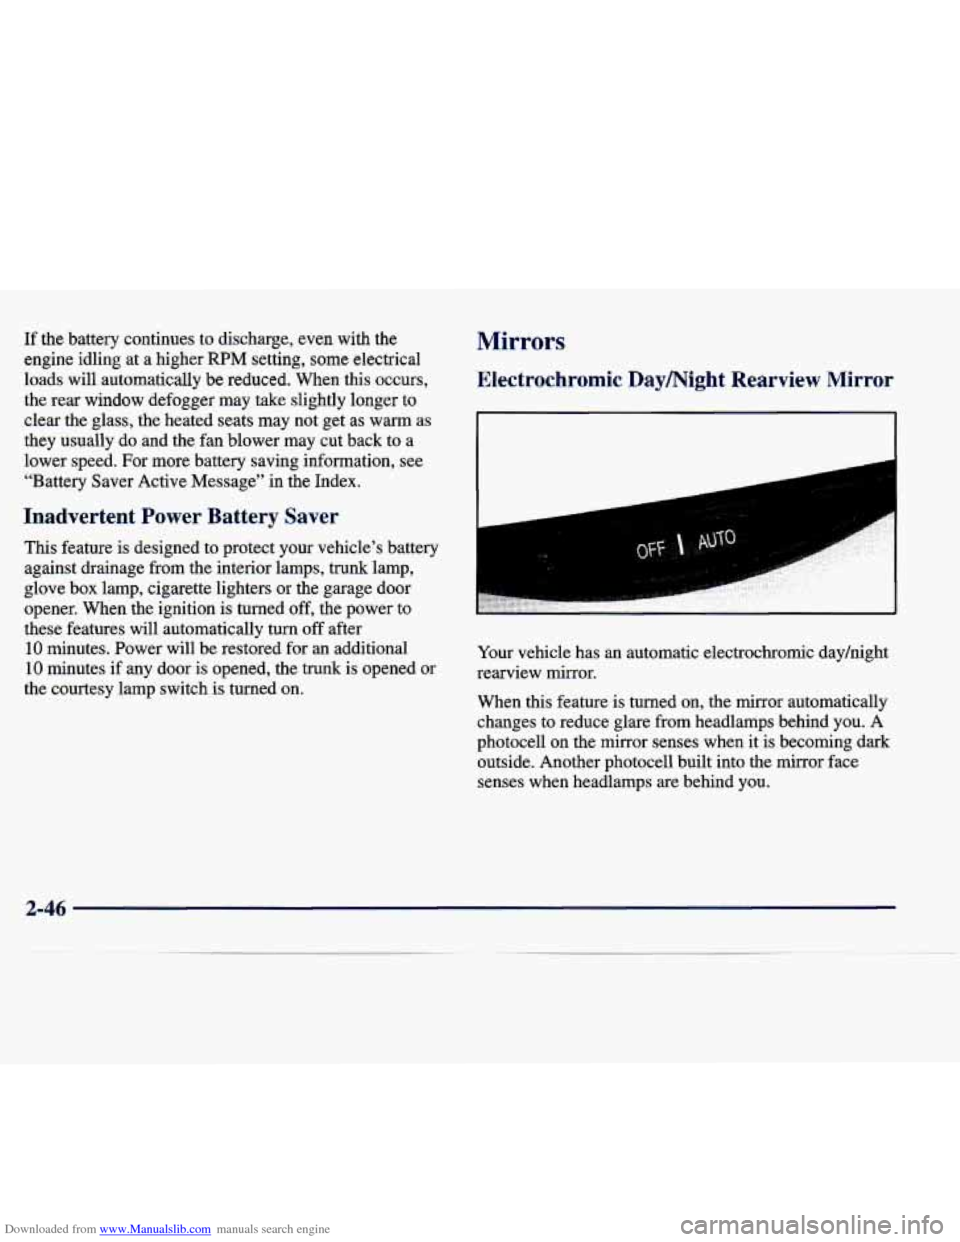
Electrochromic Daymight Rearview Mirror
I
Your vehicle has an automatic electrochromic dayhight
rearview mirror.
When this feature is turned on, the mirror automatically
changes to reduce glare from headlamps behind you.
A
photocell on the mirror senses when it is becoming dark
outside. Another photocell built into the mirror face
senses when headlamps are behind you.
2-46
Page 109 of 378
Downloaded from www.Manualslib.com manuals search engine When cleaning the mirror, use a paper towel or similar material dampened with glass cleaner.
Do not spray
glass cleaner directly
on the mirror as that may cause the
liquid cleaner to enter the mirror housing.
Mirror Operation
The right side of the switch located at the bottom of the
mirror turns the electrochromic mirror on and
off. To
turn on the automatic dimming feature, press MIRROR.
To turn off automatic dimming, press MIRROR again.
The indicator light will be illuminated when this feature
is active.
Time Delay
The automatic mirror has a time delay feature which
prevents unnecessary switching from the night back
to
the day position. This delay prevents rapid changing of
the mirror as you drive under lights and through traffic.
Cleaning the Photocells
Use a cotton swab and glass cleaner to clean the
photocells when necessary.
Compass Operation
Press the COMPASS switch once to turn the compass on
or
off.
When the ignition and the compass feature are on, the
compass will show two character boxes for
approximately two seconds. After two seconds, the
mirror will display the compass heading.
Compass Calibration
If, after two seconds, the display does not show a
compass heading
(“N’ for North, for example), there
may be a strong magnetic field interfering with the
compass. Such interference may be caused by a
magnetic antenna mount, magnetic note pad holder or a
similar magnetic item. If the letter
“C” should ever
appear in the compass window, the mirror
needs calibration.
The mirror can be calibrated in one of two ways:
Drive the vehicle in circles at 5 mph (8 km/h) or less
Drive the vehicle on your everyday routine. until the display reads a direction, or
2-48
Page 114 of 378

Downloaded from www.Manualslib.com manuals search engine Ashtrays and Cigarette Lighter
(Option)
The ashtrays and cigarette lighters may be ordered
through your dealer.
To use the ashtray, press on the
cover of the console located below the climate control
system to reveal the front ashtray. To clean the ashtray,
lift it out by pulling on the snuffer.
To use the rear ashtray, lift the lid. For more
information, see your dealer.
NOTICE:
Note that power to the cigarette lighter will shut off
10 minutes after the ignition is turned off. This helps to
prevent battery drainage. For more information, see ‘?nadvertent Power Battery Saver” in the Index.
NOTICE:
Don’t hold a cigarette lighter in with your hand
while it is heating.
If you do, it won’t be able to
back away from the heating element when it’s ready. That can make it overheat, damaging the
lighter and the heating element.
Don’t put papers or other flammable items
into your ashtrays. Hot cigarettes or other smoking materials could ignite them, causing a
detached from the center mount and moved to the side. damaging fire.
Swing down the visor to block out glare. It can be
When moved to
the side, the sun visor will also move
forward and rearward. The sun visors also slide to block
The front cigarette lighter is located near the ashtray. sunlight when needed. The sunshades are equipped with
Press it all the way in and release. It will pop back by a storage flap that can be used for small items such as
itself when it’s ready to light.
You may also have a toll tickets.
lighter on the back
of the center console near the rear
seat air outlet. There is also a secondary visor attached separately to
the headliner.
Sun Visors
2-53
Page 116 of 378

Downloaded from www.Manualslib.com manuals search engine Express Sunroof (Option)
There are two control switches to operate the
sunroof. The control
switches work only when
the ignition is on or when
the ignition is
off and the
Retained Accessory Power
is active.
The roof switch has
positions for opedclose
and express open. The
vent switch has positions
for vent opedclose. Press and hold the roof switch rearward to the
first
position to open the glass panel and sunshade. The
sunshade can also be opened or closed by hand. To close
the glass panel, press
and hold the roof switch forward.
Press and release the roof switch rearward
to the second
position to express open the glass panel.
If you want to
stop the glass panel in a partially open position, press
either switch
in any direction. Note that if you press and
hold the roof switch in the express open position for more
than one second, the
sunroof will operate manually.
To vent, press and hold the vent switch. The sunshade
must be opened by hand.
To close, press and hold the
vent switch.
2-55
Page 118 of 378
Downloaded from www.Manualslib.com manuals search engine Programming the Transmitter
Do not use the universal transmitter with any garage
door opener that does not have the “stop and reverse” safety feature. This includes any garage door opener
model manufactured before April
1, 1982.
Be sure that people and objects
are clear of the garage
door you are programming.
Turn the ignition
off while programming the transmitter.
Follow these steps to program up to three channels:
1.
2.
3.
If you have previously programmed a transmitter
channel, proceed to Step
2. Otherwise, hold down
the two outside buttons on the universal transmitter
until the light on the transmitter begins to flash
rapidly (approximately
20 seconds). Then release the
buttons. This procedure initializes the memory and erases any previous settings for all three channels.
Decide which one of the three channels you want
to program.
Hold the end of the hand-held transmitter against the
front surface of the universal transmitter
so that you
can still see the amber light.
4. Using both hands, press the hand-held transmitter
button and the desired button on the universal
transmitter. Continue to press both buttons through Step
5.
5. Hold down both buttons until you see the light on
the universal transmitter flash slowly and then
rapidly. The rapid flashing, which could take up to
90 seconds, indicates that the universal transmitter
has been programmed. Release both buttons once the
light starts to flash rapidly.
If you have trouble programming the universal
transmitter, make sure that you have followed the
directions exactly as described and that the battery in the
hand-held transmitter is not dead.
If you still cannot
program it, rotate the hand-held transmitter end over end
and
try again. The universal transmitter may not work
with older garage door openers that do not meet current
Federal Consumer Safety Standards.
If you cannot
program the transmitter after repeated attempts, consult
your dealer.