1998 CADILLAC SEVILLE seat adjustment
[x] Cancel search: seat adjustmentPage 13 of 378
Downloaded from www.Manualslib.com manuals search engine Seats and Seat Controls
This section tells you about the power seats -- how to
adjust them, and also about reclining front seatbacks,
lumbar adjustments, heated seats and head restraints.
Power Seats
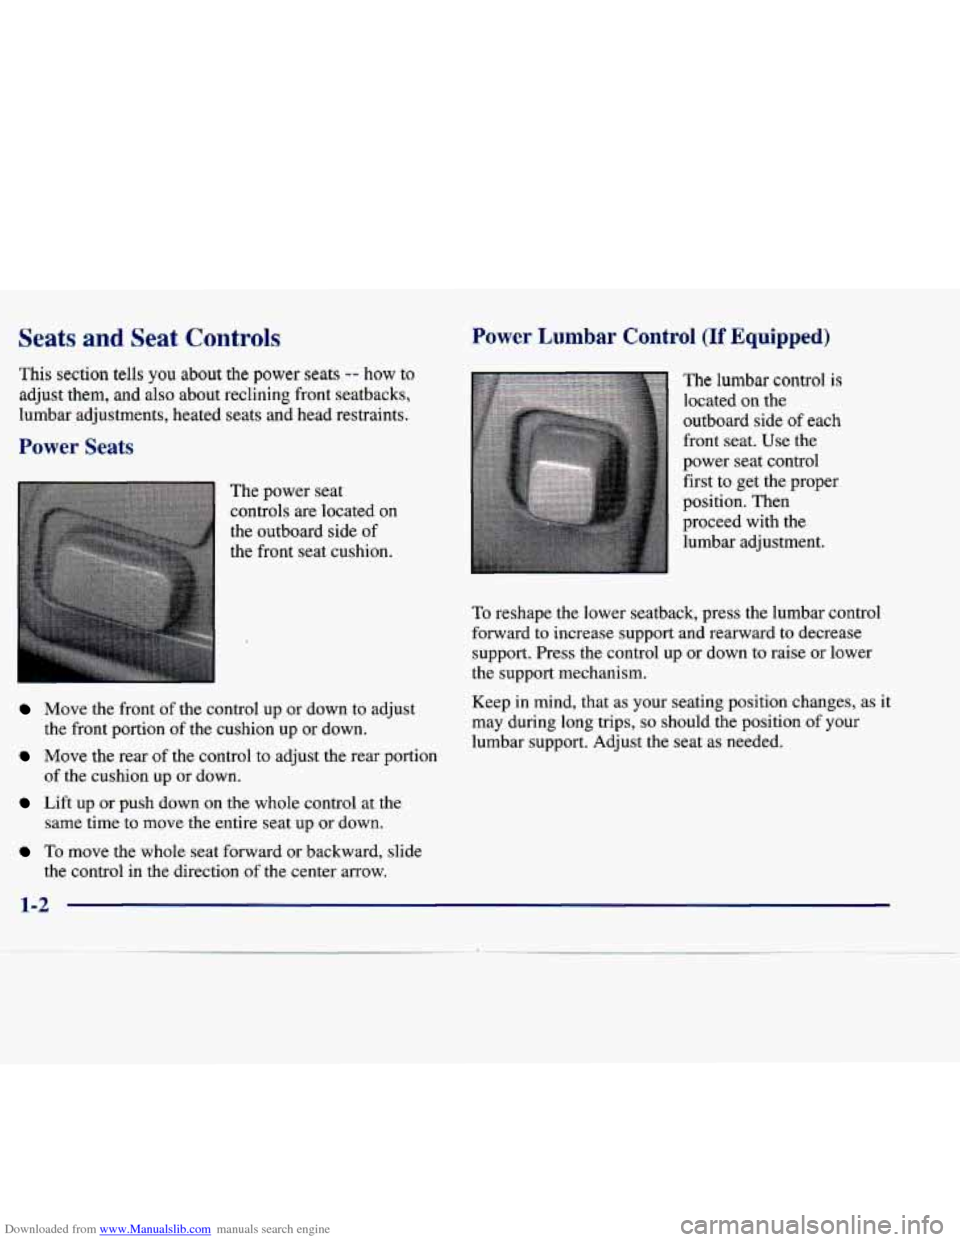
The power seat
controls are located on
the outboard side
of
the front seat cushion.
Power Lumbar Control (If Equipped)
I
The lumbar control is
located on the
outboard side
of each
front seat. Use the
power seat control first to get the proper
position. Then
proceed with the
lumbar adjustment.
To reshape the lower seatback, press the lumbar control
forward to increase support and rearward
to decrease
support. Press the control up or down to raise or lower
the support mechanism.
Move the front of the control up or down to adjust Keep in mind, that as your seating position changes, as it
the front portion of the cushion up or down. may during long trips,
so should the position of your
Move the rear of the control to adjust the rear portion
of the cushion up or down.
Lift up or push down on the whole control at the
same time to move the entire seat up or down. lumbar support. Adjust the seat
as needed.
To move the whole seat forward or backward, slide
the control in the direction
of the center arrow.
Page 14 of 378
Downloaded from www.Manualslib.com manuals search engine Adaptive Seat Control (If Equipped)
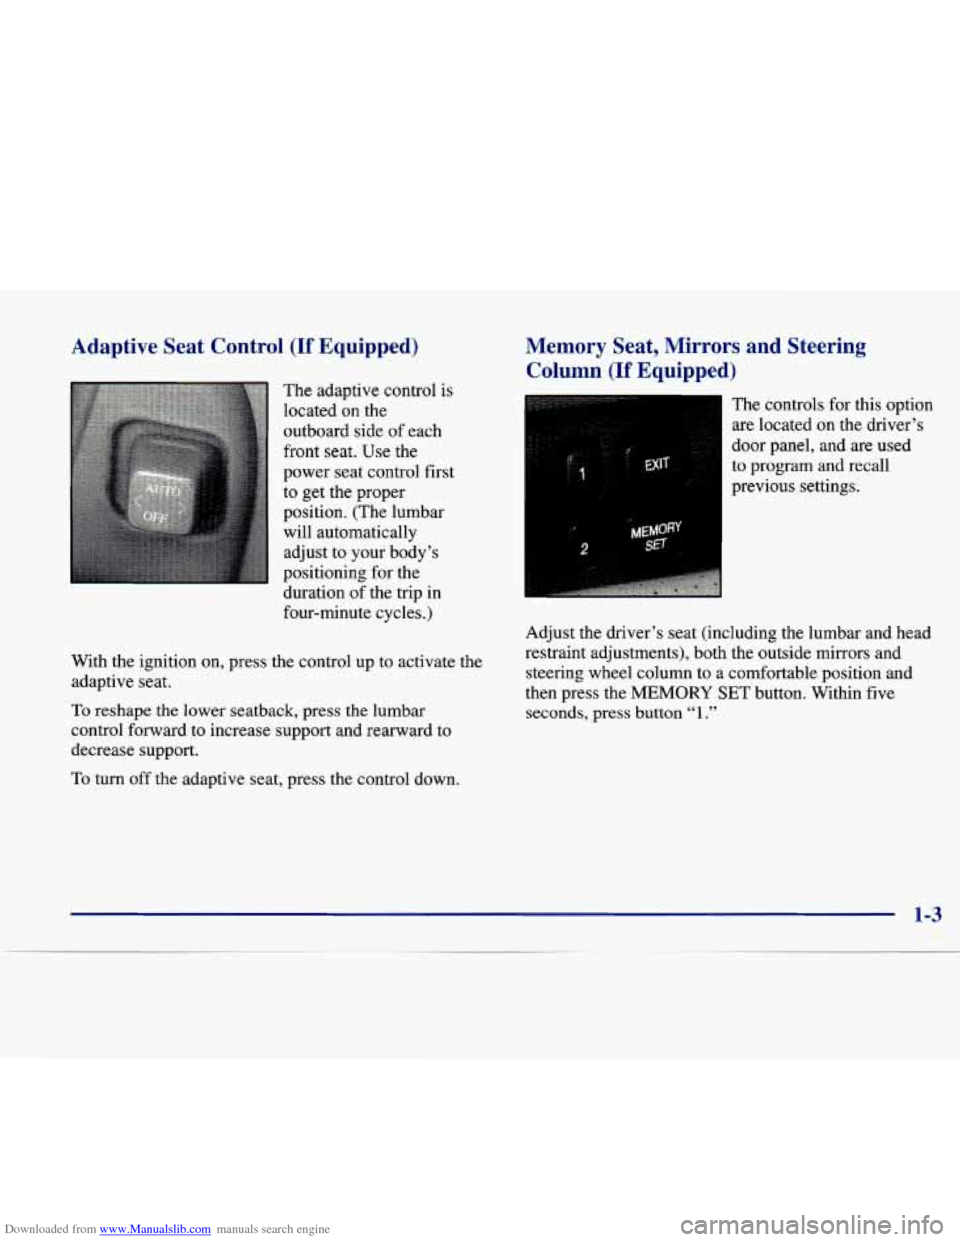
The adaptive control is
located
on the
outboard side of each
front
seat. Use the
power seat control first
to get the proper
position. (The lumbar
will automatically
adjust to your body’s
positioning for the
duration of the trip in
four-minute cycles.)
With the ignition on, press the control up to activate the
adaptive seat.
To reshape the lower seatback, press the lumbar
control forward to increase support and rearward to
decrease support.
To turn off the adaptive seat, press the control down.
Memory Seat, Mirrors and Steering
Column
(If Equipped)
2 MEMOffY
SET
The controls for this option
are located
on the driver’s
door panel, and
are used
to program and recall
previous settings.
Adjust the driver’s seat (including the lumbar and head
restraint adjustments), both the outside mirrors and steering wheel column to a comfortable position and
then press the MEMORY SET button. Within five
seconds, press button “1.”
Page 112 of 378
Downloaded from www.Manualslib.com manuals search engine Curbview Assist Mirror (If Equipped)
If your vehicle is equipped with memory mirrors, it will
also be equipped with the curbview assist
mirror feature.
This feature
will cause the passenger mirror to tip when
the vehicle is in REVERSE (R). This feature is
especially useful in allowing you to view the curb when
you are parallel parking. If further adjustment is needed
after the mirror
is tipped, the mirror switch may be used
to adjust the mirror. If the mirror switch
is pressed while
the passenger mirror is tipped, the mirror will move in
that direction, but will return to its original position once
the vehicle is shifted out of
REVERSE (R).
Once the shift lever is shifted out of REVERSE (R) and
a five second delay has occurred, the passenger side
mirror will return to its original position.
To program the feature, see “Curbview Assist Mirror” in
the Index.
Storage Compartments
Glove Box
The glove box is located in front of the passenger’s seat.
To lock the glove box door, insert the master key into
the lock cylinder and
turn it to the right. Turn the key to
the left
to unlock the door.
Map Pocket
The mapktorage pockets are located on each front door as
well as on the passenger’s and driver’s front seatbacks.
Page 312 of 378
Downloaded from www.Manualslib.com manuals search engine Headlamp Aiming
Your vehicle has the composite headlamp system.
These headlamps have horizontal and vertical aim indicators. The aim has been pre-set at the factory
and should need no further adjustment.
If your vehicle is damaged
in an accident and the
headlamp aim seems to be affected, see your dealer. Headlamps on damaged vehicles may require recalibration of the horizontal aim by your dealer.
To check the aim, the vehicle should be properly
prepared as follows:
Place the vehicle on a level pad or surface.
The vehicle should not have any snow, ice or mud
attached to it.
0
0
0
0
The vehicle should be fully assembled and all other
work stopped while headlamp aiming is being done.
There should not be any cargo or loading
of the
vehicle, except it should have a full tank of fuel and
one person or
160 lbs. (75 kg) on the driver’s seat.
Tires should be properly inflated.
Rock the vehicle to stabilize the suspension.
NOTICE:
To make sure your headlamps are aimed
properly, read all the instructions before
beginning. Failure to follow these instructions
could cause damage to headlamp parts.
Page 363 of 378
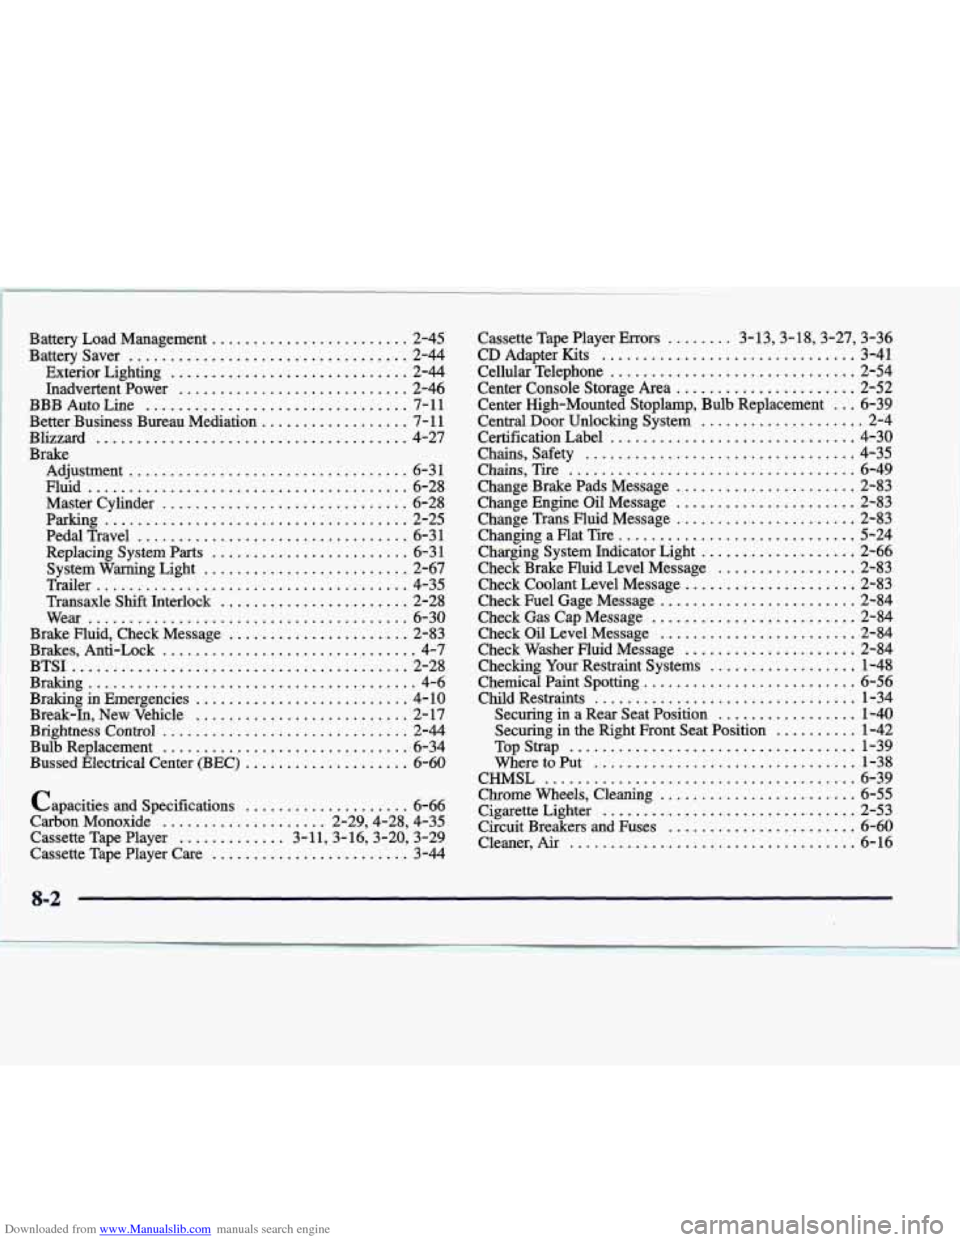
Downloaded from www.Manualslib.com manuals search engine Battery Load Management ........................ 2-45
Battery Saver
.................................. 2-44
Exterior Lighting
............................. 2-44
Inadvertent Power
............................ 2-46
BBB Auto Line
................................ 7- 11
Better Business Bureau Mediation .................. 7-11
Blizzard
...................................... 4-27
Brake Adjustment
.................................. 6-31
Fluid
....................................... 6-28
Master Cylinder
.............................. 6-28
Parking
..................................... 2-25
Pedal Travel
................................. 6-3 1
Replacing System Parts ........................ 6-3 1
System Warning Light ......................... 2-67
Trailer
...................................... 4-35
Transaxle Shift Interlock
....................... 2-28
Wear
....................................... 6-30
Brake Fluid. Check Message
...................... 2-83
Brakes. Anti-Lock
............................... 4-7
BTSI
......................................... 2-28
Braking in Emergencies
.......................... 4-10
Break-In. New Vehicle
.......................... 2-17
Brightness Control
.............................. 2-44
Bulb Replacement
.............................. 6-34
Bussed Electrical Center
(BEC) .................... 6-60
Braking
........................................ 4-6
capacities and Specifications
.................... 6-66
Carbon Monoxide
.................... 2.29.4.28. 4.35
Cassette Tape Player
............. 3.11.3.16.3.20. 3.29
Cassette Tape Player Care
........................ 3-44 Cassette Tape Player Errors
........ 3.13.3.18.3.27. 3.36
CD Adapter Kits
............................... 3-41
Cellular Telephone
.............................. 2-54
Center Console Storage
Area ...................... 2-52
Center High-Mounted Stoplamp. Bulb Replacement
... 6-39
Certification Label
.............................. 4-30
Chains. Safety
................................. 4-35
Chains. Tire ................................... 6-49
Change Brake Pads Message
...................... 2-83
Change Trans Fluid Message
...................... 2-83
Changing a Flat
Tie ............................. 5-24
Charging System Indicator Light
................... 2-66
Check Brake Fluid Level Message
................. 2-83
Check Coolant Level Message
..................... 2-83
Check Fuel Gage Message
........................ 2-84
Check Gas Cap Message
......................... 2-84
Check Oil Level Message
........................ 2-84
Check Washer Fluid Message
..................... 2-84
Checking
Your Restraint Systems .................. 1-48
Chemical Paint Spotting
.......................... 6-56
Child Restraints
................................ 1-34
Securing in a Rear Seat Position
................. 1-40
Securing in the Right Front Seat Position
.......... 1-42
TopStrap
................................... 1-39
WheretoPut
................................ 1-38
CHMSL
...................................... 6-39
Chrome Wheels. Cleaning
........................ 6-55
Cigarette Lighter
............................... 2-53
Circuit Breakers
and Fuses ....................... 6-60
Cleaner.
Air ................................... 6-16
Central Door Unlocking System
.................... 2-4
Change Engine Oil Message
...................... 2-83
8-2