1998 CADILLAC SEVILLE check engine light
[x] Cancel search: check engine lightPage 18 of 378
Downloaded from www.Manualslib.com manuals search engine Safety Belts: They’re for Everyone
This part of the manual tells you how to use safety belts
properly. It also tells you some things
you should not do
with safety belts.
And it explains the Supplemental Inflatable Restraint
(SIR), or
air bag system.
Don’t
let anyone ride where he or she can’t wear
a safety belt properly. If you are in a crash and
you’re not wearing
a safety belt, your injuries
can be much worse. You can hit things inside the
vehicle or be ejected from it. You can be seriously
injured or killed. In the same crash, you might
not be if you are buckled up. Always fasten your
safety belt, and check
that your passengers’ belts
are fastened properly too.
~~
L
It is extremely dangerous to ride in a cargo area,
inside
or outside of a vehicle. In a collision,
people riding in these areas are more likely
to be
seriously injured or killed. Do not allow people to
ride in any area of your vehicle that is not
equipped with seats and safety belts. Be sure
everyone in your vehicle is in
a seat and using a
safety belt properly.
Your vehicle has a light that
comes
on as a reminder to
buckle
up. (See “Safety Belt
Reminder Light”
in
, the Index.)
1-7
Page 33 of 378
Downloaded from www.Manualslib.com manuals search engine AIR
BAG
There is an air bag readiness
light
on the instrument
panel, which shows
AIR BAG.
The system checks the air bag electrical system for
malfunctions. The light tells
you if there is an electrical
problem. See “Air Bag Readiness Light”
in the Index
for more information.
How the Air Bag Systems Work
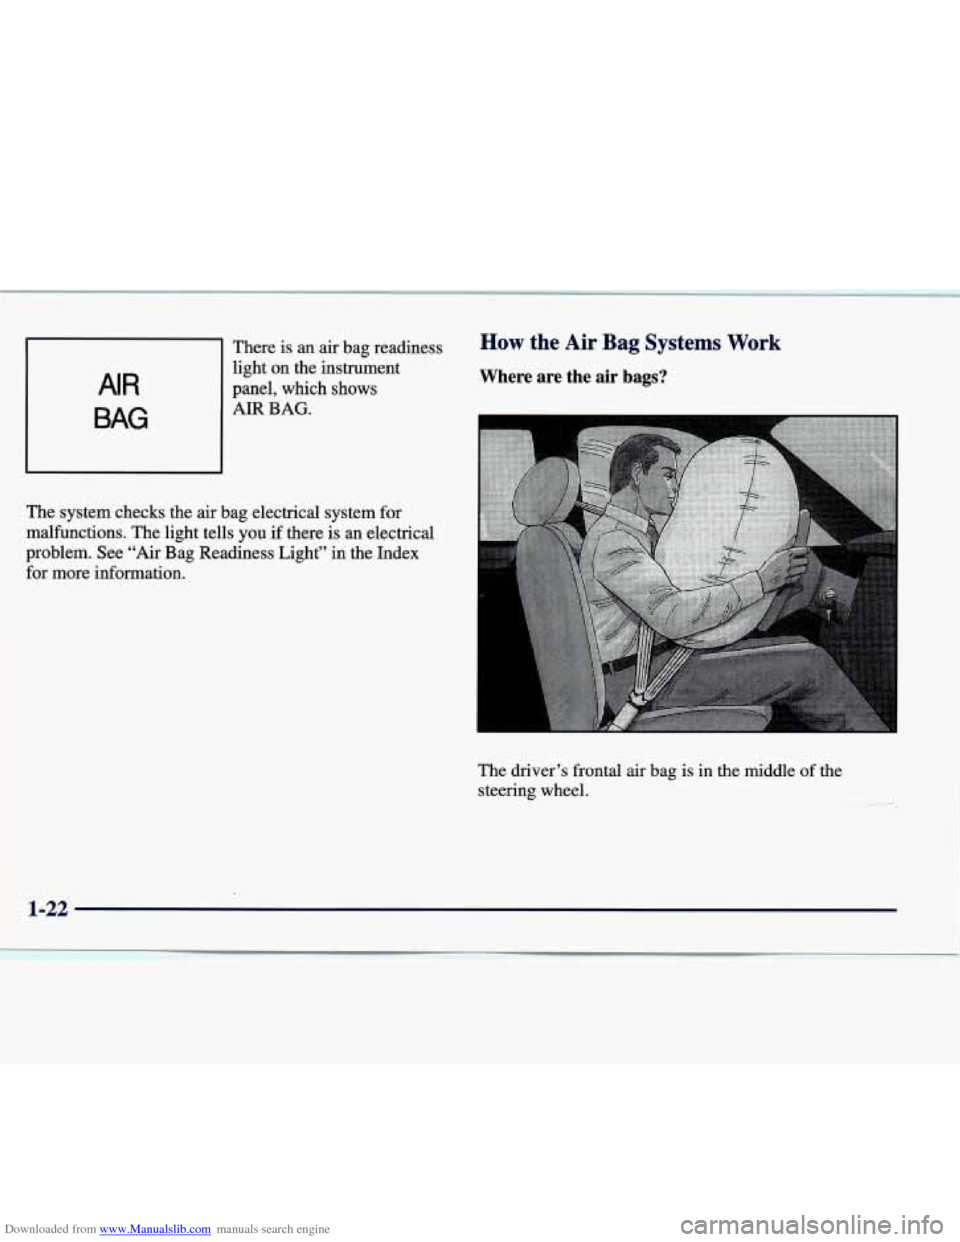
Where are the air bags?
The driver’s frontal air bag is in the middle of the
steering wheel.
1-22
Page 59 of 378
Downloaded from www.Manualslib.com manuals search engine Safety Belt Extender
If the vehicle’s safety belt will fasten around you, you
should use it.
But if a safety belt isn’t long enough to fasten, your
dealer will order you an extender. It’s free. When you go
in to order it, take the heaviest coat you will wear,
so the
extender will be long enough for you. The extender will
be just for you, and just for the seat in your vehicle that
you choose. Don’t let someone else
use it, and use it
only for the seat it is made to fit. To wear it, just attach it
to the regular safety belt.
Checking Your Restraint Systems
Now and then, make sure the safety belt reminder light
and
all your belts, buckles, latch plates, retractors and
anchorages are working properly.
Look for any other
loose or damaged safety belt system parts.
If you see
anything that might keep a safety belt system from
doing its job, have
it repaired.
Tom or frayed safety belts may not protect you in a
crash. They
can rip apart under impact forces. If a belt is
torn or frayed, get a new one right away.
Also look for any opened or broken air bag covers, and
have them repaired or replaced. (The air bag system
does not need regular maintenance.)
Replacing Restraint System Parts
After a Crash
If you’ve had a crash, do you need new belts?
After a very minor collision, nothing may be necessary.
But if the belts were stretched, as they would be if worn
during a more severe crash, then you need new belts.
If belts are cut or damaged, replace them. Collision
damage also may mean you will need to have safety belt
or seat parts repaired or replaced. New
parts and repairs
may be necessary even
if the belt wasn’t being used at
the time of the collision.
If an air bag inflates, you’ll need to replace air bag
system parts. See the part on the air bag system earlier in
this section.
If the frontal air bags inflate, you’ll also need to replace
the driver’s and right front passenger’s safety belt
buckle assembly. Be sure to do
so. Then the new buckle
assembly will be there to help protect you in a collision.
1-48
Page 76 of 378
Downloaded from www.Manualslib.com manuals search engine To arm the system, do the following:
1. Open the door.
2. Lock the door using the power door lock switch or
the RKE system with the door open. The
SECURITY light should come on and stay on.
off within approximately
30 seconds.
3. Close all the doors. The SECURITY light should go
When the theft system activates, the horn will sound and
the lamps will flash for about
30 seconds when the door
or trunk is opened without the key or RISE system.
Remember, the theft-deterrent system won’t arm if you
lock the doors with a key or use the manual door lock. It
activates only if you use a power door lock switch with
the door open or the
RKE system.
To avoid activating the alarm by accident:
The vehicle should be locked with the door key or
the manual door lock switch
after the doors are
closed
if you don’t want to arm the theft-deterrent
system.
0 Always unlock a door with a key or use the RKE
system. (Pressing the unlock button on the RKE
transmitter disables the theft-deterrent system.)
Unlocking a door any other way will activate the
alarm when a door or the trunk is opened. If you
activate the alarm by accident, unlock the driver’s
door with your key. You can also turn off the alarm by
using the unlock button
of the RKE system, or by
starting the car with
a valid key.
Changes or modifications made to this system by other than an authorized service facility could void
authorization to use the theft system.
Testing the Alarm
1. From inside the vehicle, roll down the window, then
get out of the vehicle, keeping the door open.
2. From outside of the vehicle, with the door open, lock
the vehicle using the power door lock or the RKE
system and close the door. Wait
30 seconds until the
SECURITY lamp goes
off.
3. Reach in and unlock the door using the manual lock
and open the door. The horn will sound and the
hazard lights will flash.
If the alarm does not sound when it should, check to see
if the horn works. The horn fuse may be blown. To
replace the fuse, see “Fuses and Circuit Breakers” in the
Index. If the fuse does not need to be replaced, you may
need to have your vehicle serviced.
To reduce the possibility of theft, always
arm the optional
theft-deterrent system when leaving your vehicle.
Page 78 of 378
Downloaded from www.Manualslib.com manuals search engine If when trying to start the vehicle, the engine does not
start and the STARTING DISABLED REMOVE KEY
message is displayed in the Driver Information Center,
your key should be checked for damage.
Turn the
ignition
off and try again.
If the engine still does not start, and the key appears to
be undamaged, try another ignition key. At this time, you may also want to check the fuse (see “Fuses and
Circuit Breakers’’ in the Index). If the engine still does
not start with the other key, your vehicle needs service.
If your vehicle does start, the first key may be faulty.
See your dealer or a locksmith who can service the
PASS-Key
I11 to have a new key made.
If you are ever driving and the SERVICE
THEFT
SYSTEM message is displayed in the Driver
Information Center or the
SECURITY light comes on
and stays on, you will be able to restart your engine if
you
turn it off. Your vehicle is not protected by the
PASS-Key@
111 system at this time. Your PASS-Key@
I11 system is not working properly and must be serviced
by your dealer.
If you lose or damage a PASS-Key I11 key, see your
dealer or a locksmith who can service PASS-Key
111 to
have a new key made.
New Vehicle 66Break-In”
NOTICE:
Your vehicle doesn’t need an elaborate
“break-in.” But it will perform better in the long
run
if you follow these guidelines:
Don’t drive at any one speed -- fast or
slow
-- for the first 500 miles (805 km).
Don’t make full-throttle starts.
200 miles (322 km) or so. During this time
your new brake linings aren’t yet broken
in. Hard stops with new linings can mean
premature wear and earlier replacement.
Follow this breaking-in guideline every
time you get new brake linings.
See “Towing a Trailer” in the Index
for
more information.
0 Avoid making hard stops for the first
Don’t tow a trailer during break-in.
Page 94 of 378
Downloaded from www.Manualslib.com manuals search engine Turn SignaVMultifunction Lever
’hrn and Lane Change Signals
To signal a turn, move the lever on the left side of the
steering wheel all the
way up or down. The lever returns
automatically when the turn is complete.
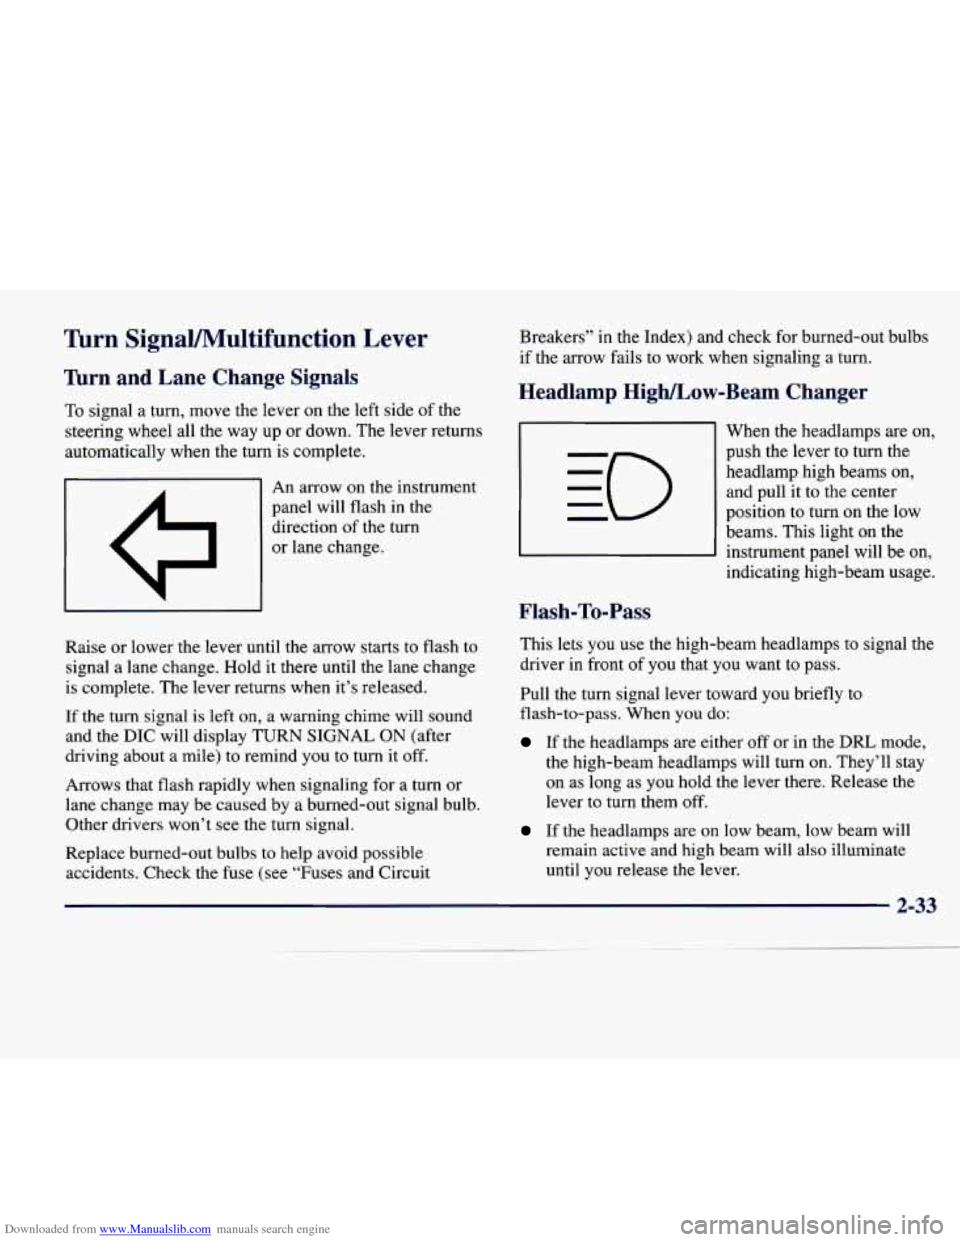
I A I An arrow on the instrument
panel will flash in the
direction of the turn
or lane change.
Raise or lower the lever until the arrow starts to flash to
signal a lane change. Hold it there until the lane change
is complete. The lever returns when it’s released.
If the turn signal is left
on, a warning chime will sound
and the
DIC will display TURN SIGNAL ON (after
driving about a mile) to remind you to turn it off.
Arrows that flash rapidly when signaling for
a turn or
lane change may be caused by a burned-out signal bulb. Other drivers won’t see the turn signal.
Replace burned-out bulbs
to help avoid possible
accidents. Check the fuse (see “Fuses and Circuit Breakers”
in the Index) and check
for burned-out bulbs
if the arrow fails to work when signaling
a turn.
Headlamp High/Low-Beam Changer
Flash-To-Pass
When the headlamps are on,
push the lever to turn the headlamp high beams on, and pull it to the center
position
to turn on the low
beams. This light on the
instrument panel will be on,
indicating high-beam usage.
This lets
you use the high-beam headlamps to signal the
driver in front
of you that you want to pass.
Pull the turn signal lever toward you briefly to
flash-to-pass. When
you do:
If the headlamps are either off or in the DRL mode,
the high-beam headlamps will turn
on. They’ll stay
on as long as you hold the lever there. Release the
lever to turn them off.
If the headlamps are on low beam, low beam will
remain active and high beam will also illuminate
until you release the lever.
Page 120 of 378
Downloaded from www.Manualslib.com manuals search engine Training a Garage Door Opener with
“Rolling Codes”
(If Equipped)
If you have not previously programmed the hand-held
transmitter to the universal transmitter, see
“Programming the Transmitter” in the Index. If you
have completed this programming,
you need to train the
garage door opener receiver to recognize the universal
transmitter. Refer to
your garage door opener owner’s
manual for the proper transmitter training procedure for
your garage door opener brand.
1.
2.
3. Locate
the training button
on the garage door opener
receiver. The exact location and color of the button
may vary by garage door opener brand. If you have difficulty locating the training button, refer to your
garage door opener manual.
Press the training button on the garage door opener
receiver for one or
two seconds. A light indicator will
begin to
flash when the receiver enters the train mode.
Return to the universal transmitter
in your vehicle
and press the universal transmitter button you have
already programmed for two to three seconds. Press
the button again to make sure that the universal
transmitter has been trained to the garage door opener receiver. Check that the train was successful.
The receiver light should no longer be flashing. The
garage door opener should now recognize the
universal transmitter.
You may either use the universal
transmitter
or the hand-held transmitter to open the
garage door.
If after following these instructions you still have
problems training the garage door opener, consult
your dealer.
Erasing Chan--
To erase all three programmed channels, hold down the
two outside buttons until the red light begins to flash.
Individual channels cannot be erased, but can be
reprogrammed using the procedure for programming the
transmitter explained earlier.
-
Accessories
Accessories for the universal transmitter are available
from the manufacturer
of the unit. If you would like
additional information, please call 1-800-355-35
15.
2-59
Page 126 of 378
Downloaded from www.Manualslib.com manuals search engine Gages can indicate when there may be or is a problem
with one of your vehicle’s functions. Often gages and
warning lights work together to let you know when
there’s a problem with your vehicle.
When one
of the warning lights comes on and stays on
when you are driving, or when one
of the gages shows
there may be
a problem, check the section that tells you
what to do about it. Please follow
this manual’s advice.
Waiting to do repairs can be costly
-- and even
dangerous.
So please get to know your warning lights
and gages. They’re a big help.
Your vehicle also has a Driver Information Center that
works along with the warning lights and gages. See “Driver Information Center” in the Index.
Safety Belt Reminder Light
When the key is turned to ON or START, a chime will
come on for about eight seconds to remind people to
fasten their safety belts.
The safety belt light will also come on and stay on
for about
70 seconds. If the
driver’s belt is already
buckled, neither the chime
nor the light will come
on.
Air Bag Readiness Light
There is an air bag readiness light on the instrument
panel, which shows
AIR BAG. The system checks the
air bag’s electrical system for malfunctions. The light
tells you if there is an electrical problem. The system
check includes the air bag sensors, the air bag modules,
the wiring and the crash sensing and diagnostic module.
For more information on the air bag system, see “Air
Bag” in the Index.
2-6 -