1998 CADILLAC SEVILLE coolant level
[x] Cancel search: coolant levelPage 144 of 378
Downloaded from www.Manualslib.com manuals search engine BATTERY VOLTAGE HIGH - 8: This message shows
that the electrical charging system is overcharging (more
than 16 volts). To avoid being stranded, have the electrical
system checked by your dealership.
You can reduce the
charging overload by using the accessories.
Turn on the
lamps and radio, set the climate control on
AUTO and the
fan speed on
HI, and turn the rear window defogger on.
You can monitor battery voltage on the DIC by pressing
the
INFiO button. The normal range is 11.5 to 15.5 volts
when the engine is running.
BATTERY VOLTAGE LOW - 6: This message will
appear when the electrical system is charging less than
9 volts or if the battery has been drained. If this message
appears immediately after starting, it
is possible that the
generator can still recharge the battery. The battery should recharge while driving but may take a few hours
to do
so. Consider using an auxiliary charger (be sure to
follow the manufacturer’s instructions) to boost the
battery after returning home or to a final destination. If
this message appears while driving or after starting your
vehicle and stays on, have
it checked immediately to
determine the cause of this problem.
To help the
generator recharge the battery quickly, you can reduce
the load on the electrical system by turning
off the
accessories.
You can monitor battery voltage on the DIC
by pressing the INFO button. The normal range is 11.5
to 15.5 volts.
CHANGE BRAKE PADS - 125: This message is used
to notify you that the brake pads may have worn down.
A sensor is connected to the brake pads and is triggered
when they wear to a certain point. Have the front and
rear brakes serviced by your dealer as soon as possible.
CHANGE TRANS FLUID - 47: This message will
appear when
it is time to replace the transaxle fluid. See
the Maintenance Schedule booklet for the proper fluid and change intervals.
CHECK BRAKE FLUID - 37: This message will
display if the ignition is in
ON to inform the driver that
the brake fluid level is low. Have the brake system
serviced by a technician as soon as possible. See “Brake
System Warning Light” in the Index.
CHECK COOLANT LEVEL - 2: This message will
appear when there is a low level of engine coolant. Have
the cooling system serviced by a technician as soon
as possible.
CHANGE ENGINE OIL - 82: This means that the life
of the engine oil has expired and it should be changed
within
200 miles. See “Engine Oil” and “Filter
Recommendations” in the Maintenance Schedule
booklet. After
an oil change, the Oil Life Indicator must
be reset. See “Oil Life Indicator” in the Index
on how to
reset
it.
2-83
Page 145 of 378
Downloaded from www.Manualslib.com manuals search engine CHECK FUEL GAGE - 50: This message will appear
when the fuel supply is less than
5 gallons (1 8.9 L) and
the display is turned off.
A single chime will also sound
when this message is displayed.
CHECK GAS CAP - 61: This message will appear if
the gas cap has not been fully tightened. You should
recheck your gas cap to ensure that it’s fully tightened.
CHECK OIL LEVEL - 36: For correct operation of
the low oil sensing system, your vehicle should be on a
level surface.
A false CHECK OIL LEVEL message
may appear if the vehicle is parked on grades. The oil
level sensing system does not check for actual oil level
if the engine has been
off for a short period of time, and
the oil
level is never sensed while the engine is running.
If the CHECK OIL LEVEL message appears, and your
vehicle has been parked
on level ground with the engine
off for at least 30 minutes, the oil level should be
checked by observing the oil dipstick. Prior to checking
the oil level, be sure the engine has been off for
a few
minutes and your vehicle is on a level surface. Then
check the dipstick and add oil if necessary. See “Engine
Oil” in the Index.
CHECK WASHER FLUID - 25: This message will
appear to indicate that you need washer solvent.
DRIVER DOOR A JAR - 140: This message will
display anytime the key is in
ON and your driver’s door
is open or ajar.
A chime will also sound when the
vehicle’s speed is greater than
3 mph (4.8 km/h).
DRIVER NO. X (1 OR 2) : This message will appear
when the remote keyless entry is used. The message will
show which driver is activating the personalization
feature. It will only stay on for five seconds.
This message will appear when the engine coolant temperature is over
262 OF ( 128 O C). Stop and allow your
vehicle to idle in
PARK (P) until it cools down and the
message is removed.
Do not increase engine speed
above a normal idle.
If it does not cool down, turn off
the engine and have it serviced before driving it again.
Severe engine damage can result from an overheated
engine. See “Engine Overheating” in the Index.
ENGINE HOT-A/C OFF - 16: This message displays
when the engine coolant becomes hotter than the normal
operating temperature. To avoid added strain on a hot
engine, the air conditioning compressor is automatically
turned off. When the coolant temperature returns to
normal, the
A/C operation will automatically resume.
You can continue to drive your vehicle.
If this message
continues to appear, have the system repaired as soon as
possible to avoid compressor damage.
ENGINE COOLANT HOT IDLE ENGINE - 44:
2-84
Page 157 of 378
Downloaded from www.Manualslib.com manuals search engine 0
I# Heater: This setting directs warmed air through
the floor outlets. Some warm air is diverted to the
windshield to minimize fogging.
8 FAN: The button with the fan symbol adjusts the
fan speed. Press the up arrow to increase fan speed and
the down arrow to decrease fan speed. Press the AUTO
button to set the fan speed for automatic operation.
If it
is cold outside, the blower may not run in the maximum
high fan speed right away. The system checks the
temperature of the engine coolant to assure it is warm
enough to provide heat. When the engine coolant is
warm, the controller allows the fan to gradually increase
to a higher speed. This prevents cold air from blowing
into the passenger’s compartment. Selecting a manual
fan speed will override this feature.
Air Conditioning
On hot days, open the windows long enough to let hot
inside air escape. This reduces the time it takes for your
vehicle to cool down. Then keep your windows closed
for the air conditioner to work its best. Your A/C setting
may be adjusted automatically or manually.
It may also
be set separately on the passenger’s side from the
driver’s side. See “Climate Control Panel” earlier in
this section.
Heating
Adjust the interior temperature to a comfortable level
and if the fan speed needs adjusting, press the up or
down arrow. Adjusting the fan speed will cancel the
cold air delay.
Outside air will be brought in and sent through the floor,
air conditioning or bi-level outlets. The heater works
best if you keep your windows closed while using it. In
automatic operation, your fan will not run at high speed
to minimize warm-up time.
Defrosting and Defogging
Use defrost (FRONT) on cool and humid days to keep
the windshield and side windows clear. This setting will
remove fog or ice from the windshield quickly in extremely humid or cold conditions. If you desire to
have more air on your feet, move the control to the
defog mode. You may do this by pressing the right or
left arrow on the
MODE button.
Press the fan button’s up or down arrow to control the
blower speed. You may
also adjust the temperature by
turning the TEMP
knob.
Recirculation and the A/C OFF message are not
available in the defrost mode.
3-6
.
Page 256 of 378
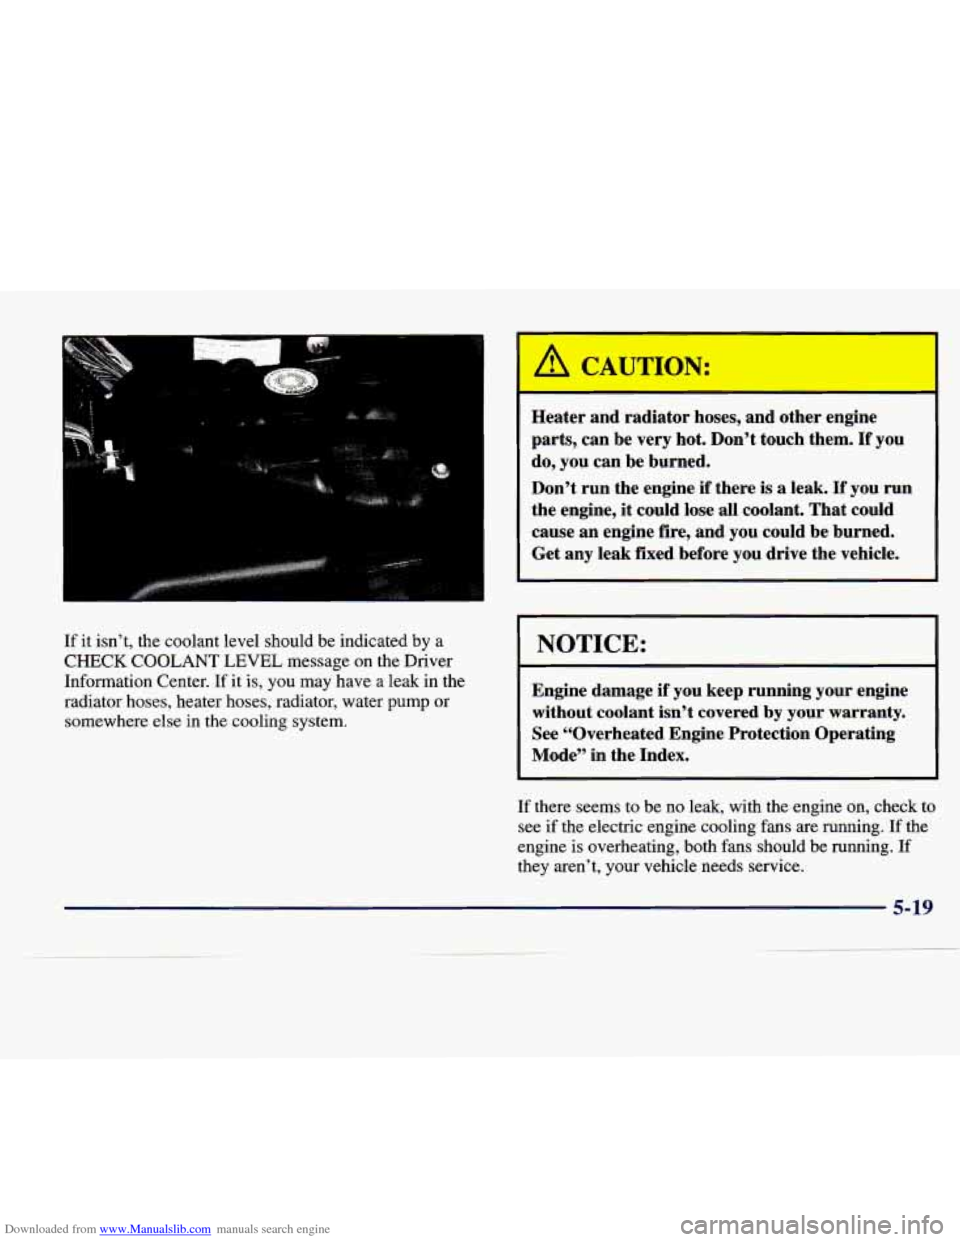
Downloaded from www.Manualslib.com manuals search engine If it isn’t, the coolant level should be indicated by a
CHECK COOLANT LEVEL message on the Driver
Information Center. If it is, you may have
a leak in the
radiator hoses, heater hoses, radiator, water
pump or
somewhere else
in the cooling system.
Heater and radiator hoses, and other engine
parts, can be
very hot. Don’t touch them. If you
do, you can be burned.
Don’t run the engine
if there is a leak. If you run
the engine, it could lose all coolant. That could
cause an engine fire, and you could be burned.
Get any leak filed before you drive the vehicle.
NOTICE:
Engine damage if you keep running your engine
without coolant isn’t covered
by your warranty.
See “Overheated Engine Protection Operating
Mode” in the Index.
If there seems to be no leak, with the engine on, check to
see if the electric engine cooling fans are running. If the
engine is overheating, both fans should be running.
If
they aren’t, your vehicle needs service.
5-19
Page 257 of 378
Downloaded from www.Manualslib.com manuals search engine How to Add Coolant to the Coolant
Surge Tank
If you haven’t found a problem yet, but the coolant level
isn’t at or above the fill mark at the forward edge of
the
surge tank, add a 50/50 mixture of clean water
(preferably distilled) and DEX-COOL@ coolant at the
coolant surge tank, but be sure the cooling system,
including the coolant surge tank pressure cap, is cool
before you do it. (See “Engine Coolant” in the Index for
more information.)
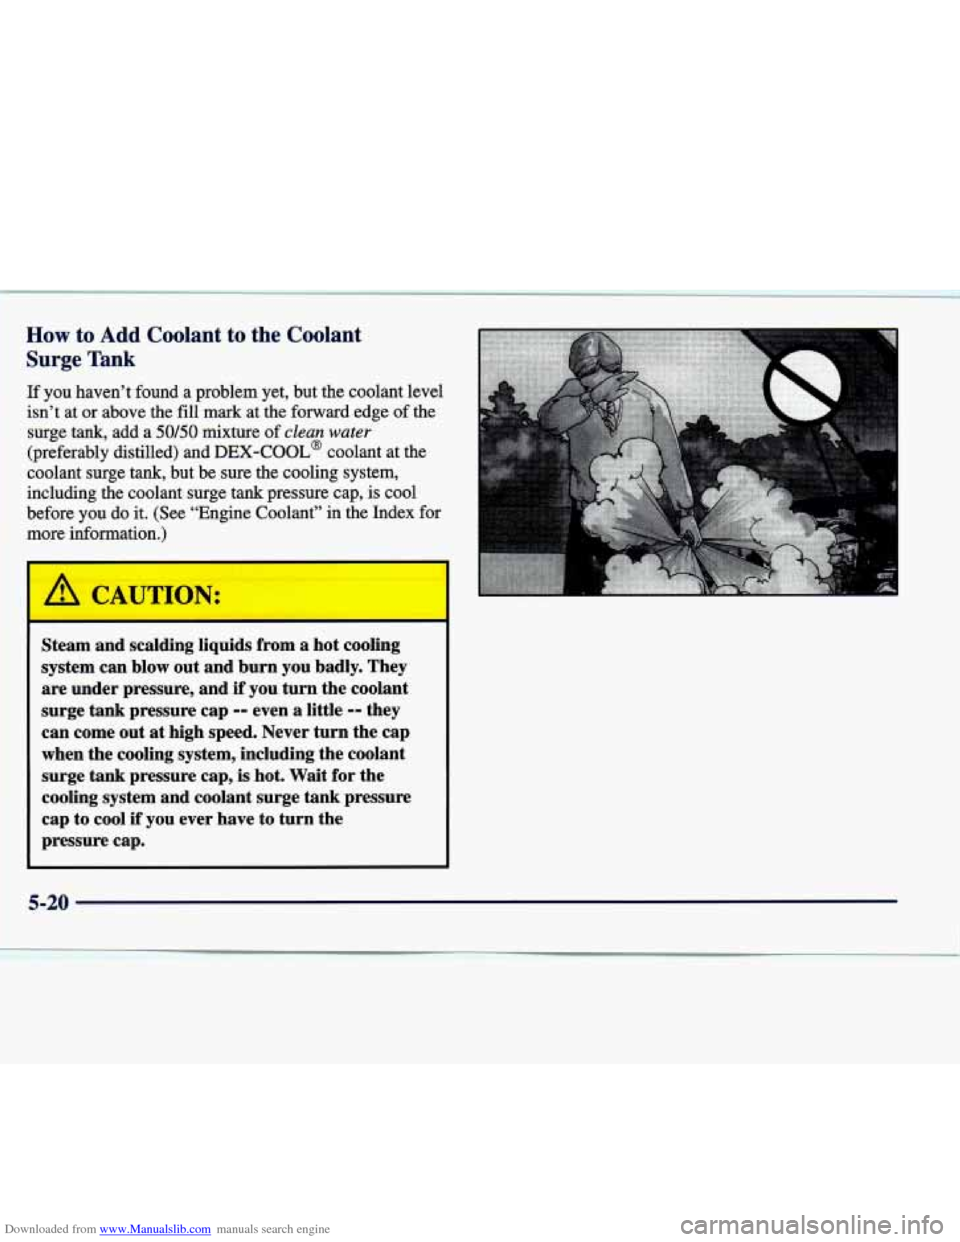
Steam and scalding liquids from a hot cooling
system can blow out and burn you badly. They
are under pressure, and
if you turn the coolant
surge tank pressure cap
-- even a little -- they
can come out
at high speed. Never turn the cap
when the cooling system, including the coolant
surge tank pressure cap,
is hot. Wait for the
cooling system and coolant surge tank pressure
cap to cool
if you ever have to turn the
pressure cap.
5-20
Page 260 of 378
Downloaded from www.Manualslib.com manuals search engine c'
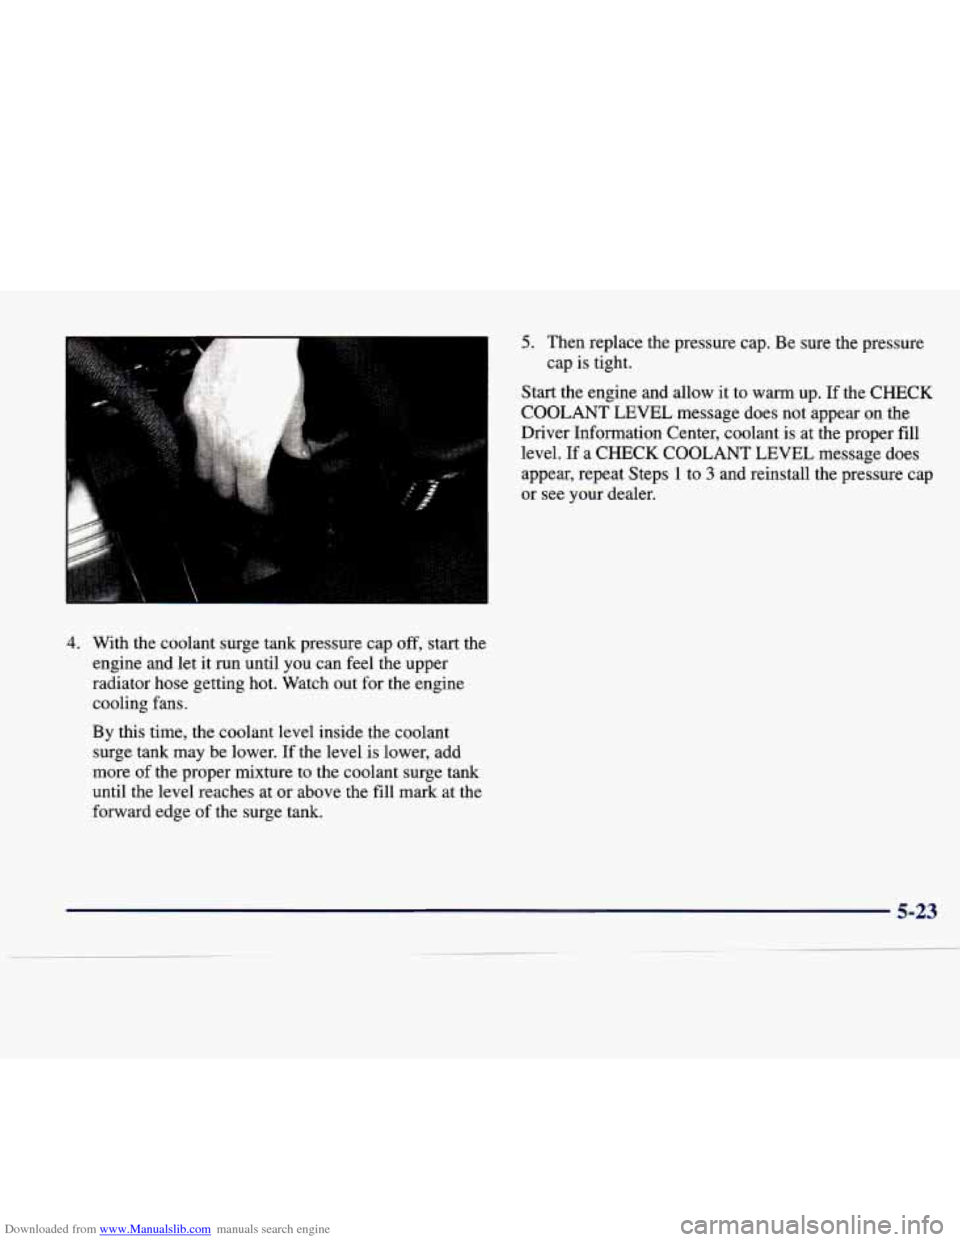
4. With the coolant surge tank pressure cap off, start the
engine and let it run until you can feel the upper
radiator hose getting hot. Watch out for the engine
cooling fans.
By this time, the coolant level inside the coolant
surge tank may be lower.
If the level is lower, add
more
of the proper mixture to the coolant surge tank
until the level reaches at or above the fill mark at the
forward edge of the surge tank.
5. Then replace the pressure cap. Be sure the pressure
Start the engine and allow
it to warm up. If the CHECK
COOLANT LEVEL message does not appear on the
Driver Information Center, coolant is at the proper fill
level. If
a CHECK COOLANT LEVEL message does
appear, repeat Steps
1 to 3 and reinstall the pressure cap
or see your dealer.
cap
is tight.
Page 276 of 378
Downloaded from www.Manualslib.com manuals search engine -a+
Section 6 Service and Appearance Care
Here you will find information about the care of your vehicle. This section begins with service and fuel information,
and then it shows how to check important fluid and lubricant levels. There is also technical information about your
vehicle, and a part devoted to its appearance care.
6-2
6-3
6-5
6- 8
6- 8
6-1 1
6- 16
6- 19
6-22
6-25
6-26
6-28
6-32
6-34
6-4 1 Service
Fuel
Filling Your Tank
Filling
a Portable Fuel Container
Checking Things Under the Hood
Engine Oil
Air Cleaner
Automatic Transaxle Fluid
Engine Coolant
Surge
Tank Pressure Cap
Windshield Washer Fluid
Brakes
Battery
Bulb Replacement
Windshield Wiper Blade Replacement
6-4 I
6-50
6-50
6-53
6-54
6-55
6-57
6-58
6-58
6-59
6-66
6-66
6-67
6-68
6-68
Tires
Appearance Care
Cleaning the Inside of Your Vehicle
Care of Safety Belts
Cleaning the Outside of Your Vehicle
Cleaning Tires
Appearance Care Materials Chart
Vehicle Identification Number (VIN)
Service Parts Identification Label
Electrical System
Replacement Bulbs Capacities and Specifications
Removing the Rear Seat Cushion
Air Conditioning Refrigerants
Normal Maintenance Replacement
Parts
6-1
Page 299 of 378
Downloaded from www.Manualslib.com manuals search engine Checking Coolant
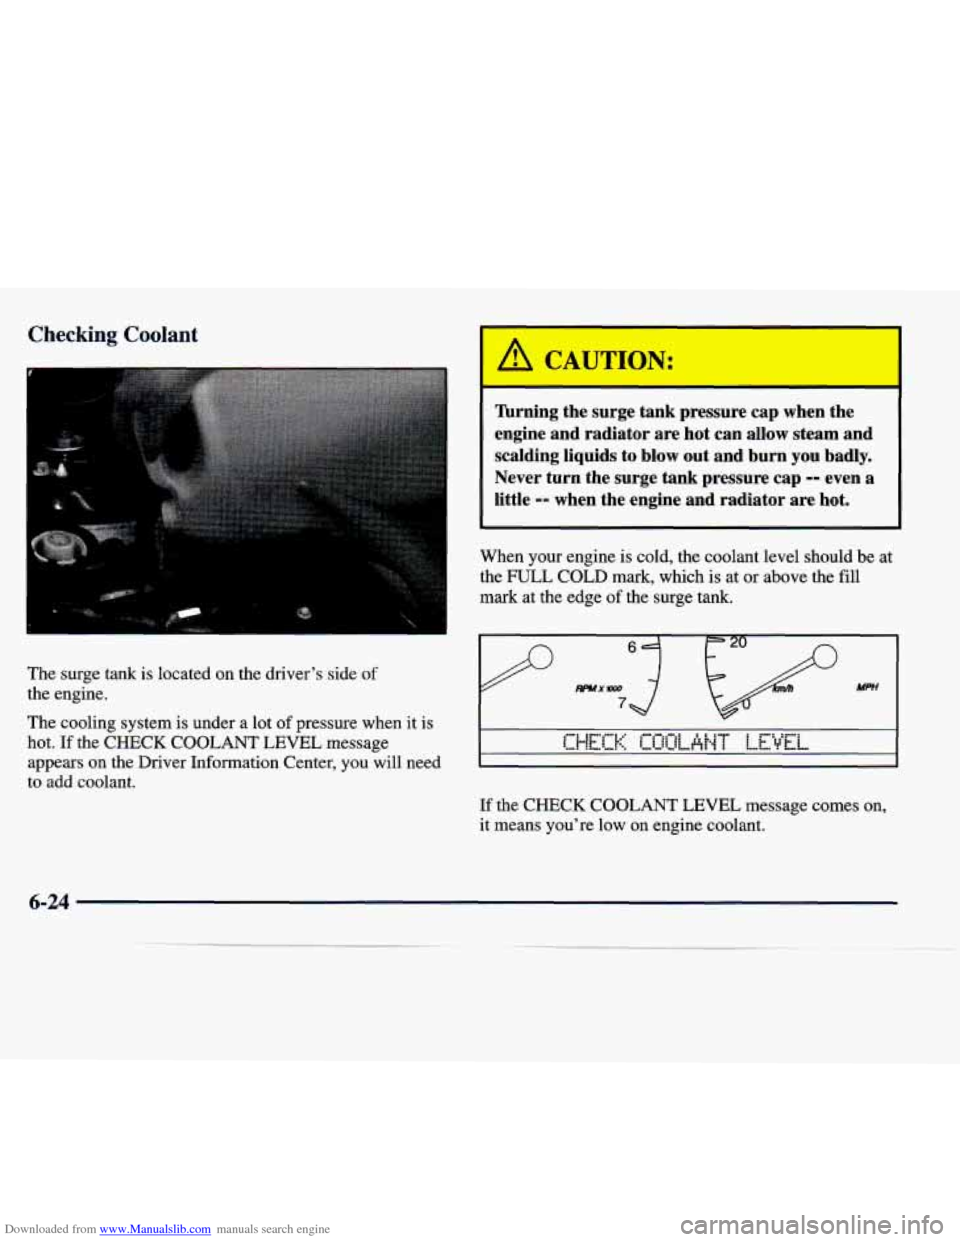
The surge tank is located on the driver's side of
the engine.
The cooling system
is under a lot of pressure when it is
hot. If the CHECK COOLANT LEVEL message
appears on the Driver Information Center,
you will need
to add coolant.
Turning the surge tank pressure cap when the
engine and radiator are hot can allow steam and
scalding liquids to blow out and burn you badly.
Never turn the surge tank pressure cap
-- even a
little
-- when the engine and radiator are hot.
When your engine is cold, the coolant level should be at
the FULL COLD
mark, which is at or above the fill
mark at the edge of the surge tank.
Mffl
If the CHECK COOLANT LEVEL message comes on,
it means you're low on engine coolant.
6-24