1998 CADILLAC SEVILLE sensor
[x] Cancel search: sensorPage 37 of 378
Downloaded from www.Manualslib.com manuals search engine A CAUTIOD
When a.n air bag inflates, there is dust in the air.
This dust could cause breathing problems
for
people with a history of asthma or other
breathing trouble.
To avoid this, everyone in the
vehicle should get out as
soon as it is safe to do so.
If you have breathing problems but can’t get out
of the vehicle after an air bag inflates, then get
fresh
air by opening a window or a door.
Your vehicle has a feature that will automatically unlock
the doors and turn the interior lamps on when the frontal
air bags inflate (if battery power
is available). You can
lock the doors again and turn the interior lamps off by
using the door lock and interior lamp controls.
In many crashes severe enough to inflate an air bag,
windshields are broken by vehicle deformation.
Additional windshield breakage may also occur from the
right front passenger air bag.
0 Air bags are designed to inflate only once. After an
air bag inflates, you’ll need some new parts for your
air bag system. If you don’t get them, the air bag
system won’t be there to help protect you in another
crash.
A new system will include air bag modules
and possibly other parts. The service manual for your
vehicle covers the need to replace other parts.
0 Your vehicle is equipped with a crash sensing and
diagnostic module, which records information about
the frontal air bag system. The module records information about the readiness of the system, when
the sensors are activated and driver’s safety belt
usage at deployment.
Let only qualified technicians work on your air bag systems. Improper service can mean that an air bag
system won’t work properly. See your dealer
for service.
1-26
Page 84 of 378
Downloaded from www.Manualslib.com manuals search engine Shifting out of PARK (P) or NEUTRAL (N) while
your engine
is “racing” (running at high speed) is
dangerous. Unless your foot
is firmly on the
brake pedal, your vehicle could move very
rapidly. You could lose control and hit people or
objects. Don’t shift out of
PARK (P) or
NEUTRAL
(N) while your engine is racing.
OVERDRIVE (@): This position is for normal driving.
If you need more power for passing, and you’re:
Going less than 35 mph (55 km/h), push the
accelerator pedal about halfway down.
0 Going about 35 mph (55 M) or more, push the
accelerator
all the way down.
The transaxle will shift down to the next gear and
have more power.
NOTICE:
If your vehicle seems to start up rather slowly, or
if it doesn’t seem to shift gears as you accelerate,
something may be wrong with
a transaxle system
sensor.
If you drive very far that way, your
vehicle can be damaged.
So if this happens, have
your vehicle serviced right away. Until then, you
can use
SECOND (2) when you are driving less
than
35 mph (55 km/h) and OVERDRIVE (@)
for higher speeds.
Note that if the traction control switch is off, your
vehicle will not
go into FIRST (1) gear and the vehicle
will accelerate from stop more slowly.
This can help in
deep snow or mud conditions. When the traction control
is turned off, a message will be lit on the Driver
Information Center (DIC).
THIRD (3): This position is also used for normal
driving, however,
it offers more power and lower fuel
economy than OVERDRIVE
(a).
2-23
Page 96 of 378
Downloaded from www.Manualslib.com manuals search engine Rainsense Wipers (STS Only)
This moisture sensor is mounted on the passenger’s
interior side
of the windshield behind the rearview
mirror and
is used to automatically operate the
wipers by monitoring the amount
of moisture that is
on the windshield.
The Rainsense system can be activated by turning the
wiper stalk to one of the five sensitivity settings within
the INT
ADJ area. The bottom INT ADJ position is the
lowest sensitivity setting. This
allows more water to
collect on the windshield between wipes. Rotating the
INT
ADJ band up to the other INT ADJ settings
increases the sensitivity
of the system and frequency of
wipes. A single wipe will occur each time you turn the
INT
ADJ to a higher sensitivity setting. An initial wipe
occurs when
you turn the ignition on as a reminder that
Rainsense is active. The windshield wipers also remain
in
a “high park” position, even when the ignition is
turned off.
The Rainsense wipers operate in a delay mode as well
as a continuous low or high speed depending on the
amount of moisture and the sensitivity setting. The
MIST and “wash” cycles operate as normal and are not affected by the Rainsense function.
I NOTICE:
The wipers must be turned off when going
through a car wash
to avoid damage.
It is important to note that the Rainsense wiping feature
(INT
ADJ) can be overridden at any time by manually
changing the wiper control to
LO or HI speed.
NOTICE:
Do not place stickers or other items on the
exterior glass surface directly
in front of the
rainsensor. Doing this could cause the rainsensor
to malfunction.
Page 104 of 378
Downloaded from www.Manualslib.com manuals search engine If you move the control all the way to the right (MAX),
the lamps will remain on for approximately three
minutes after the ignition has been turned to
OFF or
ACC. If you move the control so it is just on, the lamps
will go
off quickly when you turn the ignition out of
ON. You can adjust the delay time from only a few
seconds to three minutes.
If it’s dark enough outside and the twilight sentinel
control is
off, a HEADLAMPS SUGGESTED message
will display on the
DIC. This message informs the
driver that turning on the exterior lamps
is
recommended (it’s become dark enough outside to
require the headlamps and/or other exterior lamps).
Turning on the twilight sentinel,
the headlamp switch or
the fog lamp switch will remove the
HEADLAMPS
SUGGESTED
message.
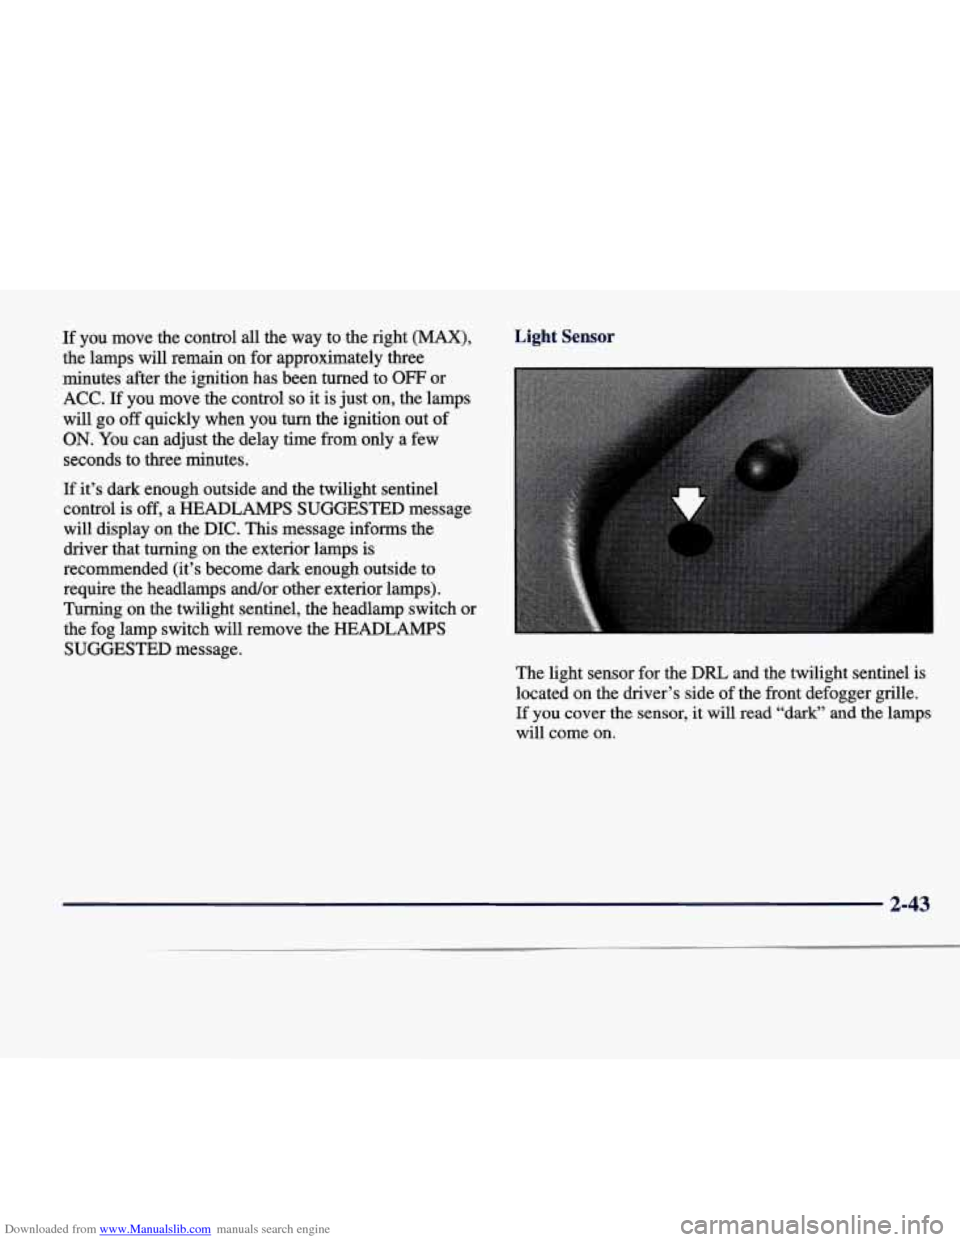
Light Sensor
The light sensor for the DRL and the twilight sentinel is
located on the driver’s side of the front defogger
grille.
If you cover the sensor, it will read “dark” and the lamps
will come on.
2-43
Page 106 of 378
Downloaded from www.Manualslib.com manuals search engine Illuminated Entry
The illuminated entry system turns on the courtesy
lamps and the backlighting to the driver's door switches
and to the ignition key when a door is opened or if you
press the
RKE transmitter unlock button. The
illuminated entry system works with the light sensor and
it must be dark outside in order for the courtesy lamps or
backlighting to turn on. The courtesy lamps turn off
approximately
25 seconds after the last door is closed or
after the ignition key is placed in the
RUN position or if
the
RKE transmitter lock button is pressed.
Reading Lamps
The reading lamps are located in the roof. These lamps
and the interior courtesy lamps come on when any door
is opened and it is dark outside. The rear lamps come
on when a rear door
is opened. Press the button to turn
them on. Press it again to turn them off.
Parade Dimming
This feature prohibits the dimming of the instrument
panel lights during daylight while the parking lamps are
on. This feature works with the light sensor and is fully
automatic. When the light sensor reads darkness outside,
the instrument panel lights can be adjusted. Backlighting
to the instrument panel will also turn on. If
the reading lamps are left on, they automatically shut
off
10 minutes after the ignition has been turned off.
Battery Load Management
The battery load management feature is designed to
monitor the vehicle electrical load and determine when
the battery
is in a heavy discharge condition. During
times of high electrical loading, the engine may idle at a
higher
R€" setting than normal to make sure the battery
charges. High electrical loads may occur when several
of the following are on: headlamps, high beams, fog
lamps, rear window defogger, high blower fan, heated seats and engine cooling fans.
2-45
Page 126 of 378
Downloaded from www.Manualslib.com manuals search engine Gages can indicate when there may be or is a problem
with one of your vehicle’s functions. Often gages and
warning lights work together to let you know when
there’s a problem with your vehicle.
When one
of the warning lights comes on and stays on
when you are driving, or when one
of the gages shows
there may be
a problem, check the section that tells you
what to do about it. Please follow
this manual’s advice.
Waiting to do repairs can be costly
-- and even
dangerous.
So please get to know your warning lights
and gages. They’re a big help.
Your vehicle also has a Driver Information Center that
works along with the warning lights and gages. See “Driver Information Center” in the Index.
Safety Belt Reminder Light
When the key is turned to ON or START, a chime will
come on for about eight seconds to remind people to
fasten their safety belts.
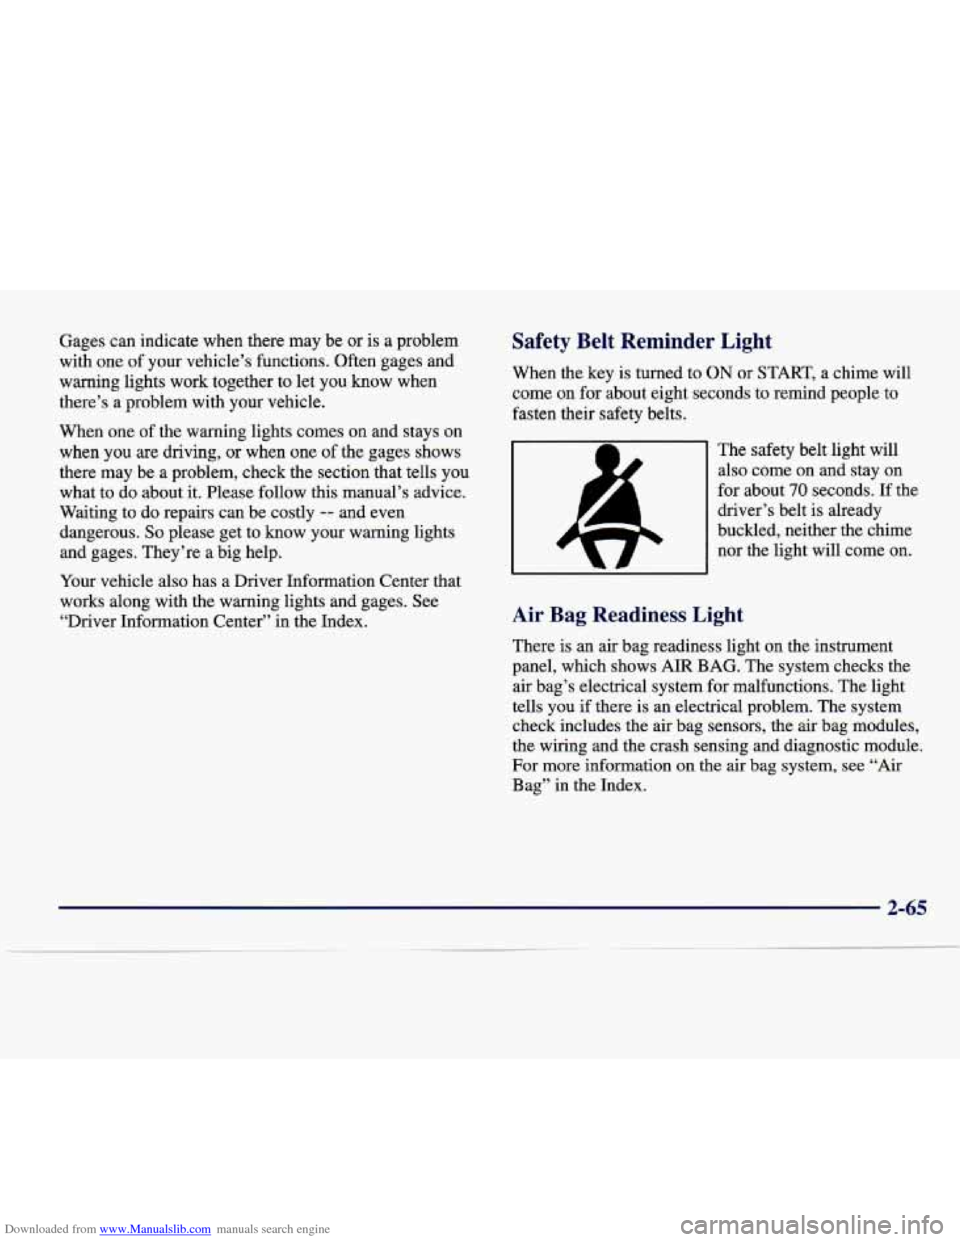
The safety belt light will also come on and stay on
for about
70 seconds. If the
driver’s belt is already
buckled, neither the chime
nor the light will come
on.
Air Bag Readiness Light
There is an air bag readiness light on the instrument
panel, which shows
AIR BAG. The system checks the
air bag’s electrical system for malfunctions. The light
tells you if there is an electrical problem. The system
check includes the air bag sensors, the air bag modules,
the wiring and the crash sensing and diagnostic module.
For more information on the air bag system, see “Air
Bag” in the Index.
2-6 -
Page 136 of 378
Downloaded from www.Manualslib.com manuals search engine All of these situations are normal and do not indicate
that anything is wrong.
0 At the gas station the gas pump shuts off before the
gage reads
F.
0 The gage may change when you turn, stop quickly or
accelerate quickly.
GAL FUEL USED on the Driver Information Center
does not correspond exactly to the amount
of fuel
remaining as shown on the fuel gage.
Continuous Variable Road Sensing
Suspension (CVRSS)
The CVRSS automatically adjusts the ride of your
vehicle. Automatic ride control
is achieved through a
computer used to control and monitor the suspension
system. The controller receives input from various
sensors to determine the proper system response. If
the
controller detects a problem within the system, the DIC
will display a SERVICE SUSPENSION SYS message.
If this message appears, have your vehicle serviced at
your dealership.
Driver Information Center (DIC)
This display gives you the status of many of your
vehicle’s systems. The DIC is also used to display driver
personalization features and warninghtatus messages.
Memory and Personalization Features
(If Equipped)
Your vehicle may have memory personalization.
Memory settings that have been previously programmed (HVAC settings, radio preset settings, exterior lighting
choices, remote confirmation choices, seat positions,
column positions,
mirror and programmable automatic
door lock choices) can be recalled by pressing the
unlock button on the
RKE transmitter or by placing the
key
in your vehicle’s ignition.
To begin programming, the ignition must be in ON, your
vehicle in PARK
(P), and if your vehicle has memory,
press the appropriate memory button
“1” or “2”, located
on the driver’s door panel, prior to programming. Press
the
INFO button one or more times until the FEATURE
PROGRAMMING prompt appears on the Driver Information Center (DIC) display. Press the
ON/OFF
button to enter FEATURE PROGRAMMING. To exit,
press the INFO
RESET button.
2-75
Page 141 of 378
Downloaded from www.Manualslib.com manuals search engine Comfort Controls and Radio System Personalization
These features allow both drivers to personalize their
own climate control settings
as well as their radio
settings. For more information, see “Climate Control
Personalization” and “Radio Personalization” in
the Index.
The outside temperature is always available for display
when your vehicle is running unless an overriding
Driver Information Center message appears. You can
change the temperature from Fahrenheit to Celsius by
pressing the ENGMET (EnglisWmetric) button on the
instrument panel. For more information on the Driver
Information Center, see “Driver Information Center
Messages” in the Index.
The electronic sensor can be affected by road or engine
heat during idling, slow driving or when the engine
is
first stared after a short trip. In order to ensure proper
automatic climate control operation, the outside air
temperature display may not update as quickly as
expected.
This is to allow the air surrounding the outside
temperature sensor to be as close to the actual outside
conditions as possible. This is determined by how much
time has elapsed since the vehicle has been turned off and by vehicle speed.
Control Buttons
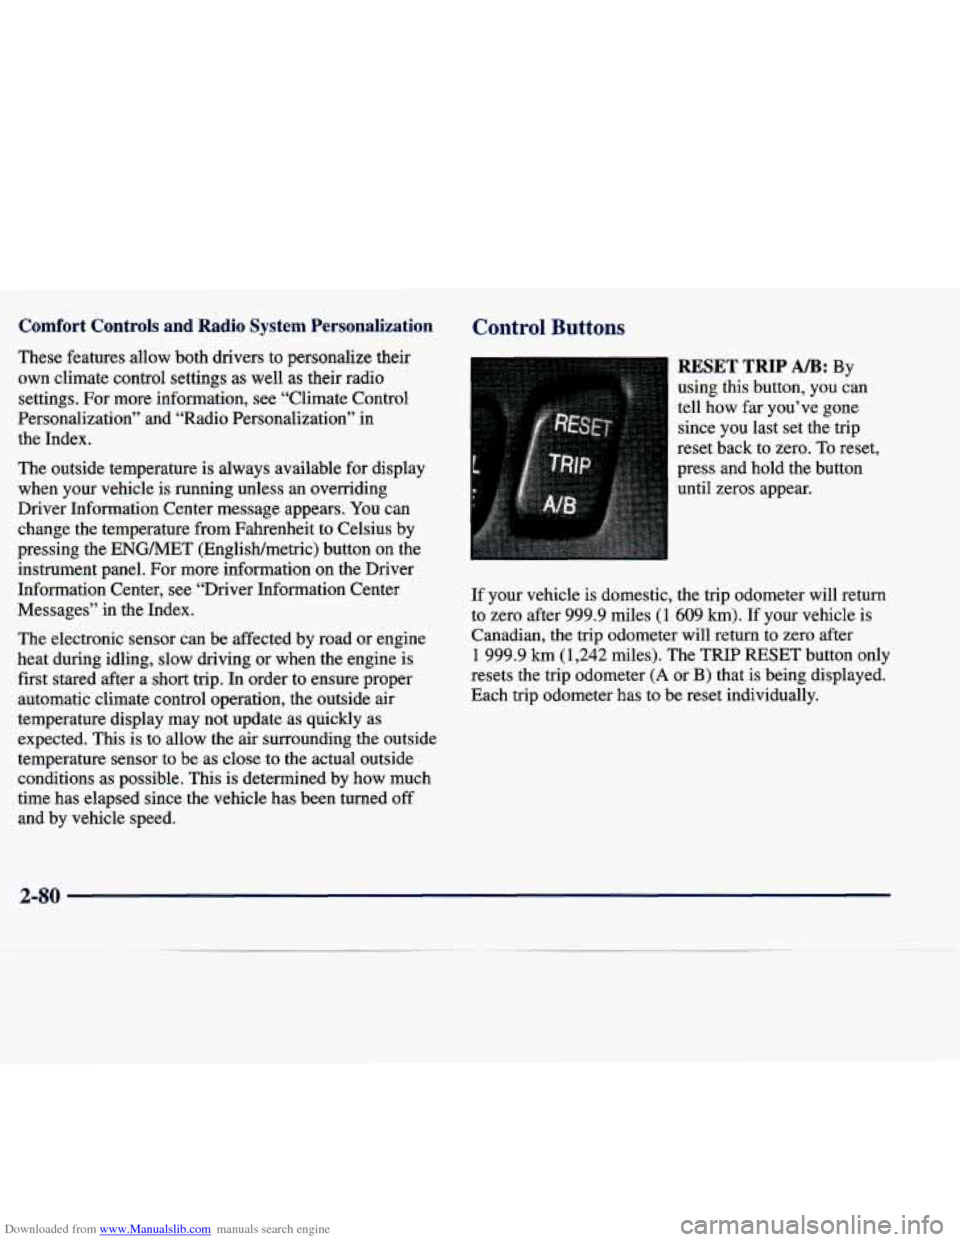
RESET TRIP AB: By
using this button, you can
tell how far.you’ve gone
since you last set the trip
reset back to zero. To reset,
press and hold the button
until zeros appear.
If your vehicle is domestic, the trip odometer will return
to zero after 999.9 miles
(1 609 km). If your vehicle is
Canadian, the trip odometer will
return to zero after
1 999.9 km (1,242 miles). The TRIP RESET button only
resets the trip odometer
(A or B) that is being displayed.
Each trip odometer has
to be reset individually.
2-80