1997 FORD CROWN VICTORIA Owners Manual
-
 1
1 -
 2
2 -
 3
3 -
 4
4 -
 5
5 -
 6
6 -
 7
7 -
 8
8 -
 9
9 -
 10
10 -
 11
11 -
 12
12 -
 13
13 -
 14
14 -
 15
15 -
 16
16 -
 17
17 -
 18
18 -
 19
19 -
 20
20 -
 21
21 -
 22
22 -
 23
23 -
 24
24 -
 25
25 -
 26
26 -
 27
27 -
 28
28 -
 29
29 -
 30
30 -
 31
31 -
 32
32 -
 33
33 -
 34
34 -
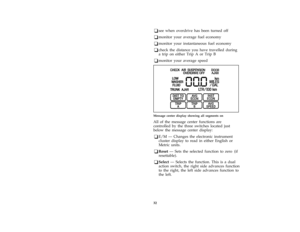 35
35 -
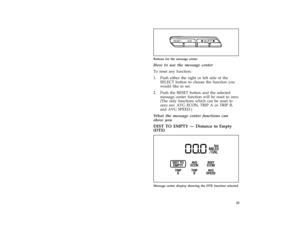 36
36 -
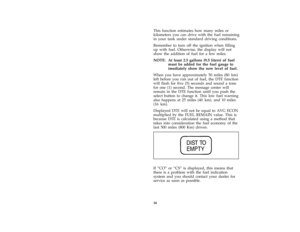 37
37 -
 38
38 -
 39
39 -
 40
40 -
 41
41 -
 42
42 -
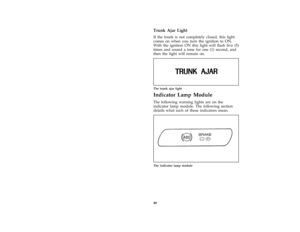 43
43 -
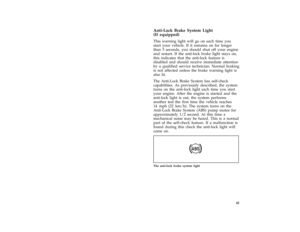 44
44 -
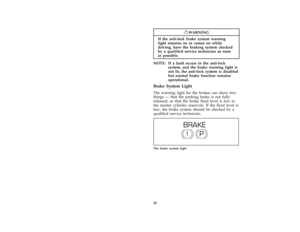 45
45 -
 46
46 -
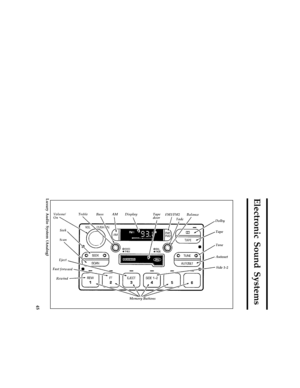 47
47 -
 48
48 -
 49
49 -
 50
50 -
 51
51 -
 52
52 -
 53
53 -
 54
54 -
 55
55 -
 56
56 -
 57
57 -
 58
58 -
 59
59 -
 60
60 -
 61
61 -
 62
62 -
 63
63 -
 64
64 -
 65
65 -
 66
66 -
 67
67 -
 68
68 -
 69
69 -
 70
70 -
 71
71 -
 72
72 -
 73
73 -
 74
74 -
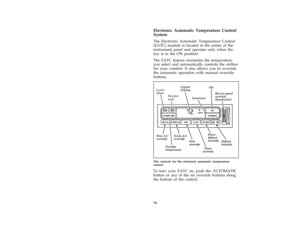 75
75 -
 76
76 -
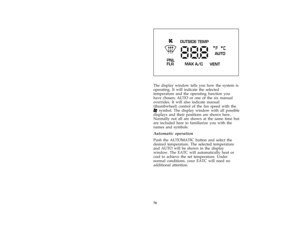 77
77 -
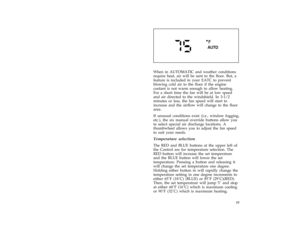 78
78 -
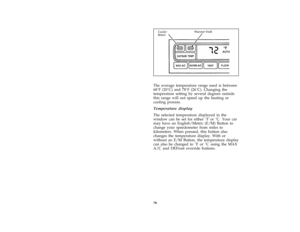 79
79 -
 80
80 -
 81
81 -
 82
82 -
 83
83 -
 84
84 -
 85
85 -
 86
86 -
 87
87 -
 88
88 -
 89
89 -
 90
90 -
 91
91 -
 92
92 -
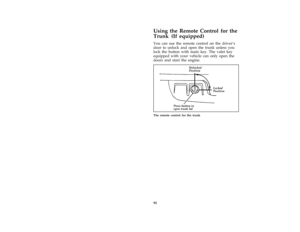 93
93 -
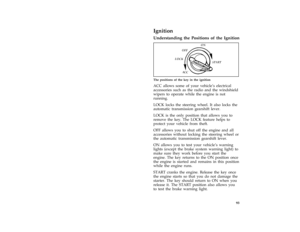 94
94 -
 95
95 -
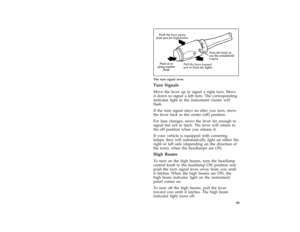 96
96 -
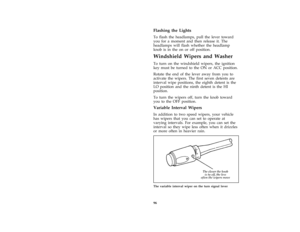 97
97 -
 98
98 -
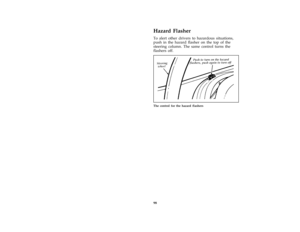 99
99 -
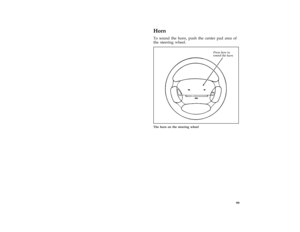 100
100 -
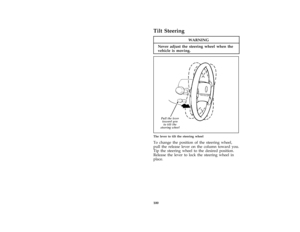 101
101 -
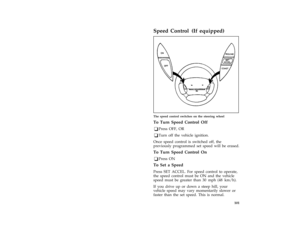 102
102 -
 103
103 -
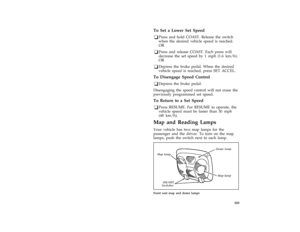 104
104 -
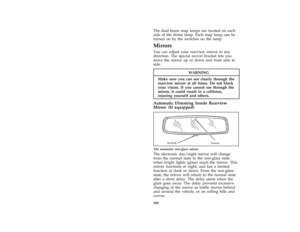 105
105 -
 106
106 -
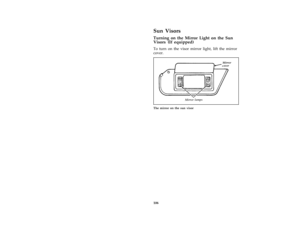 107
107 -
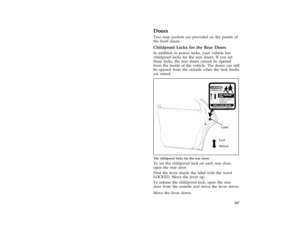 108
108 -
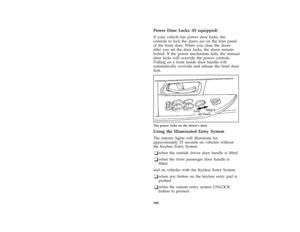 109
109 -
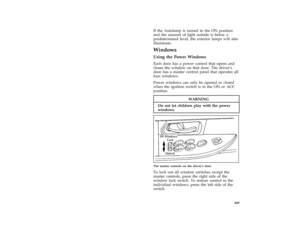 110
110 -
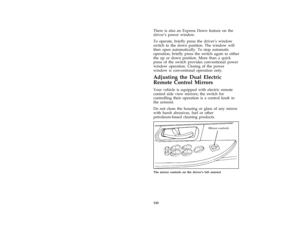 111
111 -
 112
112 -
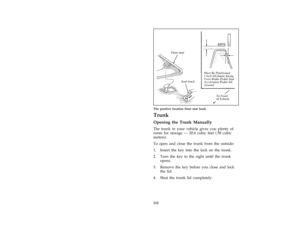 113
113 -
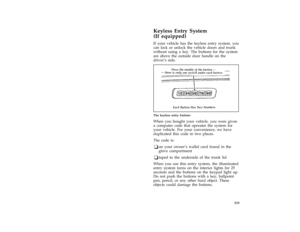 114
114 -
 115
115 -
 116
116 -
 117
117 -
 118
118 -
 119
119 -
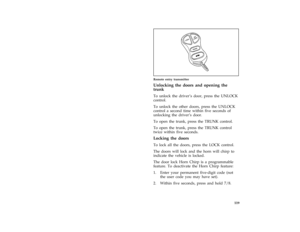 120
120 -
 121
121 -
 122
122 -
 123
123 -
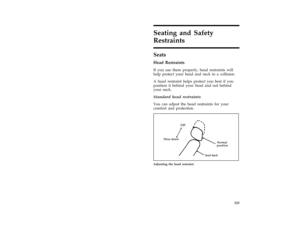 124
124 -
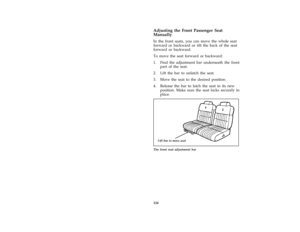 125
125 -
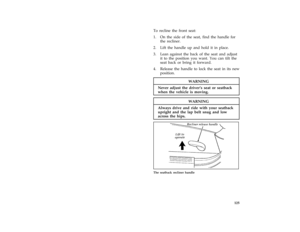 126
126 -
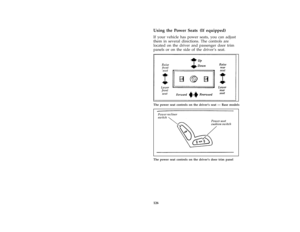 127
127 -
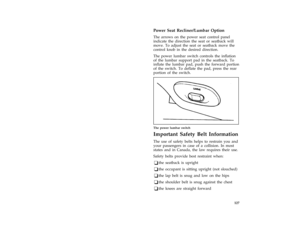 128
128 -
 129
129 -
 130
130 -
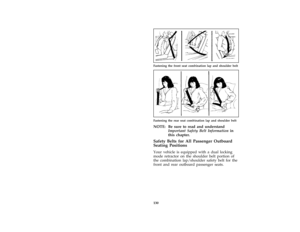 131
131 -
 132
132 -
 133
133 -
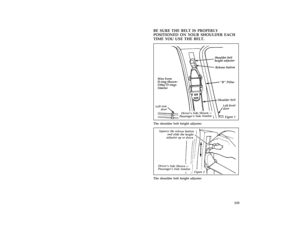 134
134 -
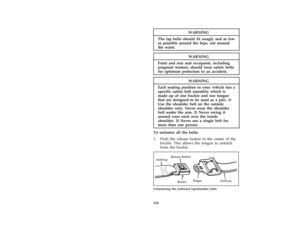 135
135 -
 136
136 -
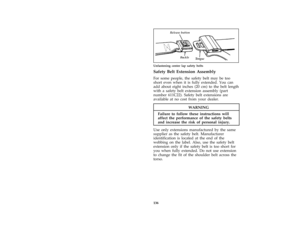 137
137 -
 138
138 -
 139
139 -
 140
140 -
 141
141 -
 142
142 -
 143
143 -
 144
144 -
 145
145 -
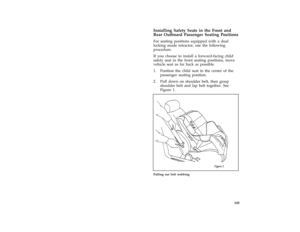 146
146 -
 147
147 -
 148
148 -
 149
149 -
 150
150 -
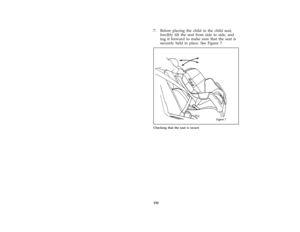 151
151 -
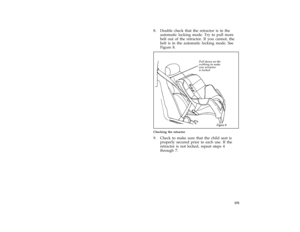 152
152 -
 153
153 -
 154
154 -
 155
155 -
 156
156 -
 157
157 -
 158
158 -
 159
159 -
 160
160 -
 161
161 -
 162
162 -
 163
163 -
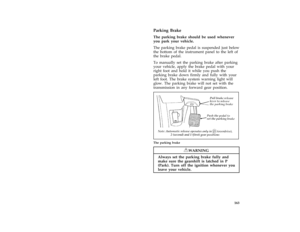 164
164 -
 165
165 -
 166
166 -
 167
167 -
 168
168 -
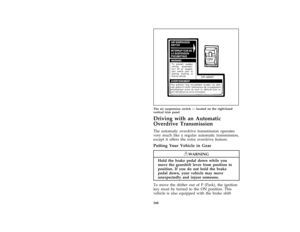 169
169 -
 170
170 -
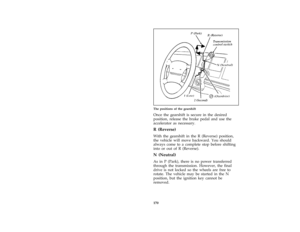 171
171 -
 172
172 -
 173
173 -
 174
174 -
 175
175 -
 176
176 -
 177
177 -
 178
178 -
 179
179 -
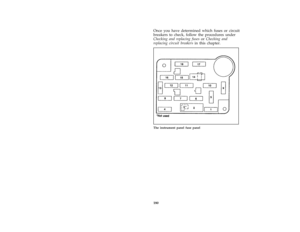 180
180 -
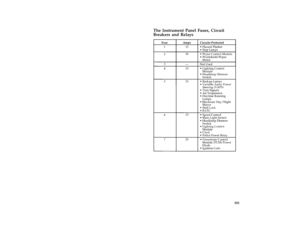 181
181 -
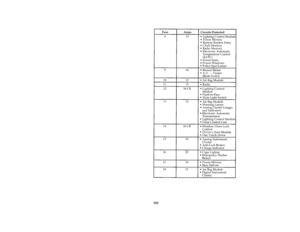 182
182 -
 183
183 -
 184
184 -
 185
185 -
 186
186 -
 187
187 -
 188
188 -
 189
189 -
 190
190 -
 191
191 -
 192
192 -
 193
193 -
 194
194 -
 195
195 -
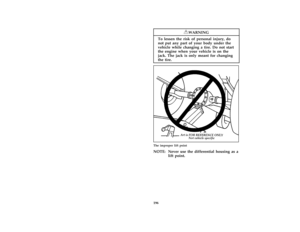 196
196 -
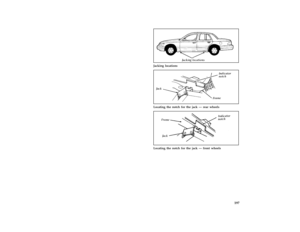 197
197 -
 198
198 -
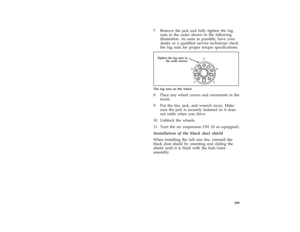 199
199 -
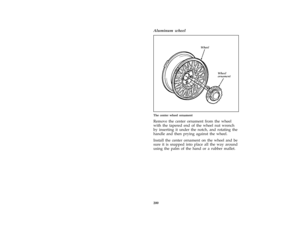 200
200 -
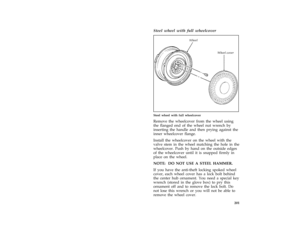 201
201 -
 202
202 -
 203
203 -
 204
204 -
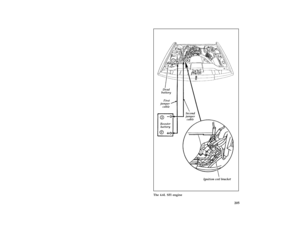 205
205 -
 206
206 -
 207
207 -
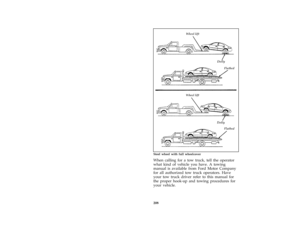 208
208 -
 209
209 -
 210
210 -
 211
211 -
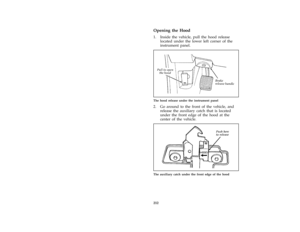 212
212 -
 213
213 -
 214
214 -
 215
215 -
 216
216 -
 217
217 -
 218
218 -
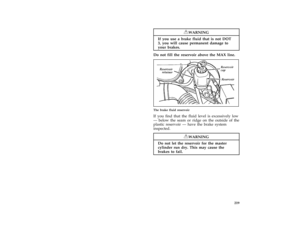 219
219 -
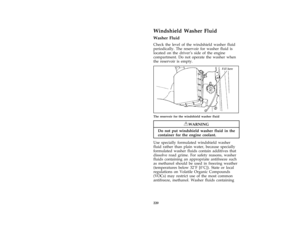 220
220 -
 221
221 -
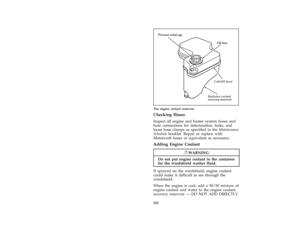 222
222 -
 223
223 -
 224
224 -
 225
225 -
 226
226 -
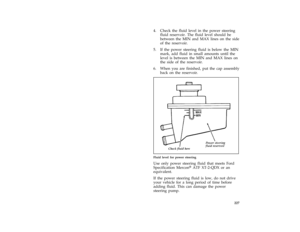 227
227 -
 228
228 -
 229
229 -
 230
230 -
 231
231 -
 232
232 -
 233
233 -
 234
234 -
 235
235 -
 236
236 -
 237
237 -
 238
238 -
 239
239 -
 240
240 -
 241
241 -
 242
242 -
 243
243 -
 244
244 -
 245
245 -
 246
246 -
 247
247 -
 248
248 -
 249
249 -
 250
250 -
 251
251 -
 252
252 -
 253
253 -
 254
254 -
 255
255 -
 256
256 -
 257
257 -
 258
258 -
 259
259 -
 260
260 -
 261
261 -
 262
262 -
 263
263 -
 264
264 -
 265
265 -
 266
266 -
 267
267 -
 268
268 -
 269
269 -
 270
270 -
 271
271 -
 272
272 -
 273
273 -
 274
274 -
 275
275 -
 276
276 -
 277
277 -
 278
278 -
 279
279 -
 280
280 -
 281
281 -
 282
282 -
 283
283 -
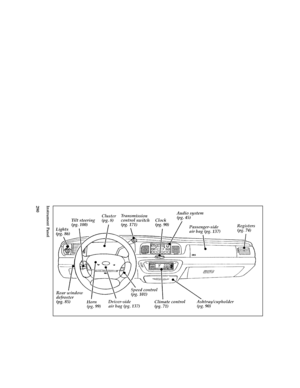 284
284 -
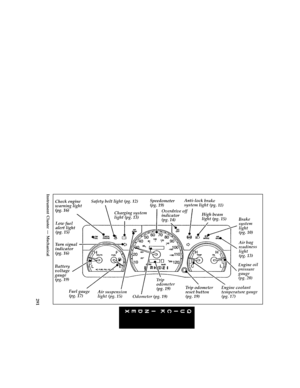 285
285 -
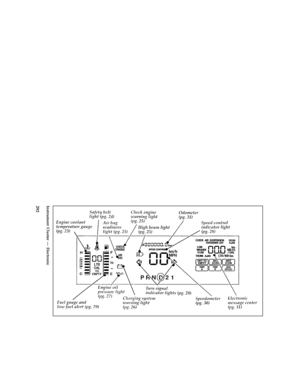 286
286 -
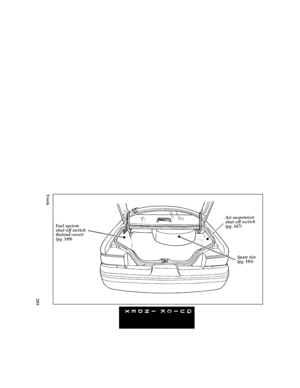 287
287 -
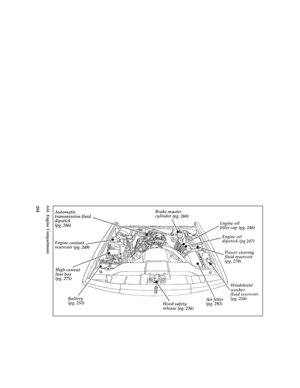 288
288 -
 289
289 -
 290
290 -
 291
291 -
 292
292 -
 293
293 -
 294
294 -
 295
295 -
 296
296 -
 297
297 -
 298
298 -
 299
299 -
 300
300 -
 301
301 -
 302
302 -
 303
303 -
 304
304 -
 305
305 -
 306
306 -
 307
307 -
 308
308 -
 309
309
![FORD CROWN VICTORIA 1997 1.G Owners Manual 144
*
[SS27700( ALL)05/96]
WARNING
Rear-facing child seats or infant carriers
should never be placed in the front seats.
*
[SS27800( ALL)05/96]
All child restraint systems are designed to be
secured i FORD CROWN VICTORIA 1997 1.G Owners Manual 144
*
[SS27700( ALL)05/96]
WARNING
Rear-facing child seats or infant carriers
should never be placed in the front seats.
*
[SS27800( ALL)05/96]
All child restraint systems are designed to be
secured i](/manual-img/11/4773/w960_4773-144.png)
![FORD CROWN VICTORIA 1997 1.G Owners Manual 145 % [SS30500( GV)12/95]
Installing Safety Seats in the Front and
Rear Outboard Passenger Seating Positions
[SS30700( ALL)12/95]
For seating positions equipped with a dual
locking mode retractor, use FORD CROWN VICTORIA 1997 1.G Owners Manual 145 % [SS30500( GV)12/95]
Installing Safety Seats in the Front and
Rear Outboard Passenger Seating Positions
[SS30700( ALL)12/95]
For seating positions equipped with a dual
locking mode retractor, use](/manual-img/11/4773/w960_4773-145.png)
![FORD CROWN VICTORIA 1997 1.G Owners Manual 146
*
[SS31200( ALL)01/96]
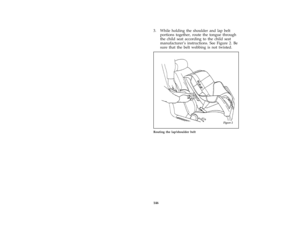
3. While holding the shoulder and lap belt
portions together, route the tongue through
the child seat according to the child seat
manufacturers instructions. See Figure 2. FORD CROWN VICTORIA 1997 1.G Owners Manual 146
*
[SS31200( ALL)01/96]
3. While holding the shoulder and lap belt
portions together, route the tongue through
the child seat according to the child seat
manufacturers instructions. See Figure 2.](/manual-img/11/4773/w960_4773-146.png)
![FORD CROWN VICTORIA 1997 1.G Owners Manual 147
*
[SS31400( ALL)01/96]
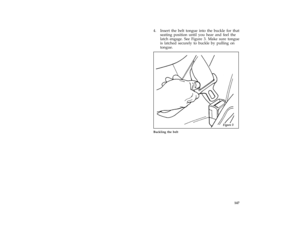
4. Insert the belt tongue into the buckle for that
seating position until you hear and feel the
latch engage. See Figure 3. Make sure tongue
is latched securely to buckle by FORD CROWN VICTORIA 1997 1.G Owners Manual 147
*
[SS31400( ALL)01/96]
4. Insert the belt tongue into the buckle for that
seating position until you hear and feel the
latch engage. See Figure 3. Make sure tongue
is latched securely to buckle by](/manual-img/11/4773/w960_4773-147.png)
![FORD CROWN VICTORIA 1997 1.G Owners Manual 148
*
[SS31600( ALL)01/96]
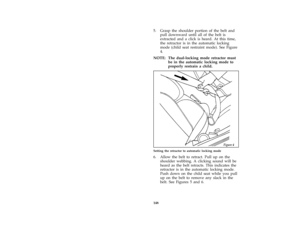
5. Grasp the shoulder portion of the belt and
pull downward until all of the belt is
extracted and a click is heard. At this time,
the retractor is in the automatic locking
FORD CROWN VICTORIA 1997 1.G Owners Manual 148
*
[SS31600( ALL)01/96]
5. Grasp the shoulder portion of the belt and
pull downward until all of the belt is
extracted and a click is heard. At this time,
the retractor is in the automatic locking](/manual-img/11/4773/w960_4773-148.png)
![FORD CROWN VICTORIA 1997 1.G Owners Manual 149
*
[SS32000( ALL)04/96]
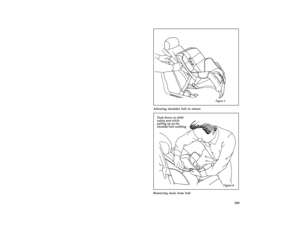
half page art:0011242-B
Allowing shoulder belt to retract
*
[SS32100( ALL)01/96]
half page art:0011243-A
Removing slack from belt
File:06rcssv.ex
Update:Thu Mar 27 14:52:08 FORD CROWN VICTORIA 1997 1.G Owners Manual 149
*
[SS32000( ALL)04/96]
half page art:0011242-B
Allowing shoulder belt to retract
*
[SS32100( ALL)01/96]
half page art:0011243-A
Removing slack from belt
File:06rcssv.ex
Update:Thu Mar 27 14:52:08](/manual-img/11/4773/w960_4773-149.png)
![FORD CROWN VICTORIA 1997 1.G Owners Manual 150
*
[SS32200( ALL)01/96]
7. Before placing the child in the child seat,
forcibly tilt the seat from side to side, and
tug it forward to make sure that the seat is
securely held in place. See Figure FORD CROWN VICTORIA 1997 1.G Owners Manual 150
*
[SS32200( ALL)01/96]
7. Before placing the child in the child seat,
forcibly tilt the seat from side to side, and
tug it forward to make sure that the seat is
securely held in place. See Figure](/manual-img/11/4773/w960_4773-150.png)
![FORD CROWN VICTORIA 1997 1.G Owners Manual 151
*
[SS32400( ALL)01/96]
8. Double check that the retractor is in the
automatic locking mode. Try to pull more
belt out of the retractor. If you cannot, the
belt is in the automatic locking mode. Se FORD CROWN VICTORIA 1997 1.G Owners Manual 151
*
[SS32400( ALL)01/96]
8. Double check that the retractor is in the
automatic locking mode. Try to pull more
belt out of the retractor. If you cannot, the
belt is in the automatic locking mode. Se](/manual-img/11/4773/w960_4773-151.png)