1997 CHEVROLET CORVETTE ECU
[x] Cancel search: ECUPage 26 of 356
Downloaded from www.Manualslib.com manuals search engine 4. Push the latch plate into the buckle until it clicks.
Pull up on the latch plate to make sure it is secure. If
the belt isn’t long enough, see “Safety Belt
Extender” at the end of this section.
Make sure the release button on the buckle is
positioned
so you would be able to unbuckle the
safety belt quickly if you ever had to. The lap part
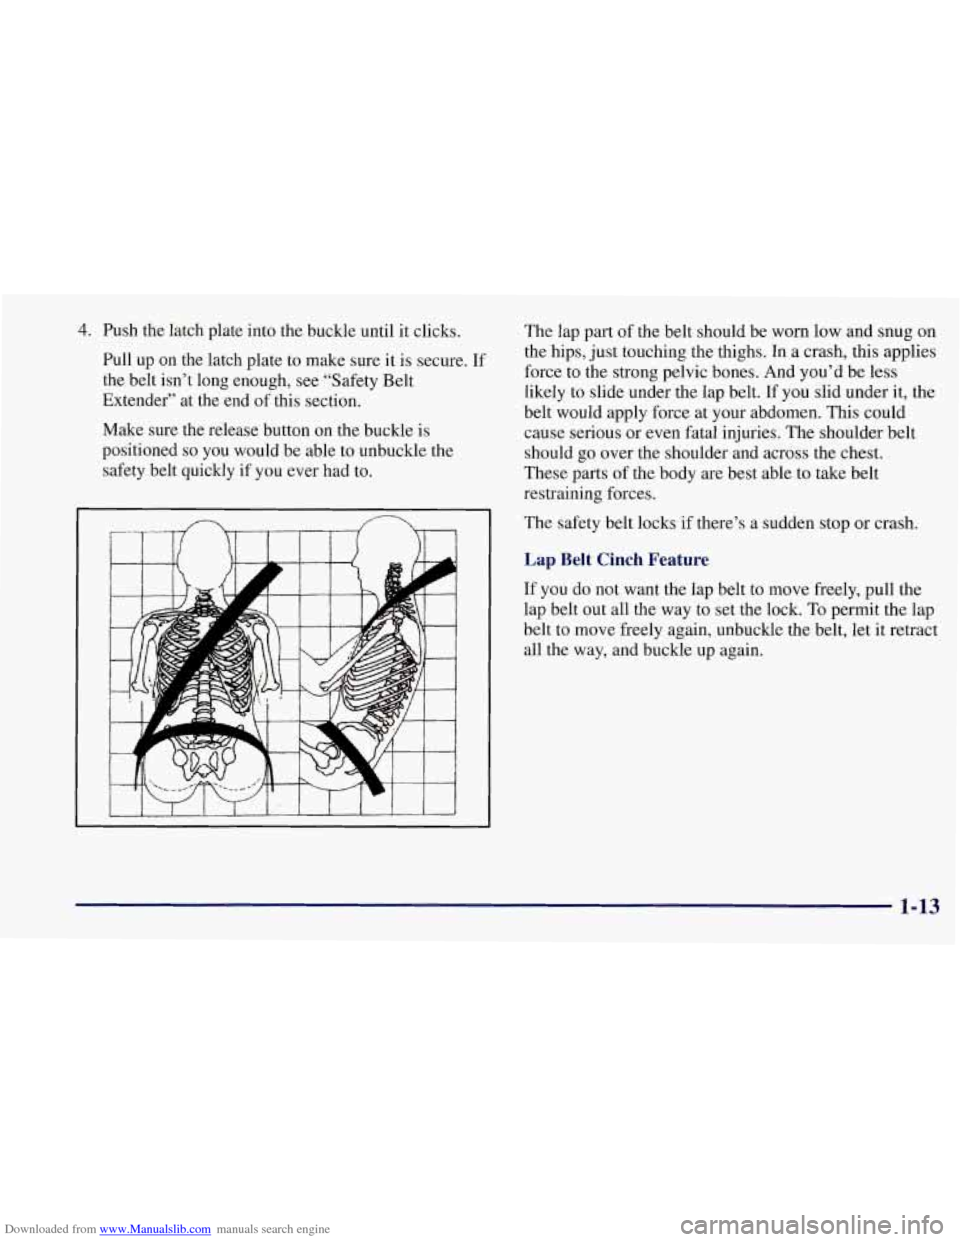
of the belt should be
worn low and snug on
the hips, just touching the thighs. In a crash, this applies
force to the strong pelvic bones. And you’d be less
likely to slide under the lap belt. If you slid under it, the
belt would apply force at your abdomen. This could
cause serious or even fatal injuries. The shoulder belt
should go over the shoulder and across the chest.
These parts of the body are best able to take belt
restraining forces.
The safety belt locks if there’s a sudden stop or crash.
Lap Belt Cinch Feature
If you do not want the lap belt to move freely, pull the
lap belt out all the way to set the lock. To permit the lap
belt to move freely again, unbuckle the belt, let it retract
all the way, and buckle up again.
1-13
Page 33 of 356
Downloaded from www.Manualslib.com manuals search engine A CAUTION:
Air bags inflate with great force, faster than the
blink
of an eye. If you’re too close to an inflating
air bag, it could seriously injure you. Safety belts
help keep you in position before and during
a
crash. Always wear your safety belt, even with air
bags. The driver should sit as far back as possible
while still maintaining control
of the vehicle.
An inflating
air bag can seriously injure small
children. Always secure children properly in your
vehicle.
To read how, see the part of this manual
called “Children” and the caution label on the
passenger’s safety belt.
There is an air bag
readiness light on the
instrument panel, which
shows AIR BAG.
The system checks the air bag electrical system for
malfunctions. The light tells you if there is an electrical
problem. See “Air Bag Readiness Light” in the Index
for more information.
1-20
Page 40 of 356
Downloaded from www.Manualslib.com manuals search engine Child Restraints
Be sure the child restraint is designed to be used in a
vehicle.
If it is, it will have a label saying that it meets
Federal Motor Vehicle Safety Standards.
Then follow the instructions for the restraint. You may
find these instructions on the restraint itself or in a
booklet, or both. These restraints use the belt system in
your vehicle, but the child also has to be secured within
the restraint to help reduce the chance of personal injury.
The instructions that come with the child restraint will
show you how to do that.
The child restraint must be secured properly in the
passenger seat.
Keep in mind that an unsecured child restraint can move
around in a collision or sudden stop and injure people in
the vehicle. Be sure to properly secure any child
restraint in your vehicle
-- even when no child is in it.
Top Strap
Some child restraints have a top strap. Don’t use a
restraint like that in your vehicle because the top strap
anchor cannot be installed properly. You shouldn’t
use this type of child restraint without anchoring the
top strap.
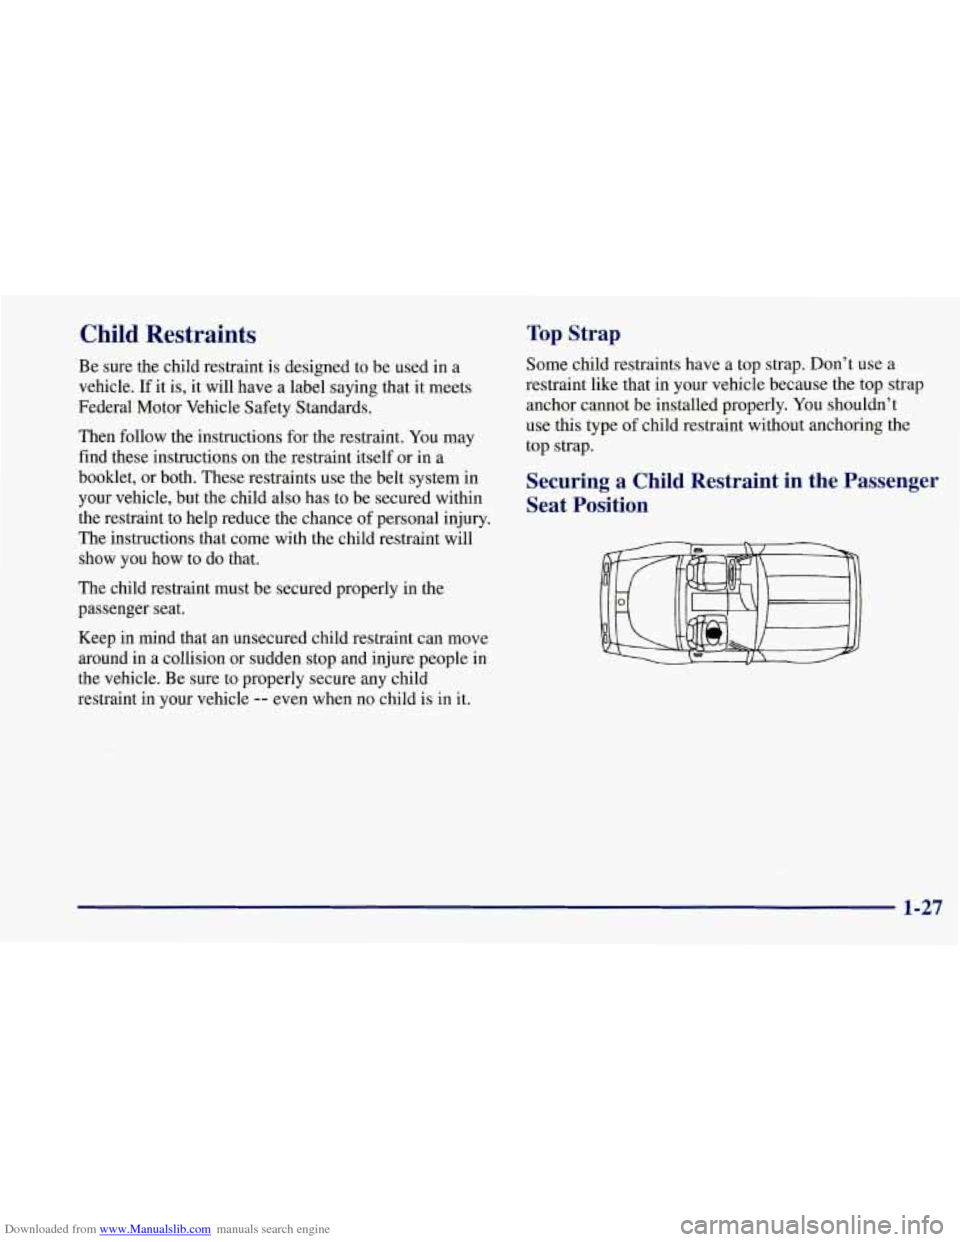
Securing a Child Restraint in the Passenger
Seat Position
1-27
Page 41 of 356
Downloaded from www.Manualslib.com manuals search engine Your vehicle has a passenger air bag. Never put a
rear-facing child restraint in this vehicle. Here’s why:
A child in a rear-facing child restraint can be
seriously injured if the passenger’s air bag
inflates. This is because the back of a rear-facing
child restraint would be
very close to the inflating
air bag.
Do not use a rear-facing child restraint in
this vehicle.
If a forward-facing child restraint is suitable for
your child, always move the passenger seat as far
back as it will go.
You’ll be using the lap-shoulder belt. See the earlier part
about the top strap if the child restraint has one.
1.
2.
3.
4.
Because your vehicle has a passenger air bag, always
move the seat as far back as it will
go before
securing a forward-facing child restraint. (See
“Seats” in the Index.)
Put the restraint on the seat. Follow the instructions
for the child restraint.
Secure the child in the child restraint as the
instructions say.
Pick up the latch plate, and run the lap and shoulder
portions of the vehicle’s safety belt through or
around the restraint. The child restraint instructions
will show you how.
If the shoulder belt goes in front of the child’s face
or
neck, put it behind the child restraint.
1-28
Page 43 of 356
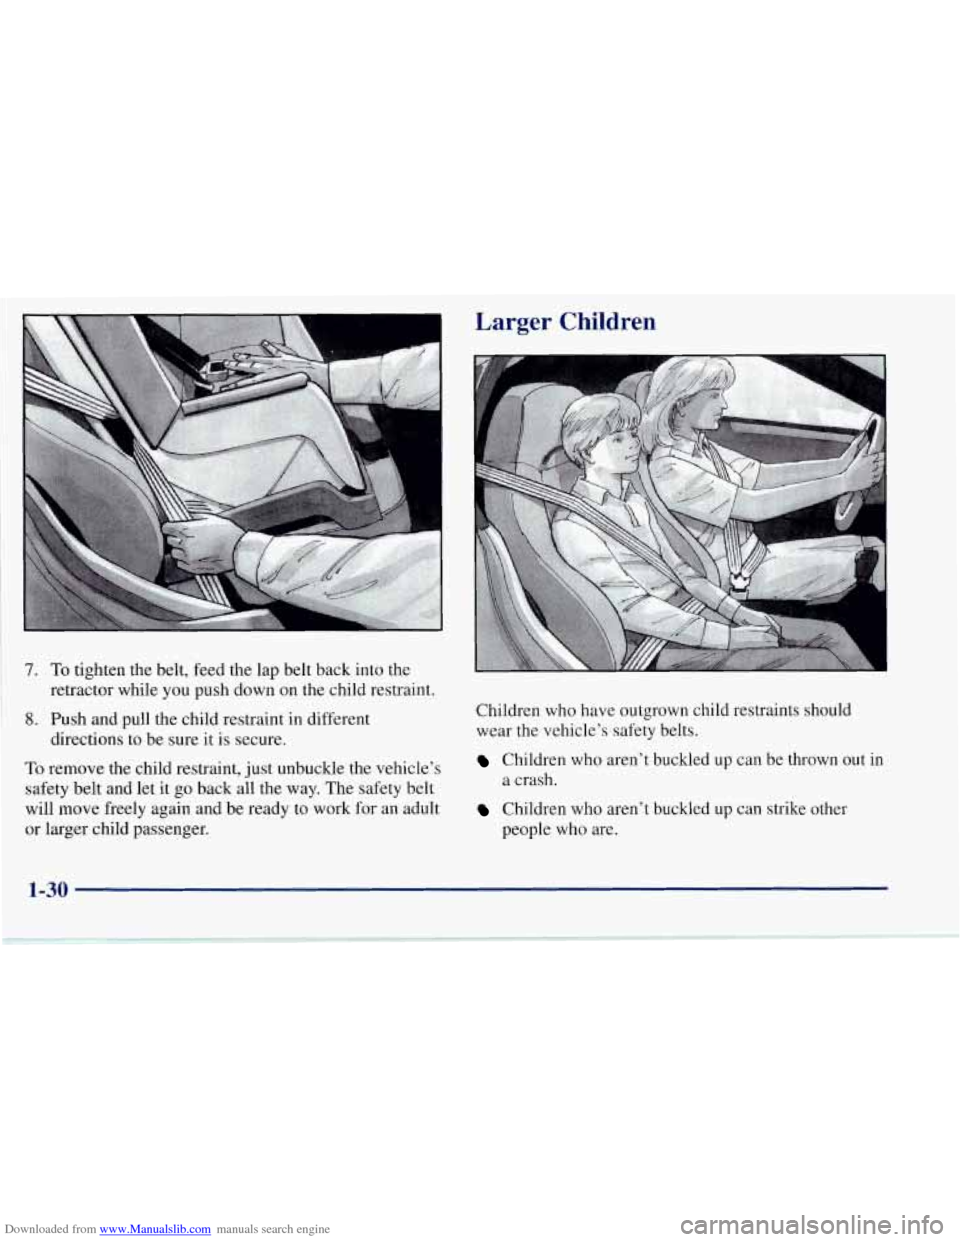
Downloaded from www.Manualslib.com manuals search engine 7. To tighten the belt, feed the lap belt back into the
8. Push and pull the child restraint in different
retractor
while you push down on the child restraint.
directions to be sure it
is secure.
To remove the child restraint, just unbuckle the vehicle's
safety belt and
let it go back all the way. The safety belt
will move freely again and be ready to work for an adult
or larger child passenger.
Larger Children
Children who have outgrown child restraints should
wear the vehicle's safety belts.
Children who aren't buckled up can be thrown out in
a crash.
Children who aren't buckled up can strike other
people who are.
1-30
Page 60 of 356

Downloaded from www.Manualslib.com manuals search engine Resynchronizing Your Transmitter
Your WA system uses a continually changing code
for increased security. Normally, the receiver in your
vehicle will keep track of this changing code. If your
vehicle does not respond to your transmitter, do the
following to determine what’s wrong:
1. Get closer to the vehicle and try pressing a button
again. Your battery may be low (If
so, see “Battery
Replacement” in the Index).
LOCK and UNLOCK buttons on your transmitter
at the same time and hold for seven seconds. This
will attempt to resynchronize the security code in
your RFA key fob transmitter.
2. While standing close to your vehicle, press the
3. When resynchronization is achieved, the horn
will chirp.
Loss of synchronization will occur after transmitter
battery replacement or disconnection of the
vehicle’s battery.
If attempts to resynchronize your transmitter to the
vehicle are not successful, you may need to match the
transmitter to the vehicle.
Matching Transmitter(s) To Your Vehicle
Each key fob transmitter is coded to prevent another
transmitter from unlocking your vehicle. If a transmitter
is lost or stolen, a replacement can be purchased
through your dealer. Remember to bring any remaining
transmitters with you when you go to your dealer.
When the dealer matches the replacement transmitter
to your vehicle, any remaining transmitters must also
be matched. Once your dealer has coded the new
transmitter, the lost transmitter will not unlock your
vehicle. Each vehicle can have only three transmitters
matched to it.
To match transmitters to your vehicle:
1. Turn the ignition key to the ON position.
2. Clear any warning messages on the Driver
Information Center (DIC) by pressing the
RESET button.
3. Press the OPTIONS button on the DIC several times
until the blank page is displayed, then press and hold
the RESET button for two seconds.
4. When the message FOB TRAINING is displayed,
push the RESET button once. The message HOLD
LK + UNLK 1ST FOB will be displayed.
2-11
Page 65 of 356

Downloaded from www.Manualslib.com manuals search engine Key in the Ignition
If you leave your vehicle with the keys inside, it’s an
easy target for joy riders or professional thieves
-- so
don’t do it.
When you park your Corvette and open the driver’s
door, you’ll hear a tone reminding you
to remove your
key from the ignition and take it with you. Always do
this. Your steering wheel will be locked, and
so will
your ignition.
If you have an automatic transmission,
taking your key out also locks your transmission. And
remember to lock the doors.
Parking at Night
Park in a lighted spot, close all windows and lock your
vehicle. Remember to keep your valuables out
of sight.
Put them in a storage area, or take them with you.
Parking Lots
If you park in a lot where someone will be watching
your vehicle, it’s best to lock it up and take your keys.
But what if you have to leave your key?
Do not leave
valuables
in your vehicle, since there would be no place
to secure them.
Universal Theft-Deterrent System
SECURITY
Your Corvette has a
theft-deterrent alarm
system. With this system,
the SECURITY light will
flash as you open the door
(if your ignition is off). This
light reminds you to arm the
theft-deterrent system.
To arm the system, do the following:
1. Press the LOCK button on the key fob transmitter, as
2. Walk out of range with the passive switch on, OR
3. Open the door. (The SECURITY light should flash.)
Lock the door with the power door lock switch. The
SECURITY light will stop flashing and stay on. Close
all the doors. The SECURITY light should
go off.
Now, if a door or the hatch is opened without the key or
the key fob transmitter system, the alarm will go
off.
Your horn will sound for two minutes, then it will go off
to save battery power. And, your vehicle won’t start.
mentioned earlier,
OR
2-16
-
Page 67 of 356
Downloaded from www.Manualslib.com manuals search engine PASS-Key@
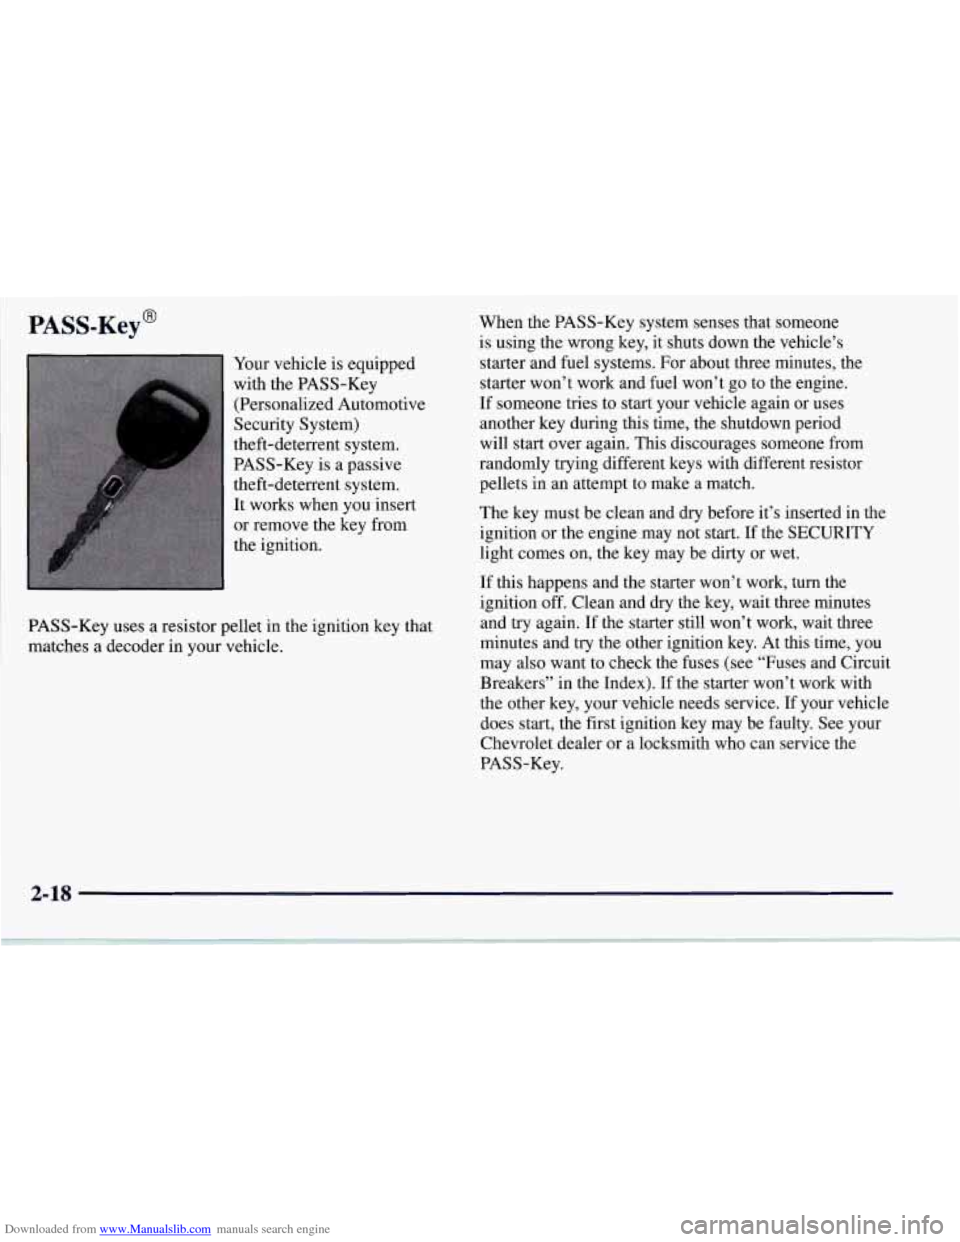
Your vehicle is equipped
with the PASS-Key
(Personalized Automotive
Security System)
theft-deterrent system. PASS-Key is a passive
theft-deterrent system.
It works when you insert
or remove the key from
the ignition. When the
PASS-Key system senses that someone
is using the wrong key, it shuts down the vehicle’s
starter and fuel systems. For about three minutes, the
starter won’t work and fuel won’t go to the engine.
If someone tries to start your vehicle again or uses
another key during this time, the shutdown period
will start over again. This discourages someone from
randomly trying different keys with different resistor
pellets in an attempt to make a match.
The key must be clean and dry before it’s inserted in the
ignition or the engine may not start. If the SECURITY
light comes on, the key may be dirty or wet.
’ PASS-Key uses a resistor pellet in the ignition key that
matches a decoder in your vehicle. If
this happens and the starter won’t work, turn the
ignition off. Clean and dry the key, wait three minutes
and try again. If the starter still won’t work, wait three
minutes and try the other ignition key. At this time, you
may also want to check the fuses
(see “Fuses and Circuit
Breakers” in the Index). If the starter won’t work with
the other key, your vehicle needs service.
If your vehicle
does start, the first ignition key may be faulty. See your
Chevrolet dealer or a locksmith who can service the
PASS-Key.
2-18