1997 CHEVROLET CORVETTE maintenance
[x] Cancel search: maintenancePage 2 of 356
Downloaded from www.Manualslib.com manuals search engine The 1997 Chevrolet Corvette Owner’s Manual
1-1
2-1
3-1
4- 1
5- 1
6-1
7-1
8-1
9- 1
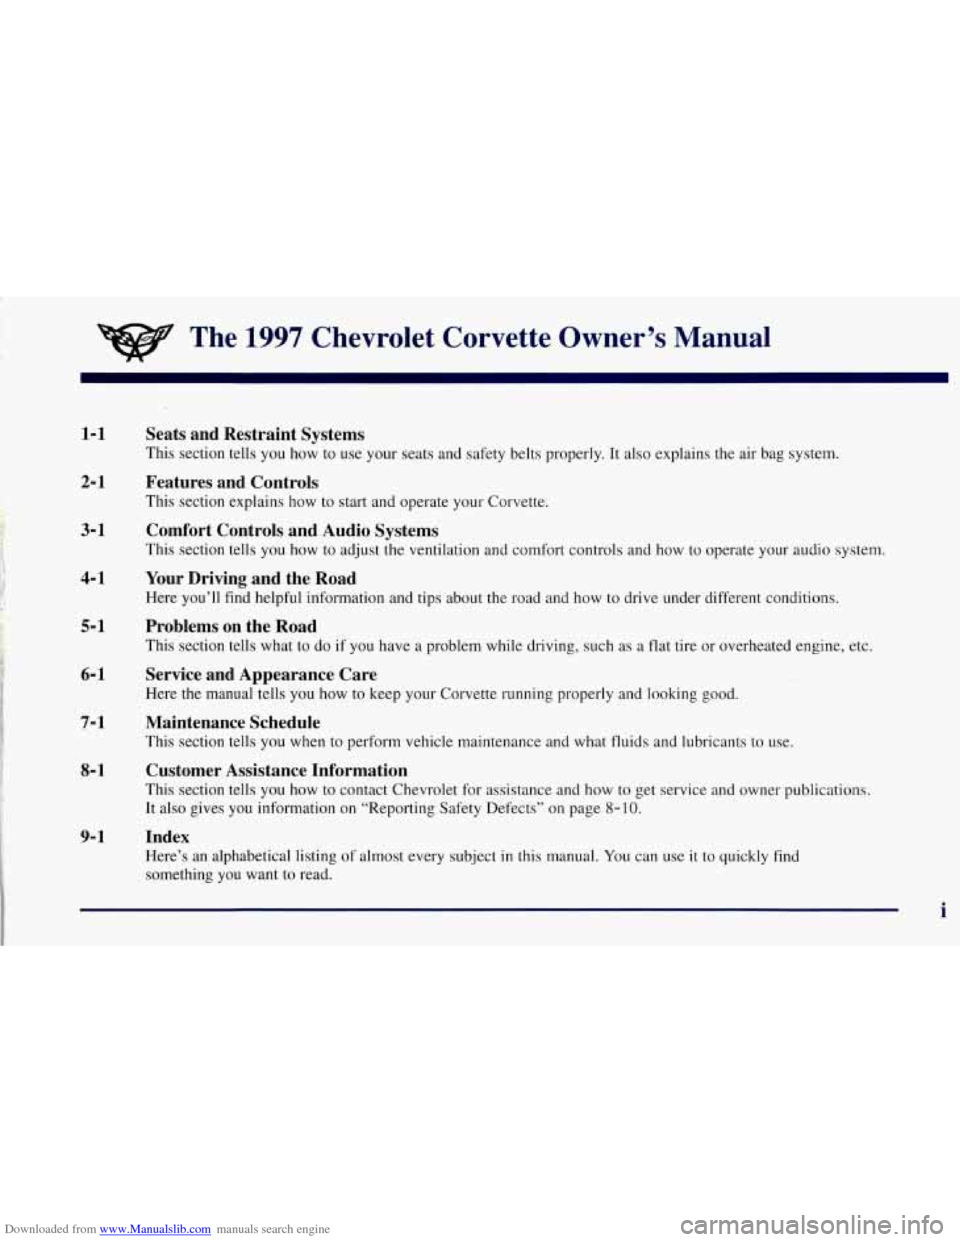
Seats and Restraint Systems
This section tells you how to use your seats and safety belts\
properly. It also explains the air bag system.
Features and Controls
This section explains how to start and operate your Corvette.
Comfort Controls and Audio Systems
This section tells you how to adjust the ventilation and comfort controls and how to operate your audio \
system.
Your Driving and the Road
Here you’ll find helpful information and tips about the road\
and how to drive under different conditions.
Problems on the Road
This section tells what to do if you have a problem while driving, such as a flat tire or overheated engine, etc.
Service and Appearance Care
Here the manual tells you how to keep your Corvette running p\
roperly and looking good.
Maintenance Schedule
This section tells you when to perform vehicle maintenance and what fluids and lubricants to u\
se.
Customer Assistance Information
This section tells you how to contact Chevrolet for assistance \
and how to get service and owner publications.
It also gives you information on “Reporting Safety Defects” on page
8- 10.
Index
Here’s an alphabetical listing of almost every subject in this manual. You can use it to quickly find
something you want to read.
i
Page 37 of 356
Downloaded from www.Manualslib.com manuals search engine 0
0
Your vehicle is equipped with a diagnostic module,
which records information about the air bag system.
The module records information about the readiness
of the system, when the sensors are activated and
driver’s safety belt usage at deployment.
Let only qualified technicians work on your
air bag system. Improper service can mean that your
air bag system won’t work properly. See your dealer
for service.
NOTICE:
If you damage the covering for the driver’s or the
passenger’s air bag, the bag may not work
properly. You may have to replace the air bag
module in the steering wheel or both the air bag
module and the instrument panel for the
passenger’s air bag.
Do not open or break the air
bag coverings.
Servicing Your Air Bag-Equipped Corvette
Air bags affect how your Corvette should be serviced.
There are parts of the air bag system in several places
around your vehicle. You don’t want the system to
inflate while someone is working on your vehicle. Your
Corvette dealer and the Corvette Service Manual have
information about servicing your vehicle and the air bag
system. To purchase a service manual, see “Service and
Owner Publications” in the Index.
For up to 10 minutes after the ignition key is
turned off and the battery
is disconnected, an air
bag can still inflate during improper service. You
can be injured
if you are close to an air bag when
it inflates. Avoid yellow wires, wires wrapped
with yellow tape or yellow connectors. They are
probably part of the air bag system. Be sure to
follow proper service procedures, and make sure
the person performing work
for you is qualified
to do
so.
The air bag system does not need regular maintenance.
Page 46 of 356
Downloaded from www.Manualslib.com manuals search engine Safety Belt Extender
If the vehicle’s safety belt will fasten around you, you
should use it.
But if a safety belt isn’t long enough to fasten, your
dealer will order you an extender. It’s free. When you go
in to order it, take the heaviest coat you will wear,
so the
extender will be long enough for you. The extender will
be just for you, and just for the seat in your vehicle that
you choose. Don’t let someone else use it, and use it
only for the seat it is made to fit.
To wear it, just attach it
to the regular safety belt.
Checking Your Restraint Systems
Now and then, make sure the safety belt reminder light
and all your belts, buckles, latch plates, retractors and
anchorages are working properly. Look for any other
loose or damaged safety belt system parts. If you see
anything that might keep a safety belt system from
doing its job, have it repaired.
Tom or frayed safety belts may not protect you in a
crash. They can rip apart under impact forces.
If a belt is
torn or frayed, get a new one right away.
Also look for any opened or broken air bag covers, and
have them repaired or replaced, (The air bag system
does not need regular maintenance.)
1-33
Page 134 of 356

Downloaded from www.Manualslib.com manuals search engine Odometer Miles Since Last Ignition Feature
You can also display number of miles driven since you
last started the car if you press and hold the RESET
button for two seconds, then release. The miles (or
kilometers) since the last ignition cycle will be set
into the trip odometer.
The odometer shows
how far your vehicle has been
driven in either miles or kilometers. Press the TRIP
button to display odometer readings such as:
0 ODOMETER 12345 MI or
0 ODOMETER 20008 km
Without the keys being in the ignition, you can also
display the odometer by turning on the parking lamps.
Trip Odometers
There are two trip odometers. Press the TRIP button
and TRIP
A will be displayed. Press it again and TRIP
B will be displayed. TRIP A could be used to track the
distance to a destination. TRIP
B could be used to track
maintenance periods.
0 TRIP A 130.5 MI or
0 TRIP A 209.9 km
0 TRIP B 300.5 MI or
0 TRIP B 483.5 km
The trip odometers can be reset by pushing the RESET
button on the DIC.
Both of the trip odometers can be
used simultaneously.
Elapsed Time
When the ignition is in the ON position, the DIC can
be used as a stopwatch. The display can show hours,
minutes, seconds and hundredths of a second. The
elapsed time indicator will record up to 99 hours,
59 minutes and 59 seconds, then it will reset to zero
and continue counting. (Hundredths
are shown up to
59 minutes, 59 seconds and 99 hundredths). The
display appears as
ELAP. TIME 00: 00 : 00 in the
elapsed time function.
You can start or stop the elapsed time by pressing
RESET. To reset the elapsed time to zero, stop the
timer by pressing RESET. Then press and hold
RESET for two seconds and release.
2-85
Page 135 of 356
Downloaded from www.Manualslib.com manuals search engine Average Speed
Press the TRIP button until the average speed is
displayed, such as:
AVERAGE SPEED 62 MPH or
AVERAGE SPEED 100 km/h
Press reset in this mode to start calculating the average
speed. Press and hold RESET to clear.
Engine Oil Life
Press the TRIP button until the engine oil life is
displayed, such as OIL LIFE REMAIN
89%.
This is an estimate of the engine oil’s remaining useful
life. It will show
99% when the system is reset after
an oil change. It will alert you to change your oil
on
a schedule consistent with your driving conditions.
When the remaining oil life is low, the system will
alert you with a message CHANGE
OIL SOON.
When the oil life is down to zero, you will receive the
message CHANGE OIL NOW. To
reset the OIL LIFE reminder after an oil change:
1. With the ignition on, press the TRIP button so the
OIL LIFE percentage is displayed.
2. Press RESET and hold for two seconds. The word
RESET will appear, then
OIL LIFE 99%.
Remember, you must reset the OIL LIFE yourself after
each oil change. It will not reset itself. Also, be careful
not to reset the
OIL LIFE accidentally at any time other
than when the oil has just been changed. It can’t be reset
accurately until the next oil change.
The DIC does not replace the need to maintain your
vehicle as recommended in the Maintenance Schedule
in this manual. Also, the oil change reminder will not
detect dusty conditions or engine malfunctions that may
affect the oil. If you drive in dusty areas, change your
oil after every
3,000 miles (5 000 km) or three months,
whichever occurs first, unless the DIC instructs you to
do
so sooner. Also, the oil change reminder does not
measure how much
oil you have in your engine, so be
sure to check your oil level often. See “Engine Oil” in
the Index.
2-86
Page 236 of 356
Downloaded from www.Manualslib.com manuals search engine e Section 6 Service and Appearance Care
Here you will find information about the care of your Corvette. This section begins with service and fuel information,
and then it shows how to check important fluid and lubricant levels. There is also technical information about your
vehicle, and a part devoted to its appearance care.
6-2 Service 6-3 Fuel
6-5 Fuels in Foreign Countries
6-5 Filling Your Tank
6- 8 Checking Things Under the Hood
6-1 1 Engine Oil
6-16 Air Cleaner
6-18 Automatic Transmission Fluid
6- 19 Manual Transmission Fluid
6-20 Hydraulic Clutch
6-22 Engine Coolant
6-26 Surge Tank Pressure Cap
6-26 Power Steering Fluid
6-22 Rear Axle
6-26
Thermostat
6-27 Windshield Washer Fluid
6-
29 Brakes
6-32 Battery 6-33
6-33
6-37
6-40
6-5
1
6-5 1
6-54
6-55
6-56
6-57
6-57 6-59
6- 60
6- 60
6-6 1
6-69
6-69 6-7
1
Bulb Replacement
Halogen Bulbs
Windshield Wiper Blade Replacement
Tires Appearance Care
Cleaning the Inside of Your Corvette
Care of Safety Belts
Cleaning the Outside of Your Corvette
Aluminum Wheels
Tires Underbody Maintenance
Appearance Care Materials
Vehicle Identification Number (VIN)
Service Parts Identification Label
Electrical System
Replacement Bulbs Capacities and Specifications
Air Conditioning Refrigerants
6-1
Page 237 of 356
Downloaded from www.Manualslib.com manuals search engine Service
Your Chevrolet dealer knows your vehicle best and
wants you to be happy with it. We hope you’ll
go to
your dealer for all your service needs.
You’ 11 get
genuine GM parts and GM-trained and supported
service people.
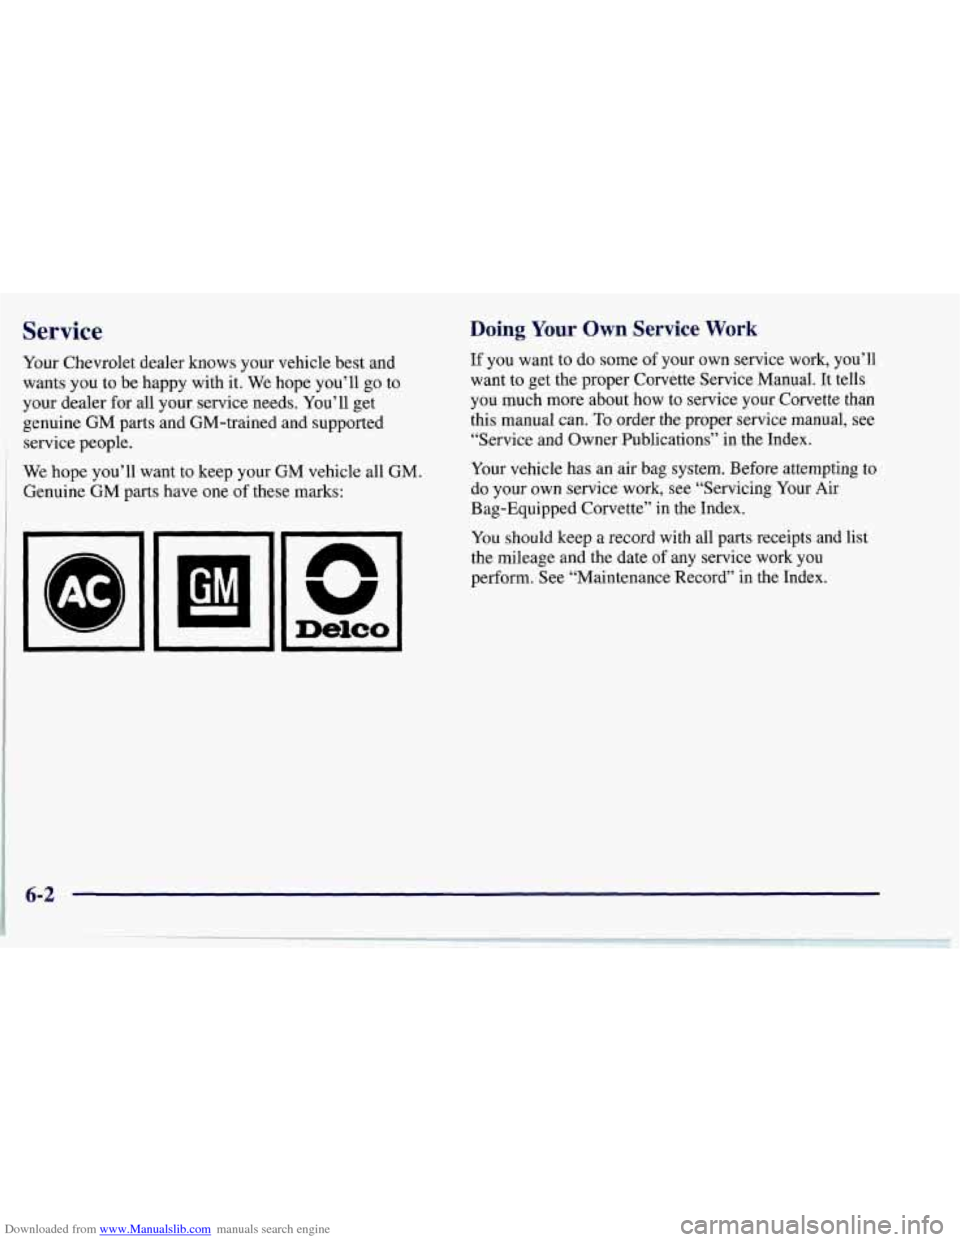
We hope you’ll want to keep your GM vehicle all GM.
Genuine GM parts have one
of these marks:
L
B
Demo
Doing Your Own Service Work
If you want to do some of your own service work, you’ll
want to get the proper Corvette Service Manual. It tells
you much more about how to service your Corvette than
this manual can.
To order the proper service manual, see
“Service and Owner Publications” in the Index.
Your vehicle has an air bag system. Before attempting to
do your own service
work, see “Servicing Your Air
Bag-Equipped Corvette” in the Index.
You should keep a record with all parts receipts and list
the mileage and the date of any service work you
perform. See “Maintenance Record” in the Index.
6-2
Page 238 of 356
Downloaded from www.Manualslib.com manuals search engine c
You can be injured and your vehicle could be
damaged
if you try to do service work on a
vehicle without knowing enough about it.
Be sure you have sufficient knowledge,
experience, the proper replacement parts
and tools before you attempt any vehicle
maintenance task.
Be sure to use the proper nuts, bolts and
other fasteners. “English” and “metric”
fasteners can be easily confused.
If you use
the wrong fasteners, parts can later break
or fall
off. You could be hurt.
Adding Equipment to the Outside of
Your Vehicle
Things you might add to the outside of your vehicle can
affect the aifflow around it. This may cause wind noise
and affect windshield washer performance. Check with
your Chevrolet dealer before adding equipment to the
outside of your vehicle.
Fuel
Use premium unleaded gasoline rated at 91 octane or
higher for best performance. You may use middle grade
or regular unleaded gasolines, but your vehicle may not
accelerate as well.
At a minimum, the gasoline you use should meet
specifications ASTM
D48 14 in the United States and
CGSB 3.5-M93 in Canada. Improved gasoline
specifications have been developed by
the American
Automobile Manufacturers Association (AAMA) for
better vehicle performance and engine protection. Gasolines meeting the AAMA specification could
provide improved driveability and emission control
system protection compared to other gasolines.
Be sure the posted octane for premium is at least
91
(at least 89 for middle grade and 87 for regular). If the
octane is less than
87, you may get a heavy knocking
noise when you drive. If it’s bad enough,
it can damage
your engine.
6-3