1997 CHEVROLET CORVETTE maintenance schedule
[x] Cancel search: maintenance schedulePage 2 of 356
Downloaded from www.Manualslib.com manuals search engine The 1997 Chevrolet Corvette Owner’s Manual
1-1
2-1
3-1
4- 1
5- 1
6-1
7-1
8-1
9- 1
Seats and Restraint Systems
This section tells you how to use your seats and safety belts\
properly. It also explains the air bag system.
Features and Controls
This section explains how to start and operate your Corvette.
Comfort Controls and Audio Systems
This section tells you how to adjust the ventilation and comfort controls and how to operate your audio \
system.
Your Driving and the Road
Here you’ll find helpful information and tips about the road\
and how to drive under different conditions.
Problems on the Road
This section tells what to do if you have a problem while driving, such as a flat tire or overheated engine, etc.
Service and Appearance Care
Here the manual tells you how to keep your Corvette running p\
roperly and looking good.
Maintenance Schedule
This section tells you when to perform vehicle maintenance and what fluids and lubricants to u\
se.
Customer Assistance Information
This section tells you how to contact Chevrolet for assistance \
and how to get service and owner publications.
It also gives you information on “Reporting Safety Defects” on page
8- 10.
Index
Here’s an alphabetical listing of almost every subject in this manual. You can use it to quickly find
something you want to read.
i
Page 135 of 356
Downloaded from www.Manualslib.com manuals search engine Average Speed
Press the TRIP button until the average speed is
displayed, such as:
AVERAGE SPEED 62 MPH or
AVERAGE SPEED 100 km/h
Press reset in this mode to start calculating the average
speed. Press and hold RESET to clear.
Engine Oil Life
Press the TRIP button until the engine oil life is
displayed, such as OIL LIFE REMAIN
89%.
This is an estimate of the engine oil’s remaining useful
life. It will show
99% when the system is reset after
an oil change. It will alert you to change your oil
on
a schedule consistent with your driving conditions.
When the remaining oil life is low, the system will
alert you with a message CHANGE
OIL SOON.
When the oil life is down to zero, you will receive the
message CHANGE OIL NOW. To
reset the OIL LIFE reminder after an oil change:
1. With the ignition on, press the TRIP button so the
OIL LIFE percentage is displayed.
2. Press RESET and hold for two seconds. The word
RESET will appear, then
OIL LIFE 99%.
Remember, you must reset the OIL LIFE yourself after
each oil change. It will not reset itself. Also, be careful
not to reset the
OIL LIFE accidentally at any time other
than when the oil has just been changed. It can’t be reset
accurately until the next oil change.
The DIC does not replace the need to maintain your
vehicle as recommended in the Maintenance Schedule
in this manual. Also, the oil change reminder will not
detect dusty conditions or engine malfunctions that may
affect the oil. If you drive in dusty areas, change your
oil after every
3,000 miles (5 000 km) or three months,
whichever occurs first, unless the DIC instructs you to
do
so sooner. Also, the oil change reminder does not
measure how much
oil you have in your engine, so be
sure to check your oil level often. See “Engine Oil” in
the Index.
2-86
Page 251 of 356
Downloaded from www.Manualslib.com manuals search engine What to Do with Used Oil
Did you know that used engine oil contains certain
elements that may be unhealthy for your skin and could
even cause cancer? Don’t
let used oil stay on your skin
for very long. Clean your slun and nails with soap and
water, or a good hand cleaner. Wash or throw away
clothing or rags containing used engine oil. (See the
manufacturer’s warnings about the use and disposal
of
oil products.)
Used
oil can be a real threat to the environment. If you
change your own oil, be sure to drain all free-flowing oil
from the filter before disposal. Don’t ever dispose of oil
by putting it in the trash, pouring it on the ground, into
sewers, or into streams or bodies of water. Instead,
recycle it
by taking it to a place that collects used oil. If
you have a problem properly disposing of your used oil,
ask your dealer, a service station or a local recycling
center for help.
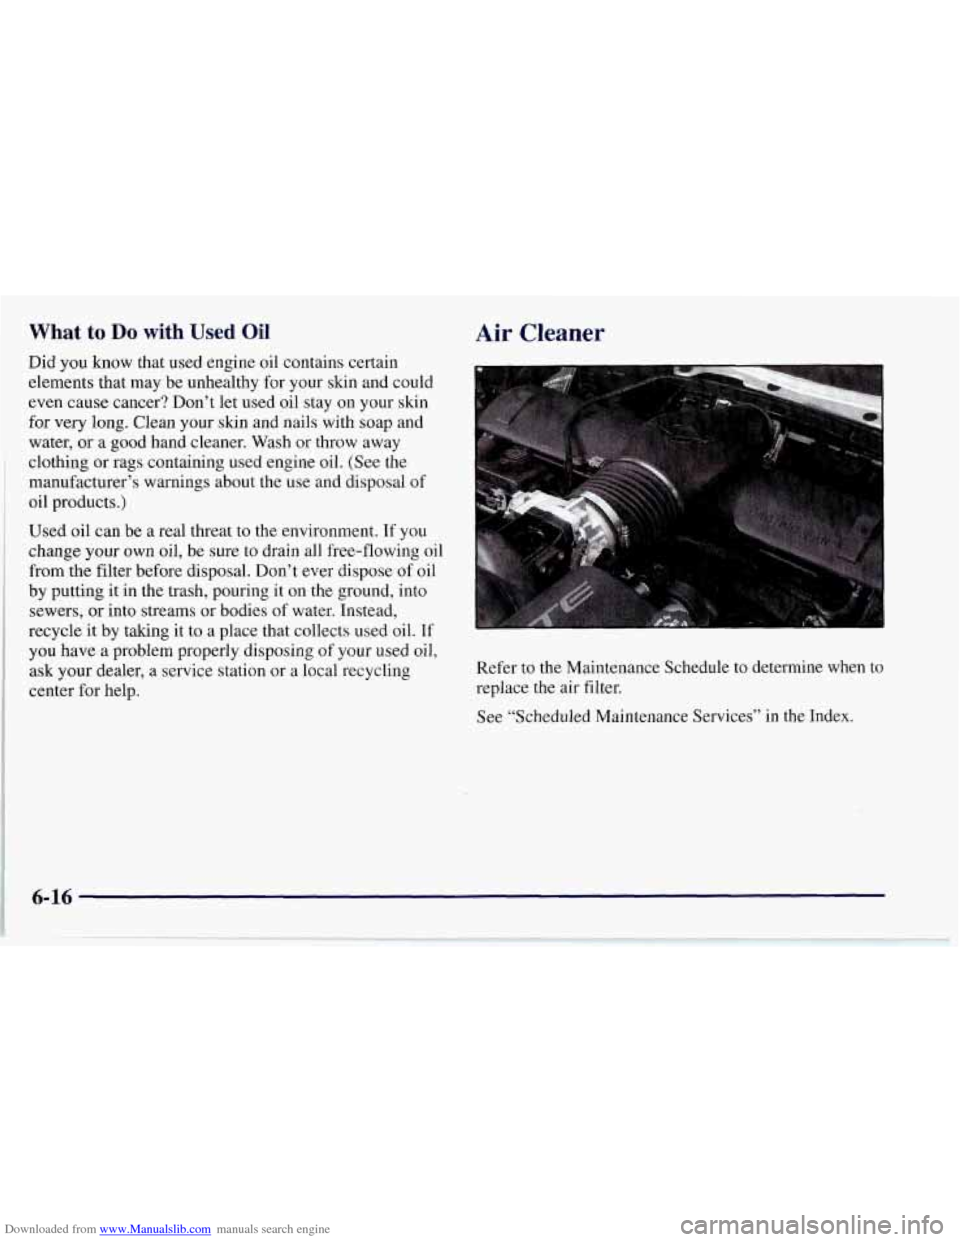
Air Cleaner
Refer to the Maintenance Schedule to determine when to
replace the air filter.
See “Scheduled Maintenance Services” in the Index.
6-16
Page 254 of 356

Downloaded from www.Manualslib.com manuals search engine Change both the fluid and filter every 50,000 miles
(80 000 km) if the vehicle is mainly driven under one of
these conditions:
In heavy city traffic where the outside temperature
regularly reaches
90” F (32” C) or higher.
In hilly or mountainous terrain.
0 High performance operation.
If you do not use your vehicle under one of these
conditions, the fluid and filter do not require changing.
See “Scheduled Maintenance Services” in the Index for
the proper service intervals for the transmission fluid
and filter.
Manual Transmission Fluid
When to Check
A good time to have it checked is when the engine oil is
changed. However, the fluid in your manual
transmission doesn’t require changing.
How to Check
Because this operation can be difficult, you may
choose to have this done at your Chevrolet dealership
Service Department.
If you do it yourself, be sure to follow all the
instructions here, or you could get a false reading.
I NOTICE:
Too much or too little fluid can damage your
transmission.
Too much can mean that some
of the fluid could come out and fall on hot
exhaust system parts, starting a fire. Be sure to
1 get an accurate reading if you check your
transmission fluid.
Check the fluid level only when your engine is off, the
vehicle is parked on a level place and the transmission is
cool enough for you to rest your fingers
on the
transmission case.
6-19
Page 255 of 356
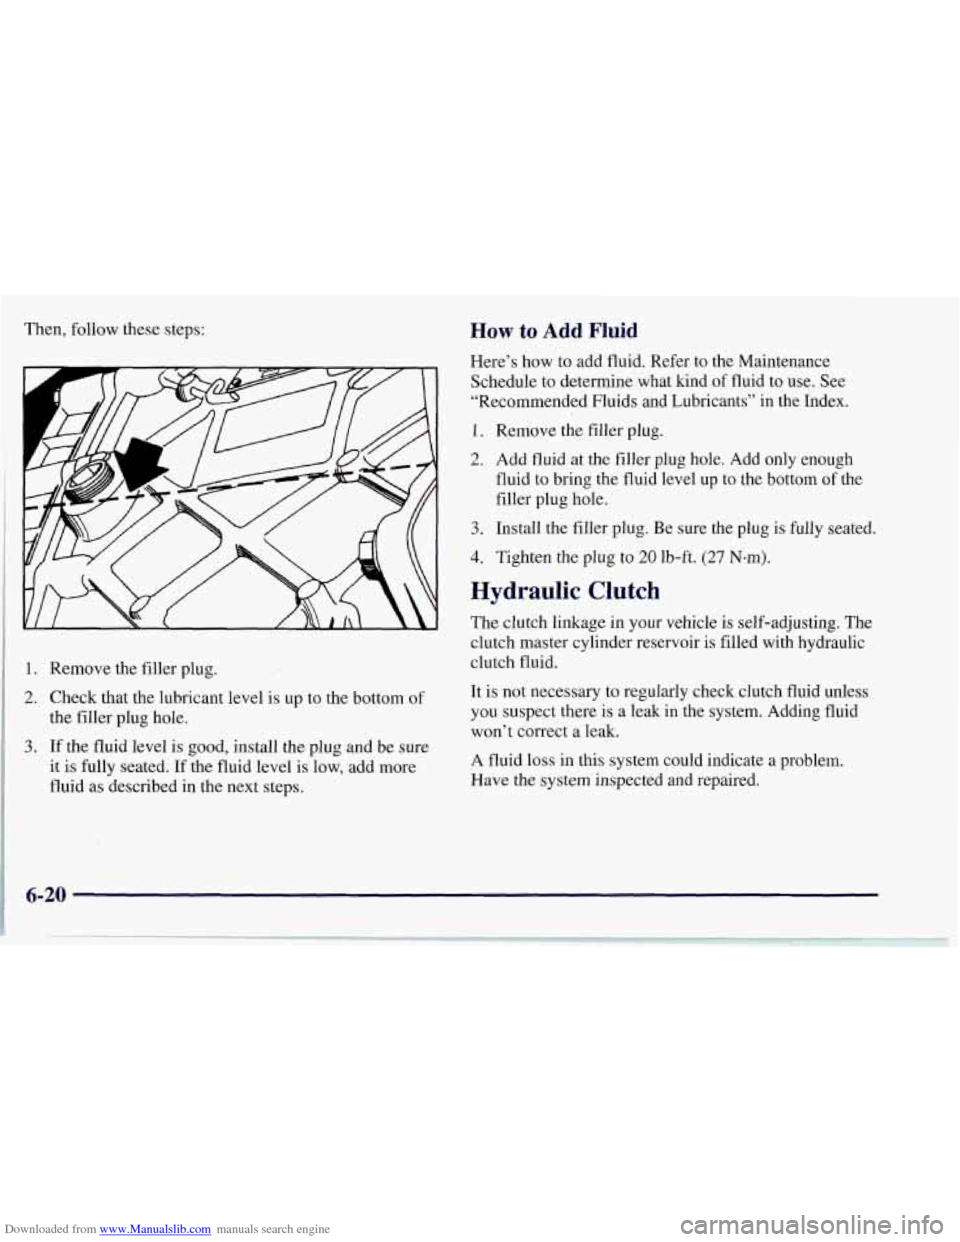
Downloaded from www.Manualslib.com manuals search engine Then, follow these steps:
1. Remove the filler plug.
2. Check that the lubricant level is up to the bottom of
the filler plug hole.
3. If the fluid level is good, install the plug and be sure
it
is fully seated. If the fluid level is low, add more
fluid
as described in the next steps.
How to Add Fluid
Here’s how to add fluid. Refer to the Maintenance
Schedule to determine what kind
of fluid to use. See
“Recommended Fluids and Lubricants” in the Index.
1. Remove the filler plug.
2. Add fluid at the filler plug hole. Add only enough
fluid to bring the fluid level up to the bottom
of the
filler plug hole.
3. Install the filler plug. Be sure the plug is fully seated.
4. Tighten the plug to 20 Ib-ft. (27 N-m).
Hydraulic Clutch
The clutch linkage in your vehicle is self-adjusting. The
clutch master cylinder reservoir is filled with hydraulic
clutch fluid.
It is not necessary to regularly check clutch fluid unless
you suspect there is a leak in the system. Adding fluid
won’t correct a leak.
A fluid loss in this system could indicate a problem.
Have the system inspected and repaired.
6-20
Page 256 of 356
Downloaded from www.Manualslib.com manuals search engine When to Check and What to Use
Refer to the Maintenance Schedule to determine how
often you should check the fluid level
in your clutch
master cylinder reservoir and for the proper fluid. See
“Owner Checks and Services” and “Recommended
Fluids and Lubricants”
in the Index.
How To Check and Add Fluid
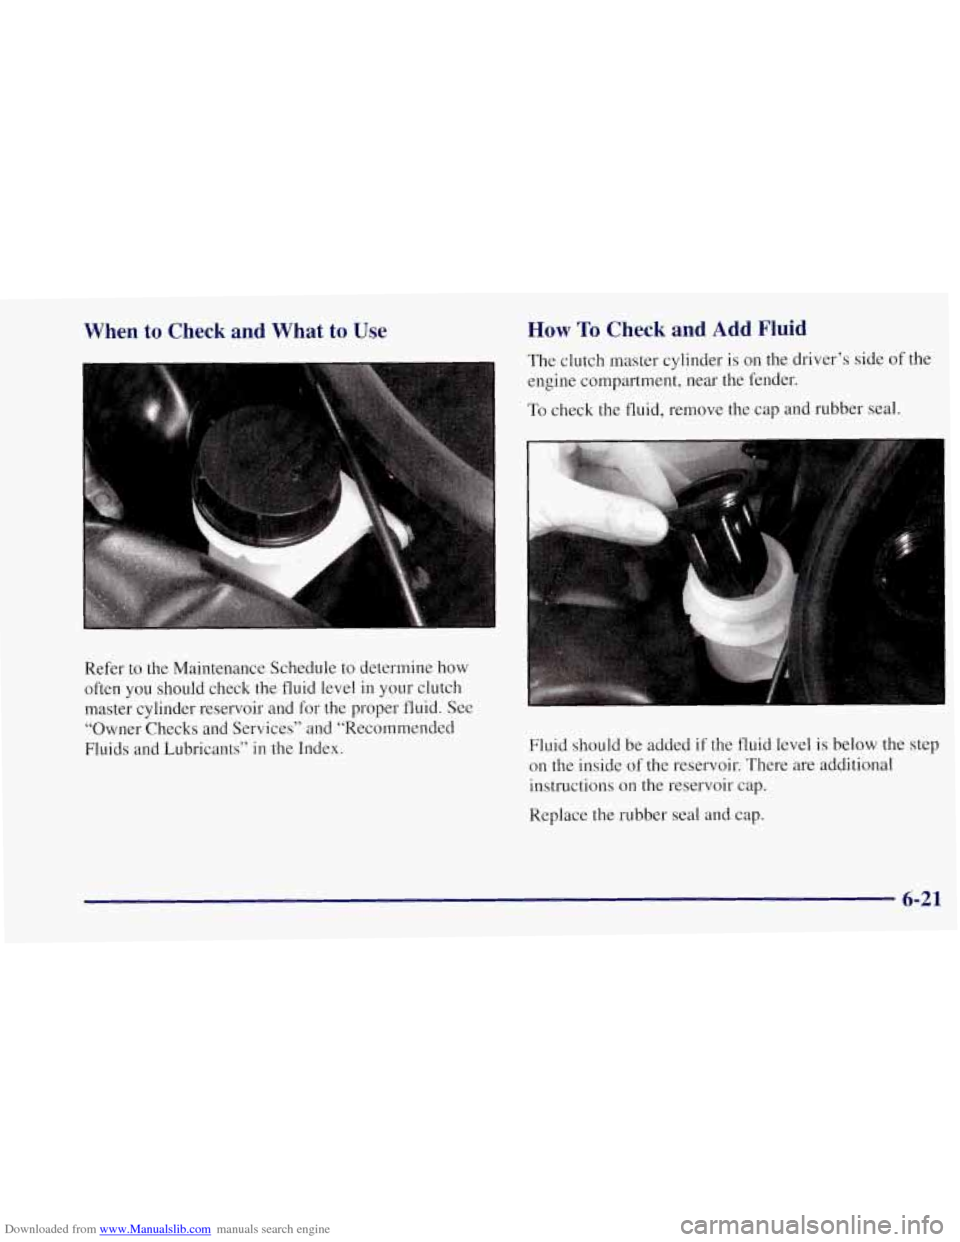
The clutch master cylinder is on the driver’s side of the
engine compartment, near the fender.
To check the fluid, remove the cap and rubber seal.
1
Fluid should be added if the fluid level is below the step
on the inside of the reservoir. There are additional
instructions on the reservoir cap.
Replace the rubber seal and cap.
6-21
Page 257 of 356
Downloaded from www.Manualslib.com manuals search engine Rear Axle
When to Check Lubricant
Refer to the Maintenance Schedule to determine how
often to check the lubricant. See “Periodic Maintenance
Inspections” in the Index.
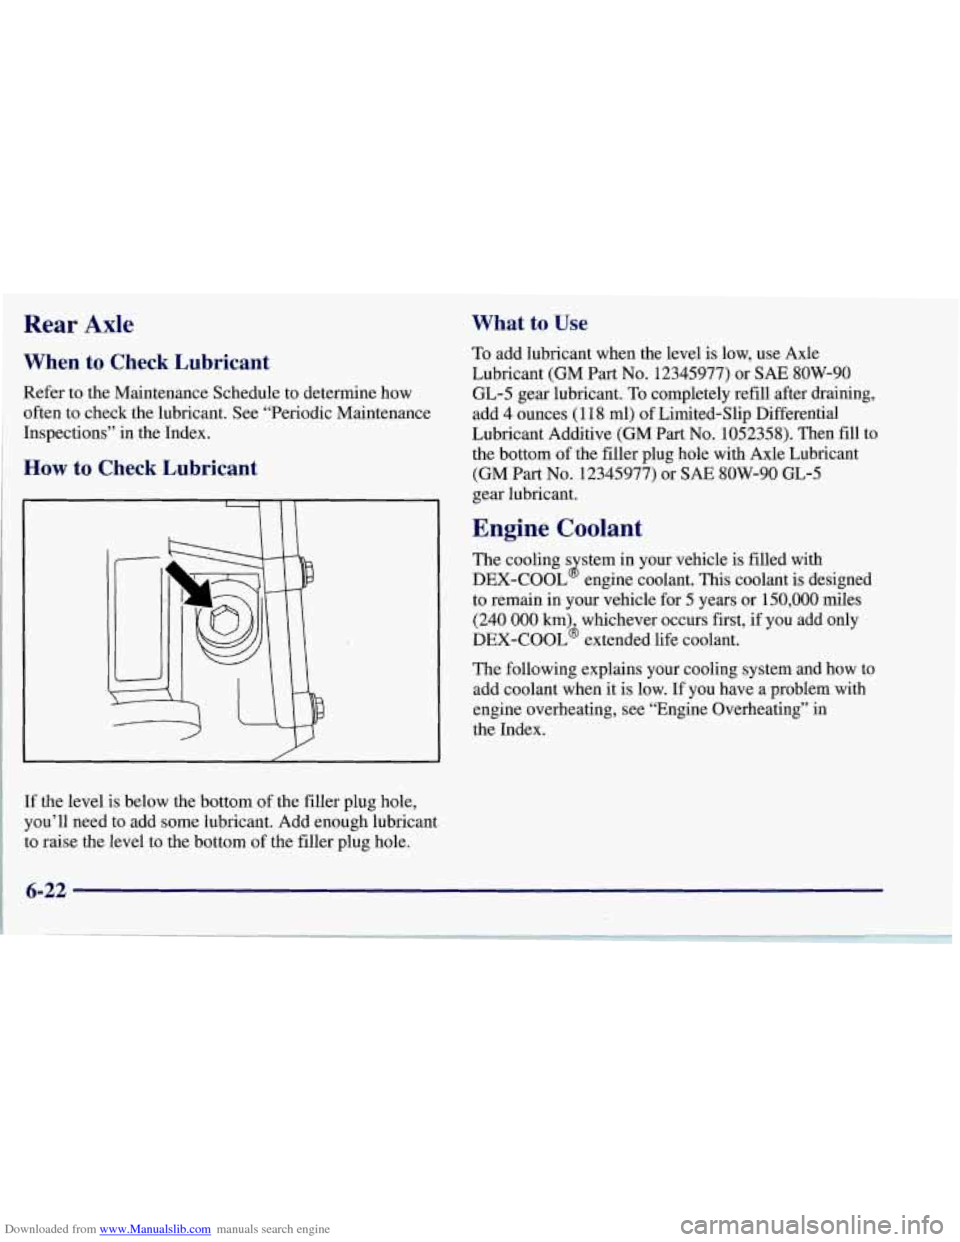
How to Check Lubricant
If the level is below the bottom of the filler plug hole,
you’ll need to add some lubricant. Add enough lubricant
to raise the level to the bottom of the filler plug hole.
What to Use
To add lubricant when the level is low, use Axle
Lubricant (GM
Part No. 12345977) or SAE 8OW-90
GL-5 gear lubricant. To completely refill after draining,
add
4 ounces (1 18 ml) of Limited-Slip Differential
Lubricant Additive (GM
Part No. 1052358). Then fill to
the bottom of the filler plug hole with Axle Lubricant
(GM
Part No. 12345977) or SAE 8OW-90 GL-5
gear lubricant.
Engine Coolant
The cooling s stem in your vehicle is filled with
DEX-COOL engine coolant. This coolant is designed
to remain in your vehicle for
5 years or 150,000 miles
(240
000 km) whichever occurs first, if you add only
DEX-COOL6 extended life coolant.
8
The following explains your cooling system and how to
add coolant when it is low.
If you have a problem with
engine overheating, see “Engine Overheating” in
the Index.
6-22
Page 264 of 356
Downloaded from www.Manualslib.com manuals search engine Brakes
Brake Fluid
6
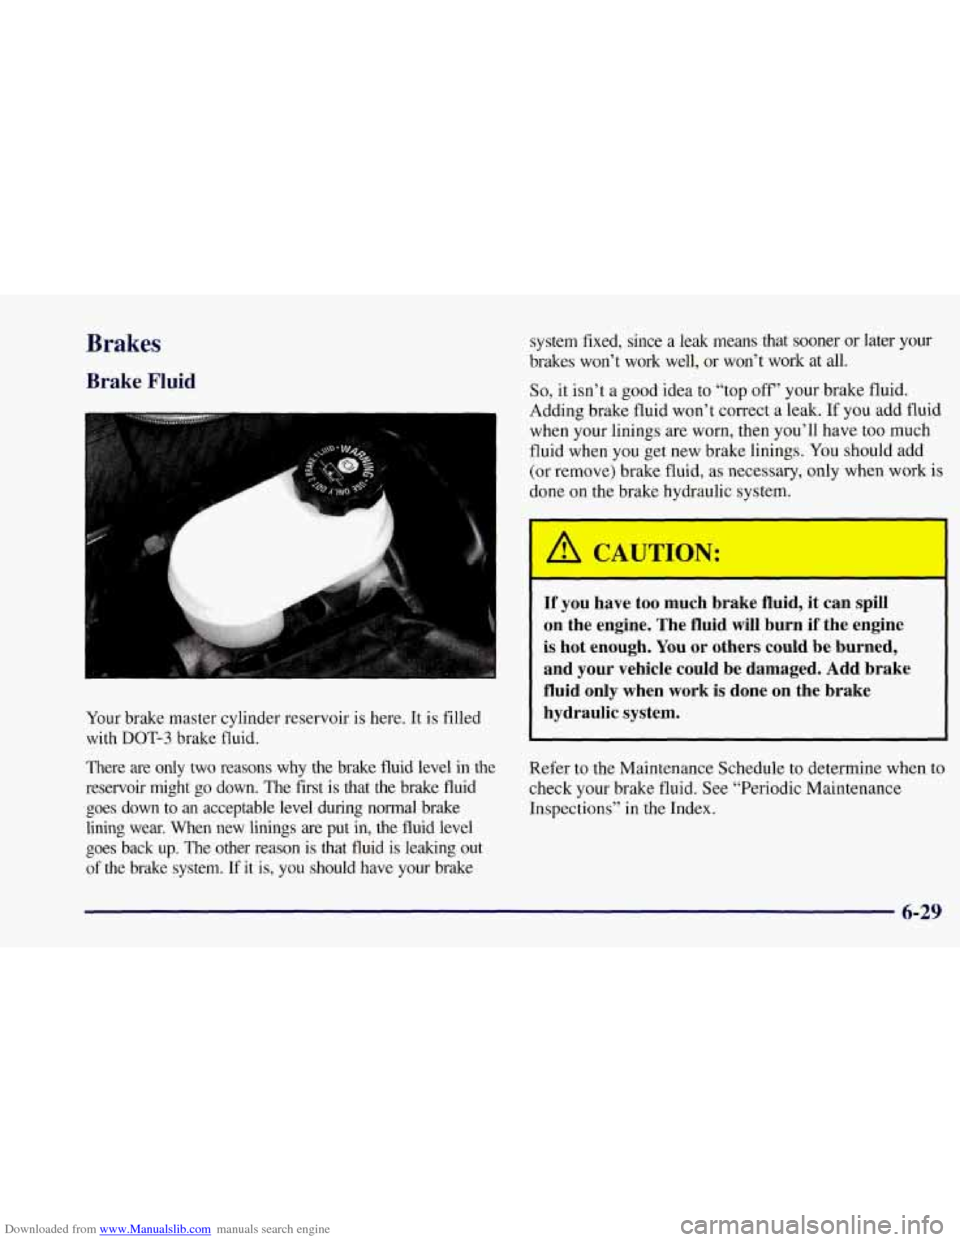
Your brake master cylinder reservoir is here. It is filled
with
DOT-3 brake fluid.
There are only two reasons why the brake fluid level in the
reservoir might
go down. The first is that the brake fluid
goes down to
an acceptable level during normal brake
lining wear. When new linings are put in, the fluid level
goes back up. The other reason is that fluid is leaking out
of the brake system. If it is, you should have your brake system fixed, since a leak means that
sooner or later your
brakes won't work well, or won't work at all.
So, it isn't a good idea to "top off' your brake fluid.
Adding brake fluid won't correct a
leak. If you add fluid
when your linings are worn, then you'll have too much
fluid when
you get new brake linings. You should add
(or remove) brake fluid, as necessary, only when work is
done
on the brake hydraulic system.
A CAUTION:
If you have too much brake fluid, it can spill
on the engine. The fluid will burn if the engine
is hot enough. You
or others could be burned,
and
your vehicle could be damaged. Add brake
fluid only when work is done on the brake
hydraulic system.
Refer to the Maintenance Schedule to determine when to
check your brake fluid. See "Periodic Maintenance
Inspections" in the Index.