Page 9 of 2890

5-5b
IMZ-10I
SUPPLEMENTAL
RESTRAINT
SYSTEM
(ELECTRIC
SENSOR
TYPE)
2
.
Const
r
uc
ti
on
10
.
WARNING
AND
CAUTION
LABELS
B5H0433A
O
SRS
AIRBAG
CONTROL
UNIT
CAUTION
"
READ
SERVICE
MANUAL
"
NO
SERVICEABLE
INSIDE
~
DO
NOT
DISASSEMBLE
OR
TAMPER
"
DO
NOT
DROP
;
KEEP
DRY
"
STORE
IN
CLEAN
DRYAREA
Precaution
*
lisez
le
manuel
d'entretien
.
aucune
piece
interne
nepeut
titre
remplacee
ou
r6paree
*ne
d6montez
ou
alterez
pas
cetteunite
de
controle
.n'echappez
pas
"
emmagasinez
dans
un
endroit
sec
'~`J~~'«*~-~~~=
Jtd~ahl~~4~LZF~~~o
"eMt,t~,-'7
9
"
ML
Lt--
LJASI
.t
IALtdI
.)T-Fc~Oo
CAUTION
:
ALWAYS
USE
SEATBELTS
OR
CHILDSEAT
"
This
car
is
equipped
with
driver
and
front
seat
passenger
SRS
AIRBAG
.
It
is
designed
to
SUPPLEMENT
THE
SEAT-
BELT
"
If
your
"AIRBAG"
indicator
in
the
instrument
panel
lights
while
driving,
see
your
nearest
SUBARU
dealer
.
"
See
your
owner's
manual
for
more
information
.
ATTENTION
:
ATfACHEZ
VOTRE
CEINTURE
DE
SECURITE
ET
UTILISEZ
UN
SIEGE
POUR
ENFANT
"
Cette
voiture
est
pourvue
d'un
coussin
d'air
SRS
pour
le
conducteur
etle
passagerdu
siegeavant
.
Ce
coussin
a
ete
Q
conqu
comme
COMPLEMENT
A
LA
CEINTURE
DE
SECURITE
.'
""
'
'
"
Si
(
indication
AIRBAG
(coussin
d
air)
s
allume
sur
le
tableau
debord
pendant
la
conduite,
consultez
votre
revendeur
SUBARU
le
plus
proche
.
"
Consultez
votre
manuel
du
proprietaire
.
VORSICHT
Vervvenden
Sie
stets
den
Sicherheitsgurt
oder
den
Kindersitz
.
"
Dieses
Fahrzeug
ist
mit
einer
Fahrer=und
Beifahrer-SRS-Luftsackanlage
ausgerustet
.
Es
wurde
vorgesehen,
um
den
Sicherheitsgurt
zu
erganzen
.
"
Wenn
wahrend
der
Fahrt
die
�
AIRBAG"-Anzeige
am
Instrumentenbrett
leuchtet,
setzen
Sie
sich
mit
Ihrem
ortlichen
SUBARU-Handler
in
Verbindung
.
"
Nahere
Angaben
dazu
sind
aus
der
Bedienungsanleitung
zu
entnehmen
.
Page 956 of 2890
G3M0703
4) Remove the screws to take off the plate from the body.
G3M0704
B: DISASSEMBLY
1) Remove grip from selector lever.
2) Remove indicator from plate.
B3M0346A
3) Remove the following parts from the grip.
�
1Button
�
2Spring
G3M0706
4) Remove shift-lock solenoid and“P”position switch.
G3M0707
5) Remove the bolt to take off the selector lever from the
plate and remove selector lever from the plate.
12
3-3SERVICE PROCEDURE
2. Automatic Transmission
Page 958 of 2890
G3M0710
4) Assemble detention spring, shift-lock solenoid and“P”
position switch.
G3M0711
5) Adjust the position of shift-lock plate and solenoid.
Then, tighten bolts.
G3M0712
6) Assemble indicator to the plate
Tightening torque:
4.4±1.5 N⋅m (0.45±0.15 kg-m, 3.3±1.1 ft-lb)
B3M0347A
7) Assemble the following parts to the grip.
CAUTION:
Apply grease on sliding surfaces of the following
parts.
�
1Button
�
2Spring
G3M0714
8) Assemble the grip to the selector lever.
14
3-3SERVICE PROCEDURE
2. Automatic Transmission
Page 959 of 2890
9) After completion of fitting, transfer selector lever to
range“P”∼“1”, pressing the button of the grip; then check
whether the indicator and select lever agree, whether the
pointer and position mark agree and what the operating
force is.
G3M0703
E: INSTALLATION
1) Mount the selector lever onto the vehicle body.
2) Tighten the six bolts to install the selector lever to the
vehicle body.
Tightening torque:
4.5±1.5 N⋅m (0.45±0.15 kg-m, 3.3±1.1 ft-lb)
G3M0702
3) Connect connectors and install rear console, center
console and instrument console.
G3M0715
4) Set location of selector lever at“N”position.
5) Set location of selector arm installed on the transmis-
sion body at“N”position.
B3M0416A
6) Pass inner cable through selector arm pin and then
connect it using a washer and snap pin.
7) Attach outer cable to plate on transmission case with
the bolts.
Tightening torque:
18±5 N⋅m (1.8±0.5 kg-m, 13.0±3.6 ft-lb)
15
3-3SERVICE PROCEDURE
2. Automatic Transmission
Page 1099 of 2890
B4M0051
7. Full Wheel Cap
A: REMOVAL
Pry off the full wheel cap with a wheel cap remover inserted
between openings in the cap.
B: INSTALLATION
Align the valve hole in the wheel cap with the valve on the
wheel and secure the wheel cap by tapping four points by
hand.
8. Steel Wheel and Tire
1) Deformation or damage on the rim can cause air leak-
age. Check the rim flange for deformation, crack, or
damage, and repair or replace as necessary.
2) Take stone, glass, nail etc. off the tread groove.
G4M0297
3) Replace tire:
�when large crack on side wall, damage or crack on
tread is found.
�when the“tread wear indicator”appears as a solid
band across the tread.
CAUTION:
�When replacing a tire, make sure to use only the
same size, construction and load range as originally
installed.
�Avoid mixing radial, belted bias or bias tires on the
vehicle.
49
4-2SERVICE PROCEDURE
7. Full Wheel Cap - 8. Steel Wheel and Tire
Page 1100 of 2890
B4M0051
7. Full Wheel Cap
A: REMOVAL
Pry off the full wheel cap with a wheel cap remover inserted
between openings in the cap.
B: INSTALLATION
Align the valve hole in the wheel cap with the valve on the
wheel and secure the wheel cap by tapping four points by
hand.
8. Steel Wheel and Tire
1) Deformation or damage on the rim can cause air leak-
age. Check the rim flange for deformation, crack, or
damage, and repair or replace as necessary.
2) Take stone, glass, nail etc. off the tread groove.
G4M0297
3) Replace tire:
�when large crack on side wall, damage or crack on
tread is found.
�when the“tread wear indicator”appears as a solid
band across the tread.
CAUTION:
�When replacing a tire, make sure to use only the
same size, construction and load range as originally
installed.
�Avoid mixing radial, belted bias or bias tires on the
vehicle.
49
4-2SERVICE PROCEDURE
7. Full Wheel Cap - 8. Steel Wheel and Tire
Page 1105 of 2890

G4M0301
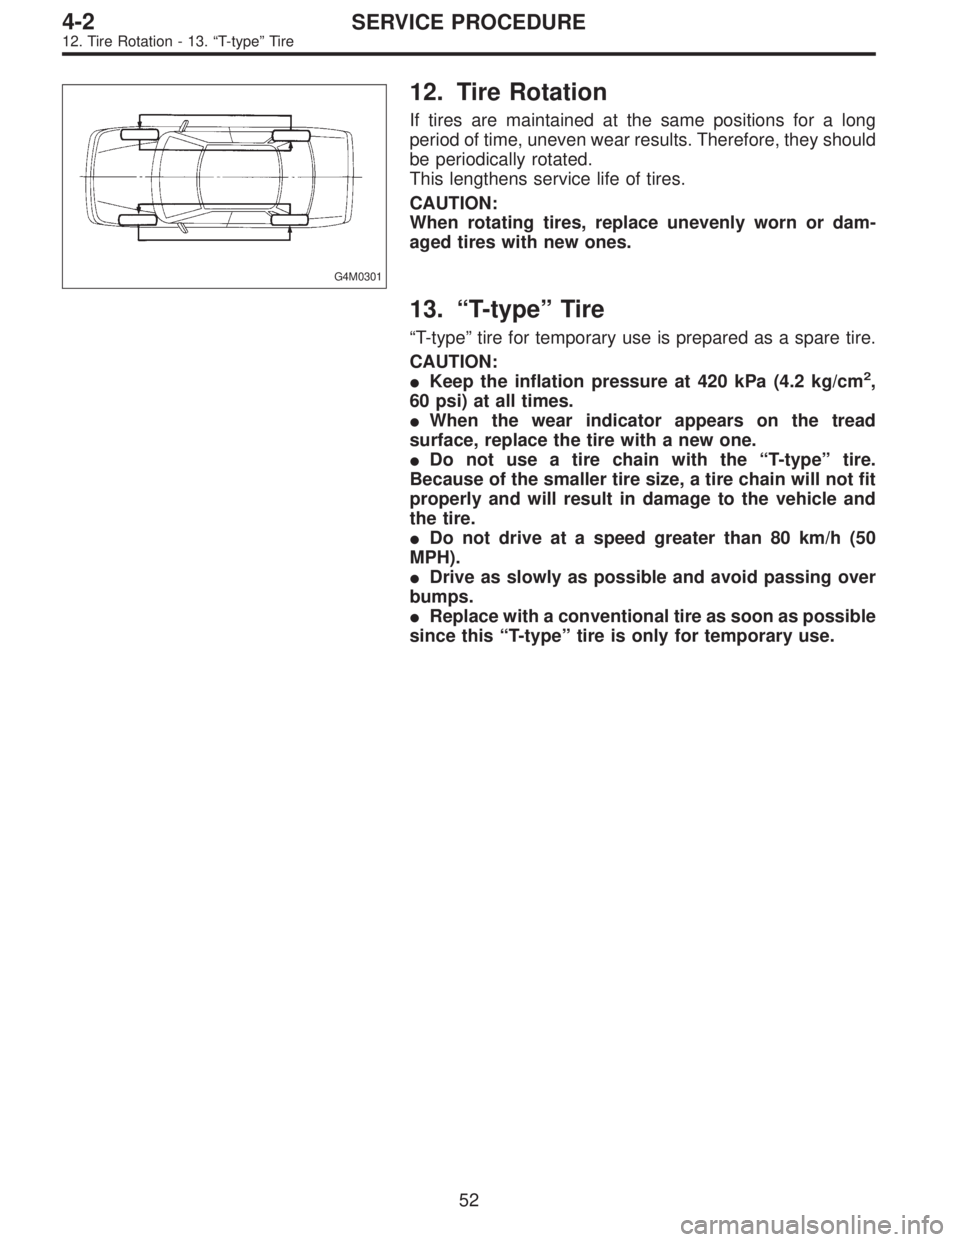
12. Tire Rotation
If tires are maintained at the same positions for a long
period of time, uneven wear results. Therefore, they should
be periodically rotated.
This lengthens service life of tires.
CAUTION:
When rotating tires, replace unevenly worn or dam-
aged tires with new ones.
13.“T-type”Tire
“T-type”tire for temporary use is prepared as a spare tire.
CAUTION:
�Keep the inflation pressure at 420 kPa (4.2 kg/cm
2,
60 psi) at all times.
�When the wear indicator appears on the tread
surface, replace the tire with a new one.
�Do not use a tire chain with the“T-type”tire.
Because of the smaller tire size, a tire chain will not fit
properly and will result in damage to the vehicle and
the tire.
�Do not drive at a speed greater than 80 km/h (50
MPH).
�Drive as slowly as possible and avoid passing over
bumps.
�Replace with a conventional tire as soon as possible
since this“T-type”tire is only for temporary use.
52
4-2SERVICE PROCEDURE
12. Tire Rotation - 13.“T-type”Tire
Page 1106 of 2890

G4M0301
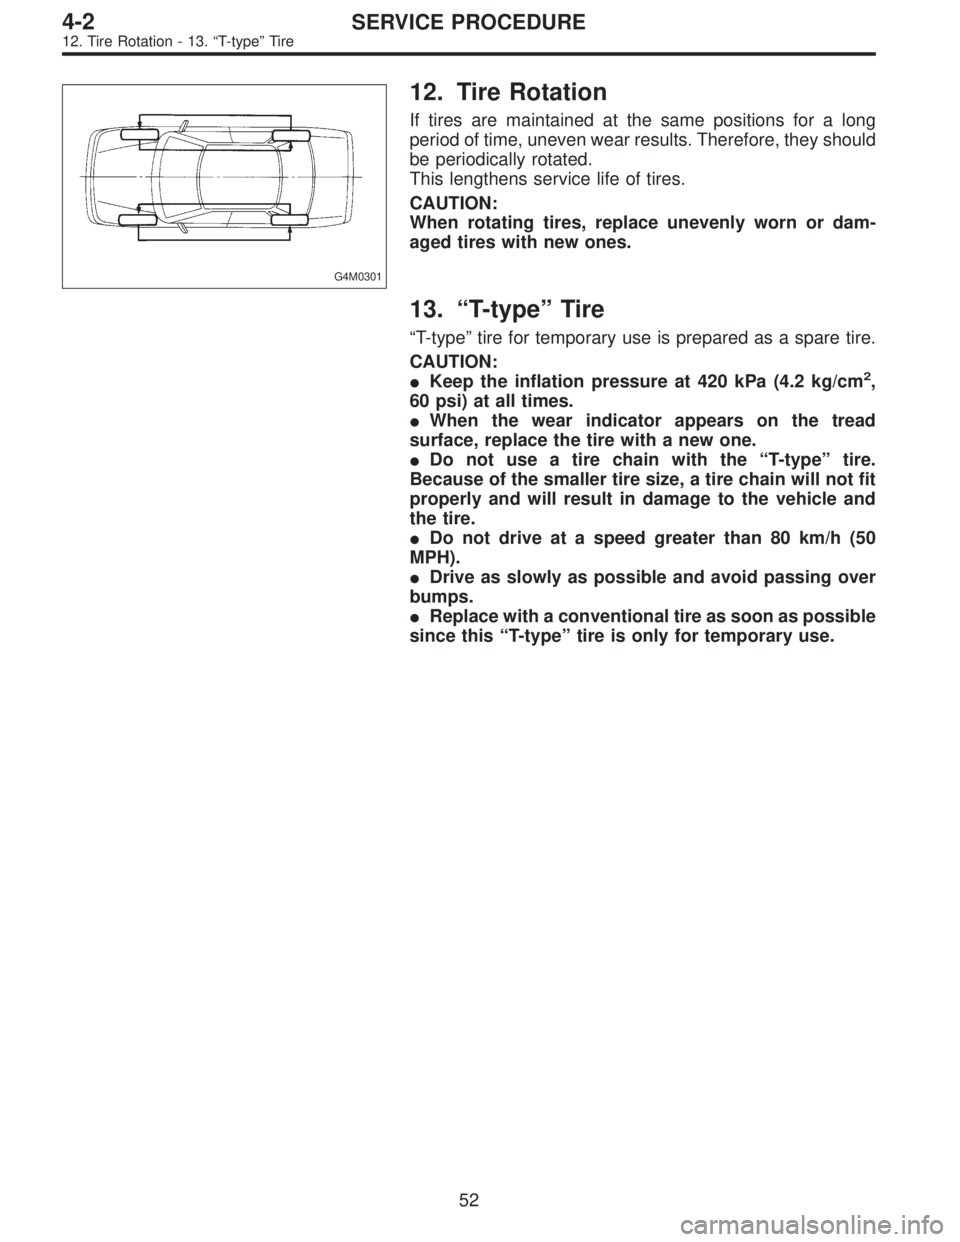
12. Tire Rotation
If tires are maintained at the same positions for a long
period of time, uneven wear results. Therefore, they should
be periodically rotated.
This lengthens service life of tires.
CAUTION:
When rotating tires, replace unevenly worn or dam-
aged tires with new ones.
13.“T-type”Tire
“T-type”tire for temporary use is prepared as a spare tire.
CAUTION:
�Keep the inflation pressure at 420 kPa (4.2 kg/cm
2,
60 psi) at all times.
�When the wear indicator appears on the tread
surface, replace the tire with a new one.
�Do not use a tire chain with the“T-type”tire.
Because of the smaller tire size, a tire chain will not fit
properly and will result in damage to the vehicle and
the tire.
�Do not drive at a speed greater than 80 km/h (50
MPH).
�Drive as slowly as possible and avoid passing over
bumps.
�Replace with a conventional tire as soon as possible
since this“T-type”tire is only for temporary use.
52
4-2SERVICE PROCEDURE
12. Tire Rotation - 13.“T-type”Tire