Page 131 of 386
Downloaded from www.Manualslib.com manuals search engine The SERVICE RIDE CONTROL light may also come
on if the selective ride control knob is not placed fully
into a position. For example, if the selection position is
between
TOUR and SPORT or SPORT and PERF, the
light may come on. If the light comes on for this reason,
move the select switch to the desired position and the
light should go out.
Passive Keyless Entry Light
1
PASSIVE
KEYLESS
ENTRY
This amber light will come
on for about two seconds
when you
turn the ignition
on, unless your keyless
entry system is
off. The
light also comes on and
flashes when you
are
programming transmitters.
See “Passive Keyless Entry System” in the Index.
Security Light
This amber light comes on
to remind you to arm your
theft-deterrent system. If it
comes on and stays on when
your ignition is on, there
may be a problem with your
theft-deterrent system.
See “Universal Theft-Deterrent” and “PASS-Key” in the
Index.
2-88
Page 132 of 386
Downloaded from www.Manualslib.com manuals search engine Driver Information Center
SERVICE ASR ASR OFF
ASR LOW
ACTIVE COOLANT
PASSIVE
KEYLESS
ENTRY AIR
BAG
SERVICE
115- SOON
SERVICE LTPWS ABS
ACTIVE
SERVICE
(@I
LOWlFLAT TIRE
SERVICE RIDE
CONTROL
LOW OIL
The Driver Information Center (DIC) gives you
important safety and maintenance facts.
It will display
warning lights for the following:
SERVICE ASR (Acceleration Slip Regulation)
ASROFF
0 SERVICE LTPWS (Low Tire Pressure Warning
System) (Option)
0 LOWELAT TIRE
ASR ACTIVE
LOW COOLANT
AIRBAG
0 ABS ACTIVE (Anti-Lock Brake System Active)
SERVICE RIDE CONTROL (Option)
PASSIVE KEYLESS ENTRY
0 (Charging System)
SERVICE ENGINE SOON
SERVICE ABS
LOW OIL
2-89
Page 133 of 386
Downloaded from www.Manualslib.com manuals search engine Convertible Top (Option)
The following procedures explain the proper operation
of your convertible top.
To Lower Your Convertible Top
NOTICE:
Don’t leave your convertible out with the top
down for any long periods of time. The sun and
the rain can damage your seat material and other
things inside your vehicle.
1. Park on a level surface, set the parking brake firmly
and shift an automatic transmission into
PARK (P).
Shift a manual transmission into
REVERSE (R).
Lower both windows and sunshades and turn the
ignition key
to LOCK.
NOTICE:
Before lowering the convertible top into the
storage area, be sure there are no objects in the
way of the folded, stored top. The weight
of a
stored top on items in the storage area may cause
the convertible top back glass to break.
2. Unlock the front of the convertible top by turning the
latch handles outward. Then lift the top
off the
windshield slightly.
2-90
Page 141 of 386
Downloaded from www.Manualslib.com manuals search engine 8. Slide both lock pillar brackets down and forward
from the receiver brackets. You may need to lift the
hardtop slightly to remove the brackets.
9. Disconnect both wire connectors located behind the
lock pillar brackets. These
are the rear window
defogger wires.
10. With one person on each side, gently lift the hardtop
approximately
8 inches (200 mm) straight up.
Remove the hardtop over the rear of the vehicle.
11. Install the HATCH (45) fuse to enable the storage
compartment lid release button and center console
release switch. You will need the fuse installed
if
you have to raise your convertible top.
The fuse that enables these releases
is not installed
at the assembly plant and should be in your center
console. See "Instrument Panel Fuse Block" in the
Index for location
of the fuse when installing it.
I
2-98
Page 142 of 386

Downloaded from www.Manualslib.com manuals search engine NOTICE:
To help avoid damaging the hardtop when not in
use:
Store the hardtop in its normal position,
0 Store hardware and trim panel with the
resting
on its mounting brackets.
hardtop.
12. Connect the rear window defogger electrical
connectors.
To Install Your Convertible Hardtop
1. Park on a level surface, set the parking brake firmly
and shift an automatic transmission into PARK
(P).
Shift a manual transmission into REVERSE (R).
Lower both windows and sunshades. Turn off the
radio to lower the power antenna and turn the
ignition key to LOCK.
2. Disconnect both rear window defogger electrical
connectors behind the lock pillar.
3. Lower the convertible top. Refer to “Convertible
Top” in the Index.
This procedure will require the use
of the storage
compartment lid release button behind the dnver’s
seat or the center console release switch. The fuse that
enables these releases is not installed at the assembly
plant and should be in your center console. See
“Instrument Panel Fuse Block” in the Index for
location
of the fuse. The fuse is labeled HATCH (45).
4. With one person on each side, carefully position the
hardtop over the vehicle. Lower the hardtop slowly,
aligning the rear bolt spacers onto the bezels, and
front conical nuts into the tapered receivers. Realign
the hardtop, if necessary.
NOTICE:
To help avoid damage, don’t force the rear of the
hardtop down. The hardtop may rest slightly
above the storage compartment lid until the
release lever is pulled. See Step
8 in this
procedure.
2-99
Page 143 of 386

Downloaded from www.Manualslib.com manuals search engine 5.
6.
7.
8.
9.
LO.
Move both seatbacks forward. Slide the lock pillar
bracket into the receiver bracket until the scribed
line
is even with the lower edge of the receiver
bracket.
Connect the electrical connectors and make sure
they
are inside the vehicle.
Insert the two upper bolts into both receiver
brackets. You may have to lift the hardtop slightly
to install the lock pillar bracket.
If the hardtop hasn’t lowered into position, pull the
release lever behind the driver’s seat under the
storage compartment lid.
Secure but don’t tighten the rear corner bracket
bolts using the ratchet.
Tighten the front bolts using the wrench.
11. Insert the lower bolt into the bottom flange of the
lock pillar brackets and tighten. Install and tighten
the remaining bolts into the lock pillar brackets.
12. Using the ratchet, tighten the rear corner bracket
bolts.
Do not over-tighten these bolts.
13. Slide the rear trim panel in place.
14. Remove the
HATCH (45) fuse. Store it in the center
console while the convertible hardtop is
in use.
(This will prevent accidental unlatching
of the
storage compartment lid.)
! 2-100
Page 145 of 386

Downloaded from www.Manualslib.com manuals search engine Temperature Control Lever
Move the lever to change the temperature of the air
flowing from the system. Move it to the right for
warmer air and to the left for cooler air.
Air Control Buttons
OFF: The system is off.
RECIRCULATE: Provides maximum cooling or
quick cool-down
on very hot days. This setting
recirculates most of the air inside your vehicle. If it is
used for long periods of time, the air may become dry.
This setting directs air through the upper air vents. It
will work when the outside temperatures are above
freezing.
'''9 NORMAL A/C: Use for normal cooling on hot
days. This setting cools outside air and directs it through
the instrument panel vents.
The air conditioner compressor also operates in
DEFROST. It only works when the outside temperature is
above freezing. When the air conditioner compressor is on,
you may sometimes notice slight changes in your vehicle's
engine speed and power. This is normal because the
system
is designed to cycle the compressor on and off to
keep the desired cooling and help fuel economy.
do
A.
*P@ BI-LEVEL: This setting cools or heats outside air
and directs it through the instrument panel vents and the
floor ducts.
do
9 VENT: Air flows through the instrument panel
vents. The air conditioning compressor does not work in
VENT mode.
wj HEATER: This setting directs most of the air
through the floor ducts and some of the air through the
defroster vents. The air conditioning compressor does
not work in HEATER mode.
DEFROST This setting directs most of the air
through the windshield defroster and side window
defogger vents and some of the air through the floor
ducts.
Heating
The heater works best if you keep your windows closed
while using it.
Press HEATER and FAN UP, then slide the temperature
control lever to a comfortable setting.
3-2
Page 147 of 386

Downloaded from www.Manualslib.com manuals search engine Cooling
The air conditioner works best if you keep your
windows closed. On very hot days, open the windows
just long enough for the hot air to escape.
Press RECIRCULATE and
FAN UP, then slide the
temperature control lever to a comfortable setting.
After cool-down, adjust the air control buttons to
another setting. The compressor works in all settings
except VENT and HEATER and at all temperatures
above freezing.
When the air conditioner is on, you may notice slight
changes in your vehicle's engine speed and power. This
is normal because the system is designed to cycle the
compressor on and off to keep the desired temperature
and help fuel economy.
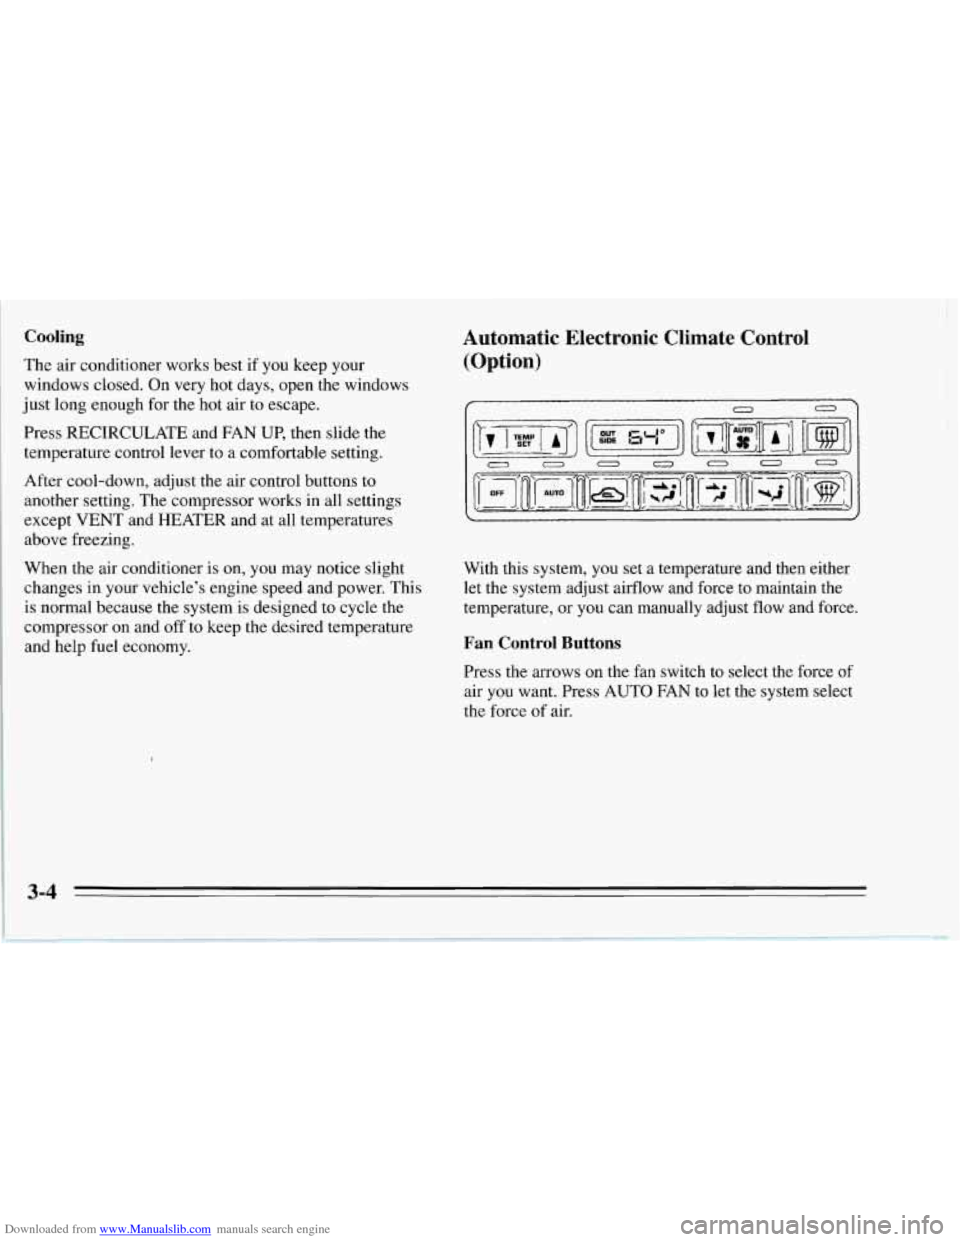
Automatic Electronic Climate Control
(Option)
0
With this system, you set a temperature and then either
let the system adjust airflow and force to maintain the
temperature, or you can manually adjust flow and force.
Fan Control Buttons
Press the arrows on the fan switch to select the force of
air you want. Press
AUTO FAN to let the system select
the force
of air.
3-4