1995 CHEVROLET CORVETTE Radio
[x] Cancel search: RadioPage 11 of 386
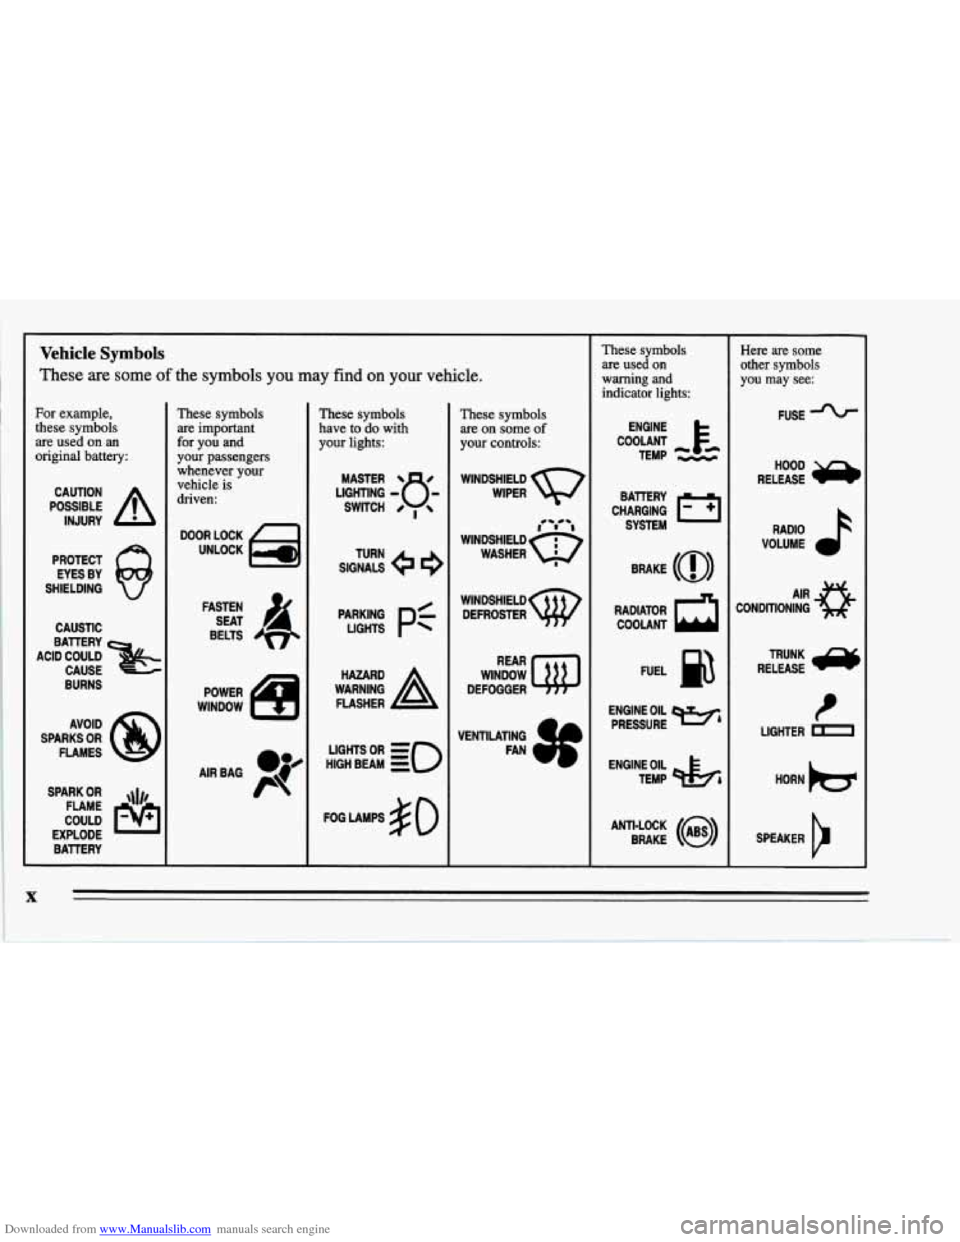
Downloaded from www.Manualslib.com manuals search engine Vehicle Symbols
These are some of the symbols you may find on your vehicle.
For example,
these symbols
are used on an
original battery:
POSSIBLE A
CAUTION
INJURY
PROTECT EYES BY
SHIELDING
Q
CAUSTIC
ACID COULD
&
BATTERY CAUSE
AVOID
SPARKS
OR
FLAMES
SPARK
OR ,\I/,
COULD FLAME
EXPLODE BATTERY
These symbols
are important
for you and
your passengers whenever your
vehicle
is
driven:
DOOR LOCK
UNLOCK
FASTEN SEAT
4
BELTS
POWER
WINDOW
AIRBAG P
These symbols
have to do with
your lights:
SIGNALS e e
TURN
p:
HIGH BEAM OR = so
FOG LAMPS # 0
These symbols
are on some
of
your controls:
WINDSHIELD
WIPER
WINDSHIELD DEFROSTER
WINDOW
DEFOGGER
VENTILATING FAN
These symbols
are used
on
warning and
indicator lights:
ENGINE
TEMP
--
CHARGING I-1
BATTERY SYSTEM
RADIATOR
COOLANT a
FUEL
ENGINE OIL PRESSURE
Wb
TEMP OtL ctlb
ANTI-LOCK (@)
BRAKE
~~ ~~~ ~ ~~
Here are some
other symbols
you may see:
FUSE -%-
RELEASE
RADIO
VOLUME
CONDITIONING
AIR 43
t
LIGHTER D
HORN )cr
SPEAKER
b
X
Page 48 of 386
Downloaded from www.Manualslib.com manuals search engine Your Passive Keyless Entry system operates on a radio
frequency subject to Federal Communications
Commission (FCC) Rules.
This device complies with Part
15 of the FCC Rules.
Operation is subject to the following two conditions:
(1) This device may not cause harmful interference, and
(2) This device must accept any interference received,
including interference that may cause undesired
operation.
Should interference to this system occur, try this:
0
0
a
0
Check to determine if battery replacement is
necessary. See the instructions
on battery
replacement.
Check the distance. You may be too far from your
vehicle. This product has a maximum range.
Check the location. Other vehicles or objects may be
blocking the signal.
See your Chevrolet dealer or a qualified technician
for service.
Changes or modifications to this system by other than an
authorized service facility could void authorization to
use this equipment.
Operation
You don’t have to do anything for PKE to work when
the passive feature is on. Just walk toward your vehicle
with the
PKE transmitter, and the system will
automatically disarm your theft-deterrent system and
unlock the doors.
If it’s dark enough outside, your
interior lamps will come on.
If you move out of range, the PKE system will:
1. Lock the doors after five seconds.
2. Arm the theft-deterrent system.
3. Sound the horn to let you know the doors are locked.
4. Turn off the interior lamps.
You can also use the buttons on the transmitter. Press
DOOR to open the passenger’s door or HATCH to open
the hatch. The HATCH button will only work when the
ignition is off.
The system has a feature that makes it difficult for you
to lock your keys in your vehicle. If you leave your keys
in the ignition and lock the doors, the system will unlock
the doors as soon as they are closed. If you leave the
keys in the ignition and move away with the transmitter,
the doors still will not lock. You should notice that the
horn doesn’t sound and return to get your keys.
Page 59 of 386
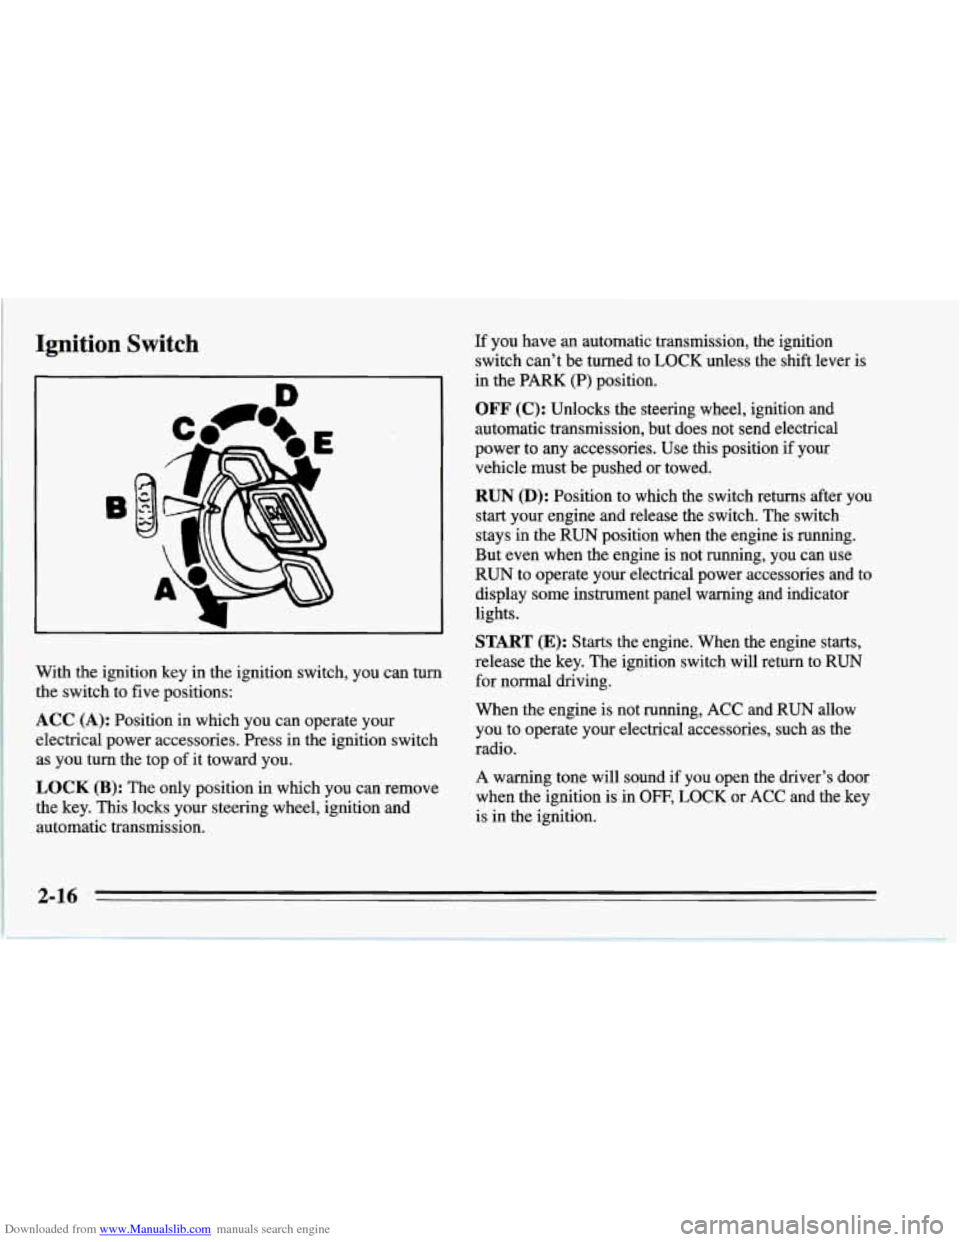
Downloaded from www.Manualslib.com manuals search engine Ignition Switch
With the ignition key in the ignition switch, you can turn
the switch to five positions:
ACC (A): Position in which you can operate your
electrical power accessories. Press in the ignition switch as you turn the top of it toward you.
LOCK (B): The only position in which you can remove
the key.
This locks your steering wheel, ignition and
automatic transmission. If
you have an automatic transmission, the ignition
switch can’t be turned to LOCK unless the shift lever is
in the PARK (P) position.
OFF (C): Unlocks the steering wheel, ignition and
automatic transmission, but does not send electrical
power to any accessories. Use this position
if your
vehicle. must be pushed or towed.
RUN (D): Position to which the switch returns after you
start your engine and release the switch. The switch
stays in the
RUN position when the engine is running.
But even when the engine is not running, you can use
RUN to operate your electrical power accessories and to
display some instrument panel warning and indicator
lights.
START (E): Starts the engine. When the engine starts,
release
the key. The ignition switch will return to RUN
for normal driving.
When
the engine is not running, ACC and RUN allow
you to operate your electrical accessories, such as the
radio.
A warning tone will sound if you open the driver’s door
when the ignition
is in OFF, LOCK or ACC and the key
is in the ignition.
Page 101 of 386
Downloaded from www.Manualslib.com manuals search engine Rear Storage Compartment
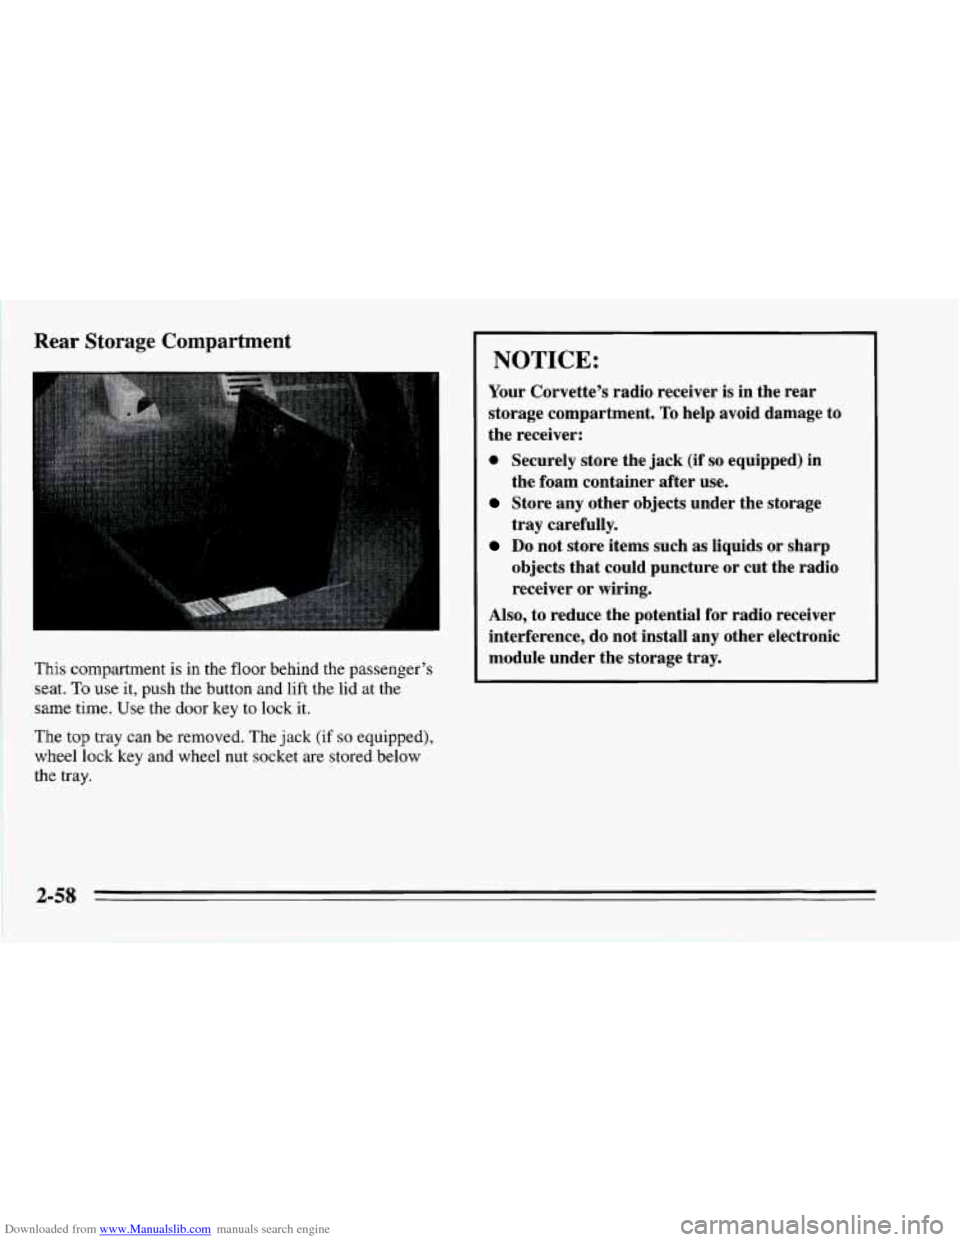
This compartment is in the floor behind the passenger’s
seat.
To use it, push the button and lift the lid at the
same time. Use the door key
to lock it.
The top tray can be removed. The jack
(if so equipped),
wheel lock key and wheel nut socket are stored below
the
tray.
I NOTICE:
Your Corvette’s radio receiver is in the rear
storage compartment.
To help avoid damage to
the receiver:
0 Securely store the jack (if so equipped) in
Store any other objects under the storage
Do not store items such as liquids or sharp
the foam container after
use.
tray carefully.
objects that could puncture or cut the radio
receiver or wiring.
Also, to reduce the potential for radio receiver
interference, do not install
any other electronic
module under the storage tray.
2-58
Page 105 of 386
Downloaded from www.Manualslib.com manuals search engine j
~ Accessory Plug
This plug is under the trim panel in front of the center
console. The plug can be used to connect electrical
equipment such as a cellular phone or CB radio. Be sure
to follow the installation instructions included with the
equipment.
To use the accessory plug:
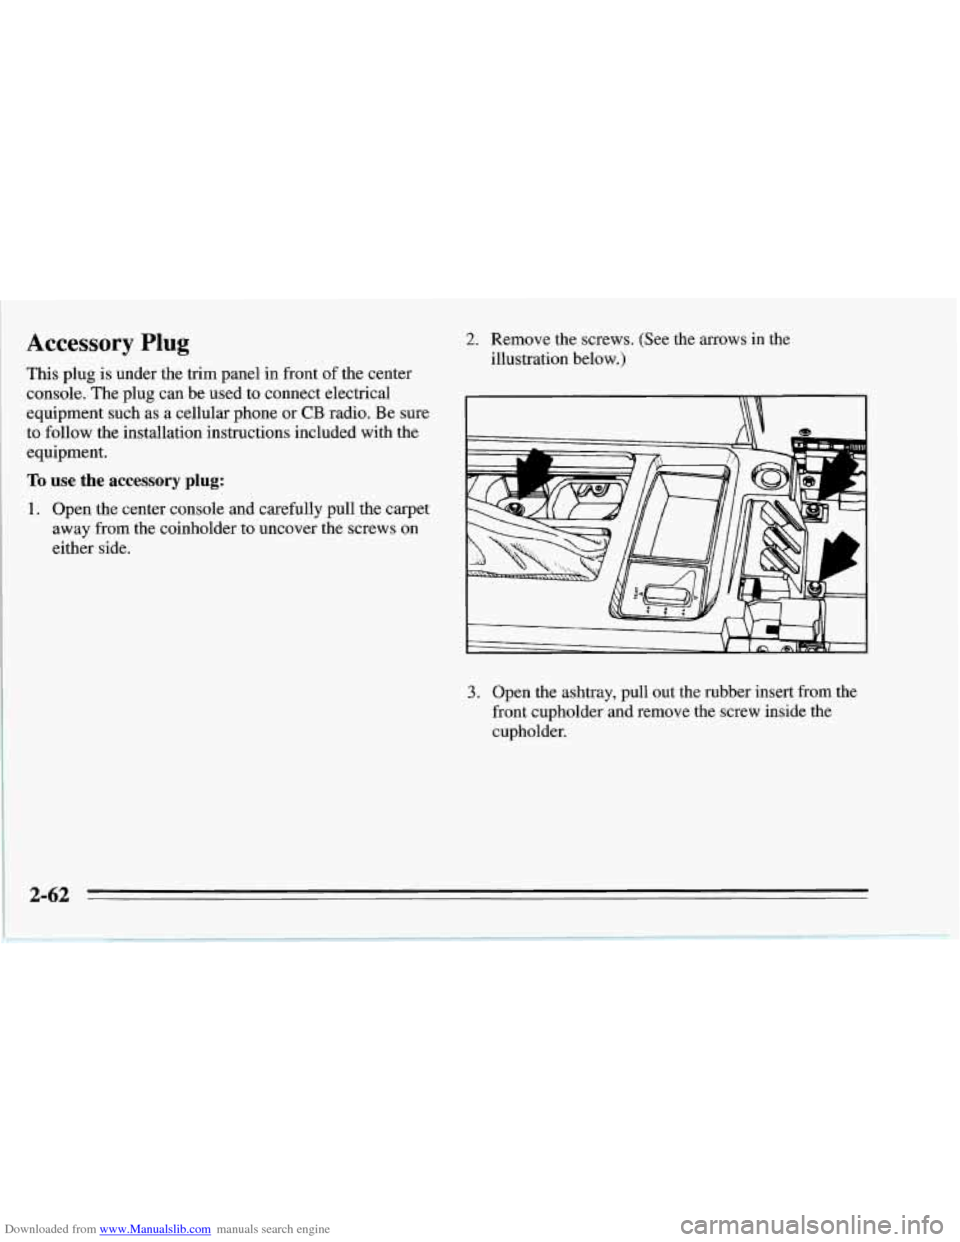
1. Open the center console and carefully pull the carpet
away from the coinholder to uncover the screws on
either side.
2. Remove the screws. (See the arrows in the
illustration below.)
I \\ 1
3. Open the ashtray, pull out the rubber insert from the
front cupholder and remove the screw inside the
cupholder.
Page 113 of 386
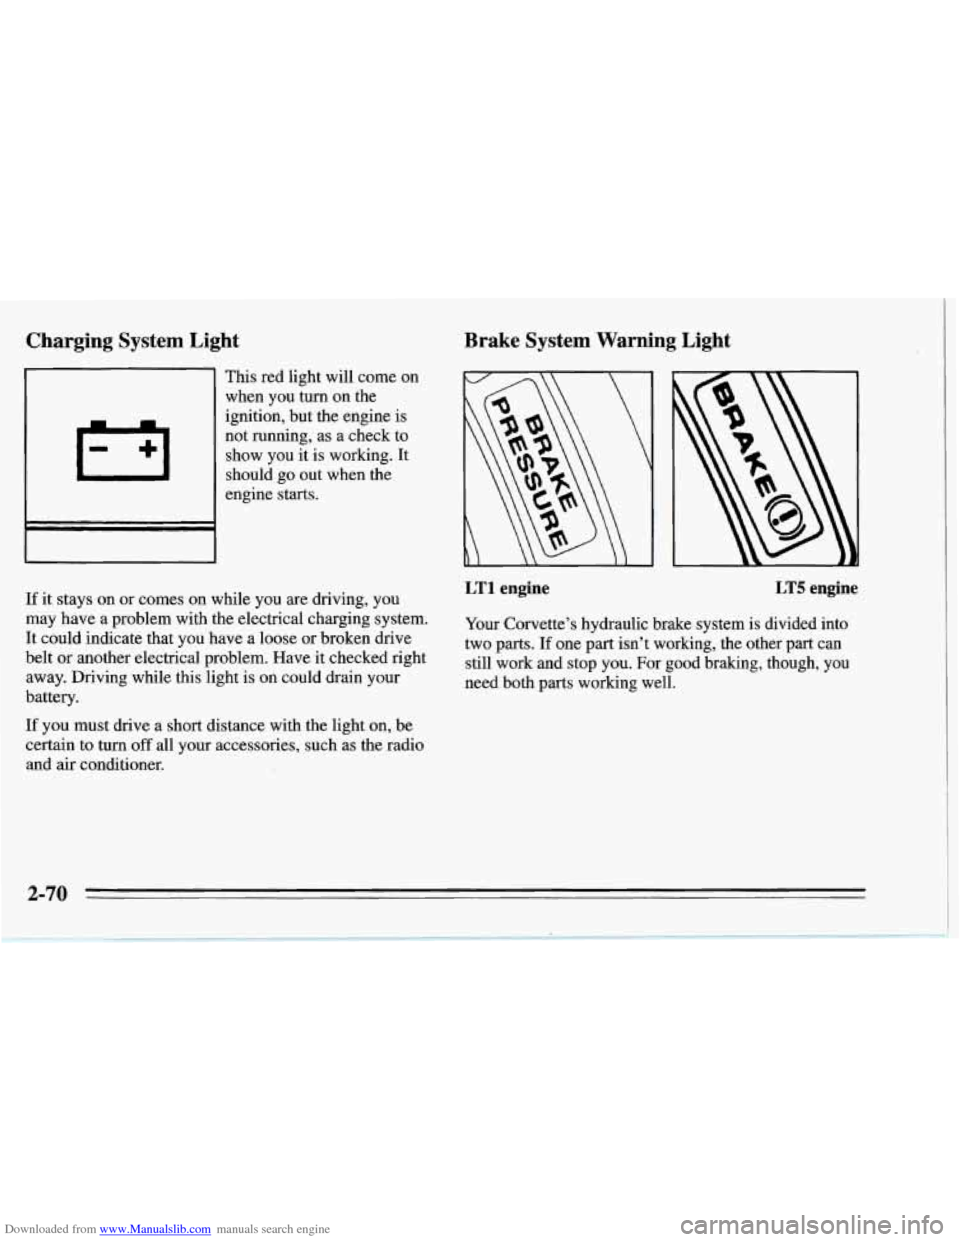
Downloaded from www.Manualslib.com manuals search engine Charging System Light
.
This red light will come on
when you turn on the
ignition, but the engine is
not running, as a check to
show you it is working. It
should go out when the
engine starts.
If it stays on or comes on while you
are driving, you
may have a problem with the electrical charging system.
It could indicate that you have a loose
or broken drive
belt
or another electrical problem. Have it checked right
away. Driving while this light is on could drain your
battery.
If you must drive a short distance with the light on, be
certain to turn
off all your accessories, such as the radio
and
air conditioner.
Brake System Warning Light
LT1 engine LT5 engine
Your Corvette’s hydraulic brake system is divided into
two parts. If one part isn’t working, the other part can
still work and stop you. For good braking, though, you
need both parts working well.
2-70
Page 119 of 386
Downloaded from www.Manualslib.com manuals search engine Low Tire Pressure Warning Light (Option)
The Low Tire Pressure Warning System (LTPWS) has a
sensor
on each road wheel that transmits to a receiver on
the instrument panel.
The system operates on a radio frequency subject to
Federal Communications Commission (FCC) Rules.
This device complies with Part 15 of the FCC Rules.
Operation is subject to the following two conditions:
(1) This device may not cause harmful interference, and
(2) This device must accept any interference received,
including interference that may cause undesired
operation.
Changes or modifications to this system
by other than an
authorized service facility could void authorization to
use this equipment.
The (LTPWS) monitors air pressure in each road tire
while you’re driving your Corvette.
LOW/FLAT
TIRE
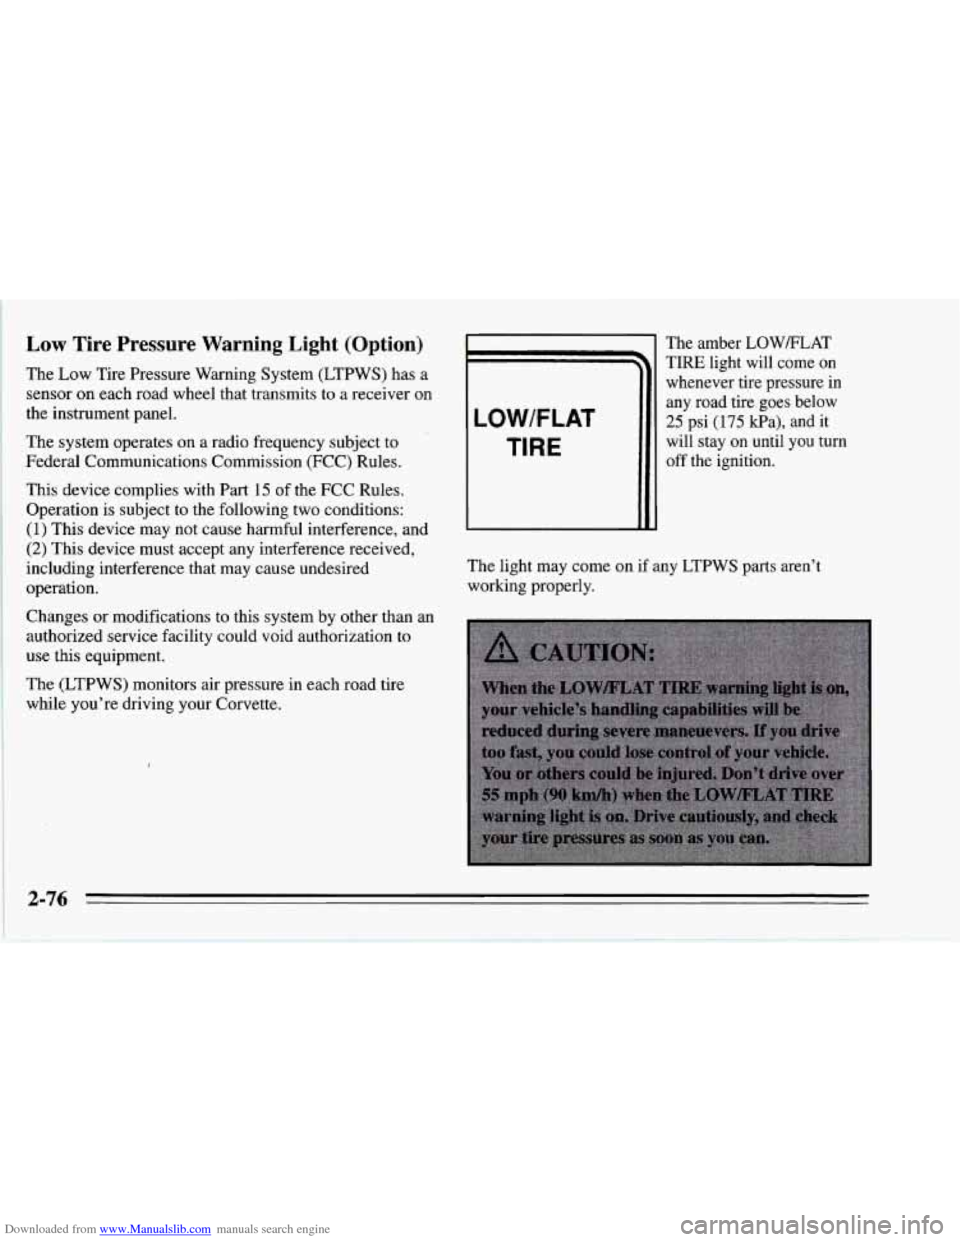
The amber LOW/FLAT
TIRE light will come on
whenever tire pressure in
any road tire goes below
25 psi
(175 kPa), and it
will stay
on until you turn
off the ignition.
The light may come on
if any LTPWS parts aren’t
working properly.
2-76
Page 142 of 386
Downloaded from www.Manualslib.com manuals search engine NOTICE:
To help avoid damaging the hardtop when not in
use:
Store the hardtop in its normal position,
0 Store hardware and trim panel with the
resting
on its mounting brackets.
hardtop.
12. Connect the rear window defogger electrical
connectors.
To Install Your Convertible Hardtop
1. Park on a level surface, set the parking brake firmly
and shift an automatic transmission into PARK
(P).
Shift a manual transmission into REVERSE (R).
Lower both windows and sunshades. Turn off the
radio to lower the power antenna and turn the
ignition key to LOCK.
2. Disconnect both rear window defogger electrical
connectors behind the lock pillar.
3. Lower the convertible top. Refer to “Convertible
Top” in the Index.
This procedure will require the use
of the storage
compartment lid release button behind the dnver’s
seat or the center console release switch. The fuse that
enables these releases is not installed at the assembly
plant and should be in your center console. See
“Instrument Panel Fuse Block” in the Index for
location
of the fuse. The fuse is labeled HATCH (45).
4. With one person on each side, carefully position the
hardtop over the vehicle. Lower the hardtop slowly,
aligning the rear bolt spacers onto the bezels, and
front conical nuts into the tapered receivers. Realign
the hardtop, if necessary.
NOTICE:
To help avoid damage, don’t force the rear of the
hardtop down. The hardtop may rest slightly
above the storage compartment lid until the
release lever is pulled. See Step
8 in this
procedure.
2-99