Page 67 of 386
Downloaded from www.Manualslib.com manuals search engine I NOTICE:
After you’ve used the coolant heater, be sure to store the cord
as it was before to keep it away
from moving engine parts. If you don’t, it could
be damaged.
How long should you keep the coolant heater plugged
in? The answer depends on the weather, the kind
of oil
you have, and some other things. Instead
of trying to list
everything here, we ask that you contact your Chevrolet
dealer in the area where you’ll be parking your vehicle.
The dealer can give you the best advice for that
particular area.
Automatic Transmission
There are several different positions for your shift lever.
PARK (P): This locks your rear wheels. It’s the best
position
to use when you start your engine because your
vehicle can’t move easily.
2-24
Page 128 of 386
Downloaded from www.Manualslib.com manuals search engine It’s normal for the transmission fluid temperature to
vary, depending on the type of driving you do and
weather conditions. If you drive on long grades on a hot
day, the transmission fluid temperature will be higher
than normal driving on a cold day. If you drive your
Corvette at high speeds with a lot of stop-and-go or fast
accelerations, your transmission fluid temperature may
also be higher.
If the transmission fluid exceeds
280°F (138 “C), the
CHECK GAUGES light will come on and HI
AUTO
will be displayed next to the transmission fluid
temperature when you toggle through the GAUGES
button. You should move the shift lever to DRIVE (D)
and continue driving at a slower, constant speed.
Monitor the transmission fluid temperature and allow
it
to cool to 180°F (82°C) to 200°F (93°C). Then, you
should check the transmission fluid level for a low fill or
overfill condition and bring your Corvette in for service
as soon as possible (see “Automatic Transmission Fluid”
in the Index). Also, check the engine coolant
temperature. If it’s too hot, see “Cooling System” in the
Index.
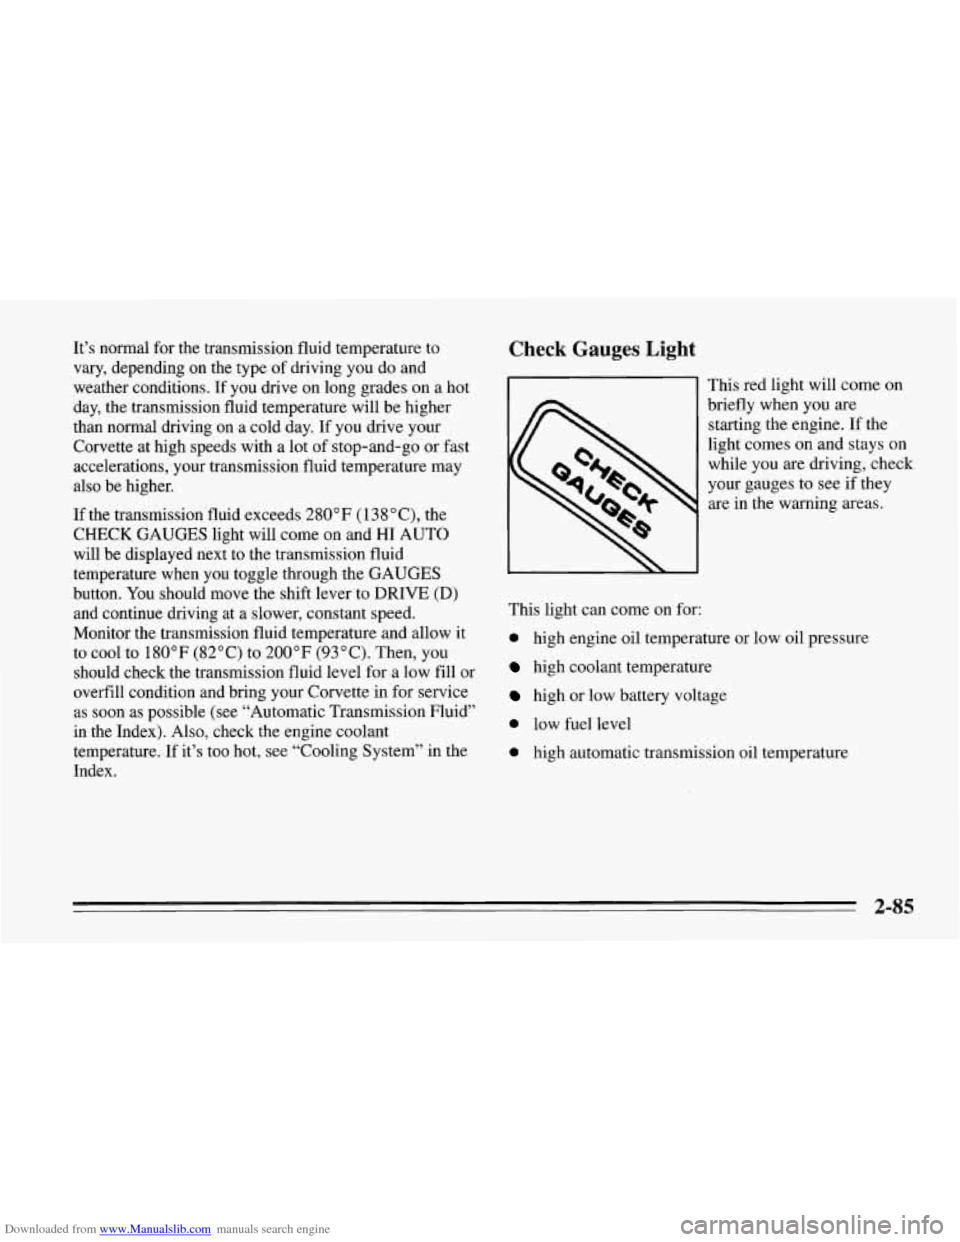
Check Gauges Light
This red light will come on
briefly when you are
starting the engine. If the
light comes on and stays on
while
you are driving, check
your gauges to see if they
are
in the warning areas.
This light can come
on for:
0 high engine oil temperature or low oil pressure
high coolant temperature
high or low battery voltage
0 low fuel level
0 high automatic transmission oil temperature
2-85
Page 244 of 386
Downloaded from www.Manualslib.com manuals search engine You’ll see the following when you open the hood with
the
LTl engine:
1.
2.
3.
4.
5.
6.
7.
8.
9.
10.
11.
12.
Hydraulic Clutch Fluid Reservoir (if equipped)
Brake Fluid Reservoir
Battery
Electric Engine Fan
Air Cleaner
Coolant Recovery Tank Power Steering Fluid Reservoir
Engine Oil Fill Cap
Engine Oil Dipstick Windshield Washer Fluid Reservoir
Coolant High
Fill Reservoir
Automatic Transmission Dipstick (if equipped)
6-9
Page 255 of 386
Downloaded from www.Manualslib.com manuals search engine Automatic Transmission Fluid
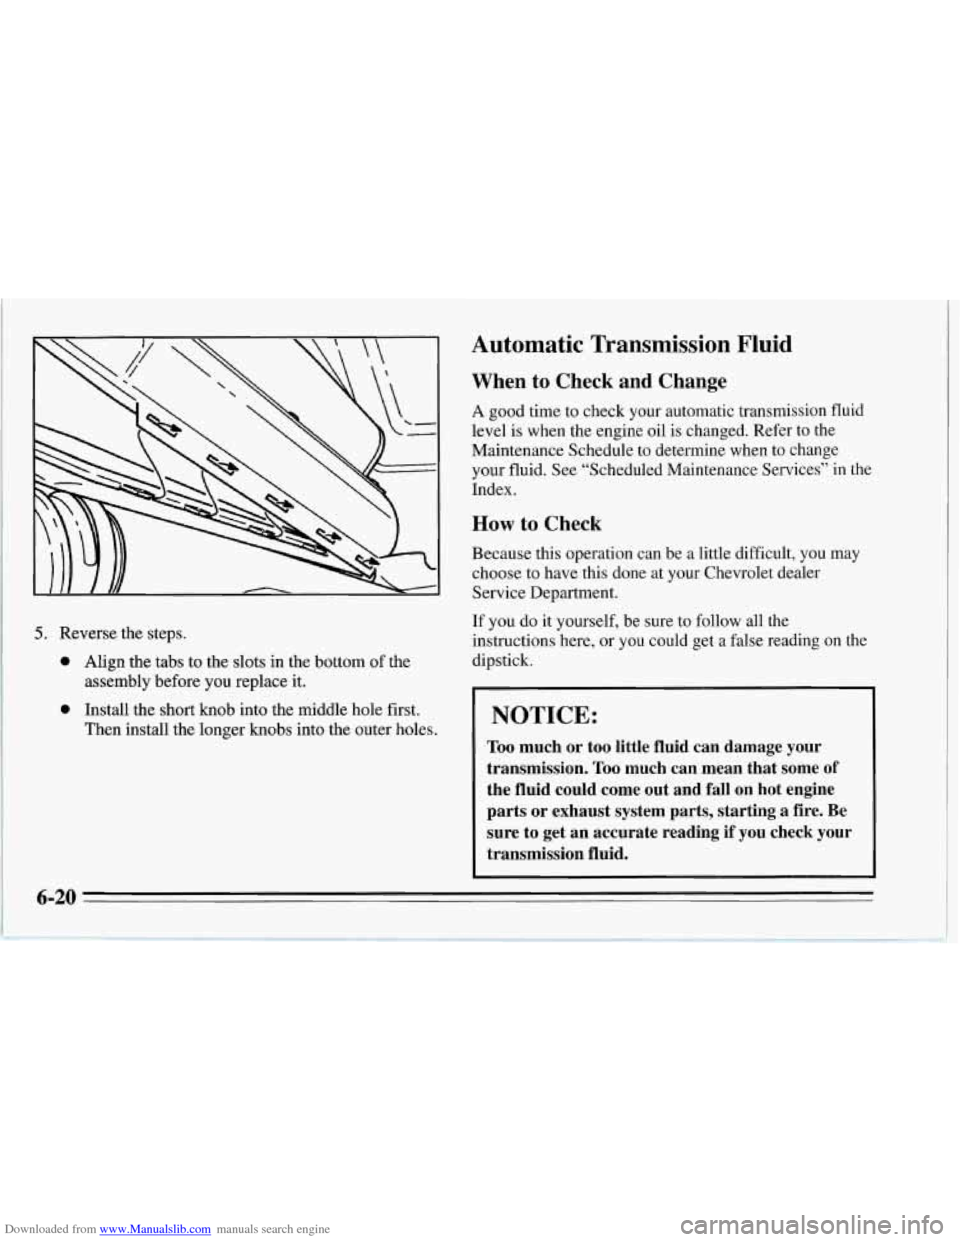
5. Reverse the steps.
0 Align the tabs to the slots in the bottom of the
0 Install the short knob into the middle hole first.
assembly before you
replace it.
Then install the longer knobs into the outer holes.
When to Check and Change
A good time to check your automatic transmission fluid
level is when the engine oil is changed. Refer to the
Maintenance Schedule to determine when to change
your fluid. See “Scheduled Maintenance Services” in the
Index.
How to Check
Because this operation can be a little difficult, you may
choose to have this done at your Chevrolet dealer
Service Department.
If you do it yourself, be sure to follow all the
instructions here, or you could get a false reading on the
dipstick.
I
I NOTICE:
Too much or too little fluid can damage your
transmission.
Too much can mean that some of
the fluid could come out and fall on hot engine
parts or exhaust system parts, starting a fire. Be sure to get an accurate reading if you check your
transmission fluid.
6-20
Page 305 of 386
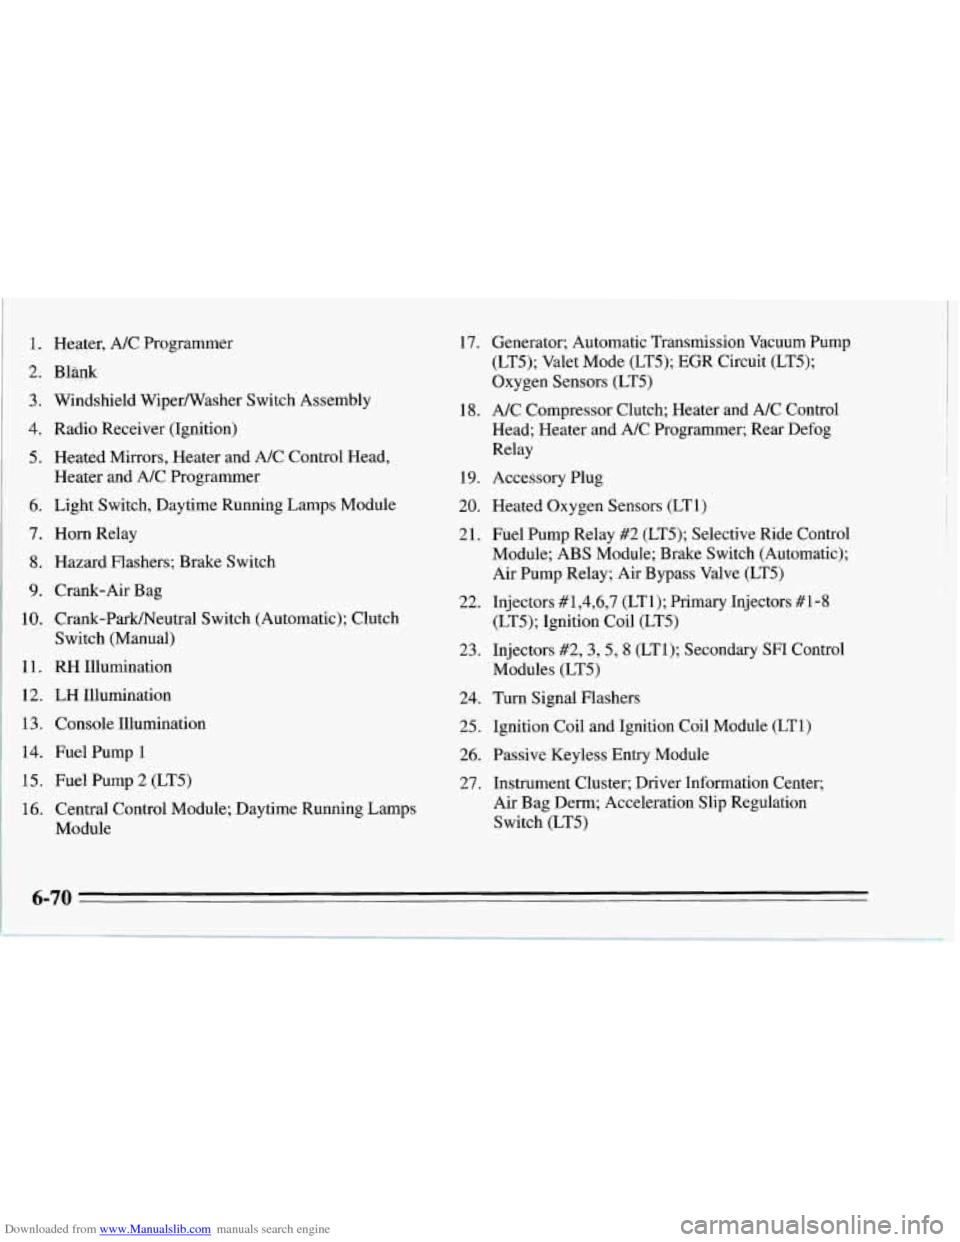
Downloaded from www.Manualslib.com manuals search engine 1. Heater, A/C Programmer
2. Bl@k
3. Windshield Wipermasher Switch Assembly
4, Radio Receiver (Ignition)
5. Heated Mirrors, Heater and A/C Control Head,
Heater and NC Programmer
6. Light Switch, Daytime Running Lamps Module
7. Horn Relay
8. Hazard Flashers; Brake Switch
9. Crank-Air Bag
10. Crank-ParWNeutral Switch (Automatic); Clutch
Switch (Manual)
1 1. RH Illumination
12. LH Illumination
13. Console Illumination
14. Fuel Pump 1
15. Fuel Pump 2 (LT5)
16. Central Control Module; Daytime R
Module unning Lamps 17. Generator;
Automatic Transmission Vacuum Pump
(LT5); Valet Mode (LT5); EGR Circuit (LT5);
Oxygen Sensors (LT5)
18. A/C Compressor Clutch; Heater and A/C Control
Head; Heater and NC Programmer; Rear Defog
Relay
19. Accessory Plug
20. Heated Oxygen Sensors (LT1)
21. Fuel Pump Relay #2 (LT5); Selective Ride Control
Module; ABS Module; Brake Switch (Automatic);
Air Pump Relay; Air Bypass Valve (LT5)
22. Injectors #1,4,6,7 (LTl); Primary Injectors #1-8
(LT5); Ignition Coil (LT5)
23. Injectors #2,3,5, 8 (LTl); Secondary SF1 Control
Modules (LT5)
24. Turn Signal Flashers
25. Ignition Coil and Ignition Coil Module (LT1)
26. Passive Keyless Entry Module
27. Instrument Cluster; Driver Information Center;
Air Bag Denn; Acceleration Slip Regulation
Switch (LT5)
Page 306 of 386
Downloaded from www.Manualslib.com manuals search engine 28. Back-up Lamps Switch; Transmission Position
Switch; One to Four Shift Solenoid
29. Cooling Fan Relay Coil
#I, #2, #3
30. Camshaft Sensor (LT5); Canister Purge Solenoid;
Throttle Position Sensor Buffer Module (LT5);
EGR Circuit (LT1); Secondary Air Inlet Solenoid
(LT5); Ignition Control Module (LT5); HVAC
Solenoid Assembly; Mass Airflow Sensor (LT 1);
One
to Four Shift Relay
3 1. Power Mirror Adjuster Control; Lighted Rearview
Mirror; Visor Vanity Mirrors
32. Cruise Control Engage Switch; Daytime Running
Lamps Module; Low Tire Pressure Warning
Module; Cruise Control Cut-Off Relay
33. Engine Control Module
34. Air Bag System
35. Central Control Module
36. Footwell Courtesy Lamps; Door Courtesy Lamps;
Glove Compartment Lamps; Lighted Rearview
Mirror
37, Bose@ Amplifier Relay; Power Antenna Relay;
Cargo Compartment Lamps
38. Instrument Cluster; Tone Generator; Dome Lamp
Relay
39. Central Control Module
40, Radio Receiver (Battery); Radio Control Head;
Passive Keyless Entry Module
41. Sport Seats
42. Power Door Lock Switches; Driver Information
Center; Passive Keyless Entry Module
43. Heater and A/C Programmer
44. Cigarette Lighter; Accessory Plug
45. Hatch or Deck Lid Release Relay
K. Power Seats
L. Blank
M. Power Windows
N. Blank
P. Blank
6-71
Page 319 of 386
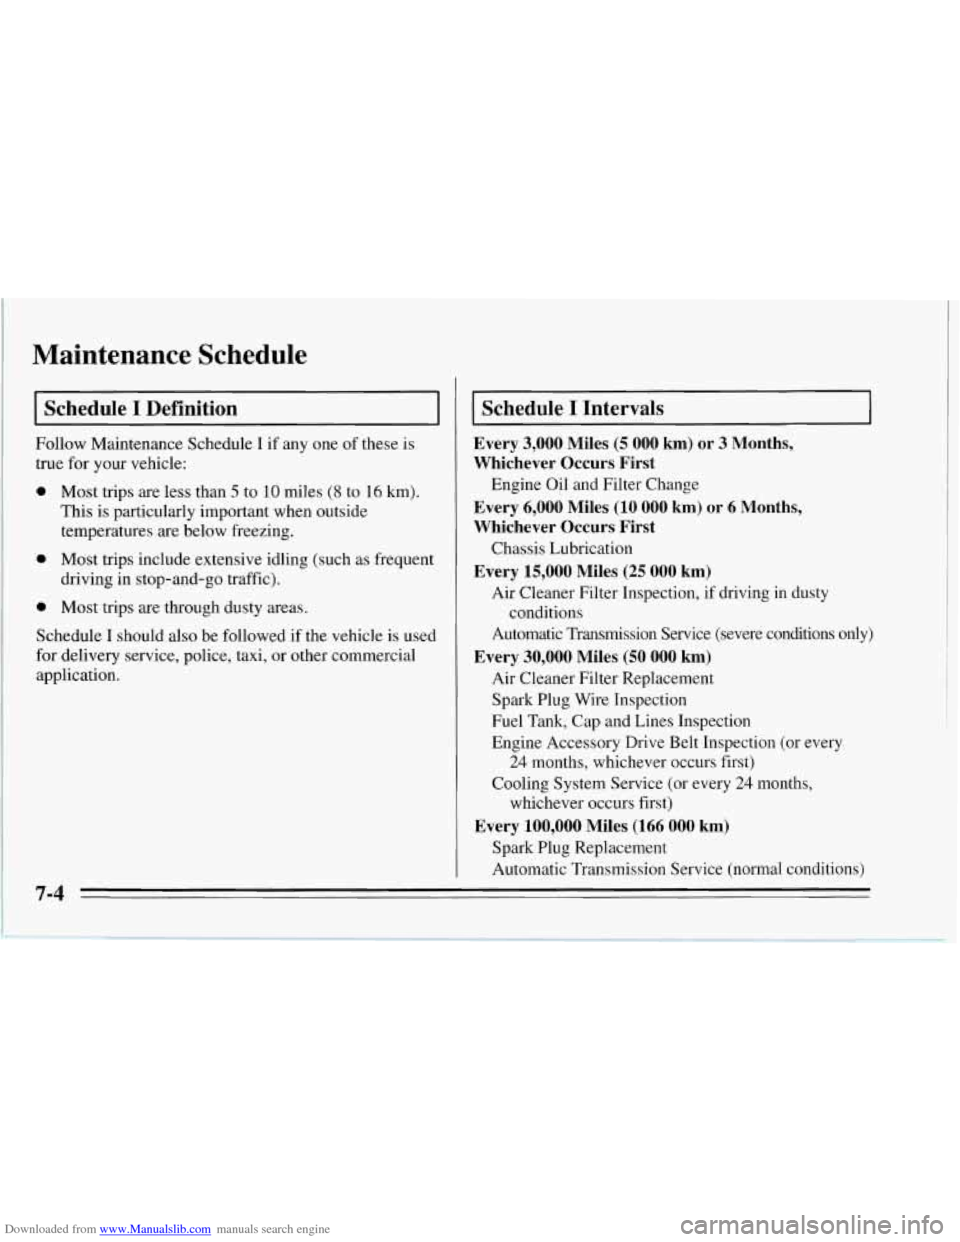
Downloaded from www.Manualslib.com manuals search engine Maintenance Schedule
I Schedule I Definition I
Follow Maintenance Schedule I if any one of these is
true for your vehicle:
0 Most trips are less than 5 to 10 miles (8 to 16 km).
This is particularly important when outside
temperatures are below freezing.
0 Most trips include extensive idling (such as frequent
driving in stop-and-go traffic).
0 Most trips are through dusty areas.
Schedule
I should also be followed if the vehicle is used
for delivery service, police, taxi, or other commercial
application.
Schedule I Intervals
Every 3,000 Miles (5 000 km) or 3 Months,
Whichever Occurs First
Every 6,000 Miles
(10 000 km) or 6 Months,
Whichever Occurs First
Chassis Lubrication
Every 15,000 Miles (25 000 km)
Air Cleaner Filter Inspection, if driving in dusty
Automatic Transmission Service (severe conditions only)
Every 30,000 Miles (50 000 km)
Air Cleaner Filter Replacement
Spark Plug Wire Inspection
Fuel Tank, Cap and Lines Inspection
Engine Accessory Drive Belt Inspection (or every
24 months, whichever occurs first)
Cooling System Service (or every
24 months,
whichever occurs first)
Spark Plug Replacement
Automatic Transmission Service (normal conditions)
Engine Oil and Filter Change
conditions
Every 100,000 Miles (166 000 km)
7-4
Page 320 of 386
Downloaded from www.Manualslib.com manuals search engine Maintenance Schedule
Follow Schedule I1 only if none of the conditions from
Schedule
I is true.
I Schedule I1 Intervals I
Every 7,500 Miles (12 500 km)
whichever occurs first)
occurs first)
Engine
Oil and Filter Change (or every
12 months,
Chassis Lubrication (or every
12 months, whichever
Every 15,000 Miles (25 000 km)
Automatic Transmission Service (severe conditions
only
1
Every 30,000 Miles (50 000 km)
Engine Accessory Drive Belt Inspection (or every
24 months, whichever occurs first)
Cooling System Service (or every
24 months,
whichever occurs first)
Spark Plug Wire Inspection
Air Cleaner Filter Replacement
Fuel Tank, Cap and Lines Inspection
Every 100,000 Miles (166 000 km)
Spark Plug Replacement
Automatic Transmission Service (normal conditions)
7-5