Page 73 of 386

Downloaded from www.Manualslib.com manuals search engine Downshifting (Manual Transmission)
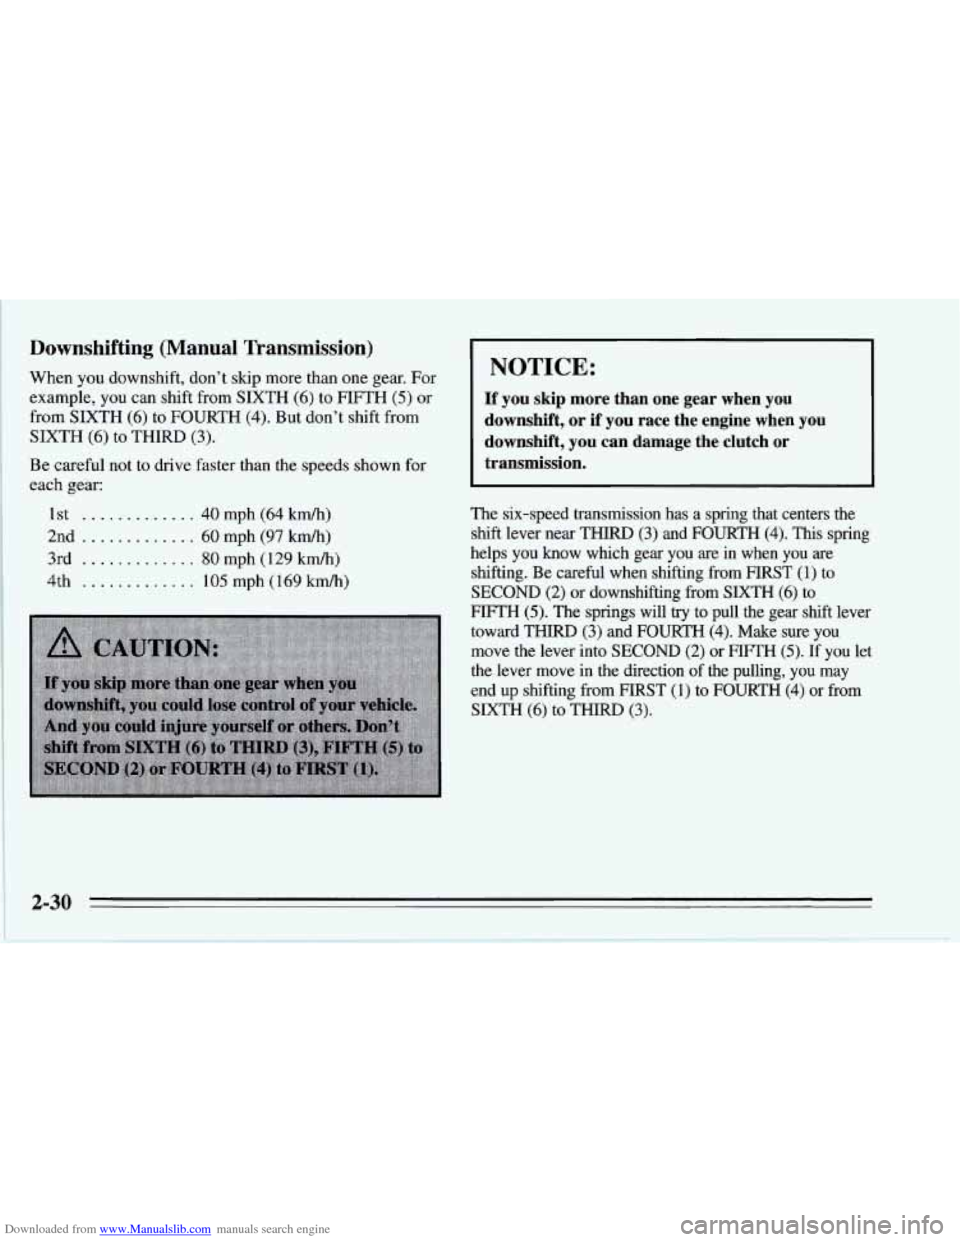
When you downshift, don’t skip more than one gear. For
example, you can shift from SIXTH (6) to FIFTH (5) or
from SIXTH (6) to FOURTH
(4). But don’t shift from
SIXTH
(6) to THIRD (3).
Be careful not to drive faster than the speeds shown for
each gear:
1st
......
2nd .........
3rd . . . .
4th . .
. . 40 mph (64 km/h)
. . 60 mph (97 km/h)
. . 80 mph (129 km/h)
. . 105 mph (169M)
NOTICE:
If you skip more than one gear when you
downshift, or if you race the engine when you
downshift, you can damage the clutch
or
transmission.
The six-speed transmission has a spring that centers the
shift lever near THIRD
(3) and FOURTH (4). This spring
helps you know which gear you
are in when you are
shifting. Be careful when shifting from FIRST (1) to
SECOND (2) or downshifting from SIXTH (6) to
FIFTH (5). The springs will try to pull the gear shift lever
toward
THIRD (3) and FOURTH (4). Make sure you
move the lever into SECOND (2)
or FIFTH (5). If you let
the lever move in the direction of the pulling, you may
end
up shifting from FIRST (1) to FOURTH (4) or from
SIXTH (6) to THIRD (3).
Page 74 of 386

Downloaded from www.Manualslib.com manuals search engine Selective Ride Control (Option)
RIDE CONTROL
SPORT I/
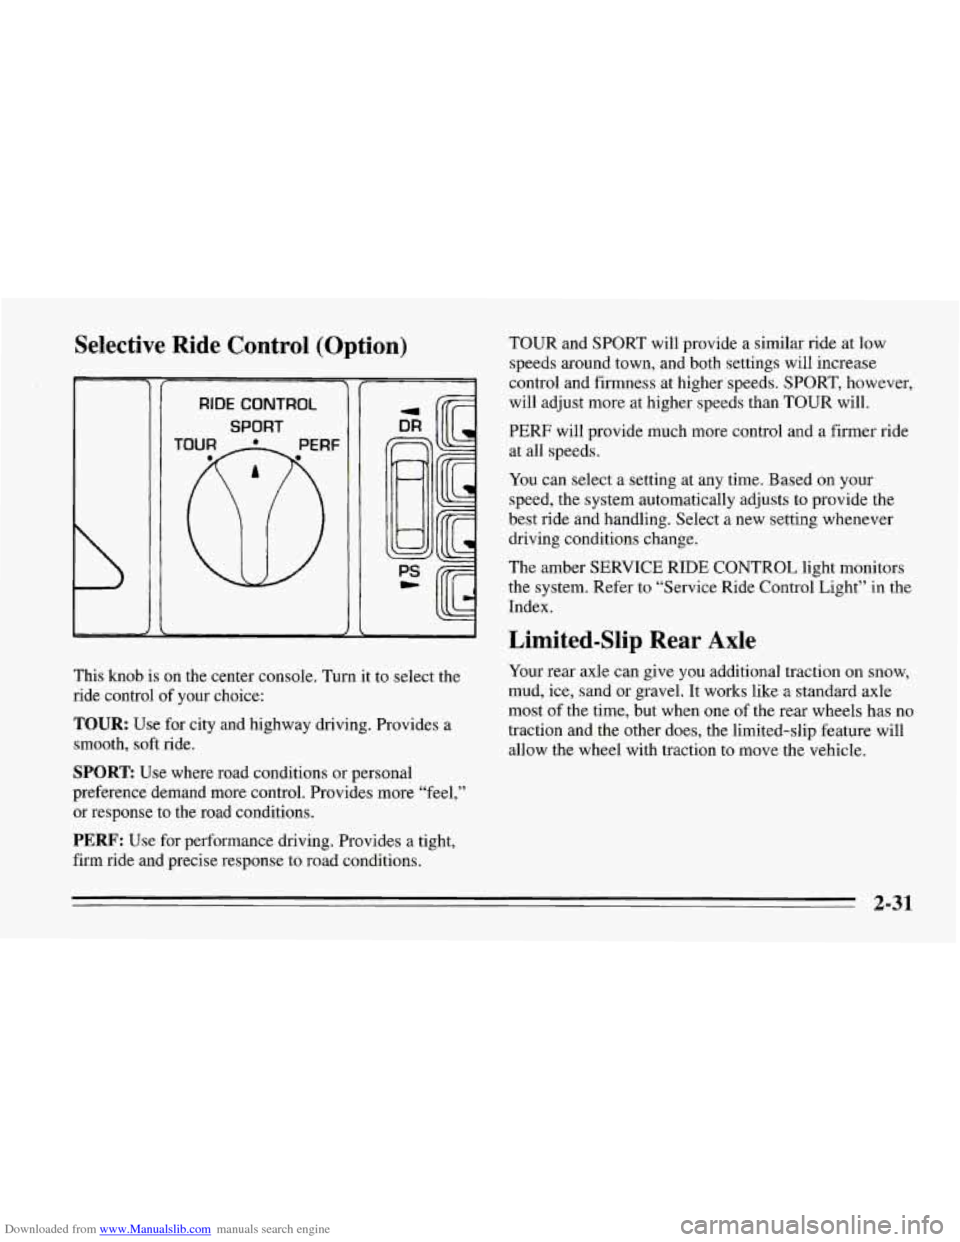
This knob is on the center console. Turn it to select the
ride control of your choice:
TOUR: Use for city and highway driving. Provides a
smooth, soft ride.
SPORT: Use where road conditions or personal
preference demand more control. Provides more “feel,”
or response to the road conditions.
PERF: Use for performance driving. Provides a tight,
firm ride and precise response to road conditions. TOUR
and SPORT will provide a similar ride at low
speeds around town, and both settings will increase
control and firmness at higher speeds. SPORT, however,
will adjust more at higher speeds than TOUR will.
PERF will provide much more control and a firmer ride
at all speeds.
You can select a setting at any time. Based on your
speed, the system automatically adjusts to provide the
best ride and handling. Select a new setting whenever
driving conditions change.
The amber SERVICE RIDE CONTROL light monitors
the system. Refer to “Service Ride Control Light” in the
Index.
Limited-Slip Rear Axle
Your rear axle can give you additional traction on snow,
mud, ice, sand or gravel. It works like a standard axle
most of the time, but when one of the rear wheels has no
traction and the other does, the limited-slip feature will
allow the wheel with traction to move the vehicle.
2-31
Page 76 of 386
Downloaded from www.Manualslib.com manuals search engine Shifting Into PARK (P)
(Automatic Transmission Models Only)
I
1. Hold the brake pedal down with your right foot and
set the parking brake.
holding in the button on the lever and pushing the
lever
all the way toward the front of your vehicle.
2. Move the shift lever into the PARK (P) position by
3. Move the ignition key to LOCK.
4. Remove the key and take it with you. If you can
walk away from your vehicle with the ignition key in
your hand, your vehicle
is in PARK (P).
2-33
Page 81 of 386
Downloaded from www.Manualslib.com manuals search engine Horn Tilt Wheel
To sound the horn, press either horn symbol on your
steering wheel. A tilt steering wheel allows you to adjust the steering
wheel before you drive.
You can also raise it to the highest level to give your
legs
more room when you exit and enter the vehicle.
To tilt the wheel, hold the steering wheel and pull the
lever toward you. Move the steering wheel to a
comfortable level, then release the lever to lock the
wheel
in place.
2-38
Page 83 of 386
Downloaded from www.Manualslib.com manuals search engine A green arrow on the instrument panel will flash in the
direction
of the turn or lane change.
To signal a lane change, just raise or lower the lever
until the green arrow starts to flash. Hold it there until
you complete your lane change. The lever will return by
itself when you release it.
As you signal a turn or a lane change, if the arrows don’t
flash but just stay on, a signal bulb may be’burned out
and other drivers won’t see your turn signal.
If a bulb is burned out, replace it to help avoid an
accident. If the green arrows don’t go on at all when you
signal a turn, check the fuse (see “Fuses” in the Index)
and for burned-out bulbs.
Headlamp HighLow Beam
P
1 1
To change the headlamps from low beam to high or high
to low, pull the turn signal lever all the way toward you.
Then release it. When the high beams are
on, this blue
light
on the instrument panel also will be on.
2-40
Page 98 of 386
Downloaded from www.Manualslib.com manuals search engine 2. Store the roof panel with its top up and its rear
pointing forward. Slide the rear corners of the roof
panel into the brackets and push forward.
NOTICE:
Don’t lift the front edge of the roof panel higher
than eight inches
(200 mm) when the corners are
in the brackets. If you do, you could damage the roof panel.
3.
4.
5.
6.
Lower the front of the roof panel, centering it over
the latch pin.
Pull the release toward
you and press down on the
roof panel.
Push the release forward until it latches.
Gently lift up on the roof panel to be sure it is locked
in place.
2-55
Page 114 of 386
Downloaded from www.Manualslib.com manuals search engine This light should come on briefly as you start the
vehicle. If it doesn’t come on then, have it fixed
so it
will be ready to warn you if there’s a problem. If this
warning light stays
on, there could be a brake problem.
Have your brake system inspected right away.
If the light comes on while you are driving, pull off the
road and stop carefully. You may notice that the pedal is
harder
to push. Or, the pedal may go closer to the floor.
It may take longer to stop. If the light is still on, have the
vehicle towed for service. (See “Towing Your Vehicle”
in the Index.)
Parking Brake Indicator Light
This light will come on
when you set your parking
brake, and it will stay on if
your parking brake doesn’t
release fully.
This light should also come on briefly as you start the
vehicle. If
it doesn’t come on then, have it fixed so it
will
be ready to remind you if the parking brake hasn’t
released fully.
2-71
Page 135 of 386
Downloaded from www.Manualslib.com manuals search engine 6. From the driver’s side, lift and hold the rear of the
top with your right hand. With your left hand, press
the storage compartment lid release button behind
the driver’s seat on the lid. (The release switch in the
center console will also work.) Then raise the lid. If
your Corvette has lost power (dead battery, for
example),
you can still open the storage compartment
using the manual release handles. The handles are near
the sidewall behind the safety belt anchors
on each side
of your vehicle. Move the handles toward the rear of the
vehicle and upward.
NOTICE:
Do not leave the convertible top on the closed lid
when lowering the top. This may result in paint
damage.
2-92