Page 136 of 386

Downloaded from www.Manualslib.com manuals search engine 7. Lower the rear of the top. Then lift the front with a
slow, smooth motion. Fold the top into the storage
compartment, making sure the fabric is folded
between bows.
NOTICE:
Do not lift the rear of the convertible top when
lowering the top into the storage compartment or damage to the top may occur.
8. After the top is completely folded into the
compartment, turn the-latch handles toward the
center of the vehicle. Close the storage compartment
lid by pushing the front edge down on each side.
Try
to lift the lid to make sure it’s latched.
When closing the storage compartment lid, make
sure the latch handles are turned back toward
the center
of the vehicle. If they aren’t, you may
damage the paint on the lid inner panel.
To Raise Your Convertible Top
1. Park on a level surface, set the parking brake firmly
and shift an automatic transmission into
PARK (P).
Shift a manual transmission into REVERSE (R).
Lower both windows and sunshades and turn the
ignition key to
LOCK.
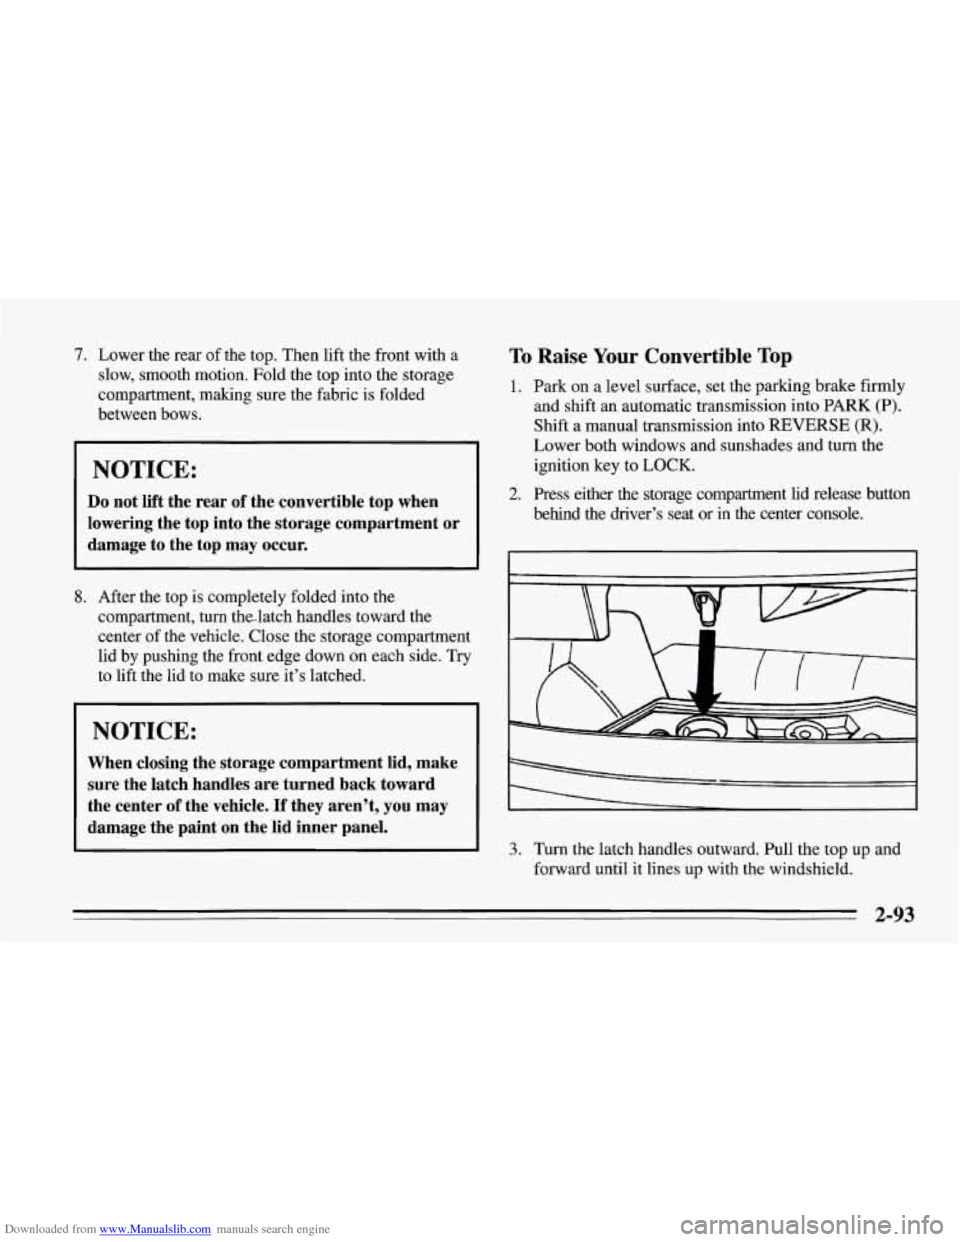
behind the driver’s seat or in the center console.
2. Press either the storage compartment lid release button
- II b-
3. Turn the latch handles outward. Pull the top up and
forward until it lines up with the windshield.
2-93
Page 137 of 386
Downloaded from www.Manualslib.com manuals search engine 4.
5.
Latch the top by turning the handles toward the
center of the vehicle.
If needed, push down on the
outside corners.
Lift the rear of the top and close the compartment lid
firmly.
6. Lower the rear of the top so the latch pins align with
the holes in the lid.
To secure the rear of the top,
push down firmly on both corners.
7. Fasten the strips for the headliner at the rear of each
window opening.
2-94
Page 192 of 386
Downloaded from www.Manualslib.com manuals search engine NOTICE:
Your warranty does not cover parts or
components that fail because
of overloading.
If you put things inside your vehicle -- like suitcases,
tools, packages, or anything else
-- they will go as fast
as the vehicle goes. If you have to stop or turn quickly,
or if there
is a crash, they’ll keep going.
Towing A Trailer
Your Corvette is neither designed nor intended to tow a
trailer.
4-29
Page 199 of 386
Downloaded from www.Manualslib.com manuals search engine I- +
I B'
12. Remove the cables in reverse order to prevent
electrical shorting. Take care that they don't touch
each other or any other metal.
A. Heavy Metal Engine Part
B . Good Battery
C. Dead Battery
rowing Your Vehicle
Try to have a GM dealer or a professional towing
service tow your Corvette. The usual towing equipment
is a sling-type
(A) or a wheel-lift (B) or car carrier (C)
tow truck.
Page 200 of 386
Downloaded from www.Manualslib.com manuals search engine If your vehicle has been changed or modified since it
was factory-new by adding aftermarket items like fog
lamps, aero skirting,
or special tires and wheels, these
instructions and illustrations may not be correct.
Before you do anything, turn
on the hazard warning
flashers.
When you call, tell the towing service:
That your vehicle cannot be towed from the rear with
sling-type equipment.
0 That your vehicle has rear-wheel drive.
The make, model, and year of your vehicle.
Whether you can still move the shift lever.
If there was an accident, what was damaged.
When the towing service arrives, let the tow operator
know that this manual contains detailed towing
instructions and illustrations. The operator may want to
see them.
5-7
Page 201 of 386
Downloaded from www.Manualslib.com manuals search engine When your vehicle is being towed, have the ign
off. The steering wheel should be clamped in a
straight-ahead position, with a clamping device
designed for towing service.
Do not use the veh .ition key
icle's
steering column lock for this. The transmission should
be in
NEUTRAL (N) and the parking brake released.
Don't have your vehicle towed on the rear wheels unless
you must.
If the vehicle must be towed on the rear
wheels, don't
go more than 35 mph (55 km/h) or farther
than
50 miles (80 km) or your transmission will be
damaged.
Go slow over rough ground, and position one
wheel at a time (angled
45 ") if you have to go over
curbs and rises. Wheels at the lifted end should be at
least
4 inches (100 mm) above the ground. If these
limits must be exceeded, then the rear wheels have to be
supported on a dolly.
-
Page 202 of 386
Downloaded from www.Manualslib.com manuals search engine Front Towing Hook-Ups
Position 4 x4 wood beam across sling chains contacting
under fascia just ahead of the curb protect brackets
(A).
Attach T-hook chains on both sides into slotted holes
behind and inboard
of front wheels. Use these slots for
sling equipment and car carrier securing.
A 1
5-9
Page 204 of 386
Downloaded from www.Manualslib.com manuals search engine Rear Towing Hook-Ups
Attach T-hook chains in slots forward and just inboard
of rear wheels on both sides.
NOTICE:
Do not tow with sling-type equipment or rear
bumper valance will be damaged.
5-11