Page 205 of 386
Downloaded from www.Manualslib.com manuals search engine NOTICE:
Use wheel-lift or car carrier equipment.
Additional ramping may be required for car carrier equipment.
NOTICE:
Use safety chains and wheel straps.
NOTICE:
Towing a vehicle over rough surfaces could
damage
a vehicle. Damage can occur from
vehicle-to-ground or
vehicle-to-wheel-lift-equipment. To help avoid
damage, install
a towing dolly and raise vehicle
until adequate clearance
is obtained between the
ground and/or wheel-lift equipment.
5-12
Page 219 of 386

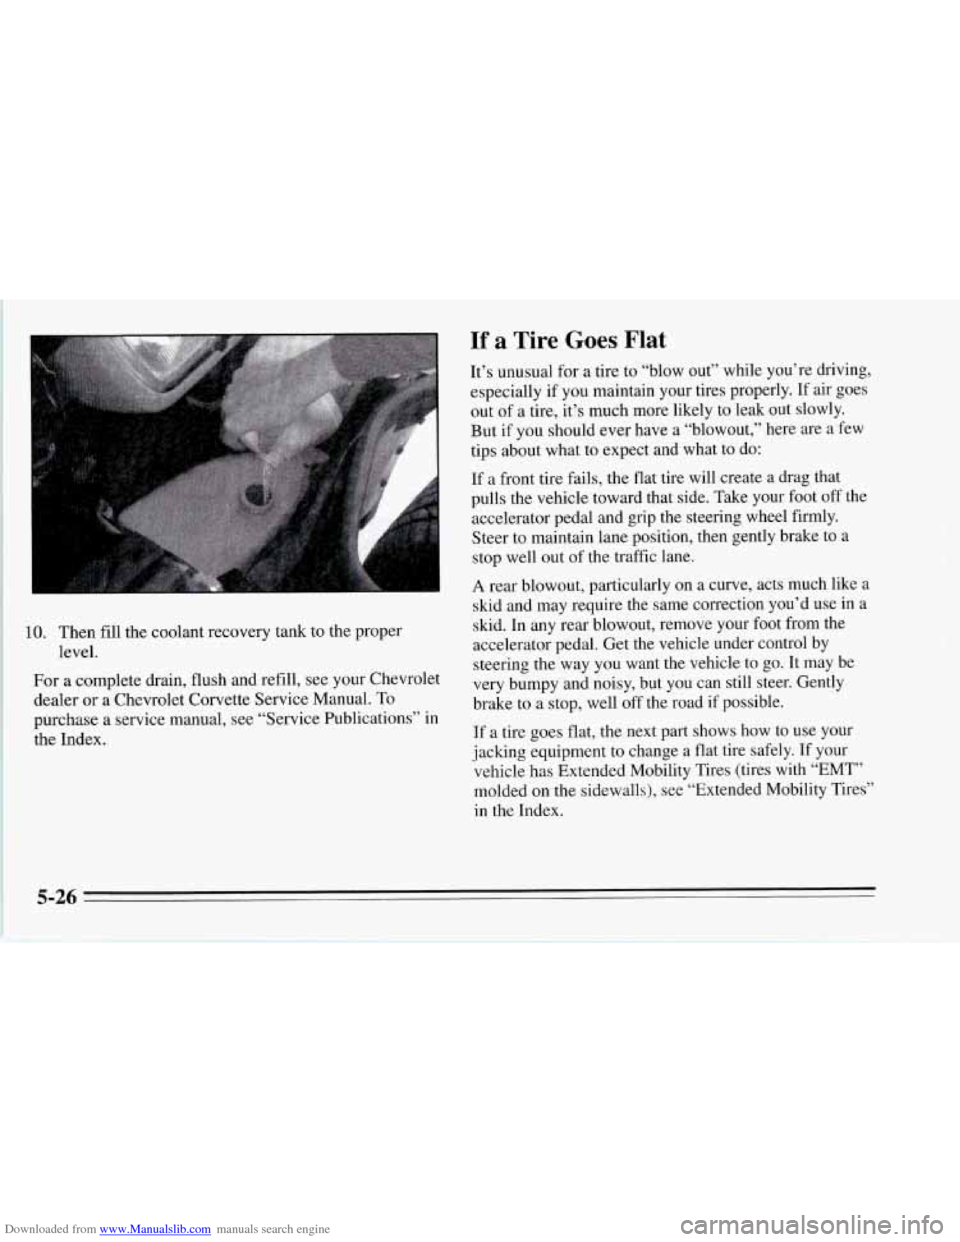
Downloaded from www.Manualslib.com manuals search engine 10. Then fill the coolant recovery tank
level. to the proper
For a complete drain, flush and refill, see your Chevrolet
dealer
or a Chevrolet Corvette Service Manual. To
purchase a service manual, see “Service Publications” in
the Index.
If a Tire Goes Flat
It’s unusual for a tire to “blow out” while you’re driving,
especially if you maintain your tires properly. If air goes
out of a tire, it’s much more likely to leak out slowly.
But if you should ever have
a “blowout,” here are a few
tips about what to expect and what
to do:
If a front tire fails, the flat tire will create a drag that
pulls the vehicle toward that side. Take your foot off the
accelerator pedal and grip the steering wheel firmly.
Steer to maintain lane position, then gently brake to a
stop well out of the traffic lane.
A rear blowout, particularly on a curve, acts much like a
skid and may require the same correction you’d use in a
skid. In any rear blowout, remove your foot from the
accelerator pedal. Get the vehicle under control by
steering the way you want the vehicle to
go. It may be
very bumpy and noisy, but you can still steer. Gently
brake to a stop, well off the road if possible.
If a tire goes flat, the next part shows how to use your
jacking equipment to change a flat tire safely. If your
vehicle has Extended Mobility Tires (tires with “EMT”
molded on the sidewalls), see “Extended Mobility Tires”
in the Index.
5-26
Page 228 of 386
Downloaded from www.Manualslib.com manuals search engine Replace the wheel nuts with the rounded end of the nuts
toward the wheel. Tighten each nut by hand until the
wheel
is held against the hub.
Lower the vehicle by turning the wheel wrench
counterclockwise. Lower the jack completely.
5-35
Page 230 of 386
Downloaded from www.Manualslib.com manuals search engine NOTICE:
Your Corvette’s radio receiver box is in the rear
storage compartment.
To help avoid damage,
carefully place the jack, socket and wheel lock
key into the foam container in the compartment.
Do not toss or place the items against the radio
receiver box or any wiring.
Storing a Flat Tire (Except ZR-1 Rear Tires)
If you have not chosen the spare tire delete option,
you’ll notice the road tire is larger than the spare,
so you
must adjust the tray to its lower position. Lift and
push
the tire carrier tray toward the front of the vehicle. The
tray will drop to its lower position.
5-37
Page 231 of 386
Downloaded from www.Manualslib.com manuals search engine F
Put the flat road tire on the tray. Lift the latch bolt, push
it toward the front
of the vehicle, and the bolt will drop
down to the lower position. Put
the hooked end of the wheel wrench into the slot in
the tray. Lift the tray using the wheel wrench and insert
the latch bolt into the notch in the tray.
To raise the tray,
use the socket end
of the wheel wrench to turn the latch
bolt counterclockwise. Turn the latch bolt until it is snug.
5-38
Page 235 of 386

Downloaded from www.Manualslib.com manuals search engine I NOTICE:
Spinning your wheels can destroy parts of your
vehicle as well as the tires. If you spin the wheels
too fast while shifting your transmission back
and forth, you can destroy your transmission.
For information about using tire chains on your vehicle,
see “Tire Chains” in the Index.
Rocking your vehicle to get it out:
First, turn your steering wheel left and right. That will
clear the area around your front wheels. You should turn
your ASR system off. (See
“ASR System” in the Index.)
Then shift back and forth between REVERSE (R) and a
forward gear (or with a manual transmission, between
FIRST
(1) or SECOND (2) gear and REVERSE (R)),
spinning the wheels as little as possible. Release the
accelerator pedal while you shift, and press lightly on
the accelerator pedal when the transmission is in gear.
If
that doesn’t get you out after a few tries, you may need
to be towed out. If you do need to be towed out, see
“Towing Your Vehicle” in the Index.
5-42
Page 248 of 386
Downloaded from www.Manualslib.com manuals search engine - e... . .... *.*.*.
To Check Engine Oil
Pull out the dipstick and clean it with a paper towel or a
cloth, then push it back in all the way. Remove it again,
keeping the tip down.
LTl Engine
When to Add Oil
If the oil is at or below the ADD mark you’ll need to
add some oil.
But you must use the right kind. This part
explains what kind of oil to use.
For crankcase capacity,
see “Capacities and Specifications” in the Index.
NOTICE:
Don’t add too much oil. If your engine has so
much oil that the oil level gets above the upper
mark that shows the proper operating range,
your engine could be damaged.
6-13
Page 256 of 386

Downloaded from www.Manualslib.com manuals search engine Wait at least 30 minutes before checking the
transmission fluid level if you have been driving:
When outside temperatures are above 90°F (32°C).
At high speed for quite a while.
In heavy traffic -- especially in hot weather.
To get the right reading, the fluid should be at normal
operating temperature, which is
1 80°F to 200°F (82 "C
to 93 " C).
To check transmission fluid hot: Get the vehicle
warmed up by driving about
15 miles (24 km) when
outside temperatures are above 50°F
(10°C). You may
have to drive longer to bring the fluid to 180°F to
200" F
(82°C to 93 "C) in colder outside temperatures. See
"Automatic Transmission Fluid Temperature Reading"
in the Index.
To check transmission fluid cold: A cold check is
made after the vehicle has been sitting for eight hours or
more with the engine off and is used only as a reference.
Let the engine run at idle for five minutes if outside
temperatures are
50°F (10°C) or more. If it's colder
than
50°F (IOOC), you may have to idle the engine
longer. Should the fluid level be low during a cold
check, you
must perform a hot check before adding
fluid. This will give you
a more accurate reading of the
fluid level.
To check the fluid hot or cold
Park your vehicle on a level place. Keep the engine
running.
in PARK (P).
With the parking brake applied, place the shift lever
With your foot on the brake pedal, move the shift
lever through each gear range, pausing for about
three seconds in each range. Then, position the shift
lever in PARK (P).
Let the engine run at idle for three minutes or more.
Then, without shutting off the engine, follow these steps:
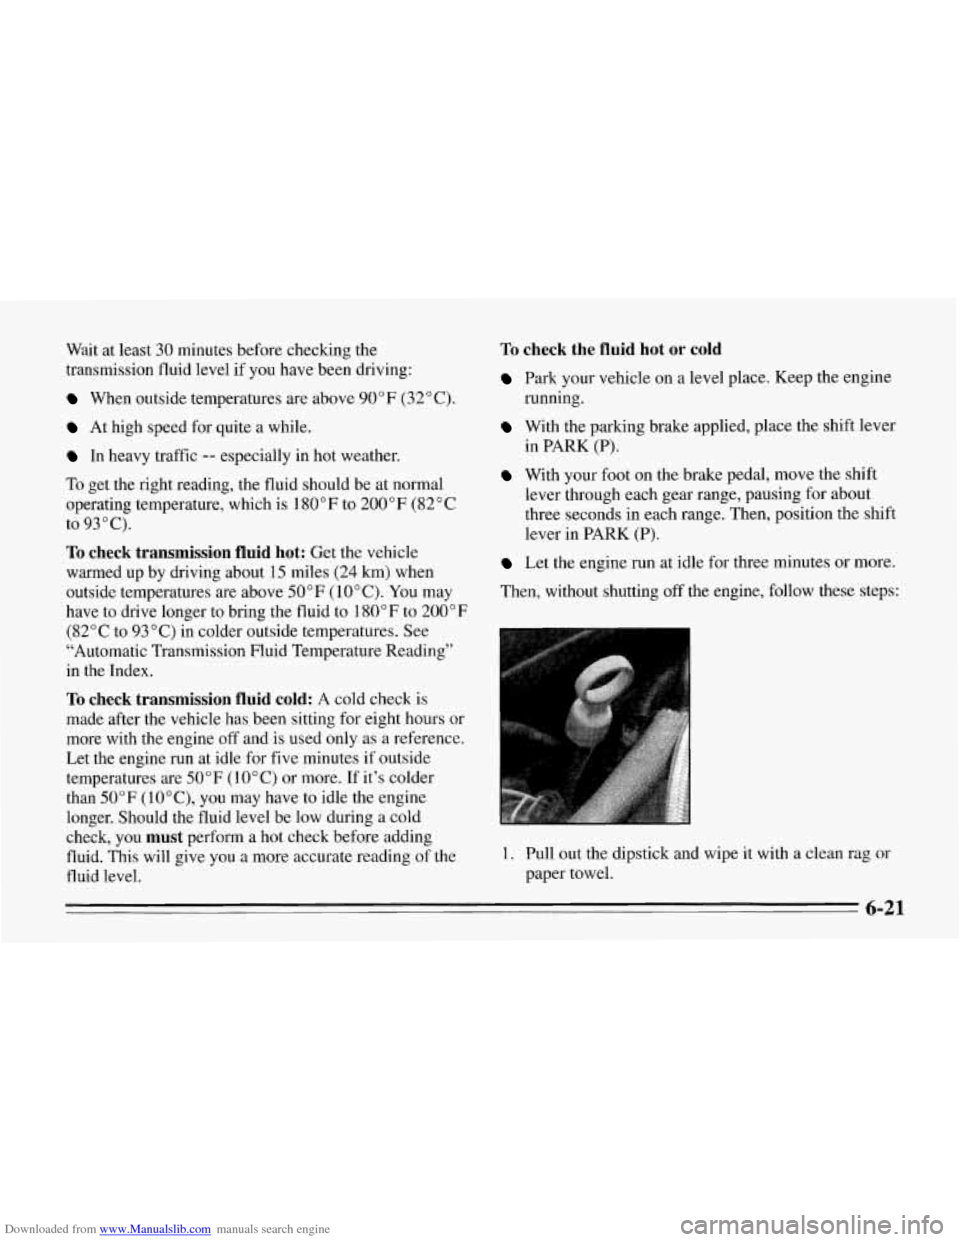
1. Pull out the dipstick and wipe it with a clean rag or
paper towel.
6-21