1995 CHEVROLET CORVETTE check transmission fluid
[x] Cancel search: check transmission fluidPage 128 of 386
Downloaded from www.Manualslib.com manuals search engine It’s normal for the transmission fluid temperature to
vary, depending on the type of driving you do and
weather conditions. If you drive on long grades on a hot
day, the transmission fluid temperature will be higher
than normal driving on a cold day. If you drive your
Corvette at high speeds with a lot of stop-and-go or fast
accelerations, your transmission fluid temperature may
also be higher.
If the transmission fluid exceeds
280°F (138 “C), the
CHECK GAUGES light will come on and HI
AUTO
will be displayed next to the transmission fluid
temperature when you toggle through the GAUGES
button. You should move the shift lever to DRIVE (D)
and continue driving at a slower, constant speed.
Monitor the transmission fluid temperature and allow
it
to cool to 180°F (82°C) to 200°F (93°C). Then, you
should check the transmission fluid level for a low fill or
overfill condition and bring your Corvette in for service
as soon as possible (see “Automatic Transmission Fluid”
in the Index). Also, check the engine coolant
temperature. If it’s too hot, see “Cooling System” in the
Index.
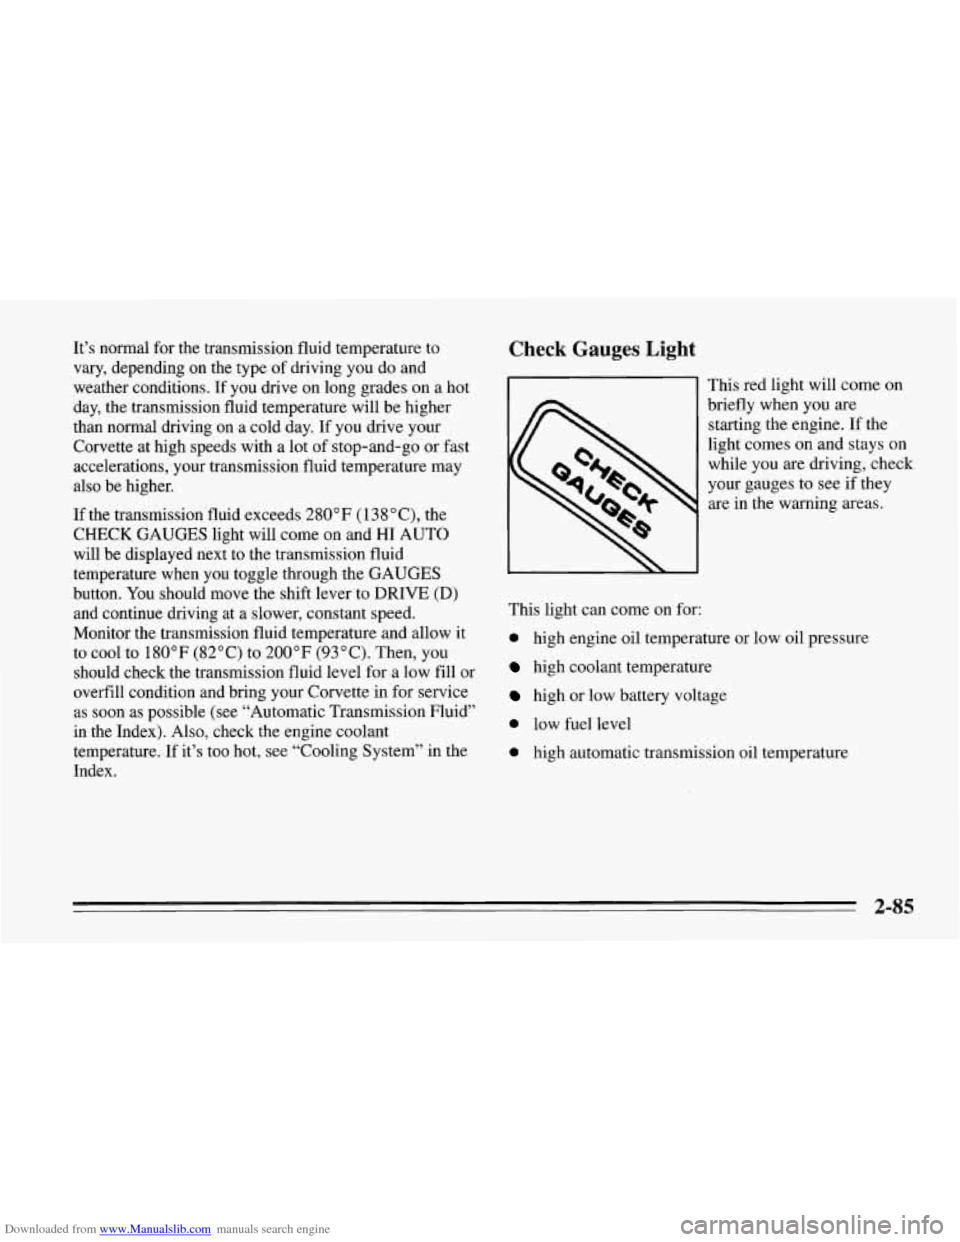
Check Gauges Light
This red light will come on
briefly when you are
starting the engine. If the
light comes on and stays on
while
you are driving, check
your gauges to see if they
are
in the warning areas.
This light can come
on for:
0 high engine oil temperature or low oil pressure
high coolant temperature
high or low battery voltage
0 low fuel level
0 high automatic transmission oil temperature
2-85
Page 186 of 386
Downloaded from www.Manualslib.com manuals search engine If you drive regularly in steep country, or if you’re
planning to visit there, here are some tips that can make
your trips safer and more enjoyable.
0 Keep your vehicle in good shape. Check all fluid
levels and also the brakes, tires, cooling system and
transmission. These parts can work hard on
mountain roads.
0 Know how to go down hills. The most important
thing
to know is this: let your engine do some of the
slowing down. Shift
to a lower gear when you go
down a steep or long hill. 0 Know how to go uphill. You may want to shift down
0
0
0
to a lower gear. The lower gears help cool your engine
and transmission, and you can climb the hill better.
Stay in your own lane when driving on two-lane
roads
in hills or mountains. Don’t swing wide or cut
across the center of the road. Drive at speeds that let
you stay in your own lane.
As you go over the top of a hill, be alert. There could
be something in your lane, like a stalled car
or an
accident.
You may
see highway signs on mountains that warn of
special problems. Examples are long grades, passing
or
no-passing zones, a falling rocks area, or winding
roads. Be alert to these
and take appropriate action.
4-23
Page 255 of 386
Downloaded from www.Manualslib.com manuals search engine Automatic Transmission Fluid
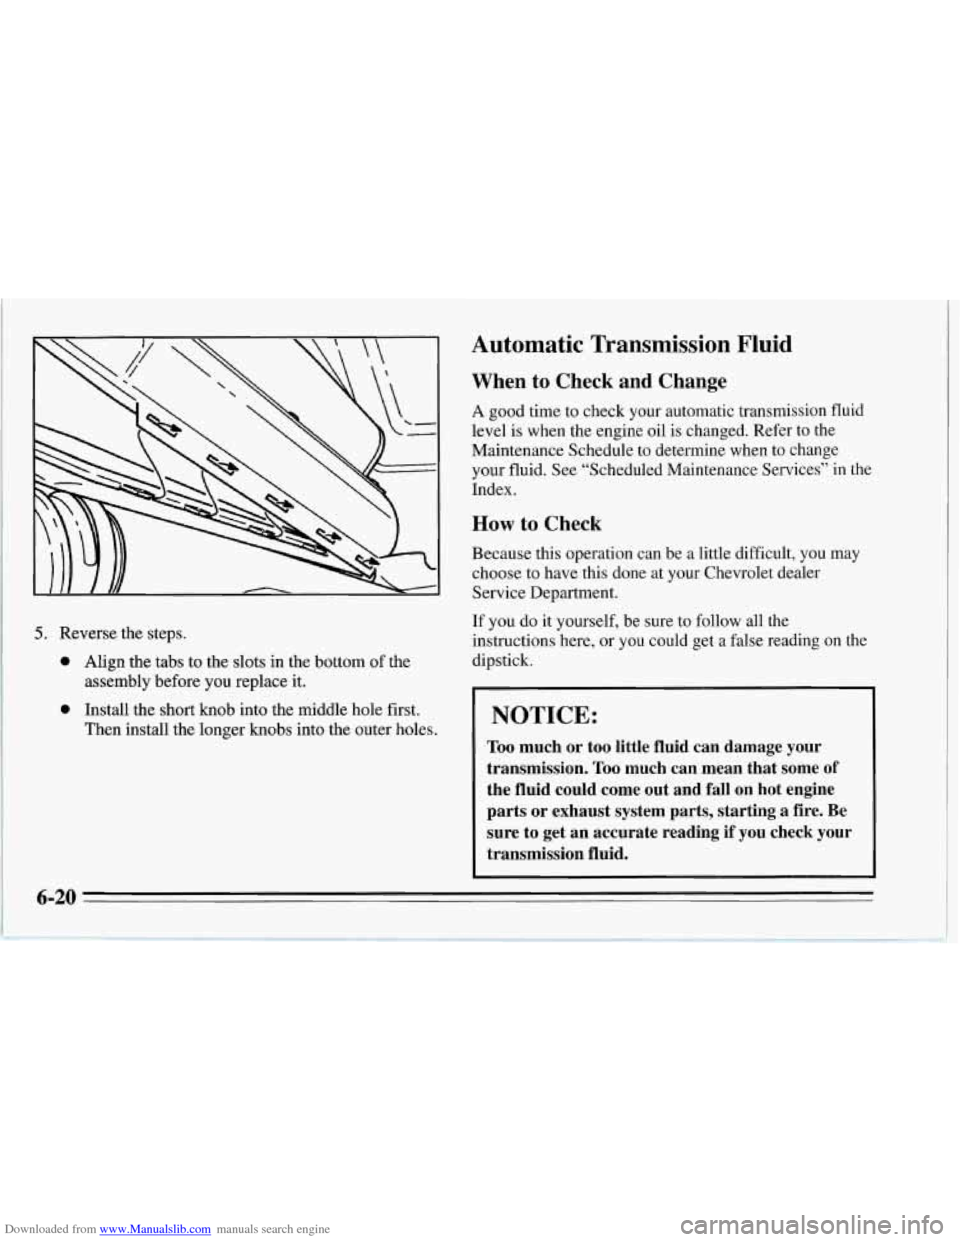
5. Reverse the steps.
0 Align the tabs to the slots in the bottom of the
0 Install the short knob into the middle hole first.
assembly before you
replace it.
Then install the longer knobs into the outer holes.
When to Check and Change
A good time to check your automatic transmission fluid
level is when the engine oil is changed. Refer to the
Maintenance Schedule to determine when to change
your fluid. See “Scheduled Maintenance Services” in the
Index.
How to Check
Because this operation can be a little difficult, you may
choose to have this done at your Chevrolet dealer
Service Department.
If you do it yourself, be sure to follow all the
instructions here, or you could get a false reading on the
dipstick.
I
I NOTICE:
Too much or too little fluid can damage your
transmission.
Too much can mean that some of
the fluid could come out and fall on hot engine
parts or exhaust system parts, starting a fire. Be sure to get an accurate reading if you check your
transmission fluid.
6-20
Page 256 of 386
Downloaded from www.Manualslib.com manuals search engine Wait at least 30 minutes before checking the
transmission fluid level if you have been driving:
When outside temperatures are above 90°F (32°C).
At high speed for quite a while.
In heavy traffic -- especially in hot weather.
To get the right reading, the fluid should be at normal
operating temperature, which is
1 80°F to 200°F (82 "C
to 93 " C).
To check transmission fluid hot: Get the vehicle
warmed up by driving about
15 miles (24 km) when
outside temperatures are above 50°F
(10°C). You may
have to drive longer to bring the fluid to 180°F to
200" F
(82°C to 93 "C) in colder outside temperatures. See
"Automatic Transmission Fluid Temperature Reading"
in the Index.
To check transmission fluid cold: A cold check is
made after the vehicle has been sitting for eight hours or
more with the engine off and is used only as a reference.
Let the engine run at idle for five minutes if outside
temperatures are
50°F (10°C) or more. If it's colder
than
50°F (IOOC), you may have to idle the engine
longer. Should the fluid level be low during a cold
check, you
must perform a hot check before adding
fluid. This will give you
a more accurate reading of the
fluid level.
To check the fluid hot or cold
Park your vehicle on a level place. Keep the engine
running.
in PARK (P).
With the parking brake applied, place the shift lever
With your foot on the brake pedal, move the shift
lever through each gear range, pausing for about
three seconds in each range. Then, position the shift
lever in PARK (P).
Let the engine run at idle for three minutes or more.
Then, without shutting off the engine, follow these steps:
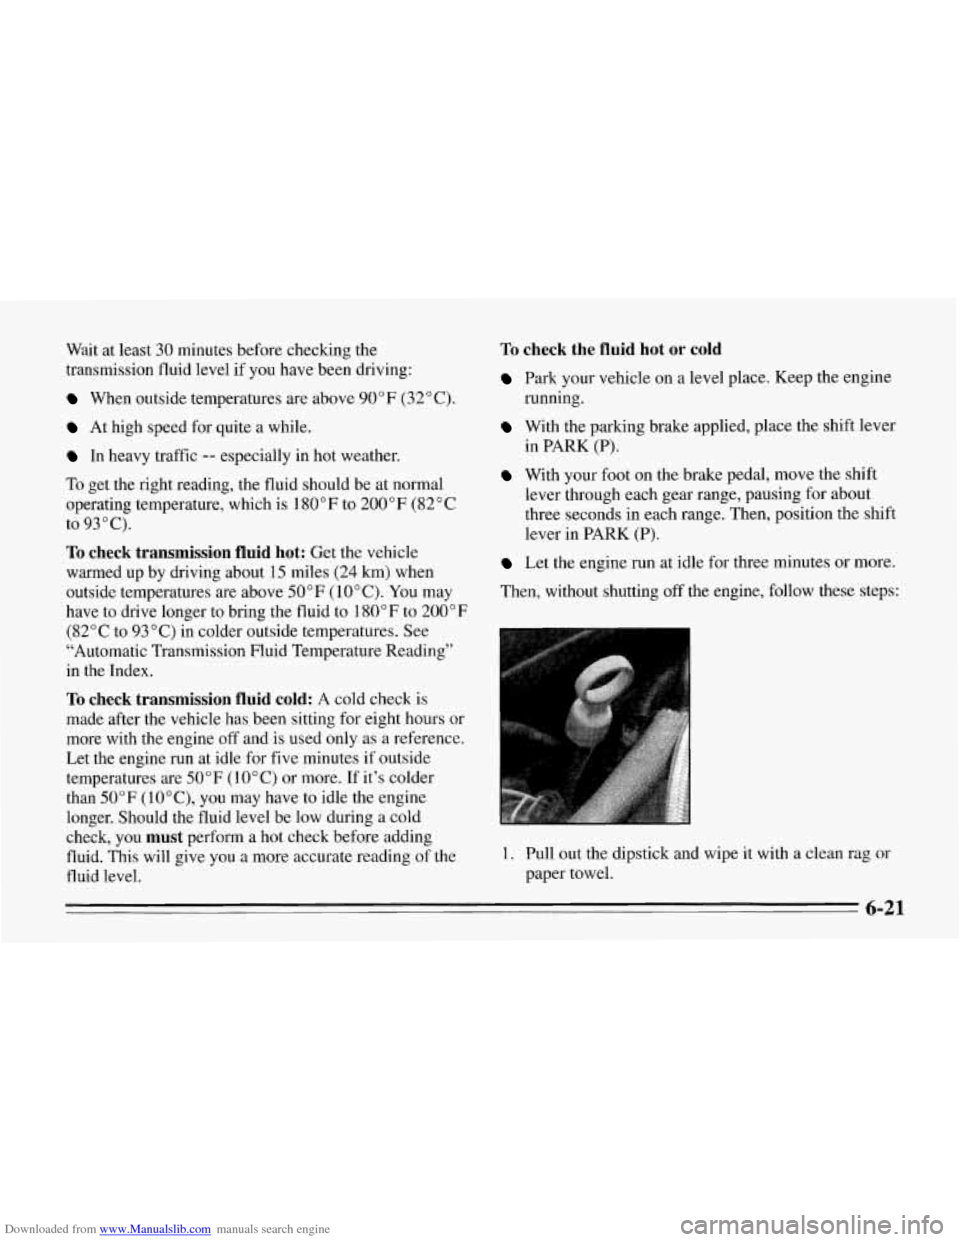
1. Pull out the dipstick and wipe it with a clean rag or
paper towel.
6-21
Page 257 of 386
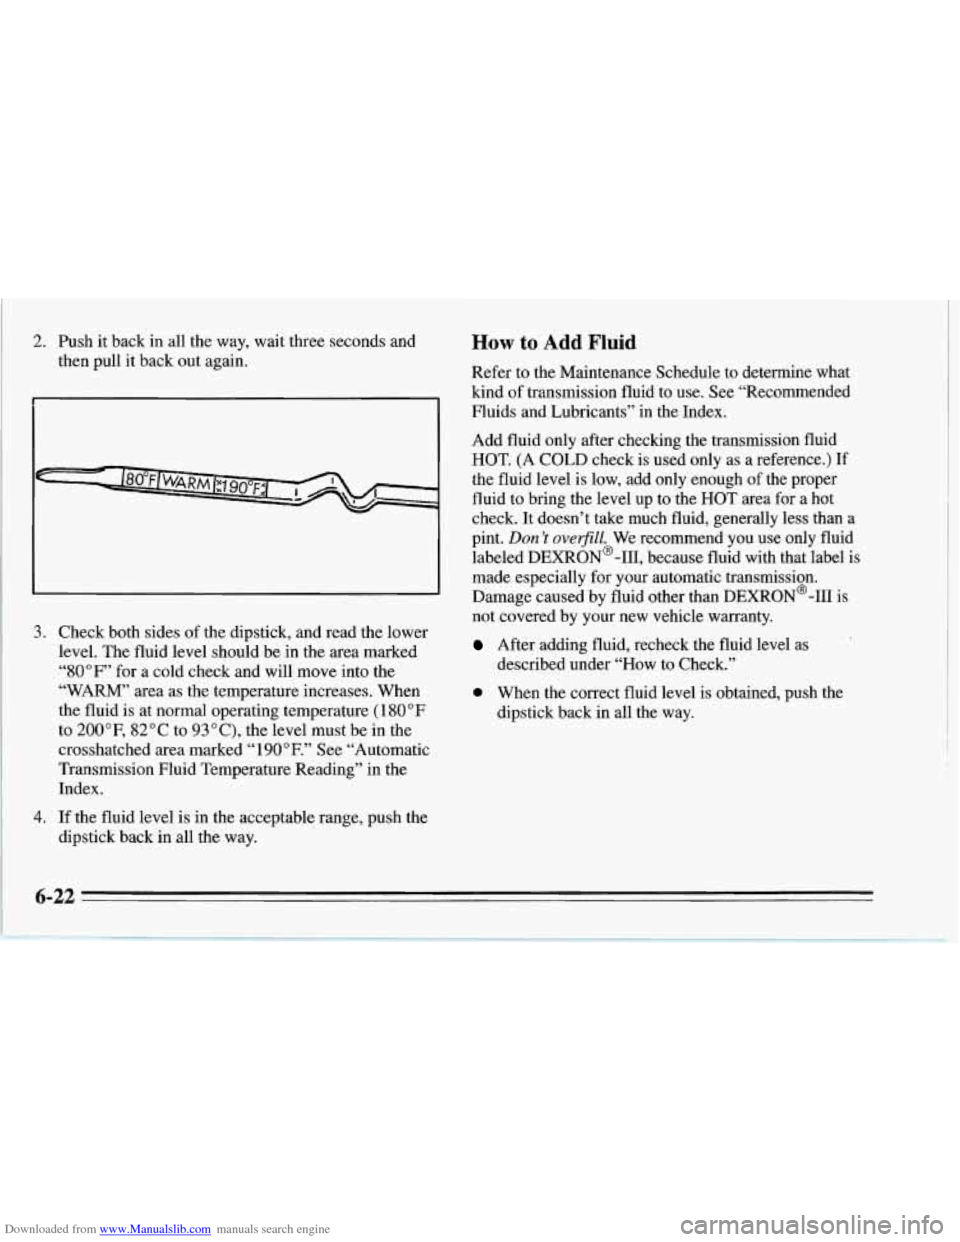
Downloaded from www.Manualslib.com manuals search engine 2. Push it back in all the way, wait three seconds and
then pull it back out again.
3.
4.
Check both sides of the dipstick, and read the lower
level. The fluid level should be in the area marked
“80°F” for a cold check and will move into the
“WARM”
area as the temperature increases. When
the fluid is at normal operating temperature
( 180 OF
to 200”F, 82°C to 93”C), the level must be in the
crosshatched area marked
“1 90°F.” See “Automatic
Transmission Fluid Temperature Reading” in the
Index.
If the fluid level is in the acceptable range, push the
dipstick back in all the way.
How to Add Fluid
Refer to the Maintenance Schedule to determine what
kind
of transmission fluid to use. See “Recommended
Fluids and Lubricants” in the Index.
Add fluid only after checking the transmission fluid
HOT.
(A COLD check is used only as a reference.) If
the fluid level is low, add only enough of the proper
fluid to bring the level up to the HOT area for a hot
check. It doesn’t take much fluid, generally less than a
pint.
Don ’t ove@ZZ. We recommend you use only fluid
labeled DEXRON@-111, because fluid with that label is
made especially for your automatic transmission.
Damage caused by fluid other than DEXRON@-I11 is
not covered by your new vehicle warranty.
After adding fluid, recheck the fluid level as
described under “How to Check.”
a When the correct fluid level is obtained, push the
dipstick back in all the way.
6-22
Page 258 of 386
Downloaded from www.Manualslib.com manuals search engine Manual Transmission Fluid
How to Check
Because this operation can be difficult, you may choose
to have this done at your Chevrolet dealer Service
Department.
If you do it yourself, be sure to follow all the
instructions here, or you could get a false reading.
NOTICE:
Too much or too little fluid can damage your
transmission.
Too much can mean that some of
the fluid could come out and
fall on hot engine
parts or exhaust system parts, starting
a fire. Be
sure to get an accurate reading
if you check your
transmission fluid.
Check the fluid level only when your engine is off, the
vehicle is parked on a level place and the transmission is
cool enough for
you to rest your fingers on the
transmission case. Then,
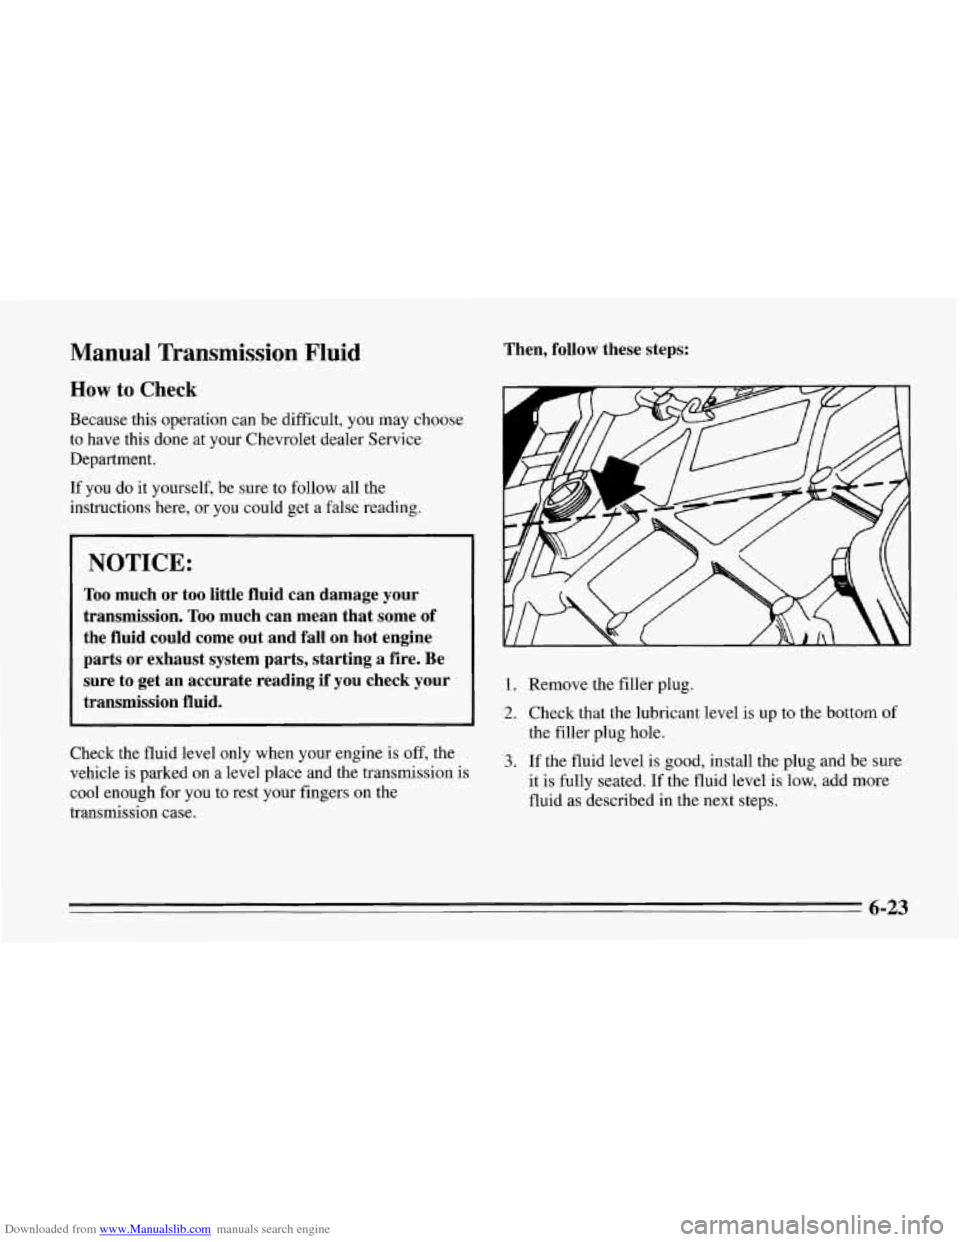
follow these steps:
n
1. Remove the filler plug.
2. Check that the lubricant level is up to the bottom of
the filler plug hole.
3. If the fluid level is good, install the plug and be sure
it is fully seated.
If the fluid level is low, add more
fluid as described in the next steps.
6-23
Page 313 of 386
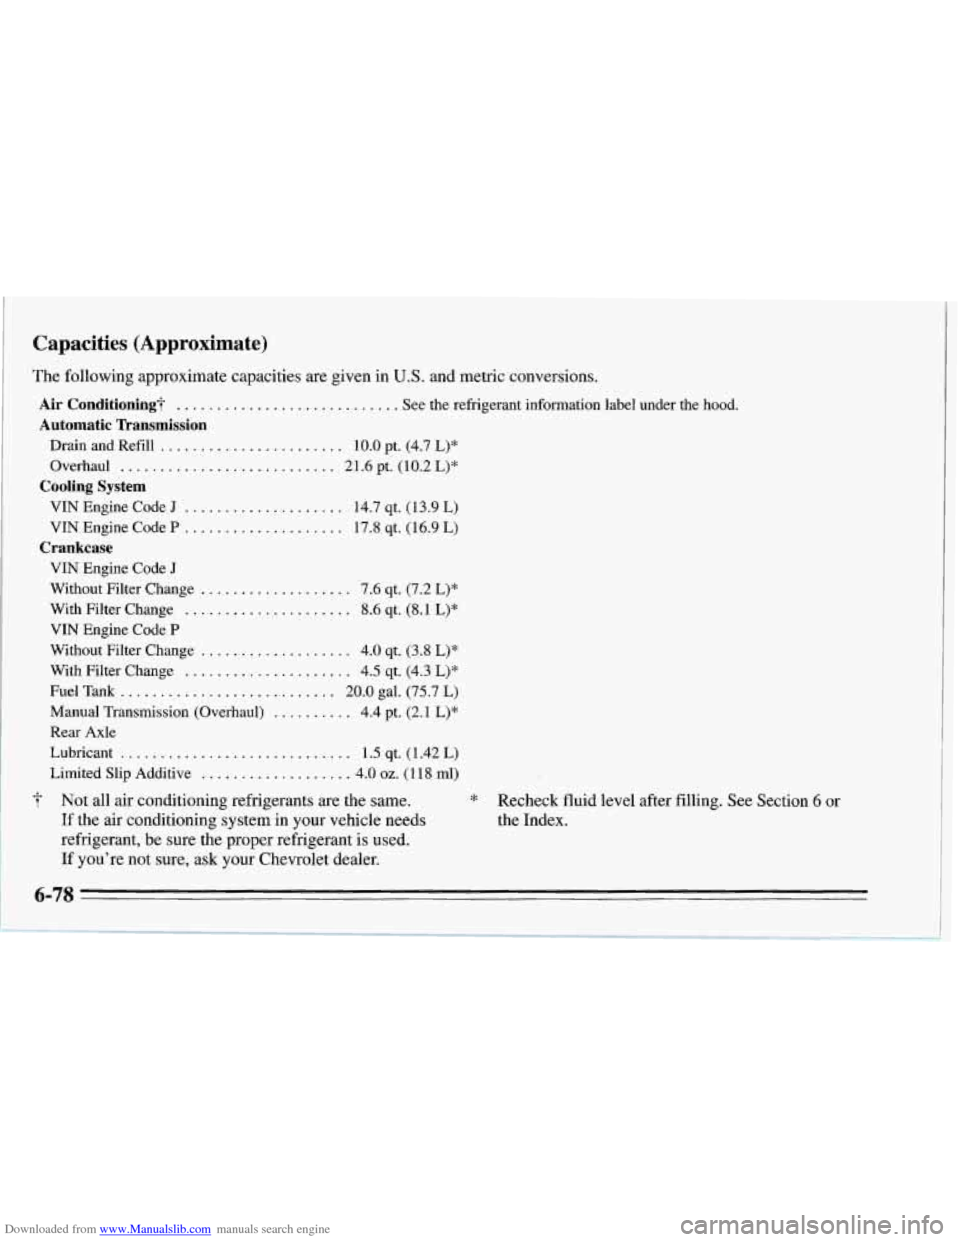
Downloaded from www.Manualslib.com manuals search engine Capacities (Approximate)
Air Conditioning? ............................ See the refrigerant information lab
The following approximate capacities are given in U.S. and metric conversions.
Automatic Transmission
Drain and Refill ....................... 10.0 pt. (4.7 L)*
Overhaul
....... ............. 21.6pt. (10.2L)*
VIN Engine Code J .................... 14.7 qt. (13.9 L)
VIN Engine Code P .................... 17.8 qt. (16.9 L)
Cooling System
Crankcase
VIN Engine Code J
Without Filter Change ................... 7.6 qt. (7.2 L)*
With Filter Change
..................... 8.6 qt. (8.1 L)*
Without Filter Change ................... 4.0 qt. (3.8 L)*
With Filter Change
..................... 4.5 qt. (4.3 L)*
Fuel Tank
........................... 20.0 gal. (75.7 L)
Manual Transmission (Overhaul)
.......... 4.4 pt. (2.1 L)*
Lubricant
............................. 1.5 qt. (1.42 L)
Limited Slip Additive
................... 4.0 oz. (1 18 ml)
VIN
Engine Code
P
Rear Axle
7 Not all air conditioning refrigerants are the same.
If the air conditioning system in your vehicle needs
refrigerant, be sure the proper refrigerant is used.
If you’re not sure, ask your Chevrolet dealer.
el und er
the hood.
* Recheck fluid level after filling. See Section 6 or
the Index.
6-78
Page 359 of 386
Downloaded from www.Manualslib.com manuals search engine Part C: Periodic Maintenance
Inspections
Listed below are inspections and services which should be
performed at least twice a year (for instance, each spring
and fall). You should let your GM dealer’s service
department or other qualified service center do these jobs.
Make sure any necessary repairs
are completed at once.
Restraint Systems
Now and then, make sure all your belts, buckles, latch
plates, retractors, anchorages and reminder systems are
working properly. Look for any loose parts or damage.
If you see anything that might keep a restraint system
from doing its job, have it repaired.
Steering and Suspension Inspection
Inspect the front and rear suspension and steering
system for damaged, loose or missing parts, signs of
wear,
or lack of lubrication. Inspect the power steering
lines and hoses for proper hookup, binding, leaks,
cracks, chafing, etc.
Tire and Wheel Inspection
Inspect the tires for uneven wear or damage. If there is
irregular or premature wear, check the wheel alignment.
Inspect for damaged wheels.
Exhaust System Inspection
Inspect the complete exhaust system. Inspect the body near
the exhaust system. Look for broken, damaged, missing or
out-of-position parts as well as open seams, holes, loose
connections, or other conditions which could cause a heat
build-up in the floor pan or could let exhaust fumes into
the vehicle. See “Engine Exhaust” in the Index.
Manual Transmission
Check the transmission fluid level; add if needed. See
“Manual Transmission” in the Index.
A fluid loss may
indicate a problem. Check the system and repair
if needed.
Rear Axle Service
Check the gear lubricant level in the rear axle and add if
needed. See “Rear Axle” in the Index. A fluid loss may
indicate a problem. Check the axle and repair it if needed.
Brake System Inspection
Inspect the complete system. Inspect brake lines and
hoses for proper hookup, binding, leaks, cracks, chafing,
etc. Inspect disc brake pads for wear and rotors for
surface condition. Inspect other brake parts, including
calipers, parking brake, etc.
You may need to have your
brakes inspected more often if your driving habits or
conditions result in frequent braking.
7-44