1995 CHEVROLET CORVETTE fog light
[x] Cancel search: fog lightPage 11 of 386
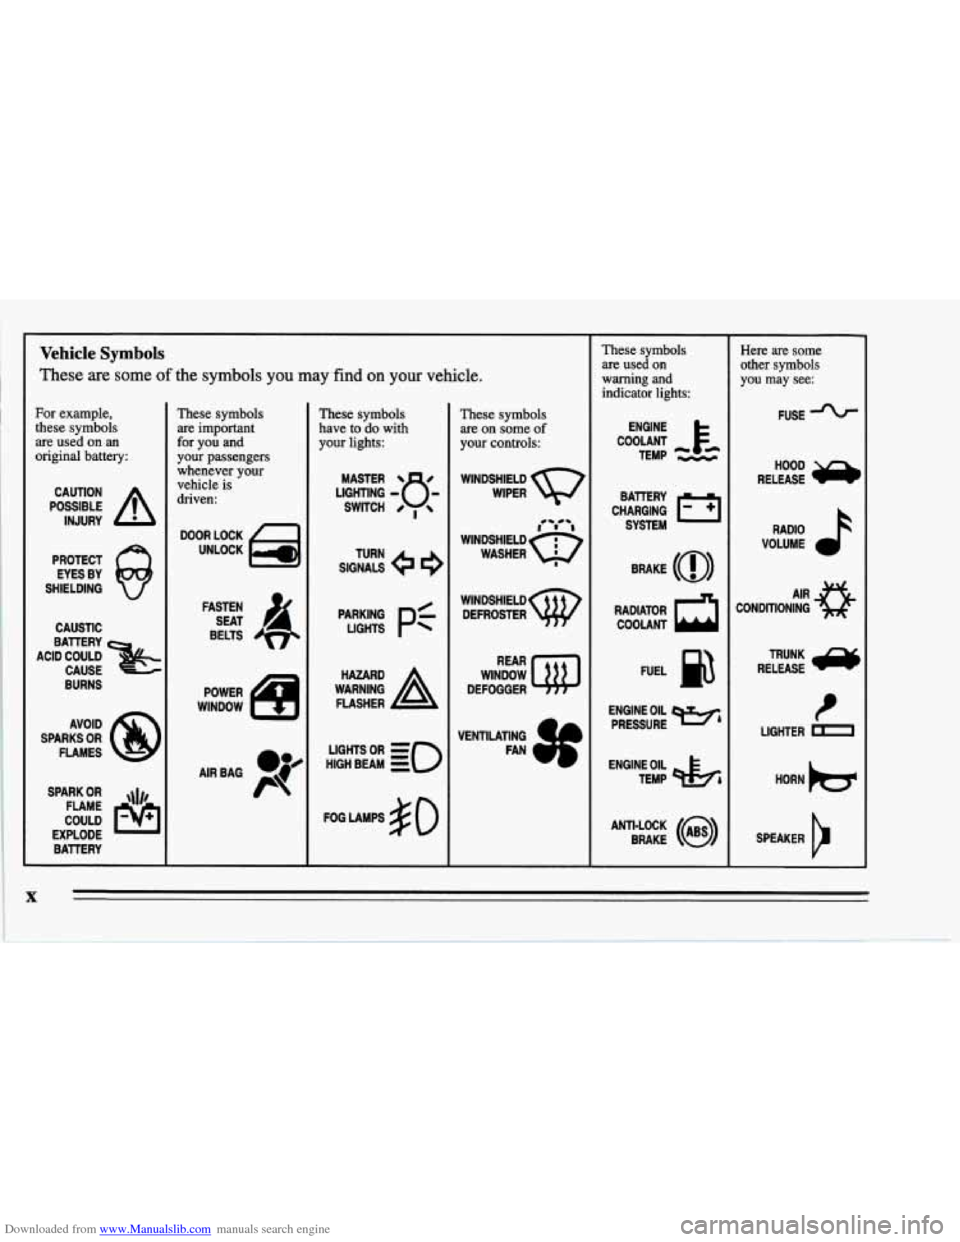
Downloaded from www.Manualslib.com manuals search engine Vehicle Symbols
These are some of the symbols you may find on your vehicle.
For example,
these symbols
are used on an
original battery:
POSSIBLE A
CAUTION
INJURY
PROTECT EYES BY
SHIELDING
Q
CAUSTIC
ACID COULD
&
BATTERY CAUSE
AVOID
SPARKS
OR
FLAMES
SPARK
OR ,\I/,
COULD FLAME
EXPLODE BATTERY
These symbols
are important
for you and
your passengers whenever your
vehicle
is
driven:
DOOR LOCK
UNLOCK
FASTEN SEAT
4
BELTS
POWER
WINDOW
AIRBAG P
These symbols
have to do with
your lights:
SIGNALS e e
TURN
p:
HIGH BEAM OR = so
FOG LAMPS # 0
These symbols
are on some
of
your controls:
WINDSHIELD
WIPER
WINDSHIELD DEFROSTER
WINDOW
DEFOGGER
VENTILATING FAN
These symbols
are used
on
warning and
indicator lights:
ENGINE
TEMP
--
CHARGING I-1
BATTERY SYSTEM
RADIATOR
COOLANT a
FUEL
ENGINE OIL PRESSURE
Wb
TEMP OtL ctlb
ANTI-LOCK (@)
BRAKE
~~ ~~~ ~ ~~
Here are some
other symbols
you may see:
FUSE -%-
RELEASE
RADIO
VOLUME
CONDITIONING
AIR 43
t
LIGHTER D
HORN )cr
SPEAKER
b
X
Page 91 of 386
Downloaded from www.Manualslib.com manuals search engine When the DRL are on, only your front turn signal lamps
will be
on. The taillamps, sidemarker and other lamps
won’t
be on. Your instrument panel won’t be lit up either.
When it’s dark enough outside, your front turn signal
lamps will go out and your headlamps will come on.
The other lamps that come on with your headlamps will
also come on.
When it’s bright enough outside, the regular lamps will
go off, and your front turn signal lamps come on.
As with any vehicle, you should turn on the regular
headlamp system any time you need
it.
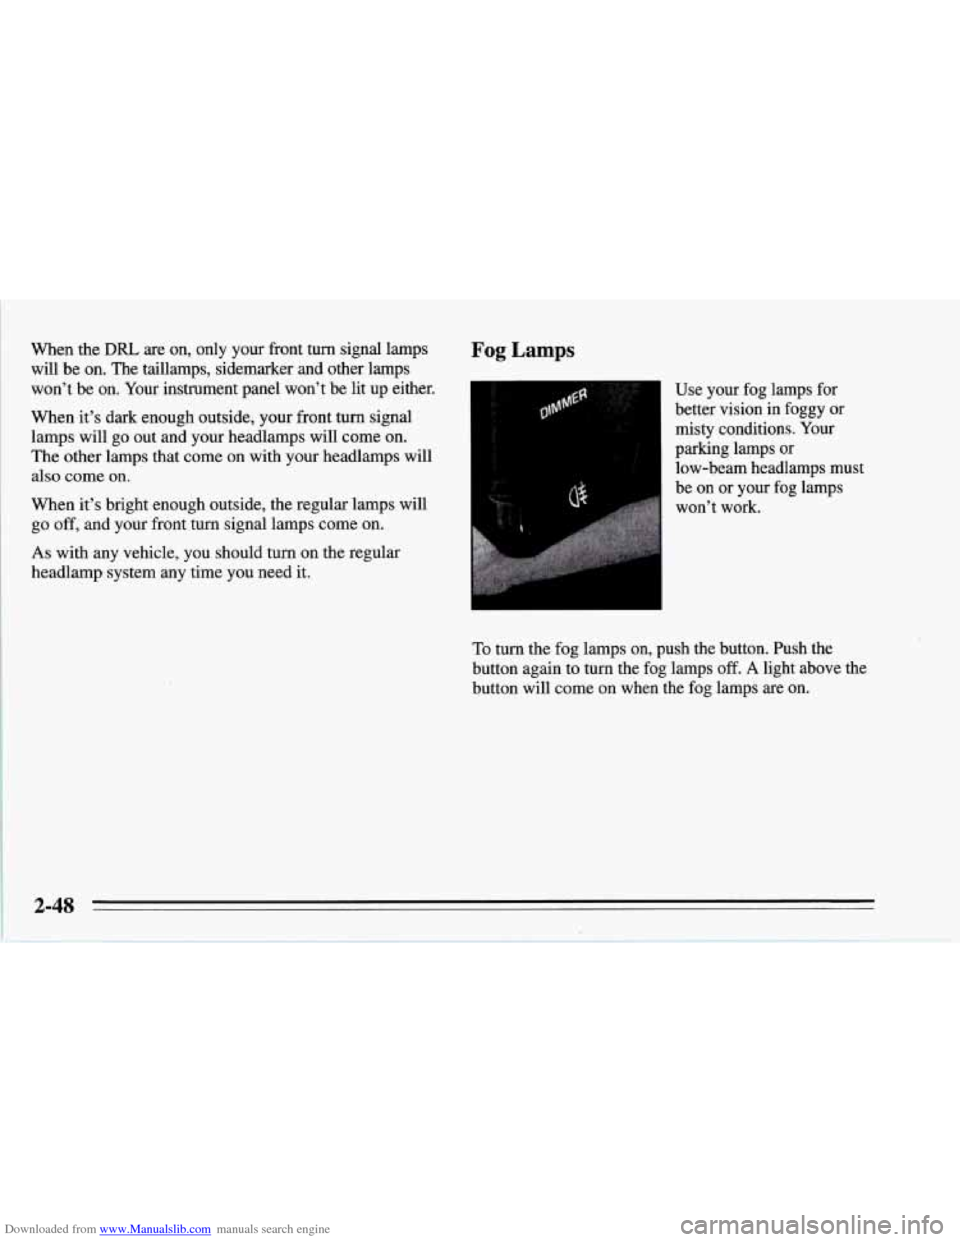
Fog Lamps
Use your fog lamps for
better vision in foggy or
misty conditions. Your
parking lamps
or
low-beam headlamps must
be on or your fog lamps
won’t work.
To turn the fog lamps on, push the button. Push the
button again
to turn the fog lamps off. A light above the
button will come on when the fog lamps are on.
2-48
Page 108 of 386

Downloaded from www.Manualslib.com manuals search engine 1. Acceleration Slip Regulation (ASR) Switch
2. Side Window Defogger Vent
3. Side Air Vent
4. Turn SignaVHeadlamp Beam Lever
5. Tilt Lever
6. Instrument Cluster
7. Ignition Switch
8. Trip Monitor Controls
9. Solar Sensor
10. Center Air Vent
11. Driver Information Center
12. Comfort Controls
13. Fuse Panel
14.. Audio System
15. AshtrayLighterKupholder
16. Selective Ride Control (if equipped)
17. Power Seat Control (if equipped)
18. Shift Lever (automatic shown)
19. Horn
20. Main Lamp Control
21. Fog Lamp Switch
2-65
Page 141 of 386
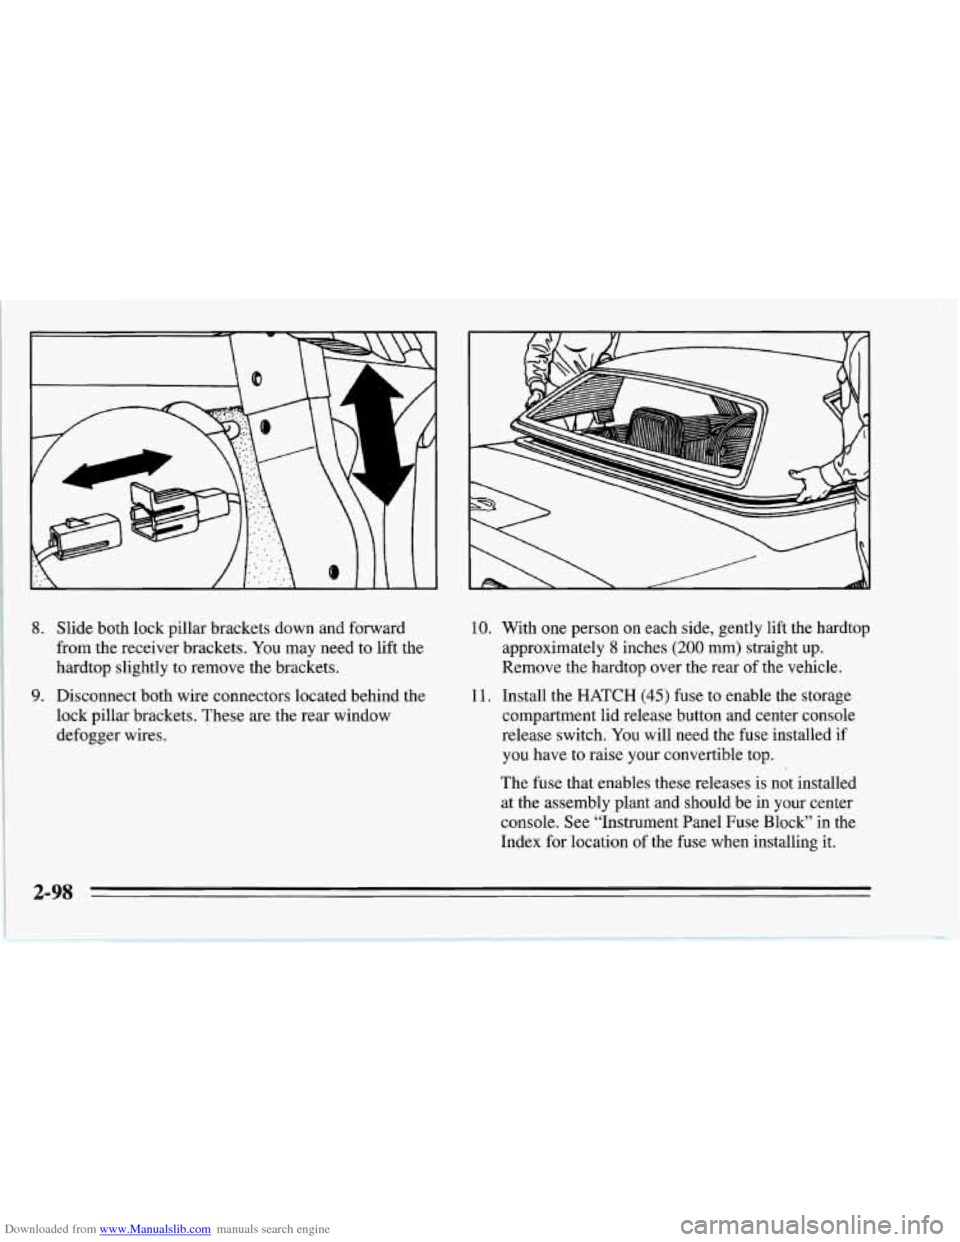
Downloaded from www.Manualslib.com manuals search engine 8. Slide both lock pillar brackets down and forward
from the receiver brackets. You may need to lift the
hardtop slightly to remove the brackets.
9. Disconnect both wire connectors located behind the
lock pillar brackets. These
are the rear window
defogger wires.
10. With one person on each side, gently lift the hardtop
approximately
8 inches (200 mm) straight up.
Remove the hardtop over the rear of the vehicle.
11. Install the HATCH (45) fuse to enable the storage
compartment lid release button and center console
release switch. You will need the fuse installed
if
you have to raise your convertible top.
The fuse that enables these releases
is not installed
at the assembly plant and should be in your center
console. See "Instrument Panel Fuse Block" in the
Index for location
of the fuse when installing it.
I
2-98
Page 142 of 386
Downloaded from www.Manualslib.com manuals search engine NOTICE:
To help avoid damaging the hardtop when not in
use:
Store the hardtop in its normal position,
0 Store hardware and trim panel with the
resting
on its mounting brackets.
hardtop.
12. Connect the rear window defogger electrical
connectors.
To Install Your Convertible Hardtop
1. Park on a level surface, set the parking brake firmly
and shift an automatic transmission into PARK
(P).
Shift a manual transmission into REVERSE (R).
Lower both windows and sunshades. Turn off the
radio to lower the power antenna and turn the
ignition key to LOCK.
2. Disconnect both rear window defogger electrical
connectors behind the lock pillar.
3. Lower the convertible top. Refer to “Convertible
Top” in the Index.
This procedure will require the use
of the storage
compartment lid release button behind the dnver’s
seat or the center console release switch. The fuse that
enables these releases is not installed at the assembly
plant and should be in your center console. See
“Instrument Panel Fuse Block” in the Index for
location
of the fuse. The fuse is labeled HATCH (45).
4. With one person on each side, carefully position the
hardtop over the vehicle. Lower the hardtop slowly,
aligning the rear bolt spacers onto the bezels, and
front conical nuts into the tapered receivers. Realign
the hardtop, if necessary.
NOTICE:
To help avoid damage, don’t force the rear of the
hardtop down. The hardtop may rest slightly
above the storage compartment lid until the
release lever is pulled. See Step
8 in this
procedure.
2-99
Page 145 of 386
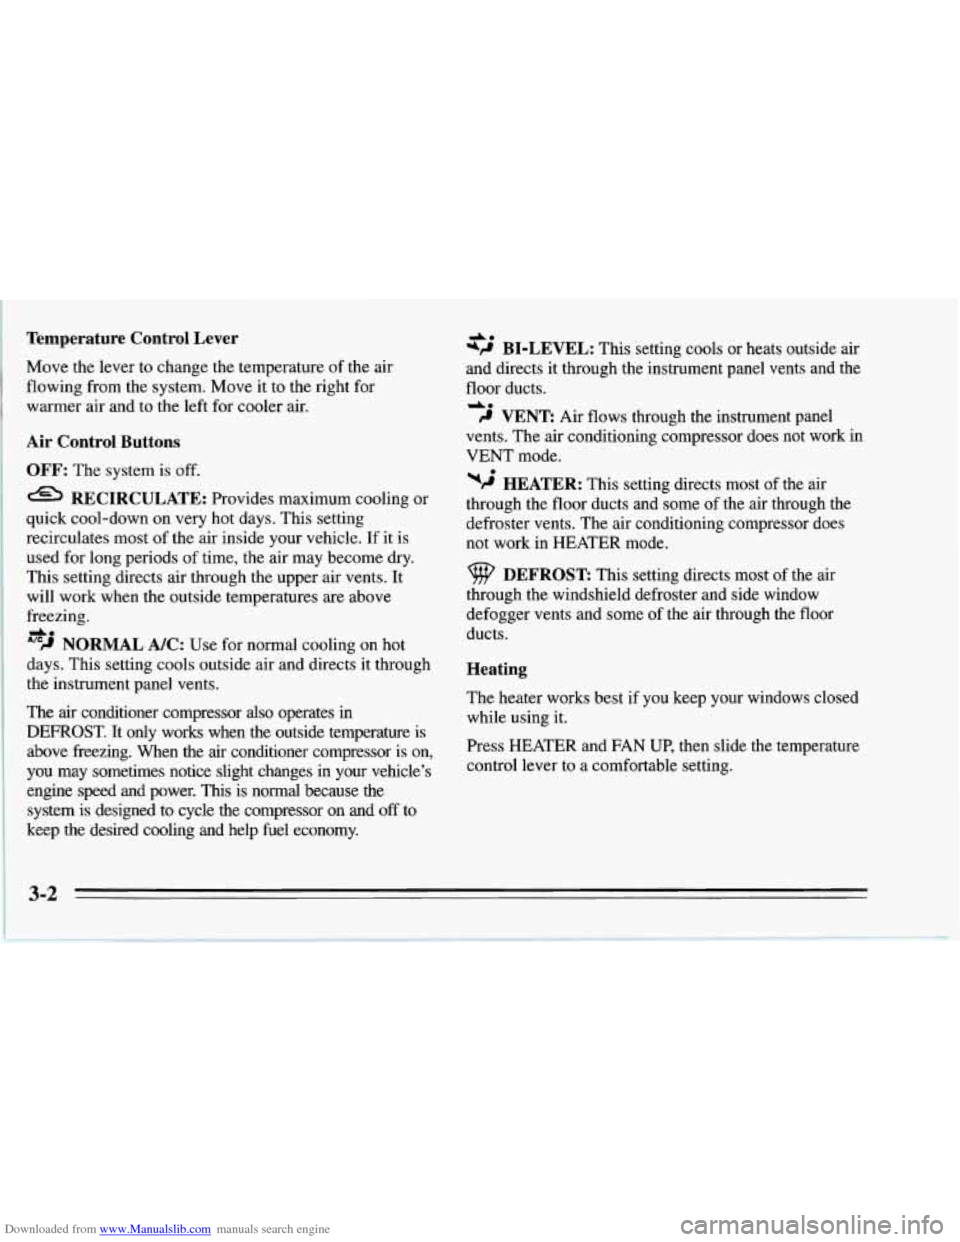
Downloaded from www.Manualslib.com manuals search engine Temperature Control Lever
Move the lever to change the temperature of the air
flowing from the system. Move it to the right for
warmer air and to the left for cooler air.
Air Control Buttons
OFF: The system is off.
RECIRCULATE: Provides maximum cooling or
quick cool-down
on very hot days. This setting
recirculates most of the air inside your vehicle. If it is
used for long periods of time, the air may become dry.
This setting directs air through the upper air vents. It
will work when the outside temperatures are above
freezing.
'''9 NORMAL A/C: Use for normal cooling on hot
days. This setting cools outside air and directs it through
the instrument panel vents.
The air conditioner compressor also operates in
DEFROST. It only works when the outside temperature is
above freezing. When the air conditioner compressor is on,
you may sometimes notice slight changes in your vehicle's
engine speed and power. This is normal because the
system
is designed to cycle the compressor on and off to
keep the desired cooling and help fuel economy.
do
A.
*P@ BI-LEVEL: This setting cools or heats outside air
and directs it through the instrument panel vents and the
floor ducts.
do
9 VENT: Air flows through the instrument panel
vents. The air conditioning compressor does not work in
VENT mode.
wj HEATER: This setting directs most of the air
through the floor ducts and some of the air through the
defroster vents. The air conditioning compressor does
not work in HEATER mode.
DEFROST This setting directs most of the air
through the windshield defroster and side window
defogger vents and some of the air through the floor
ducts.
Heating
The heater works best if you keep your windows closed
while using it.
Press HEATER and FAN UP, then slide the temperature
control lever to a comfortable setting.
3-2
Page 148 of 386
Downloaded from www.Manualslib.com manuals search engine Temperature Control Switch
Press the arrows on the TEMP SET switch to set the
temperature you want in your vehicle. The temperature
you select will show on the display for a few seconds,
then the outside temperature will show.
Air Control Buttons
OFF: The system is off.
AUTO: The system controls airflow.
RECIRCULATE: Provides maximum cooling or
quick cool-down on very hot days. This setting
recirculates most of the air inside your vehicle. If it is
used for long periods
of time, the air may become dry.
This setting directs air through the upper air vents. It
will not work when the outside temperature is above
freezing.
49 BI-LEVEL: This setting directs outside air
through the instrument panel and side window defogger
vents and the floor ducts.
-A*
do
9 VENT Outside air flows through the instrument
panel vents.
w2 HEATER: This setting directs all of the air
through the floor ducts.
DEFROST This setting directs most of the air
through the windshield defroster and side window
defogger vents and some of
the air through the floor
ducts.
*’ DEFOG: If you have the automatic system, this
setting directs air to the floor and defroster vents.
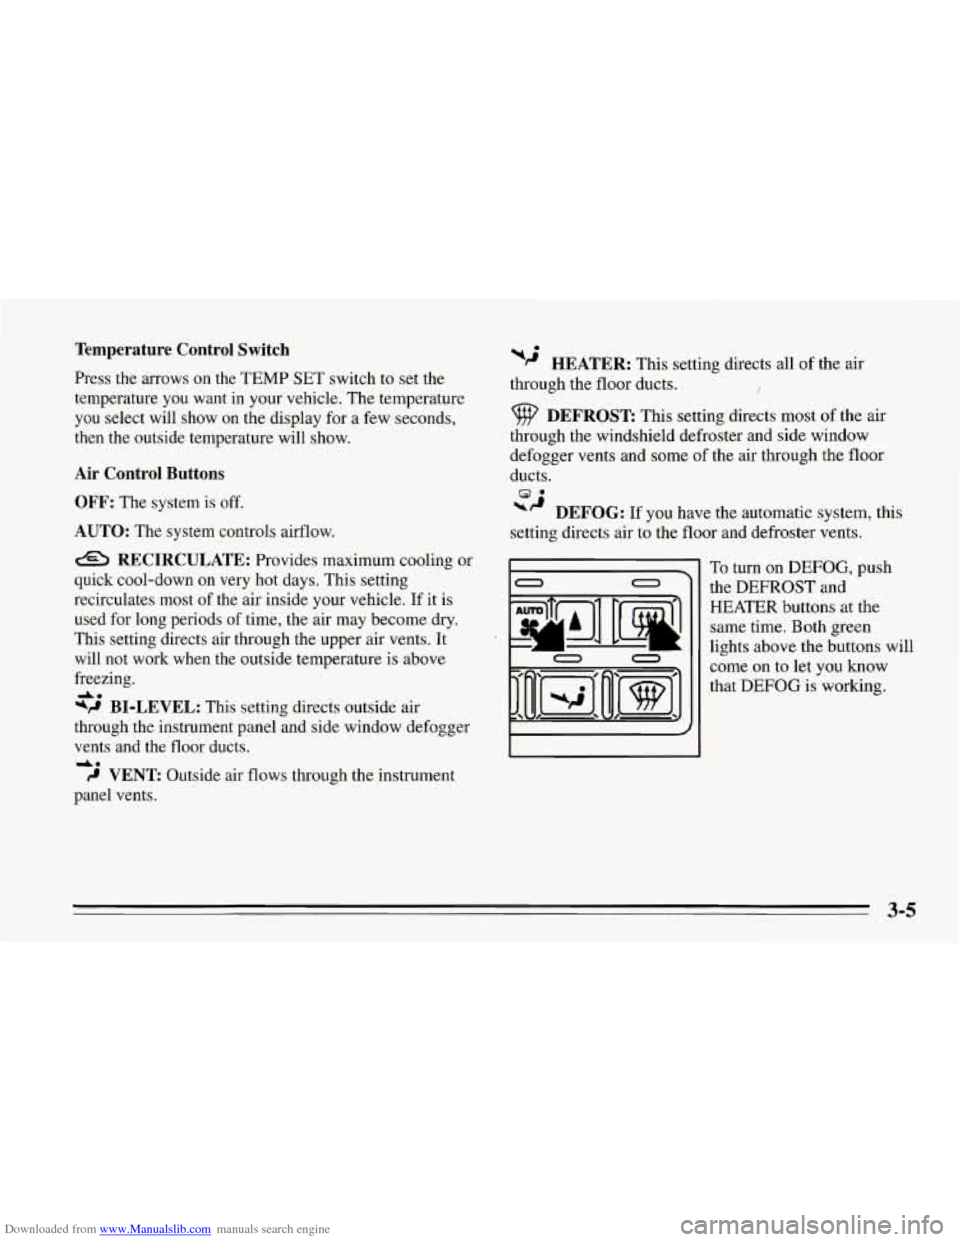
0 0
E I 0 0
To turn on DEFOG, push
the
DEFROST and
HEATER buttons at the
same time. Both green
lights above the buttons will
come on to let you know
that
DEFOG is working.
3-5
Page 151 of 386
Downloaded from www.Manualslib.com manuals search engine Defogging and Defrosting Windows
Your vehicle has several settings for clearing your
windows. The air conditioner compressor will run to
help remove moisture from the air.
To defrost the windshield quickly, press the arrows on
the
TEMP SET switch to set a comfortable temperature.
Press DEFROST and the fan will go to high speed. After
the windows are clear, you can lower the speed using the
downward arrow or
AUTO FAN.
With the automatic system, to warm passengers while
keeping the windshield clear? press the arrows on the
TEMP SET switch to set a comfortable temperature. Press
HEATER and DEFROST at the same time and, if you
don’t like the automatic setting, press the
arrows on the fan
speed switch.
To defrost the side windows quickly, press the arrows on
the
TEMP SET switch to set a comfortable temperature.
Then press DEFROST and,
if you don’t like the automatic
setting, press the arrows on the fan speed switch.
System Problems
If the light above an air control button flashes when you
turn on the ignition, your system may have an electrical
problem. The flashing will continue for one minute, then
stop.
The flashing light could also mean the refrigerant level
is too low in your system. The light will continue to
flash, even if refrigerant is added, until the system is
reset. Have your system checked and serviced if needed.
To reset your system:
1. Turn your ignition key to OFF or LOCK.
2. Remove the courtesy lamps and radio fuses from the
main fuse panel and wait one minute. See “Fuses and
Circuit Breakers” in the Index.
3. Put the fuses back in and start your vehicle.
The light shouldn’t come on and your system should be
working properly. If you still have a problem, see your
dealer.