Page 76 of 348

Downloaded from www.Manualslib.com manuals search engine NOTICE:
Damage to your transmission caused by shifting out of “P”
(Park) or “N” (Neutral) with the engine racing isn’t covered by
your warranty.
@ (Overdrive)
This position is for normal driving. If you need more power for
passing, and you’re:
- Going less than about 35 mph (56 km/h), push your accelerator
- Going about 35 mph (56 km/h) or more, push the accelerator all
pedal about halfway down.
the way down.
You’ll shift down to the next gear and have more power.
@ should not be used when towing a trailer, carrying a heavy
load, driving
on steep hills, or for off-road driving. Select “D”
(Third Gear) when operating the vehicle under any of these
conditions.
D (Third Gear) - This is like @, but you never go into Overdrive.
You should use
“D’ (Third Gear) when towing a trailer, carrying a
heavy load, driving on steep hills,
or for off-road driving.
2 (Second Gear) - This position gives you more power but lower fuel
economy. You can use “2” (Second Gear) on hills. It can help control
your speed as you go down steep mountain roads, but
then you would
also want to use your brakes
off and on.
If you manually select
“2” (Second Gear), the transmission will drive
in second gear. You may use this feature for reducing torque to the rear
wheels when
you are trying to start your vehicle from a stop on
slippery road surfaces.
1 (First Gear) - This position gives you even more power (but lower
fuel economy) than “2” (Second Gear). You can use it on very steep
hills, or in deep snow or mud. If the selector lever is put
in “1” (First
Gear),
the transmission won’t shift into “1” (First Gear) until the
vehicle
is going slowly enough.
2-22
Page 80 of 348
Downloaded from www.Manualslib.com manuals search engine If you are on a hill: See “Parking on Hills” in the Index. That section
shows how to turn your front wheels.
If you are towing a trailer and are parking on any hill: See “Towing a
Trailer” in the Index. That section
shows what to do first to keep the trailer
from moving.
Shifting /nto “P” (Park) (Automatic
Transmission
Models On/y)
1. Hold the brake pedal down with your right foot and set the parking
brake.
2. Move the shift
lever into
“P”
(Park) position
like this:
Pull the lever toward you.
Move the lever up as far as it will go.
2-26
Page 82 of 348
Downloaded from www.Manualslib.com manuals search engine Parking Your Vehicle (Manual Transmission
Models Only)
Before you get out of your vehicle, turn off your engine, put your manual
transmission
in “R” (Reverse) and firmly apply the parking brake.
If you have four-wheel drive with a manual transfer case shift lever, be sure
your transfer case is in
a drive gear. Your vehicle could roll if it isn’t.
If you are parking on a hill, or if your vehicle is equipped to tow a trailer,
see “Parking on Hills” or “Towing a Trailer”
in the Index.
Parking Over Things That Burn
2-28
Page 84 of 348
Downloaded from www.Manualslib.com manuals search engine Running Your Engine While You’re Parked
(Automatic Transmission)
It’s better not to park with the engine running. But if you ever have to, here
are some things to know.
If you have four-wheel drive with a manual transfer case shift lever and
your transfer case is in “N” (Neutral), your vehicle will be free to roll, even
if your shift lever is in
“P” (Park). So, be sure the transfer case is in a drive
gear
- not in “N’ (Neutral). Follow the proper steps to be sure your vehicle
won’t move. See “Shifting Into ‘P’ (Park)” in the Index.
If you’re pulling a trailer, see “Towing a Trailer” in the Index.
2-30
Page 86 of 348

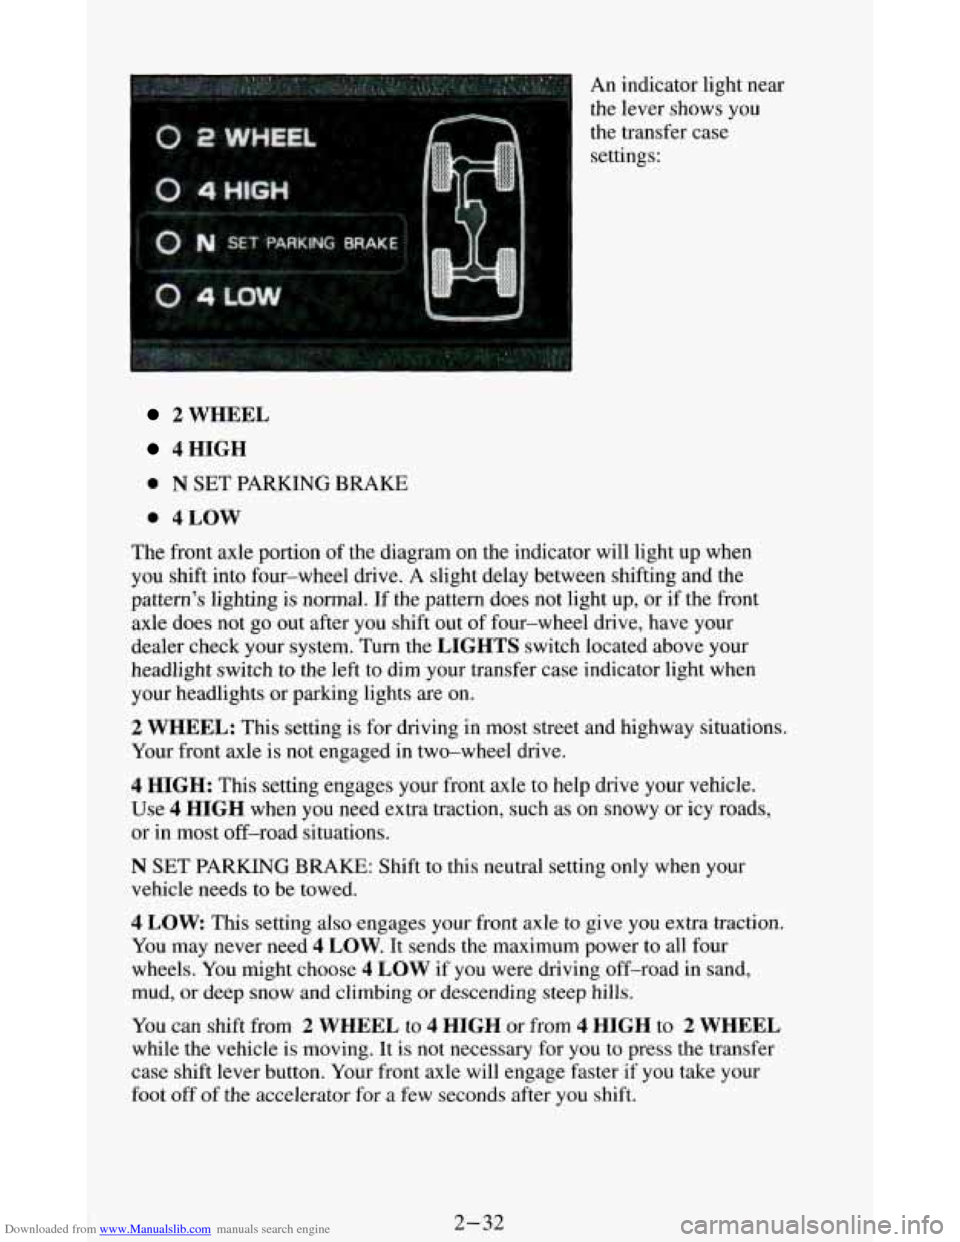
Downloaded from www.Manualslib.com manuals search engine An indicator light near
the lever shows you
the transfer case
settings:
2 WHEEL
4HIGH
0 N SET PARKING BRAKE
0 4LOW
The front axle portion of the diagram on the indicator will light up when
you shift into four-wheel drive.
A slight delay between shifting and the
pattern's lighting
is normal. If the pattern does not light up, or if the front
axle does not go out after you shift out of four-wheel drive, have your
dealer check your system. Turn the
LIGHTS switch located above your
headlight switch
to the left to dim your transfer case indicator light when
your headlights or parking lights are on.
2 WHEEL: This setting is for driving in most street and highway situations.
Your front axle
is not engaged in two-wheel drive.
4 HIGH: This setting engages your front axle to help drive your vehicle.
Use 4 HIGH when you need extra traction, such as on snowy or icy roads,
or
in most off-road situations.
N SET PARKING BRAKE: Shift to this neutral setting only when your
vehicle needs to be towed.
4 LOW This setting also engages your front axle to give you extra traction.
You may never need
4 LOW. It sends the maximum power to all four
wheels. You might choose
4 LOW if you were driving off-road in sand,
mud, or deep snow and climbing or descending steep hills.
You can shift from 2 WHEEL to 4 HIGH or from 4 HIGH to 2 WHEEL
while the vehicle is moving. It is not necessary for you to press the transfer
case shift lever button. Your front axle will engage faster if you take your
foot off of the accelerator for a few seconds after you shift.
2-32
Page 93 of 348

Downloaded from www.Manualslib.com manuals search engine Standard Cluster Digital Cluster
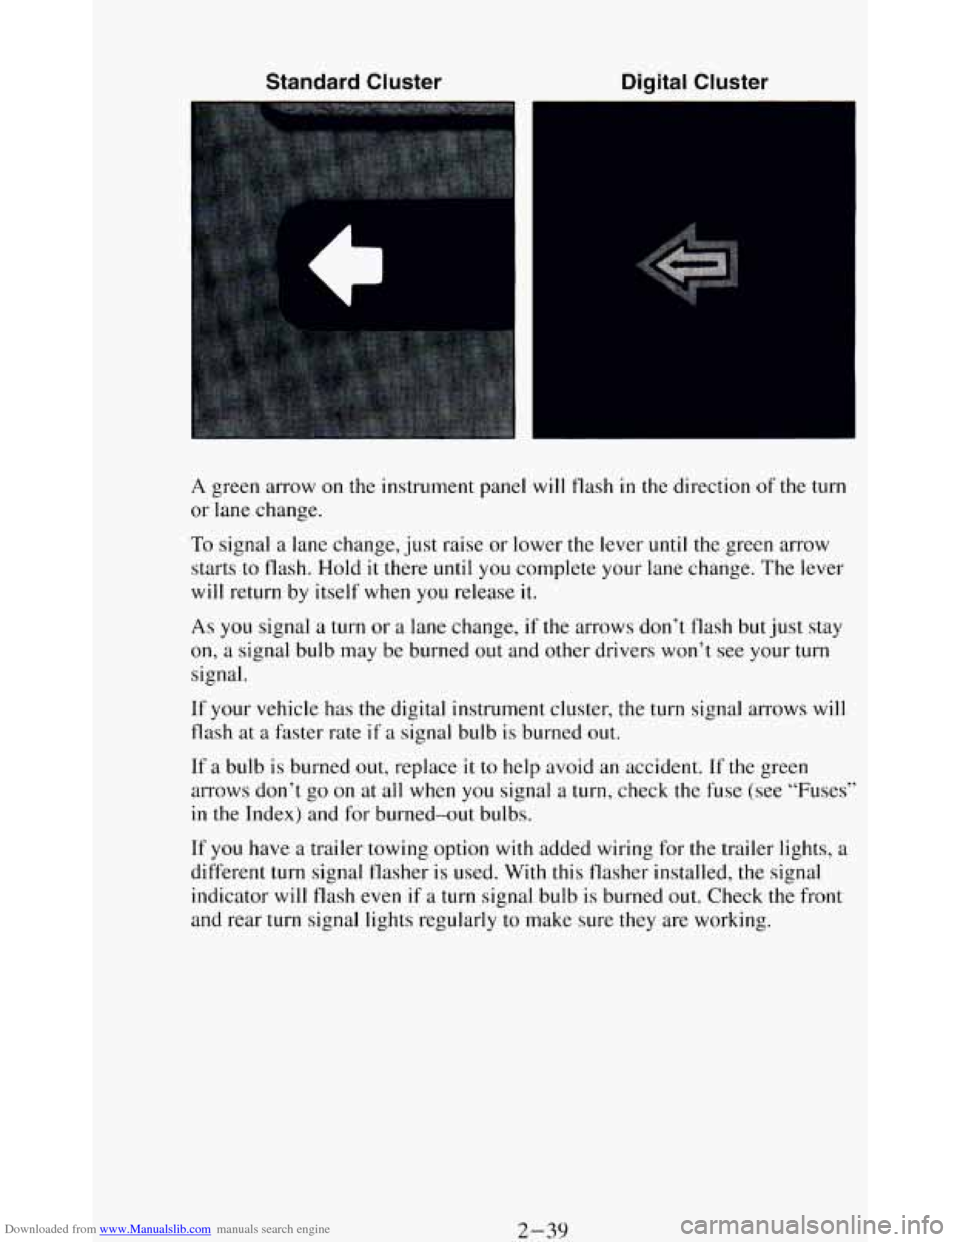
A green arrow on the instrument panel will flash in the direction of the turn
or lane change.
To signal
a lane change, just raise or lower the lever until the green arrow
starts to flash. Hold
it there until you complete your lane change. The lever
will return by itself when you release it.
As you signal a turn or a lane change, if the arrows don’t flash but just stay
on,
a signal bulb may be burned out and other drivers won’t see your turn
signal.
If your vehicle has the digital instrument cluster, the turn signal arrows will
flash at
a faster rate if a signal bulb is burned out.
If a bulb is burned out, replace it to help avoid an accident. If the green
arrows don’t go on at all when you signal a turn, check the fuse (see “Fuses”
in the Index) and for burned-out bulbs.
If
you have a trailer towing option with added wiring for the trailer lights, a
different turn signal flasher is used. With this flasher installed, the signal
indicator will flash even if
a turn signal bulb is burned out. Check the front
and rear turn signal lights regularly to make sure they are working.
2-39
Page 94 of 348

Downloaded from www.Manualslib.com manuals search engine Operation of Lights
Although your vehicle's lighting system (headlights, parking lig\
hts, fog
lamps, side marker lights and taillights) meets
all applicable federal lighting
requirements, certain states and provinces may apply their own lighting
regulations that may require special
attention before you operate these
lights.
For example, some jurisdictions may require that you operate your fog
lamps
only when your lower beam headlights are also on, or that headlights
be turned
on whenever you must use your windshield wipers. In addition,
most jurisdictions prohibit driving solely with parking lights, especially at
dawn or dusk. It is recommended that
you check with your own state or
provincial highway authority for applicable lighting regulations.
Headlight High-Low Beam
To change the
headlights from low
beam to high or high
to
low, pull the turn
signal lever all the
way toward you. Then
release
it.
When the high beams
are
on, this blue
indicator light on the
instrument panel also
will be on.
2-40
Page 109 of 348
Downloaded from www.Manualslib.com manuals search engine If you have the manually adjustable mirror, you can fold it before entering a
carwash.
To fold, pull the mirrors in towards the vehicle. Push the mirrors
back out when finished.
Convex Outside Mirror
Your right side mirror is convex.
A convex mirror’s surface is curved so you can see more from the driver’s
seat.
Sun VisorsNanity Mirrors
To block out glare,
you can swing down
the visors. You can
also swing them from
side to side. Your
visors have an
extension that can be
pulled out
for
additional glare
protection and a strap for holding small
items, such as maps.
2-55