Page 122 of 348
Downloaded from www.Manualslib.com manuals search engine Gages can indicate when there may be or is a problem with one of your
vehicle’s functions. Often gages and warning lights work together to let you
know when there’s
a problem with your vehicle.
When
one of the warning lights comes on and stays on when you are
driving, or when
one of the gages shows there may be a problem, check the
section that tells you what to do about it. Please follow the manual’s advice.
Waiting
to do repairs can be costly - and even dangerous. So please get to
know your warning lights and gages. They’re a big help.
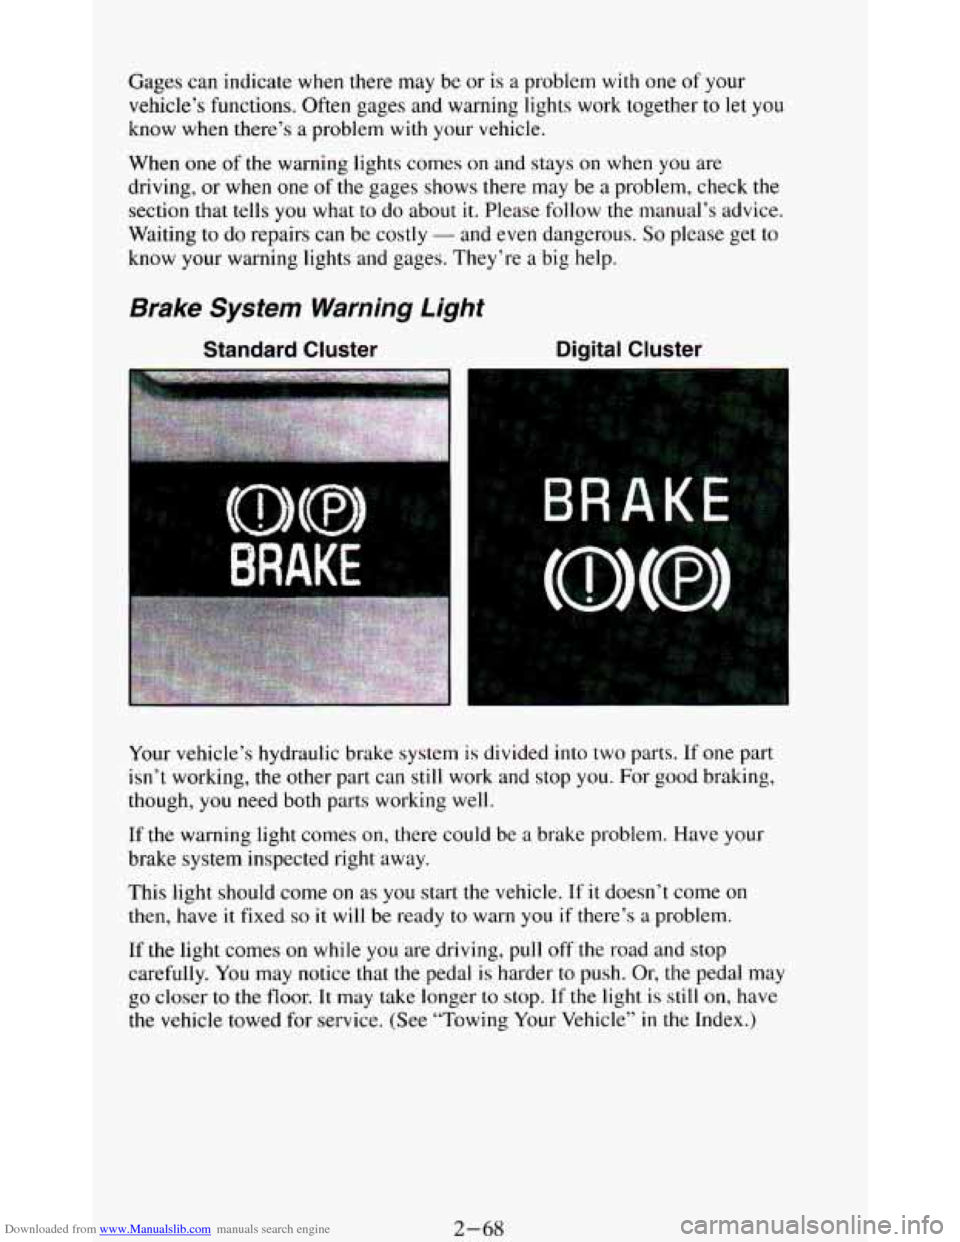
Brake System Warning Light
Standard Cluster Digital Cluster
Your vehicle’s hydraulic brake system is divided into two parts. If one part
isn’t working,
the other part can still work and stop you. For good braking,
though,
you need both parts working well.
If the warning light comes on, there could be a brake problem. Have your
brake system inspected right away.
This light should come
on as you start the vehicle. If it doesn’t come on
then, have it fixed so it will be ready to warn you if there’s a problem.
If
the light comes on while you are driving, pull off the road and stop
carefully.
You may notice that the pedal is harder to push. Or, the pedal may
go closer to the floor. It may take longer to stop. If the light is still on, have
the vehicle towed for service. (See “Towing Your Vehicle’’
in the Index.)
2-68
Page 137 of 348
Downloaded from www.Manualslib.com manuals search engine Air Vents
You will find air vents in the center and on the sides of your instrument
panel.
You can move the vents to direct the flow of air, or close the vents
altogether. When you close a vent, it will increase the flow
of air coming out
of any vents that are open.
If your vehicle does not have air conditioning, there are air vents in each
kick panel below the instrument panel. Each vent has a handle to open and
close it.
Heater Controls
If your vehicle does
not have air
conditioning, your
heater controls will
look like this.
Fan Lever:
The lever at the top of the system has four positions. To increase the air
flow, move the lever toward HI. To decrease the air flow, move it toward
OFF.
3-3
Page 138 of 348
Downloaded from www.Manualslib.com manuals search engine Temperature Lever:
The lever on the left of the system lets you select the temperature of the air
flowing into your vehicle. Move the lever up for warmer air. Move the lever
down for cooler air.
Mode Function Lever:
The lever on the right of the system can be moved to three different heating
functions.
DEFROST: This setting operates the defroster. Most of the air comes out
near the windshield,
with some going to the floor vents and side window
defrost vents. Use this when you get fog or ice on the windshield.
HTR (Heater): Most of the air comes out near the floor. The rest comes out
from the defroster vents under the windshield and at the front side windows.
This
is best for cold weather.
VENT: The air comes out at the vents on your instrument panel and at your
front side windows.
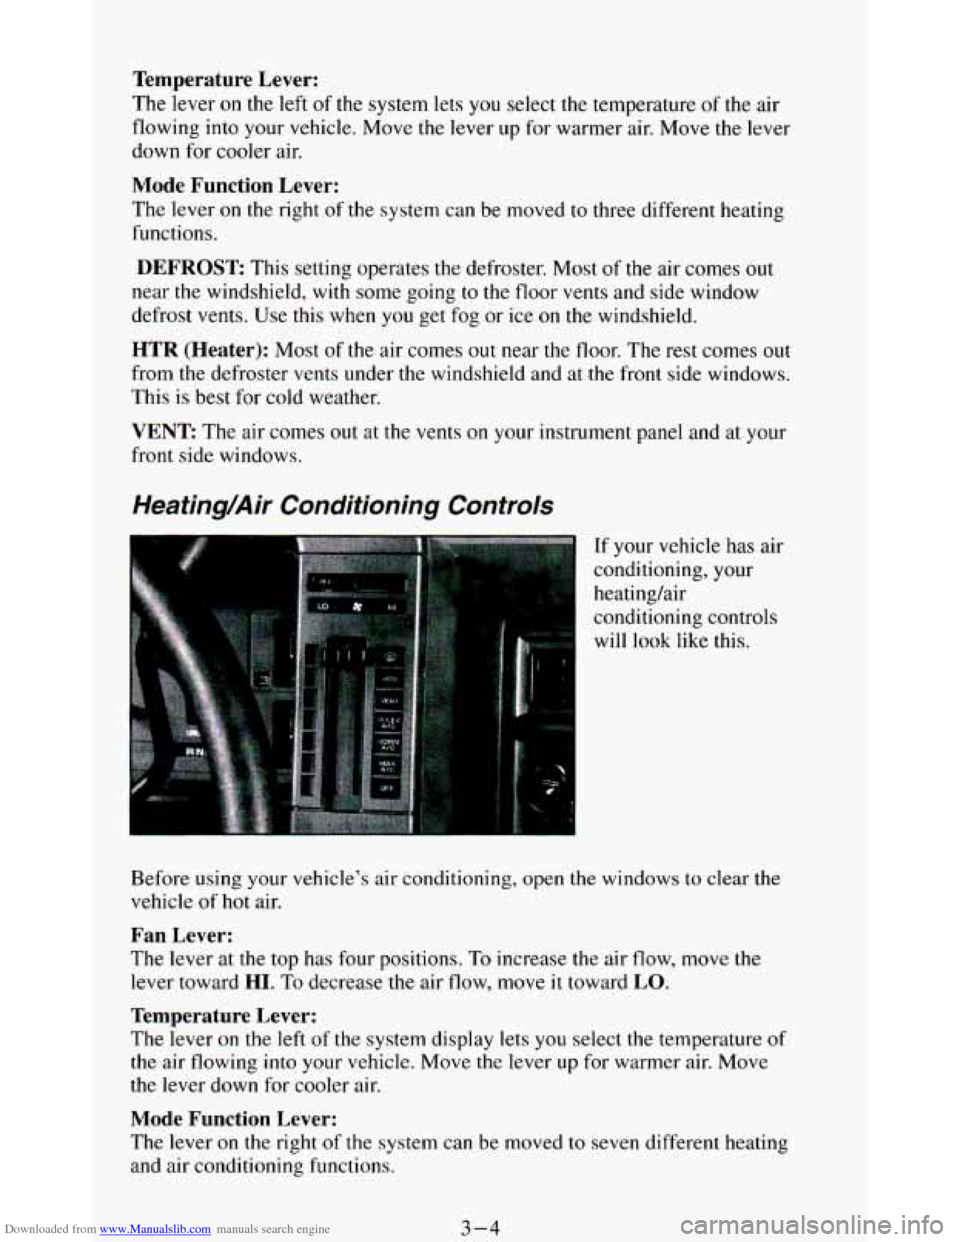
Heating/Air Conditioning Controls
If your vehicle has air
conditioning, your
heating/air
conditioning controls
will look like this.
Before using
your vehicle’s air conditioning, open the windows to clear me
vehicle of hot air.
Fan Lever:
The lever at the top has four positions. To increase the air flow, move the
lever toward
HI. To decrease the air flow, move it toward LO.
Temperature Lever:
The lever on the left of the system display lets you select the temperature of
the air flowing into your vehicle. Move the lever up for warmer air. Move
the lever down for cooler
air.
Mode Function Lever:
The lever on the right of the system can be moved to seven different heating
and air conditioning functions.
3-4
Page 148 of 348
Downloaded from www.Manualslib.com manuals search engine Clock
To set the clock, just:
Push SET.
Within 5 seconds, push and hold SCAN until the correct hour appears.
Press and hold SEEK until the correct minute appears.
To display the clock with the ignition off, push the upper knob. The time
will be displayed for
a few seconds.
To Way A Cassette
Your tape player is built to work best with tapes that are 30 to 45 minutes
long
on each side. Tapes longer than that are so thin they may not work well
in this player.
To play a cassette tape:
Have the radio on.
Insert the tape squarely through the tape door.
The longer side with the tape visible goes in first. If you hear nothing or
hear just garbled sound, it may not be in squarely. Push STOP-EJECT to
remove the tape and start over.
Once the tape is playing, use the upper and lower knobs for volume and
balance, just as you
do for radio. The arrows show which side of the tape is
playing.
0 To go forward to another part of the tape, push the button with an
arrow pointing toward the lighted arrow. To stop the tape, push the
STOP-E JECT button lightly.
To go backward, push the button with an arrow pointing away from
the lighted arrow. To stop the tape, push the STOP-EJECT button
lightly.
To go from one side of the tape to the other, push in the upper knob on
To remove or stop the tape, push STOP-EJECT.
your radio.
3-14
Page 159 of 348
Downloaded from www.Manualslib.com manuals search engine Your Driving and the Road
Section
Here you'll find information about driving on different kinds of roads and in
varying weather conditions . We've also included many other useful tips on
driving
.
Defensive Driving ..................... ................. 4-2
DrunkenDriving ........................................... 4-2
Braking ................................................ 4-5
Steering Tips ............................................ 4-8
Control
of a Vehicle
Steering
................................................ 4-8
Passing
............................................... 4-10
Loss of Control ......................................... 4-11
Driving Guidelines
......................................... 4-12
Off-Road Driving With Your Four-wheel Vehicle
............... 4-13
DrivingatNight ........................................... 4-24
Driving
in the Rain ........................................ 4-25
Freeway Driving
........................................... 4-8
Hill and Mountain Roads
.................................... 4-30
Winter Driving
............................................ 4-32
CityDriving
.............................................. 4-27
Recreational Vehicle Towing (Four-wheel Drive Only)
........... 4-35
TowingaTrailer
........................................... 4-37
4-1
Page 193 of 348
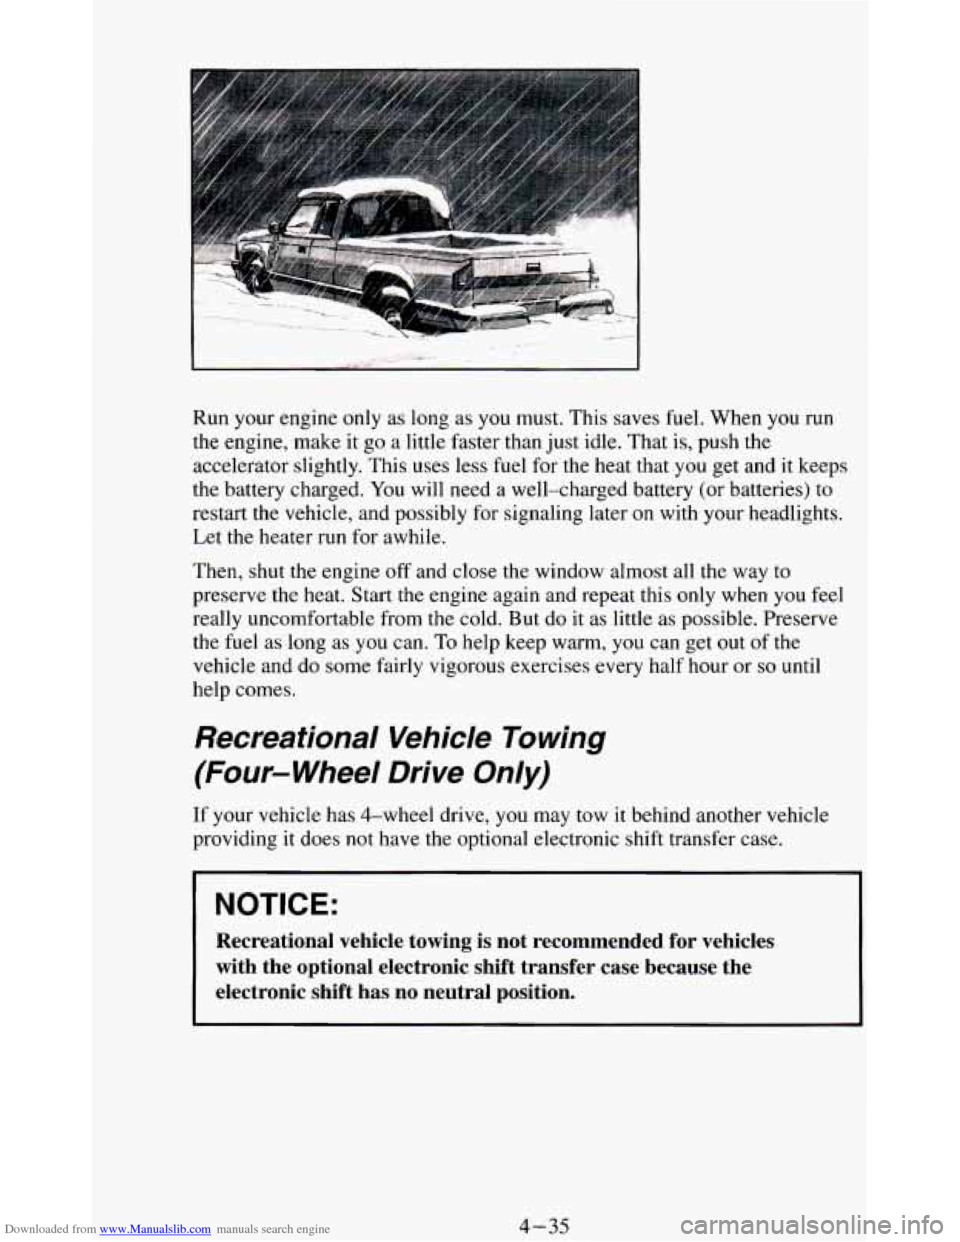
Downloaded from www.Manualslib.com manuals search engine Run your engine only as long as you must. This saves fuel. When you run
the engine, make it go a little faster than just idle. That is, push the
accelerator slightly. This uses less fuel for the heat that
you get and it keeps
the battery charged. You will need a well-charged battery (or batteries)
to
restart the vehicle, and possibly for signaling later on with your headlights.
Let the heater run for awhile.
Then, shut the engine
off and close the window almost all the way to
preserve the heat. Start the engine again and repeat this only when you feel
really uncomfortable from the cold. But
do it as little as possible. Preserve
the fuel as long as you can.
To help keep warm, you can get out of the
vehicle and do some fairly vigorous exercises every half hour or
so until
help comes.
Recreational Vehicle To wing
(Four-wheel Drive
Only)
If your vehicle has 4-wheel drive, you may tow it behind another vehicle
providing it does
not have the optional electronic shift transfer case.
Recreational vehicle towing is not recommended for vehicles
with the optional electronic shift transfer case because the
electronic shift has no neutral position.
4-35
Page 194 of 348
Downloaded from www.Manualslib.com manuals search engine Before towing, you should:
1. Set the parking brake firmly.
2. Place the automatic transmission in "P" (Park) or the manual
3. Firmly attach the vehicle being towed to the tow vehicle. Refer to the
transmission
in the lowest gear (1st gear).
hitch manufacturer's instructions.
4. Place the transfer case shift lever in "N" (Neutral).
NOTICE:
Removal of either propeller shaft is unnecessary.
1. Release the parking brake only after the vehicle being towed is firmly
attached to the tow vehicle.
2. Insert the ignition key into the ignition switch and turn it one notch
forward
of the LOCK position. This places the key into the OFF
position, which unlocks the steering column while preventing battery
drain. Unlocking the steering
column will allow for proper movement
of the front wheeldtires during towing.
NOTICE:
You should exercise extra care whenever towing another vehicle.
4-36
Page 195 of 348
Downloaded from www.Manualslib.com manuals search engine Towing a Trailer
NOTICE:
Pulling a trailer improperly can damage your vehicle and result\
in costly repairs not covered by your warranty.
To pull a trailer
correctly, follow the advice in this section, and see your
GM
dealer for important information about towing a trailer with
your vehicle.
Every vehicle is ready for some trailer towing. If it was built with trailering
options, as many are, it’s ready for heavier trailers. But trailering
is different
than just driving your vehicle by itself. Trailering means changes
in
handling, durability, and fuel economy. Successful, safe trailering takes
correct equipment, and it has to be used properly.
That’s the reason for this section.
In it are many time-tested, important
trailering tips and safety rules. Many of these are important for your safety
and that of your passengers.
So please read this section carefully before you
pull
a trailer.
If You Do Decide To Pull A Trailer
If you do, here are some important points:
0 There are many different laws having to do with trailering. Make sure
your rig will be legal, not only where you
live but also where you’ll be
driving.
A good source for this information can be state or provincial
police.
Consider using a sway control if your trailer will weigh 2,000 pounds
(900 kg) or less. You should always use a sway control if your trailer
will weigh more than
2,000 pounds (900 kg).
You can ask a hitch dealer about sway controls.
4-37