1982 CHEVROLET CAMARO jack
[x] Cancel search: jackPage 764 of 875

GM – CAMARO 1982-1992 – Repair Guide (Checked by WxMax) 764
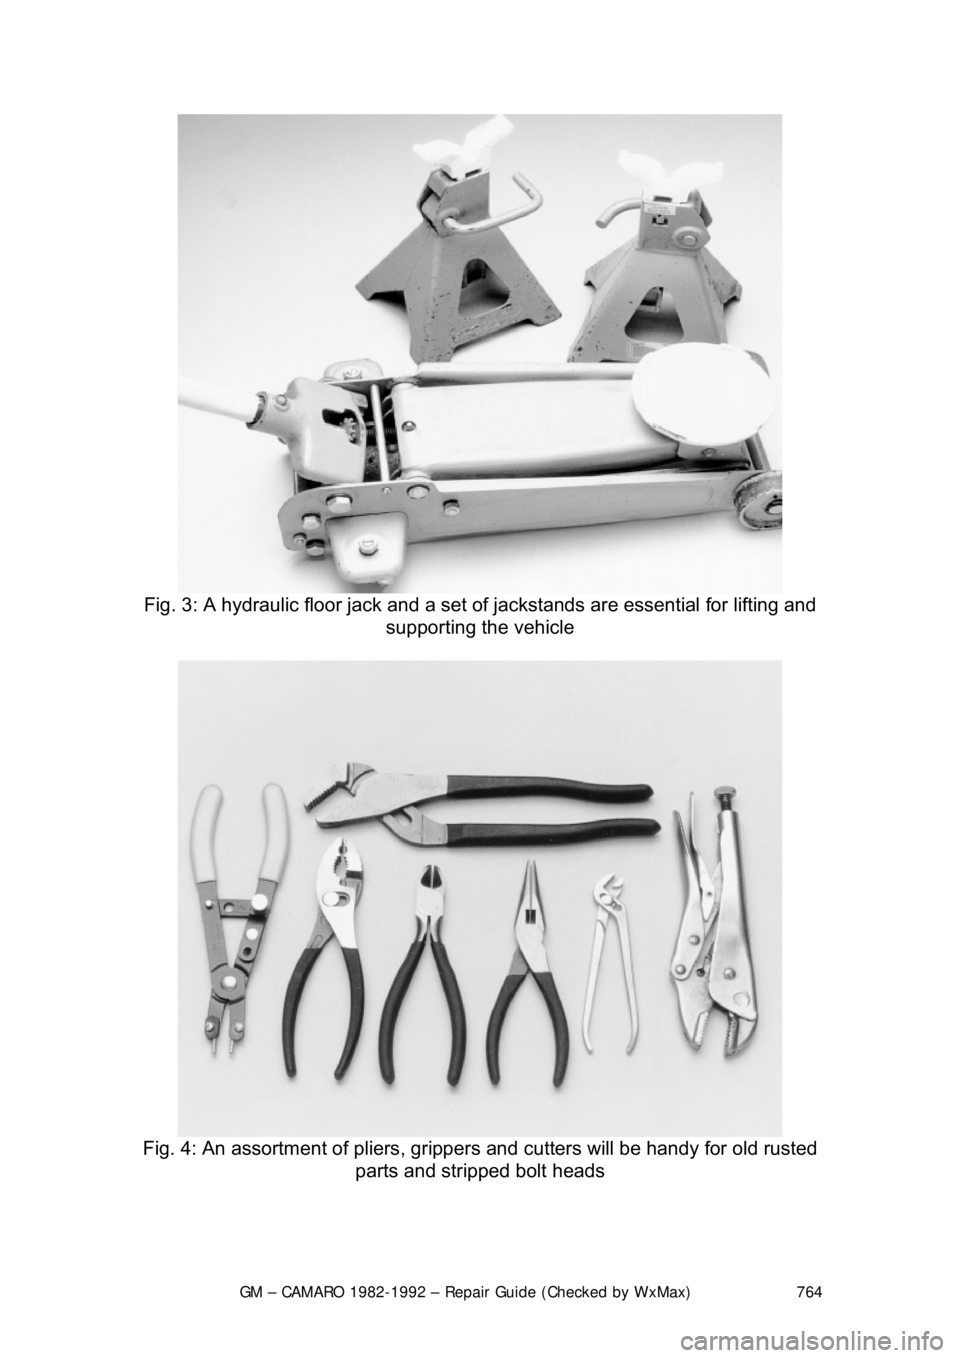
Fig. 3: A hydraulic floor jack and a set of jackstands are essential for lifting and
supporting the vehicle
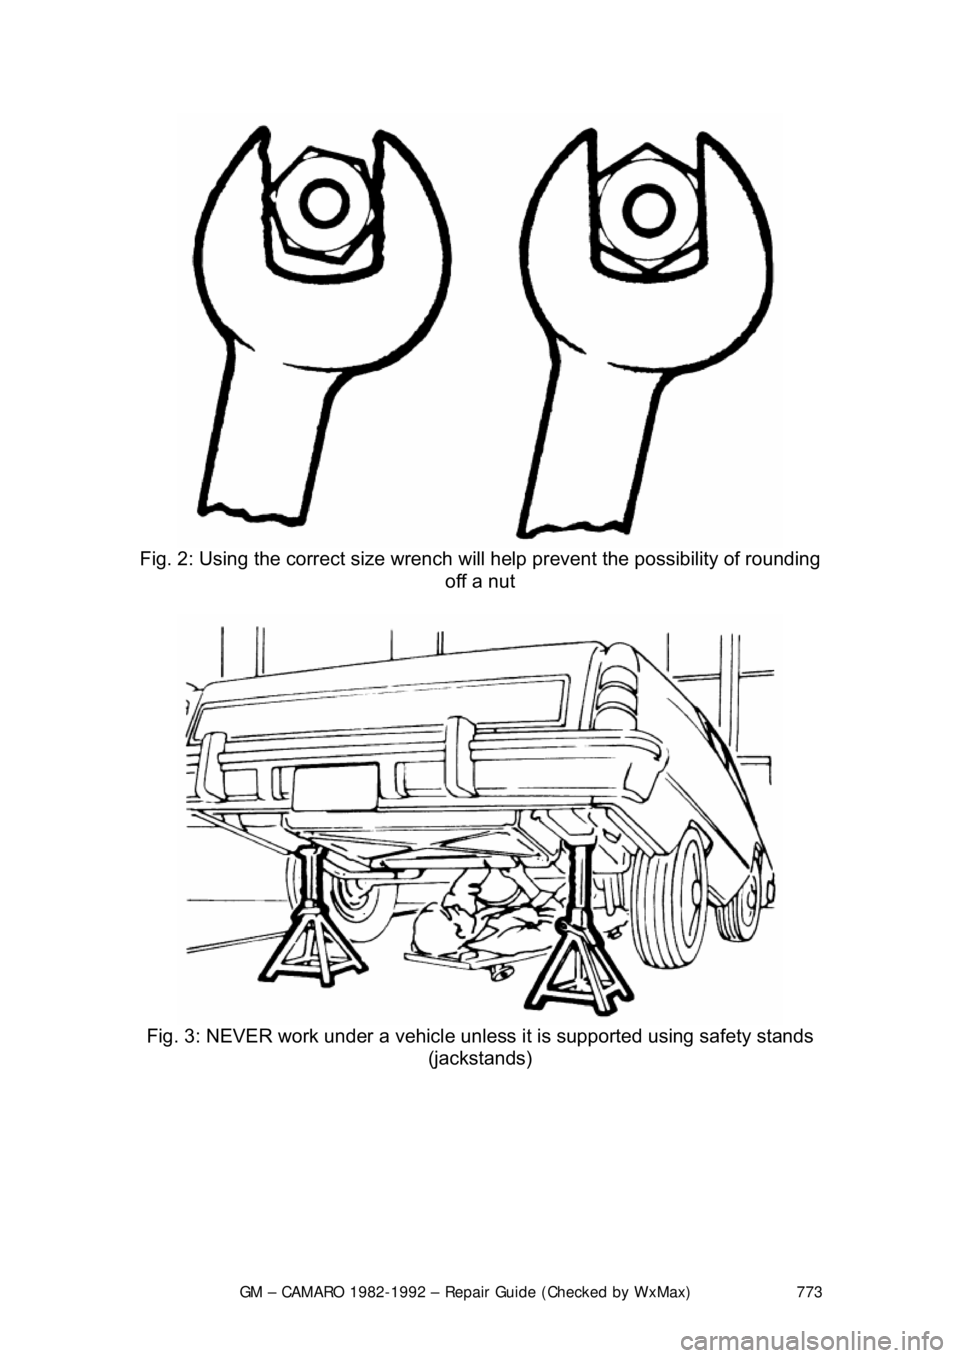
Fig. 4: An assortment of pliers, gr ippers and cutters will be handy for old rusted
parts and stripped bolt heads
Page 773 of 875

GM – CAMARO 1982-1992 – Repair Guide (Checked by WxMax) 773
Fig. 2: Using the correct size wrench wil l help prevent the possibility of rounding
off a nut
Fig. 3: NEVER work under a vehicle unle ss it is supported using safety stands
(jackstands)
Page 779 of 875

GM – CAMARO 1982-1992 – Repair Guide (Checked by WxMax) 779
ENGINE OIL AND FILTER CHANGE
Under normal operating conditions, the oi
l is to be changed every 7,500 miles
(12,000km) or 12 months, whichever occurs first.
Although the manufacturer recommends changing the f ilter at the first oil
change and then at every other oil c hange, (unless 12 months pass between
changes), The editors of this informat ion recommend changing the filter with
each service. It is a small price to pay for extra protection.
When driving conditions frequently include dusty or polluted areas, trailer
towing, idling for long periods of ti me, or low speed operation, or when
operating at temperatures below freezing or driving short distances (under 4
miles or 6.4km), change t he oil and filter more frequently. Under these
circumstances, oil has a greater chance of building up sludge and contaminants
which could damage your engine. If your v ehicle use fits into one or more of
these categories, (as it does for most vehicles), it is suggested that the oil and
filter be changed every 3, 000 miles (1361km) or 3 months, whichever comes
first.
The oil should be disposed of properly after it is drained from the vehicle. Store
the oil in a suitable container and take the container to an official oil recycling
station. Most gas stations or oil and lube facilities will take the used oil at little or
no expense to you.
Oil should always be changed after the engine has been running long enough to
bring it up to normal operating temperature. Hot oil will flow more easily and will
carry more contaminants than will cold oi l. The oil drain plug is located on the
bottom of the oil pan (bottom of the engi ne, underneath the car). The oil filter is
located on the left side of most engines covered by this information. To change
the oil and filter:
1. Run the engine until it reaches normal operating temperature.
2. Raise the front of the vehicle and s upport it safely using a suitable pair of
jackstands.
3. Slide a drain pan of a least 6 quar ts capacity under the oil pan. Wipe the
drain plug and surrounding area clean using an old rag.
CAUTION - The EPA warns that prolonged contact with used engine oil may
cause a number of skin disorders, incl uding cancer! You should make every
effort to minimize your exposure to used engine oil. Pr otective gloves should be
worn when changing the oil. Wash y our hands and any other exposed skin
areas as soon as possible after exposure to used engine oil. Soap and water, or
waterless hand cleaner should be used.
4. Loosen the drain plug using a ratc het, short extension and socket or a
box-wrench. Turn the plug out by hand, using a rag to shield your fingers
from the hot oil. By keeping an in ward pressure on the plug as you
unscrew it, oil won't escape past the threads and you can remove it
without being burned by hot oil.
Page 782 of 875

GM – CAMARO 1982-1992 – Repair Guide (Checked by WxMax) 782
10. Refill the engine with the correct amount
of fresh oil. Please refer to the
Capacities chart at the end of this section.
11. Check the oil level on the dipstick. It is normal for the level to be a bit
above the full mark. Start the engine and allow it to idle for a few
minutes.
CAUTION - Do not run the engi ne above idle speed until it has built up oil
pressure, as indicated w hen the oil light goes out
12. Shut off the engine and allow the oil to flow back to the crankcase for a
minute, then recheck the oil level. C heck around the filter and drain plug
for any leaks, and correct as necessary.
MANUAL TRANSMISSIONS
FLUID RECOMMENDATIONS
• 1982-85 4-speed manual transmissi ons - SAE 80W/90 GL-5 gear
lubricant
• 1986-87 4-speed manual transmission - Dexron®®II automatic
transmission fluid
• 1982-84 5-speed manual transmissions - use SAE 80W/90 GL-5 gear
lubricant (SAE 80W GL-5 in Canada)
• 1985-92 5-speed manual transmissi ons - Dexron®II automatic
transmission fluid
LEVEL CHECK
The oil in the manual tr ansmission should be check ed every 12 months or
15,000 miles.
1. Raise the car and support on jackstands as close to level as possible. \
2. Remove the filler plug from the side of the transmission housing.
3. If lubricant begins to trickle out of the hole, there is enough and you need
not go any further. Otherwise, carefully insert your finger (watch out for
sharp threads) and check to see if the oil is up to the edge of the hol\
e.
4. If not, add oil through the hole until the level is at the edge of the hole.
Most lubricants come in a plasti c squeeze bottle with a nozzle; making
additions simple.
5. Install and tighten the filler plug.
DRAIN AND REFILL
The fluid in the manual transmission do es not require changing. If you do
choose to change the transmission fluid, the fluid can be drained out through
the lower drain plug hole on the side of the transmission. Fill the transmission
with the recommended lubricant to the bottom of the filler plug hole and install
the filler plug.
Page 785 of 875

GM – CAMARO 1982-1992 – Repair Guide (Checked by WxMax) 785
The automatic transmission fluid and fi
lter should be changed every 15,000
miles (24,000km) if your Camaro is driven in heavy city traffic in hot weather, in
hilly or mountainous terrain, frequent trailer pulling, or uses such as found in
taxi, police car or delivery service. If your Camaro is driven under other than
listed above conditions, change the fl uid and filter every 30,000 miles
(48,300km).
1. Raise and support the car on jackst ands. Place an oil catch pan under
the transmission.
2. Remove the oil pan bolts fr om the front and sides only.
3. Loosen rear oil pan bolts approximately 4 turns.
WARNING - Do not damage the transmission case or oil pan sealing surfaces.
4. Lightly tap the oil pan with a rubber mallet or gently pry it downward to
allow fluid to drain.
5. Remove the remaining oil pan bolt s, then remove the oil pan and pan
gasket.
6. Remove the filter and seal.
7. Clean the transmission case and oi l pan gasket surfaces with suitable
solvent and air dry. Make sure to re move all traces of the old gasket.
To install: 8. Coat the seal with a sm all amount of Transjel®.
9. Install the new s eal onto the filter.
10. Install the new filter into the case.
11. Install the oil pan and new gasket.
On 1991 and later vehicles, inspect t he oil pan screws and washer assemblies.
The screws must not be used if the coni cal washer is reversed. Failure to
replace the screw and washer assembly may result in improper fastening of
system components.
12. Install the oil pan bolts and tighten them to 12 ft. lbs. (16 Nm).
13. Lower the car.
14. Fill the transmission to proper level with Dexron®II fluid.
15. Check cold fluid level reading fo r initial fill. Do not overfill the
transmission.
16. Follow the fluid level che ck procedure described before.
17. Check the oil pan gasket for leaks.
Page 790 of 875

GM – CAMARO 1982-1992 – Repair Guide (Checked by WxMax) 790
LEVEL CHECK
Fig. 1: Removing filler plug to check rear axle lubricant
The gear lubricant in the drive axle should be checked every 12 months or
15,000 miles (24,000km).
1. Raise the car and support on jackstands as close to level as possible. \
2. Remove the filler plug from the side of the drive axle housing.
3. If lubricant begins to trickle out of the hole, there is enough and you need
not go any further. Otherwise, carefully insert your finger (watch out for
sharp threads) and check to see if the lubricant is up to the edge of the
hole.
4. If not, add oil through the hole until the level is at the edge of the hole.
Most gear lubricants come in a pl astic squeeze bottle with a nozzle;
making additions simple.
5. Install and tighten the filler plug.
DRAIN AND REFILL
The rear axle should have the gear lubricant changed every 7,500 miles
(12,000km). If equipped with a limited slip differential, be sure to add 4 oz.
(118mL) of GM lim ited slip additive part No. 1052358.
1. Raise the car and support on jackst ands. Place a container under the
differential to catch the fluid.
2. Remove the bolts retaining the par king brake cable guides and position
aside.
Page 812 of 875

GM – CAMARO 1982-1992 – Repair Guide (Checked by WxMax) 812
9. Connect one end of the other jumper
cable to the negative (-) terminal on
the booster battery and the final cable clamp to an engine bolt head,
alternator bracket or ot her solid, metallic point on the engine with the
dead battery. Try to pick a ground on the engine that is positioned away
from the battery in order to minimi ze the possibility of the 2 clamps
touching should one l oosen during the procedure. DO NOT connect this
clamp to the negative (-) term inal of the bad battery.
CAUTION - Be very careful to keep the jum per cables away from moving parts
(cooling fan, belts, etc.) on both engines.
10. Check to make sure that the c ables are routed away from any moving
parts, then start the d onor vehicle's engine. Run the engine at moderate
speed for several minutes to allow the dead battery a chance to receive
some initial charge.
11. With the donor vehicle's engine still r unning slightly above idle, try to start
the vehicle with the dead battery. Crank the engine for no more than 10 \
seconds at a time and let the starter cool for at least 20 seconds between
tries. If the vehicl e does not start in 3 tries, it is likely that something else
is also wrong or that the battery needs additional time to charge.
12. Once the vehicle is star ted, allow it to run at idle for a few seconds to
make sure that it is operating properly.
13. Turn ON the headlight s, heater blower and, if equipped, the rear
defroster of both vehicles in order to reduce the severity of voltage spikes
and subsequent risk of dam age to the vehicles' electrical systems when
the cables are disconnected. This st ep is especially important to any
vehicle equipped with computer control modules.
14. Carefully disconnect the cables in the reverse order of connection. Star\
t with the negative cable that is attached to the engine ground, then the
negative cable on the donor battery. Di sconnect the positive cable from
the donor battery and finally, disconnect the positive cable from the
formerly dead battery. Be careful when disconnecting the cables from the
positive terminals not to allow the alli gator clips to touch any metal on
either vehicle or a short and sparks will occur.
JACKING
Your vehicle was supplied with a jack for emergency road repairs. This jack is
fine for changing a flat tire or other s hort term procedures not requiring you to
go beneath the vehicle. If it is used in an emergency situation, carefully follow
the instructions provided eit her with the jack or in your owner's manual. Do not
attempt to use the jack on any portions of the vehicle other than specified by the
vehicle manufacturer. Always block the diagonally opposite wheel when using a
jack.
A more convenient way of jacking is the use of a garage or floor jack. You may
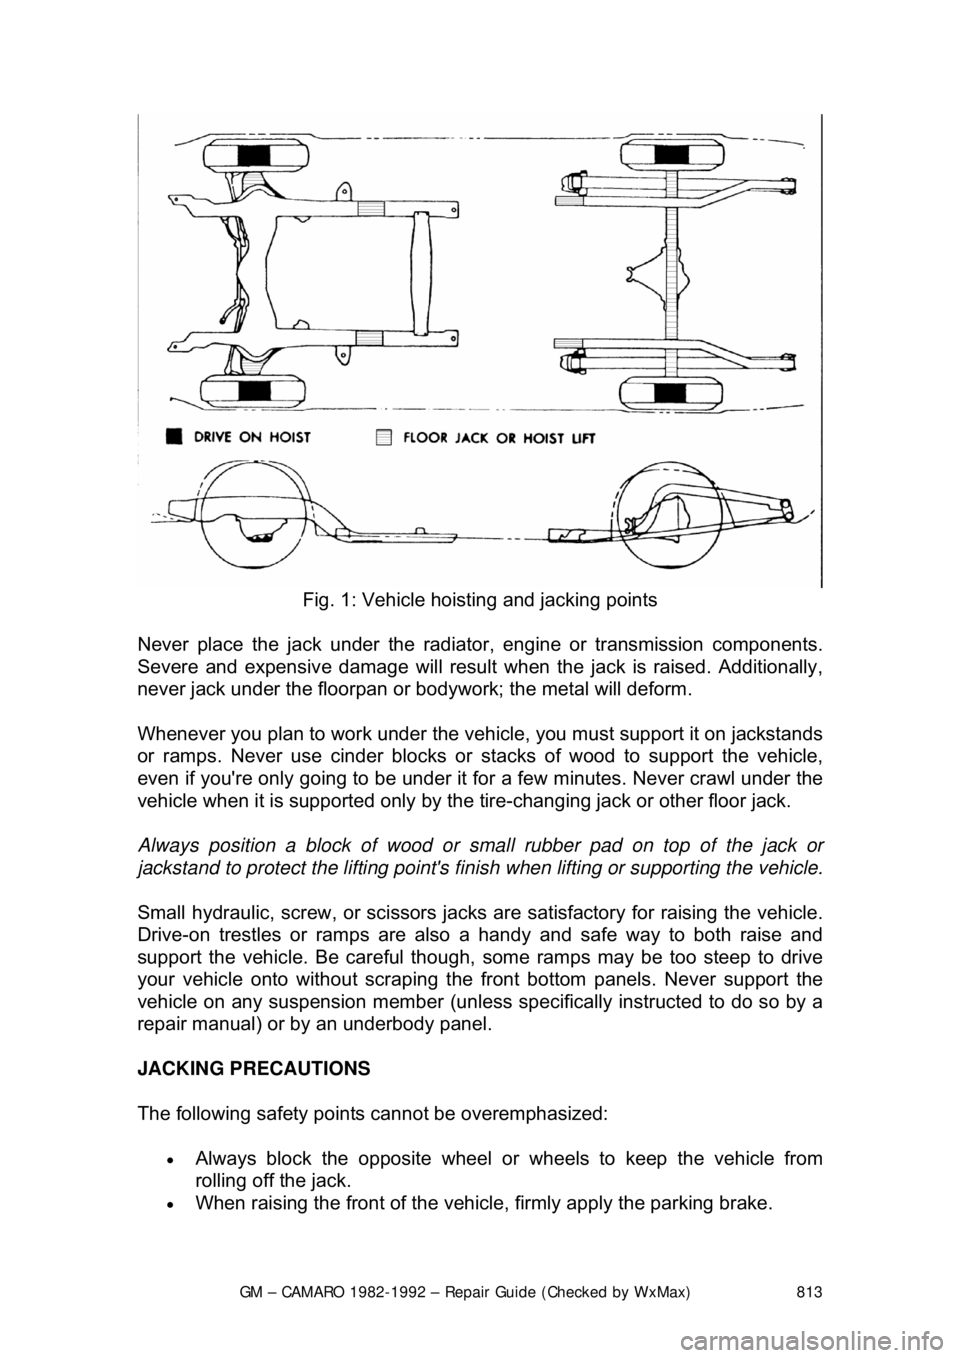
use the floor jack to raise the vehicle in the areas shown in the illustration .
Page 813 of 875

GM – CAMARO 1982-1992 – Repair Guide (Checked by WxMax) 813
Fig. 1: Vehicle hoisting and jacking points
Never place the jack under the radiator , engine or transmission components.
Severe and expensive damage wil l result when the jack is raised. Additionally,
never jack under the floorpan or body work; the metal will deform.
Whenever you plan to work under the v ehicle, you must support it on jackstands
or ramps. Never use cinder blocks or st acks of wood to support the vehicle,
even if you're only going to be under it for a few minutes. Never crawl under the
vehicle when it is supported only by the tire-changing jack or other floor jack.
Always position a block of wood or smal l rubber pad on top of the jack or
jackstand to protect the lifting point's finish when lifting or supporting the vehicle.
Small hydraulic, screw, or sci ssors jacks are satisfactory for raising the vehicle.
Drive-on trestles or ramps are also a handy and safe way to both raise and
support the vehicle. Be careful though, some ramps may be too steep to drive
your vehicle onto without scraping t he front bottom panels. Never support the
vehicle on any suspension member (unless specifically instructed to do so by a
repair manual) or by an underbody panel.
JACKING PRECAUTIONS
The following safety points cannot be overemphasized:
• Always block the opposite wheel or wheels to keep the vehicle from
rolling off the jack.
• When raising the front of the vehicle, firmly apply the parking brake.