Page 49 of 102

Downloaded from www.Manualslib.com manuals search engine Your Chevrolet may be towed
on all four wheels , at speeds of less
than
35 mph, for distances up to
50 miles, provided the driveline,
axle , tranSmission, and steering
sys
tem are otherwise normally oper
able.
Use only towing equipment
specifically designed for this
pur'
pose following the instructions of
the
towing equipment manufac
turer.A separllte safety chain sys
tem must be used. For such towing
the steeringi;Dust be unlocked,
' transmission in neutral
an~ the
parking brake released. Attach
ments must
oe made to mai!1 ,struc
tural members of the car. Do not
attach to bumpers or
,aSsociated
brackets. ' Remember that power
brake and power steering assists
will not be ,available when engine
is inoperative,
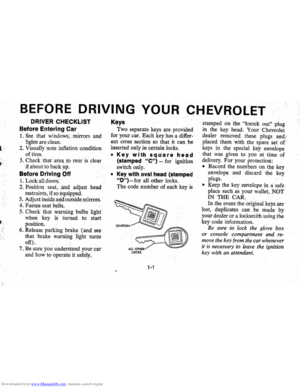
EMERGENCY STARTING
NOTE: Do not push or low this
vehicle to start. Damage to the cata
lytic converter and / or to other parts
of the vehicle may result.
• A car with a discharged 'battery
may be started by using energy
from a battery
in' another car
call<:!d "jump starting ".
Jump Starting
Jump starting may be dangerous
and should
be attempted only if the
followi!1g three , ,~onditions are met.
If they are not, we strongly,~ecom
mend that you leave the starting to
a competent mechanic.
• The battery in the OTHER vehi
cle must be
12 volt and negatively
3-2
grounded, like the, one in TillS
car. (Check the' other car's
owner's manual
to see if it is.)
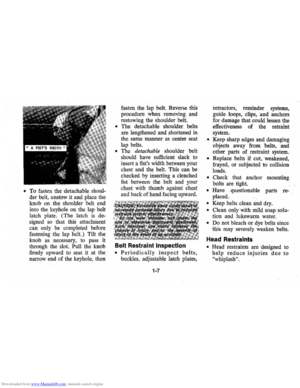
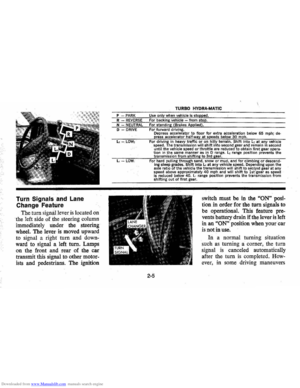
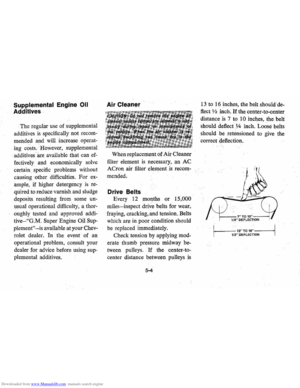
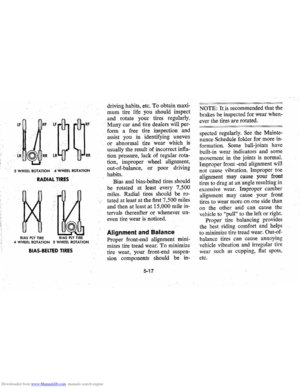
• The battery in THIS car must be
equipped with
flame arrestor
type
filler / venl caps on all filler
openings (as
was the original
equipment
De ,lco battery), or it
, must be a sealed-type battery
which does not have
fi'tler open
ings or
caps, (Each Delco bat
tery flame arrestor cap has a grey
disc rather than a small hole-see
illustration. )
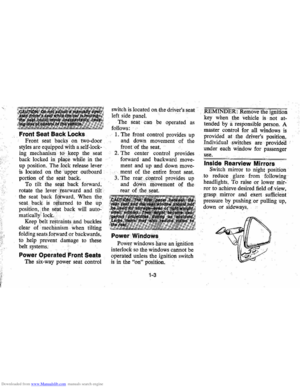
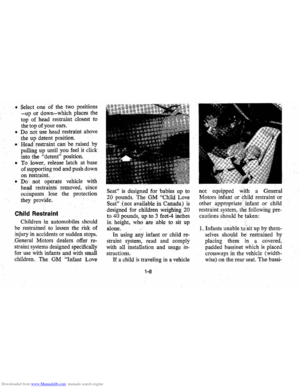
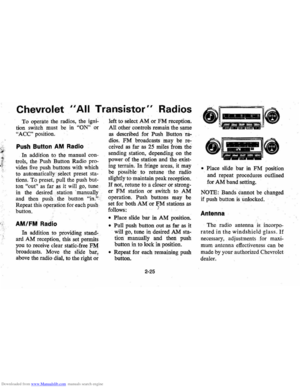
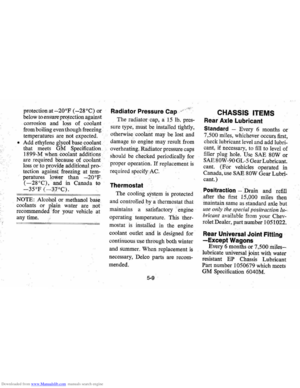
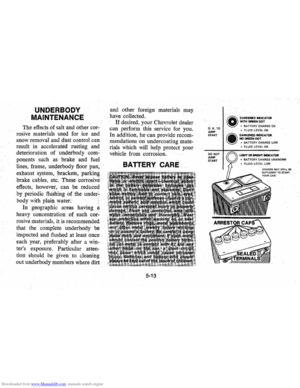
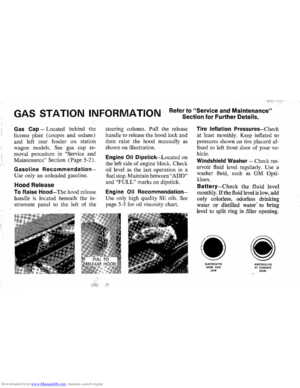
•. If thebatiery is a Delco sealed
type battery without filler open
ings or
caps"its charge indicator
must be dark, with or without
green dot showing, see illustra
tion. Do
NOT attempt jump start
ing
if the charge indicator has a
light or bright center.
Page 50 of 102
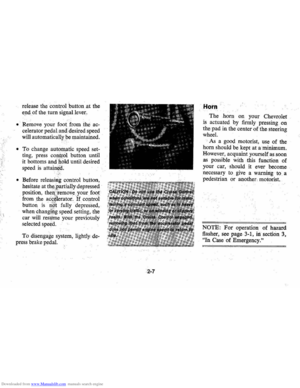
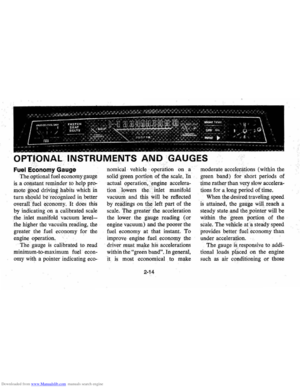
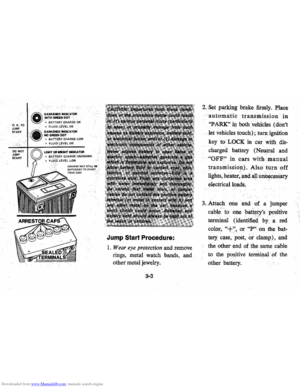
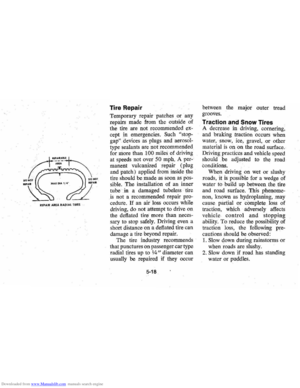
Downloaded from www.Manualslib.com manuals search engine 0: K.TO JUMP START
~ DARKENED INDICATOR WITH GREEN DOT .. . •• BATTERY CHARGE OK • FLUID LEVEL OK
Jump Start Procedure:
1. Wear eye protection and remove
rings, metal watch bands, and
other metal jewelry.
3-3
2. Set parl<;ing brake ,firmly. I'lace
automatic transmission in
"PARK" in both vehicles (don't
let
vehicles touch); turn ignition
key to LOCK in car with dis
charged battery (Neutral and
"OFF" in cars with,manual
transmissioJl). Also turn off
lights, heater,
ancl all unh~cessary
electrical loads.
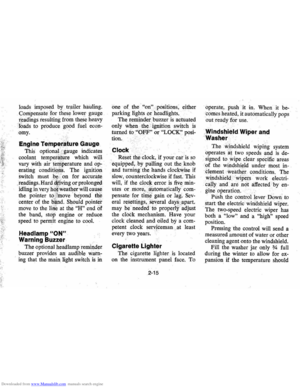
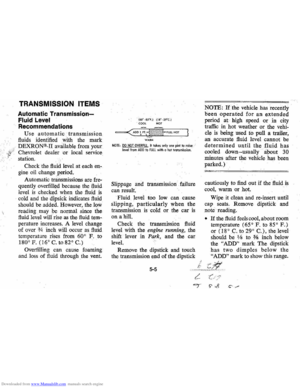
3. Attach one end of a jumper
cable
to one battery's positive
terminal (identified
by a red
color, "+1', or "P" on the bat
tery case, post, or clamp), and
the other end
of the same cable
to the positive terminal of the
other battery.
Page 51 of 102

\"N\") of the OTHER vehicles
battery,
. (")
Downloaded from www.Manualslib.com manuals search engine 4. Attach the remaining jumper
cable
FIRST to the negative
terminal (black color,
"-", or)
"N") of the OTHER vehicle's
battery,
'. (regardless of which
vehicl~ 'has the dis!:harged bat
tery)
and THEN to the negative
tertniDal of the battery in TIllS
car-thus taking advantage of
the
J\ame arrestor feature on the
bat~ in TIllS car, should a
. spark occur .
5. St~the engine in the vehicle
that. is providing the jump start
(iOt was not running). Let run
a
few minutes , then start the en
gin~ in the car that has the dis
charged battery.
6. Reverse the above sequence
EXACTLY when removing the
jumper cables, taking care
to
remove the cable from the nega
tive terminal of the battery
in
THIS
car as the FIRSI' step.
Engine Coolant
'.,"
3-4
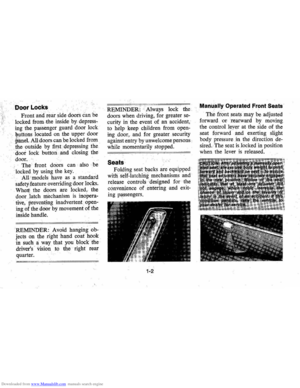
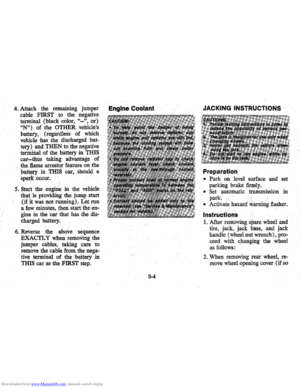
JACKING INSTRUCTIONS
Preparation
• Park on level surface and set
parkir)g brake firmly.
• Set automatic ,transmission in
park.
• Activatehazard",vaming flasher.
Instructions
1. After removing spare wheel and
tire, jack, jack
base, and jack
handle (wheel nut wrench), pro
ceed with changing the wheel
as follows: '
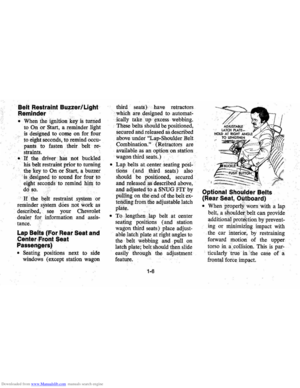
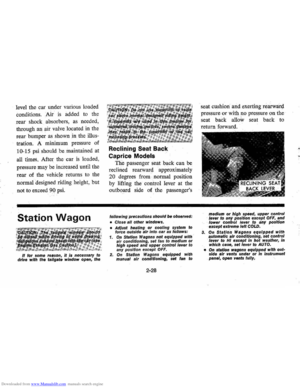
2 . When removing rear wheel,
re
move wheel opening cover (if so
Page 52 of 102
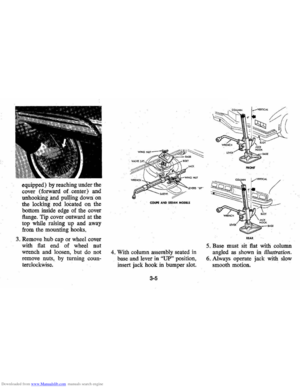
Downloaded from www.Manualslib.com manuals search engine equipped) by reaching under the
cover (forward
of. center) and
unhooking :and pulling down on
the
locking rod loeated on the
bottom inside edge of the cover
flange. Tip cover outward at the
top while raising up and away
from the mounting hooks.
3 . Remove hub cap or wheel cover
with flat end
of wheel nut
wrench and loosen , but do not
remove
nutS, by turning coun
terclockwise.
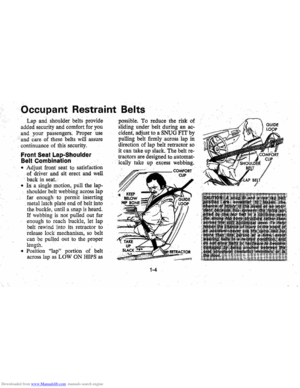
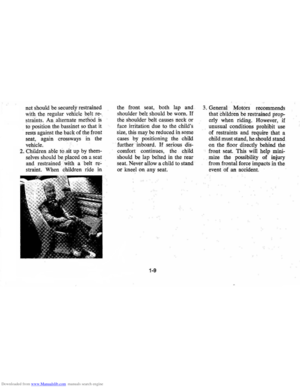
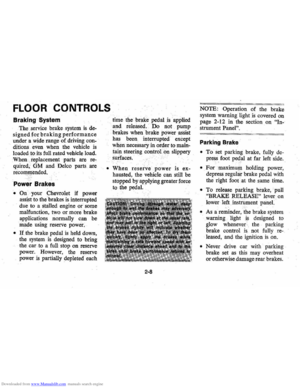
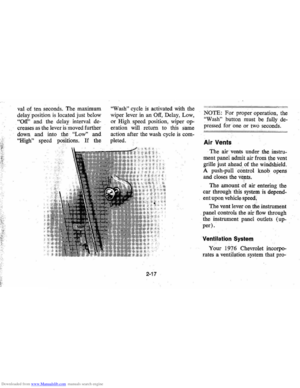
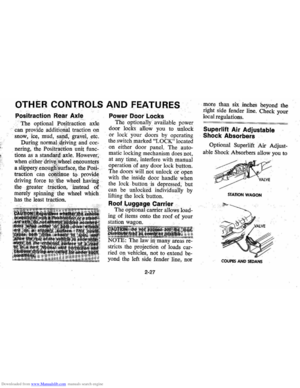
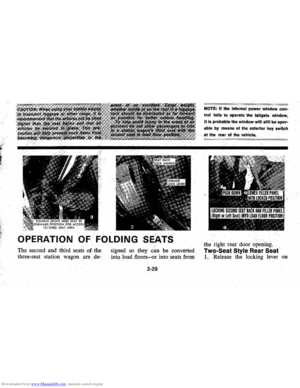
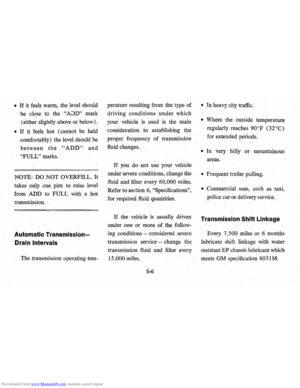
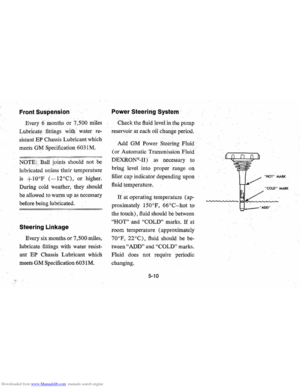
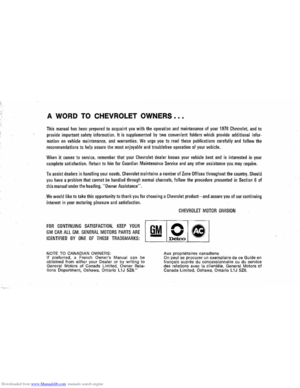
COUPE AND S£DAH MODElS
4 . With column assembly seated in
base and lever in
"UP" position,
insert jack hook in bumper slot.
3-5
PltONT
ItfA"
5. Base must sit flat with column
angled
as shown in illustration.
6. Always operate jack with slow
smooth motion.
Page 53 of 102
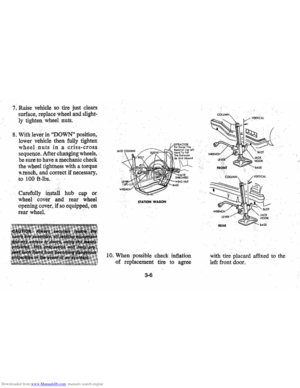
Downloaded from www.Manualslib.com manuals search engine 7. Raise vehicle so tire just clears
surface, replace wheel and
slight
ly tighteawheel nuts.
8. With leyer in "DOWN" position,
lower vehicle then fully tighten
wheeLnuts in a criss-cross
seq ueIice. After chariging wheels,
be sure,to have a mechanic check
the wheel tightness with a torque
"rench, and correct if necessary ,
to 100 ft-lbs.
Carefully instali hub cap or
wheel '
covet and rear.' wheel
opening cover, if
so equipped, on
rear wheel.
.
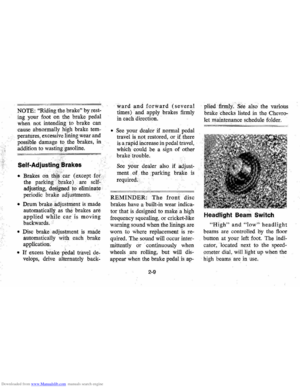
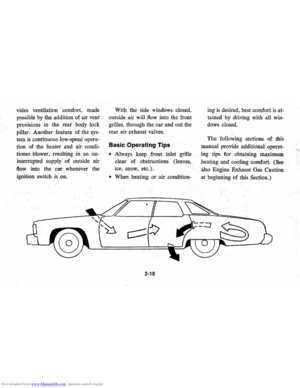
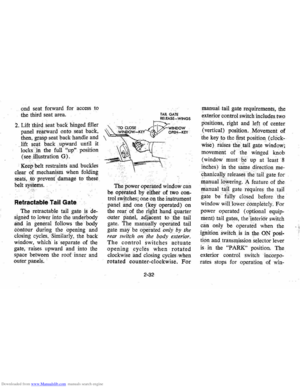
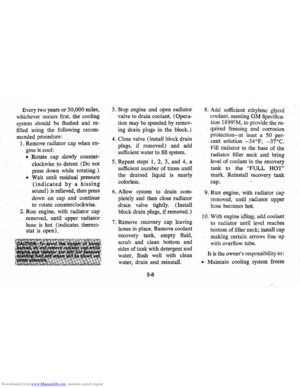
STATION WAGON
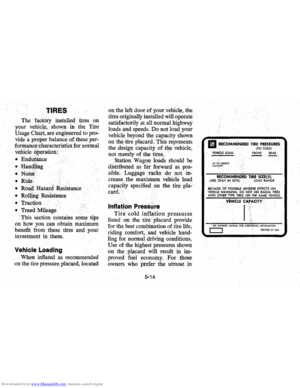
10. When possible check inflation
of replacement tire
to a,gree
3-6
with tire placard affixed to the
left front door.
Page 54 of 102

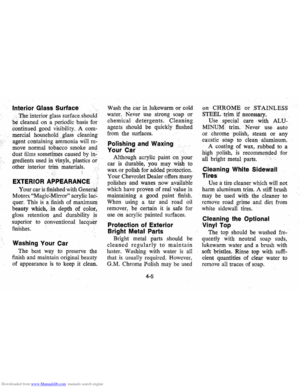
Downloaded from www.Manualslib.com manuals search engine APPEARANCE CARE
CARE AND CLEANING OF
INTERIOR TRIM
IMPORTANT: Be sure vehicle is
well ventilated while using any
cleaning agents. Follow manufac
turer's recommendations in using
such products ..
'
With the advent of modern trim
materials composed of synthetic
plastics and! or man made fibers,
it
is EXTREMELY IMPORTANT
that proper cleaning techniques
and
cleaners ·be used when clean
ing interior trim. Failure
to do this
on the first cleaning may
result in
water spots, spot rings, setting of
stains or soilage, all of which make
it more difficult or impossible to
remove in a second cleaning.
Certain portions of the following
cleaning instructions are in bold type;
they are particularlyimpor
tant and
must be performed.
Dust and loose dirt
that accu
mulates on interior fabric trim
should
be removed frequently with
a vacuum cleaner, whisk broom or
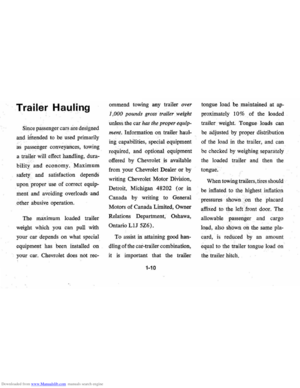
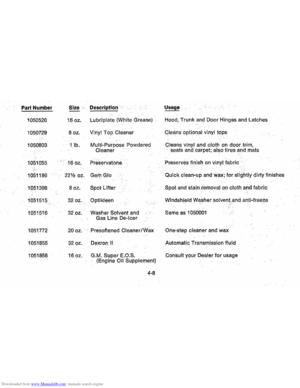
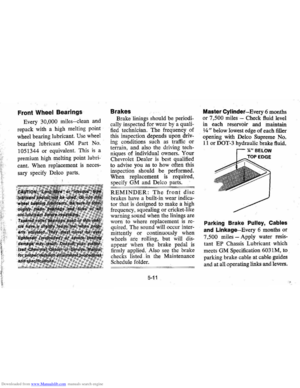
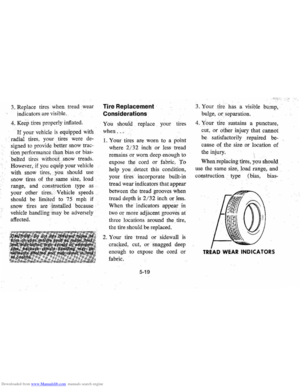
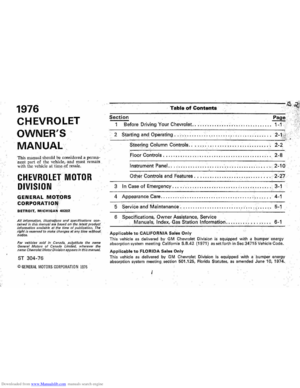
DESCRIPTION"
G.M. Spot Lifter (8 oz. Solvent Type)
soft brush. Vinyl or leather trim
should be wiped regularly with a
clean damp cloth.. Normal trim
soilage, spots or stains can be
cleaned with the following G.
M.
cleaners.
G.M. Multi-Purpose Powdered Cleaner (16 oz. Foam Type)
G.M. PART NO.
1051398
1050803
·T~e a.bovecleaner~ arB EXCELLENT CLEANERS when used properly 'aoc.ordlng to
directions on containers. They are available through your Chevrolet Dealer.
4-1
Page 55 of 102

Downloaded from www.Manualslib.com manuals search engine NEVER use gasoline, nail polish
remover or acetone , lacquer thin
ners, bleaches, etc, Some basic
steps should .be remember .
ed before
the cleaning
is attempted:
1. Removt! stains as quickly as pos
sible
before they become "set'" -':"..
2. Use a clean cloth or sponge and
r,hange to a clean area fre
quently.
(A soli brush may be
used it stains persist.)
3.
Use s<:llvent· type cleaners in a
well ventilated area, also, do not
saturate the stained area.
4.
If a ring should form after spot
cleaning, the entire area of the
trim assembly should be cleaned
immediately.
5. Follow instructions on the label
of the cleaner.
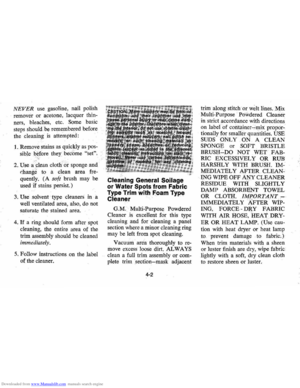
Cleaning General Soilage
or Water Spots from Fabric
Type Trim with Foam Type
Cleaner
G.M. Multi-Purpose Powdered
Cleaner
is excellent for this type
cleaning and for cleaning a panel
section where a minor cleaning ring
may be left from spot cleaning.
Vacuum
aria thoroughly to re
move excess loose dirt.
AL WAYS
clean a full trim assembly or com
plete trim section-mask adjacent
4-2
trim along stitch or welt lines. Mix
Multi-Purpose
Powdered Cleaner
in strict accordance with directions
on label of coritainer-mix propor
tionally for smaller quantities.
USE
SUDS ONLY ON
A CLEAN
SPONGE or SOFT BRISTLE
BRUSH-'-DO NOT WET FAB
RIC EXCESSrYEL
Y OR RUB
HARSHLY
WI1JI BRUSH. IM
MEDIATELY
AFTER CLEAN
ING WIPE
OFF ANY CLEANER
RESIDUE
WITH SLIGHTLY
DAMP ABSORBENT TOWEL
OR CLOTIi.
IMPORTANT
IMMEDIATELY AFTER wip
ING, FORCE-DR,Y FABRIC
WITH AIR
IiOSE, HEAT DRY
ER OR HEAT LAMP. (Use cau
tion with heat dryer or heat lamp
to, prevent damage to fabric,)
When trim materials with a sheen
or luster finish are dry, wipe fabric
lightly with a soft, dry clean cloth
to restore sheen
or luster.
, ,~
Page 56 of 102

Downloaded from www.Manualslib.com manuals search engine Spot Cleaning Fabric Type
Trim
Materials with Solvent
Type Cleaner
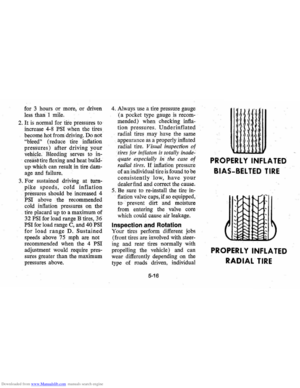
Before attempting to remove
spots or stain s from fabric, deter
mine as accurately
as possible the
nature and age of the spo t
or stain.
Some spo ts or st.ains can be re
moved sa
tisfactorily with water or
mild soap
solution (refer to ac
companying
'' It'emoval of Specific
Stains"). For best results, spots or
stains should
be removed as soon
as possible . S9rne types of stains
or soilage such
as lipstick, some
inks , certain typ
es of grease etc.,
are extrem ely difficult and, in some
cases , impossible to completely re
move. When cleaning this type .of
stain or soilage, care must be taken
not to enlarge the soiled area.
It is
sometimes more desirable to have
a small stain than an enlarged stain
a s a result of careless cleaning.
~
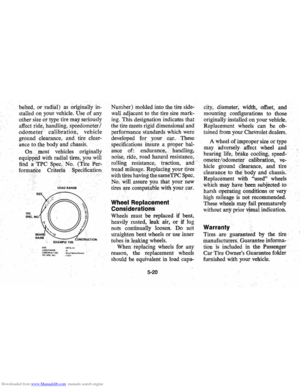
G.M. Spot Lifter (Solvent Type)
is excellent .for spot cleaning stains
containing grease, oil or fats from
fabric type trim. Exces s stain
should be gently scraped off trim
material with a clean
DULL knife
or
scraper. USE VERY LITTLE
CLEANER, light pressure , and
clean cloths (preferably cheese
cloth). Cleaning action should
be
from outside of stain FEATHER
ING toward s center of stain and
constantly changing to a clean sec
tion of cloth. When stain
is cleaned
from fabric, immediately dry area
with an
air hose, heat dryer or heat
lamp to
helppreverit a cleaning
ring (use caution with heat dryer
or heat lamp
to prevent damage to
fabric materi
al). If a ring forms,
immediately repeat the cleaning
operation over
a slightly larger
area with special emphasis on
FEA THERlNG towards center of
area.
If ring still persists, mark
off adjacent trim sections and clean
4-3
entire affected trim panel sectIOn
with G.M. Multi-Purpose Powdered
Cleaner
as previously described
under "Cleaning General Soilage
or Water
Spots with Foam Type
Cleaner."
Removal of Specific Stains
Grease or 011 Stains-Includes
grease, oil, butter , margarine shoe
polish , coffee with cream,
ch~wing
gum, cosmetic creams, vegetable
oils, wax crayon; tar and asphalts.
Carefully scrape
off excess stain;
then us.e Spot. Lifter (Solvent
Type) as previously described.
Shoe polish, wax crayons, tar and
asphalts will stain
if allowed to
remain on trim; they should
be
removed as soon as· possible-use
caution
as cleaner will dissolve
them and may cause them to bleed.
Non-Greasy StaIns-Includes cat
sup, coffee (black), egg, fruit, fruit


 by reaching under the
cover (forward
of. center) and
unhooking :and pulling down on
the
locking rod loeated on the
bottom")
