1965 CHEVROLET CORVAIR lights
[x] Cancel search: lightsPage 9 of 56
Downloaded from www.Manualslib.com manuals search engine more economical cruising gear in the shortest possible
time. Hard acceleration for fast starts will cause the trans
mission to remain in low gear for a considerably longer
period.
When driving at speeds below 45 mph, the transmis
sion may be shifted back into low range for extra acceler
ation for passing by depressing the accelerator pedal
fully. The transmission will automatically shift back into cruising
gear when the accelerator pedal is momentarily
released.
PUSHING TO START
• Turn off all
electrical loads such as radio, heater and,
if possible, lights until the engine starts.
• Turn on key and move selector lever to neutral. At
20 to 25 mph move lever to l.
• When engine starts, move selector lever to D.
NOTE: Never tow to start.
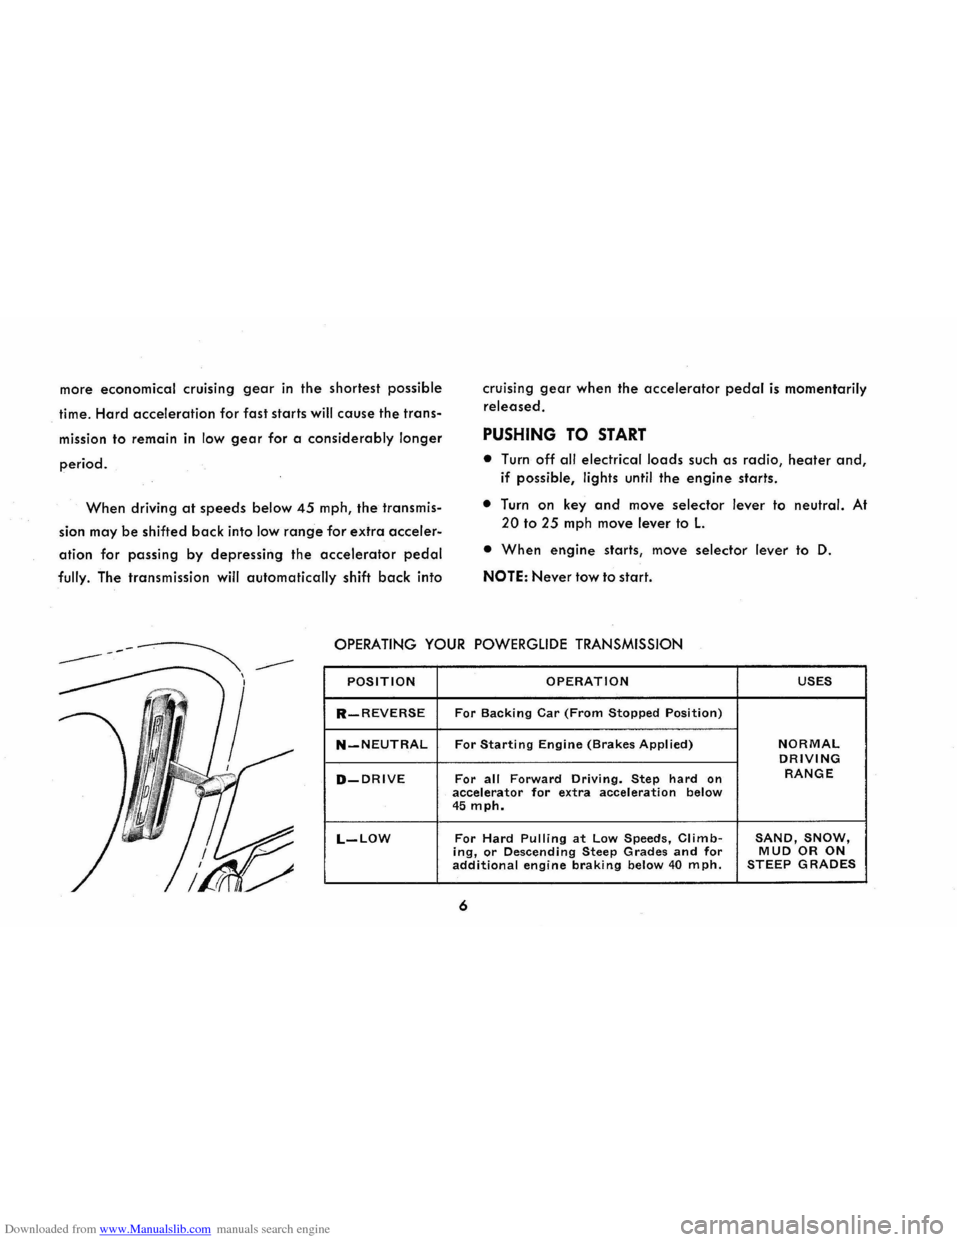
OPERATING YOUR POWERGLIDE TRANSMISSION
POSITION OPERATION USES
R-REVERSE For Backing Car (From Stopped Position)
N-NEUTRAL For Starting Engine (Brakes Applied) NORMAL DRIVING
D-DRIVE For all Forward Driving. Step hard on RANGE
accelerator for extra acceleration below 45 mph.
L-LOW For Hard Pulling at Low Speeds, Climb-SAND, SNOW, ing, or Descending Steep Grades and for MUD OR ON additional engine braking below 40 mph. STEEP GRADES
6
Page 12 of 56
Downloaded from www.Manualslib.com manuals search engine TEMP-PRESS AND GEN-FAN INDICATORS
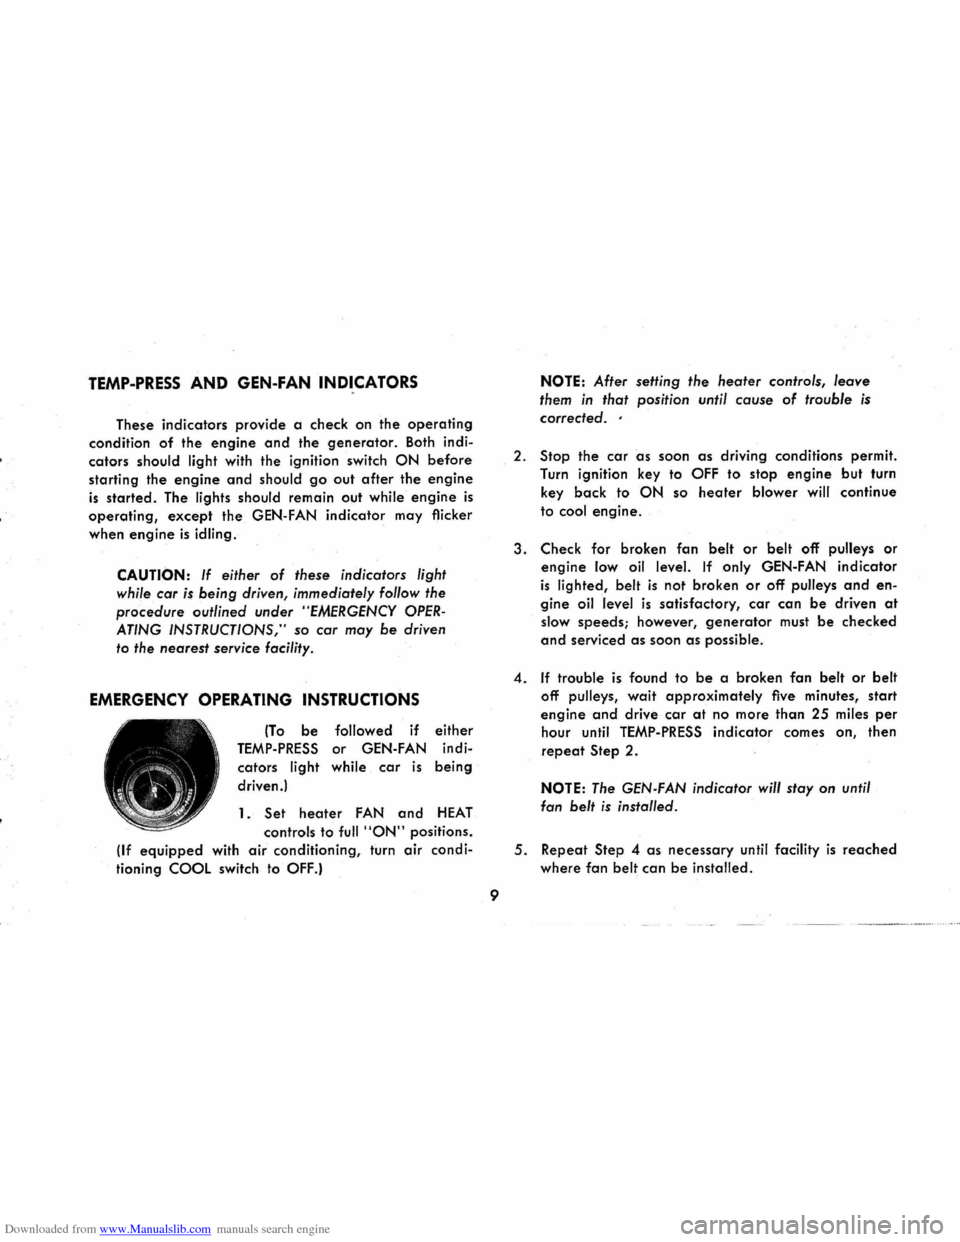
These indicators provide a check on the operating
condition of the engine and the generator. Both indi
cators should light with the ignition switch ON before
starting the engine and should go out after the engine
is started. The lights should remain out while engine is
operating, except the GEN-FAN indicator may flicker
when
engine is idling.
CAUTION: If either of these indicators light
while car is
being driven, immediately follow the
procedure outlined under "EMERGENCY OPER
ATING INSTRUCTIONS," so car may be driven
to
the nearest service facility.
EMERGENCY OPERATING INSTRUCTIONS
(To be followed if either
TEMP-PRESS or GEN-FAN indi
cators light while car is being
driven.)
1.
Set heater FAN and HEAT
controls to full "ON" positions.
(If
equipped with air conditioning, turn air condi
tioning COOL switch to OFF.)
9
NOTE: After setting the heater controls, leave
them in that position until cause of trouble is
corrected ..
2. Stop the car as soon as driving conditions permit.
Turn ignition key to
OFF to stop engine but turn
key
back to ON so heater blower will continue
to cool engine.
3. Check for broken fan belt or belt off pulleys or
engine low oil level. If only GEN-FAN indicator
is lighted, belt is not broken or off pulleys and en
gine oil level is satisfactory, car can be driven at
slow speeds; however, generator must be checked
and serviced as soon as possible.
4. If trouble is found to be a broken fan belt or belt
off pulleys, wait approximately five minutes, start
engine and drive car at no more than 25 miles per
hour until TEMP-PRESS indicator comes on, then
repeat Step 2.
NOTE: The GEN-FAN indicator will stay on until
fan
belt is installed .
5. Repeat Step 4 as necessary until facility is reached
where fan belt can be installed.
Page 13 of 56
Downloaded from www.Manualslib.com manuals search engine I
INSTRUMENTS AND CONTROLS
LIGHT WIPER RIGHT
TURN SIGNAL INDICATOR
LIGHT CONTROL KNOB
PARKING LIGHTS
TURN TO VARY
LIGHTER
GLOVE COMPARTMENT
LOCK
GLOVE COMPARTMENT
ASH
TRAY
10
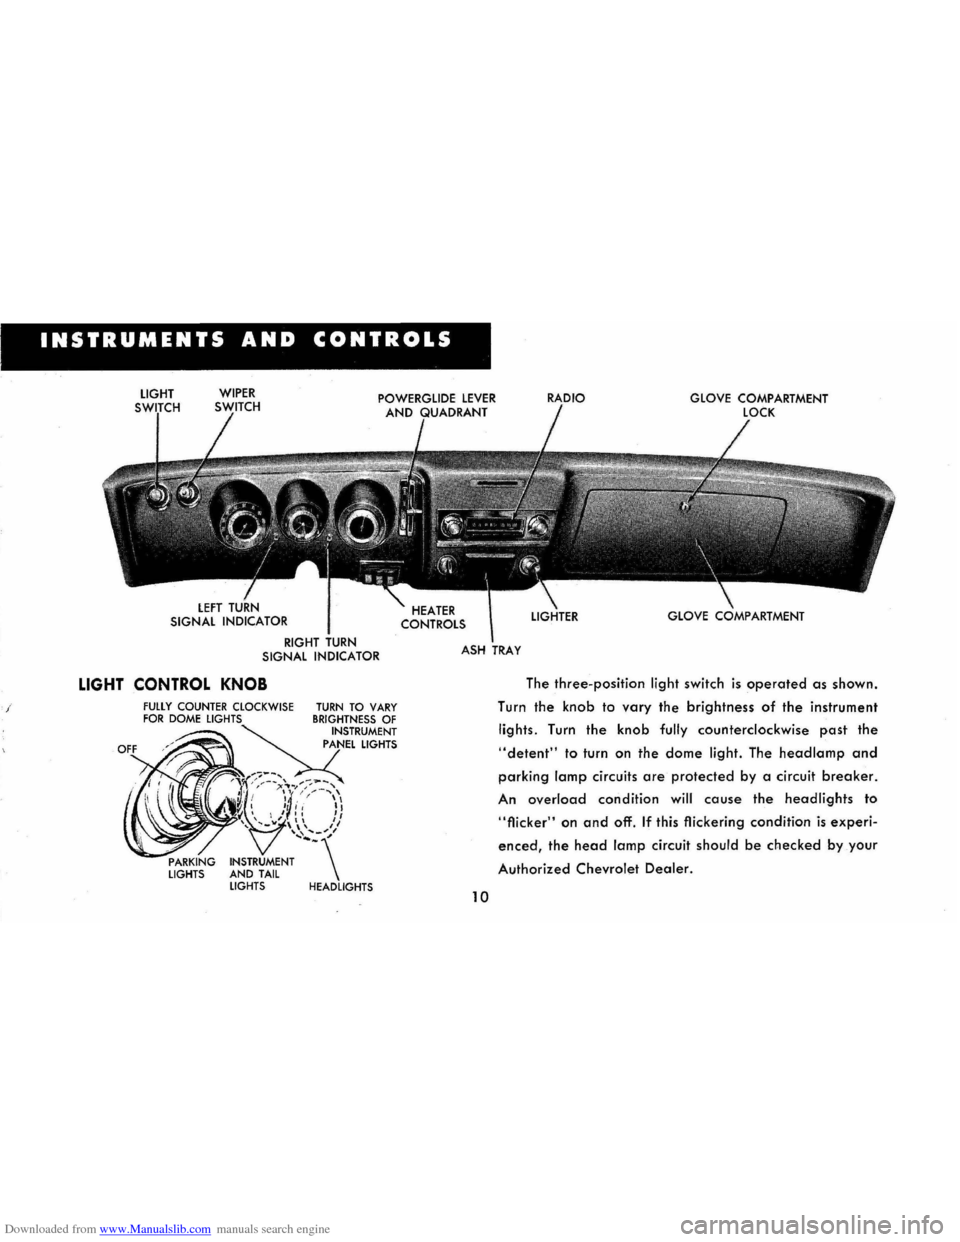
The three-position light switch is operated as shown.
Turn the
knob to vary the brightness of the instrument
lights. Turn the knob fully counterclockwise past the
"detent" to turn on the dome light. The headlamp and
parking lamp circuits are protected by a circuit breaker.
An overload condition will cause the headlights to
"flicker" on and off. If this flickering condition is experi
enced, the head lamp circuit should be checked by your
Authorized Chevrolet Dealer.
Page 14 of 56
Downloaded from www.Manualslib.com manuals search engine DIMMER SWITCH
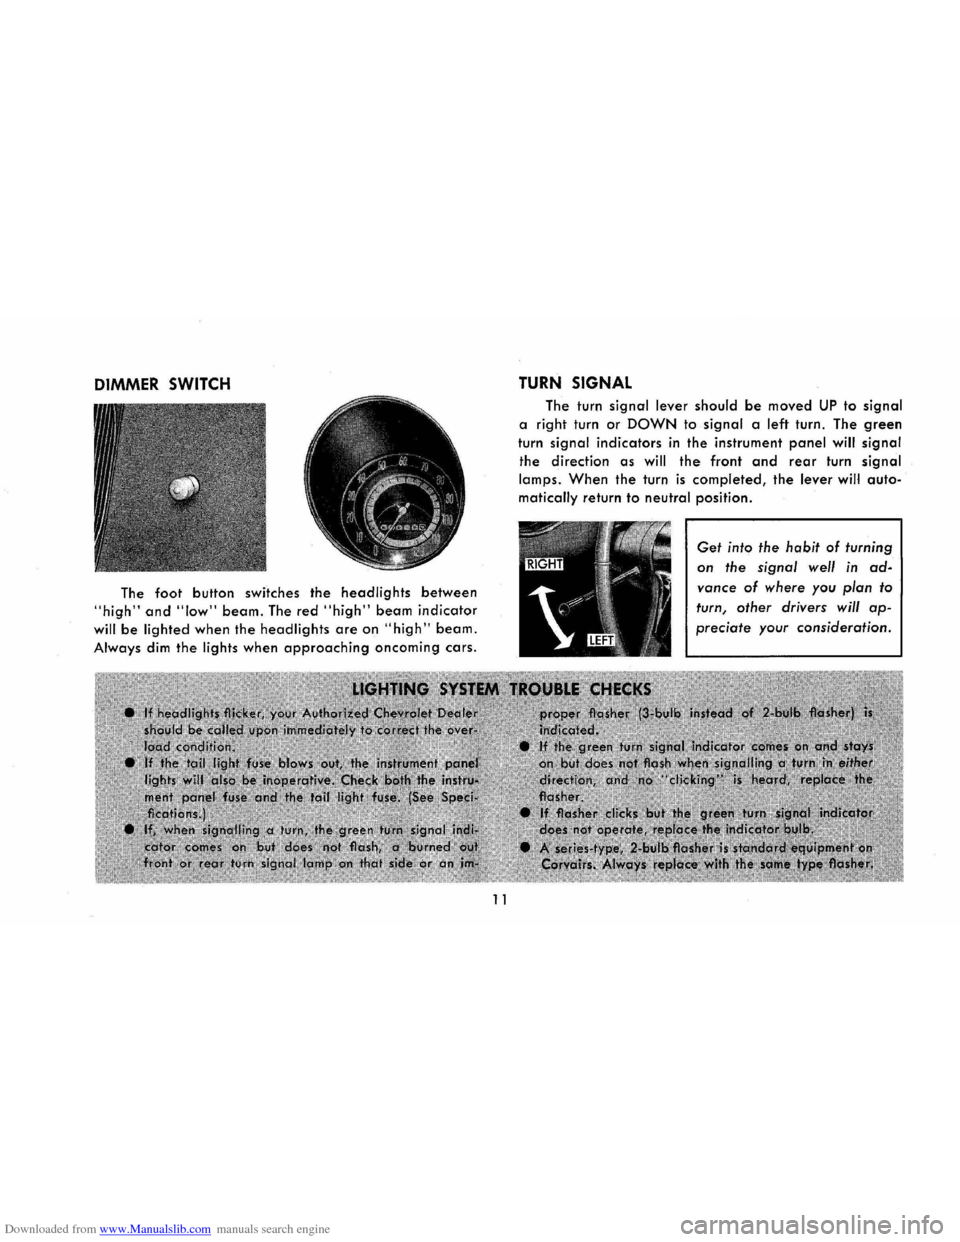
The foot button switches the headlights between
"high" and "low" beam. The red "high" beam indicator
will be lighted when the headlights are on "high" beam.
Always dim the lights when approaching oncoming cars.
11
TURN SIGNAL
The turn signal lever should be moved UP to signal
a right turn or DOWN to signal a left turn. The green
turn signal indicators in the instrument panel will signal
the direction as will the front and rear turn signal
lamps. When the turn is completed, the lever will auto
matically return to neutral position.
Get into the habit of turning
on the signal well in ad
vance of where you plan to
turn, other drivers will ap
preciate your consideration.
Page 49 of 56
Downloaded from www.Manualslib.com manuals search engine Corvair passenger cars are designed primarily for
passenger conveyance. However, it is well known that
many owners do use the Corvair to pull trailers, and
when available trailer hauling options have been used,
the owners
have experienced very satisfactory service.
When a trailer is attached to a car, the car becomes
not only a load-carrying vehicle, but a load-pulling
vehicle. The demands of this type of operation are very
different from those for which the automobile is pri
marily designed and may present problems, such as
spring
and tire loading, braking, cooling, lighting, and
steering. However, careful driving practices and the use
of factory-recommended options will better satisfy the
requirements
of trailer hauling.
If in the opinion of the manufacturer a part or com
ponent of a motor vehicle has been adversely affected
46
by misuse of the vehicle with trailer loads, such part or
component will not be covered by the manufacturer's
warranty.
The size of and equipment for trailers, including
such items as hitches and safety chains, brakes, lights,
power-weight ratios and over-all length, are generally
subject to safety regulations in all states, and it is the
responsibility of the user to make certain that he is in
full
compliance with the regulations of the states in
which he plans to operate with a trailer of the Interstate
Commerce Commission,
if applicable, before doing so.
Further, when
operating a car with a trailer attached,
the driver must realize that the performance, steering
characteristics,
and braking distance of his car have
been altered, and that he must exercise greater caution
to safely handle his car and trailer.
Page 52 of 56
Downloaded from www.Manualslib.com manuals search engine and blocked AIR CLEANER ELEMENTS. Clean and reoil the air
cleaner elements if necessary. Idle adjustment should be performed
by your Chevrolet Dealer.
If the above Fuel System checks and the checks suggested under
the Electrical System following do not correct the malfunction, it is
recommended that you turn to your Authorized Chevrolet Dealer
for further checks , adjustments or repairs.
ELECTRICAL SYSTEM
If, when the ignition key is turned to START, the engine will not
turn
over, you have good reason to suspect electrical trouble.
(F) When there .is no response at all to attempts to start the car,
check the obvious-your AUTOMATIC TRANSMISSION SElECTOR
LEVER must be in neutral position before the engine can be started.
Turning the IGNITION SWITCH rapidly back and forth several
times will sometimes correct a poor internal switch contact.
(G) The
BATTERY may be discharged. If so, lights will be dim and
the horn will have a poor tone if it will blow at all.
Usually a
garage recharge will be necessary to return the battery
to operation. Occasionally, however , a push start and a long drive
will
recharge the battery.
NOTE : If the battery is determined to be dead, and for no apparent
reason , have your Authorized Chevrolet Dealer check the
battery, the GENERATOR and the VOLTAGE REGULATOR .
GENERA TOR trouble should already have been indicated by
the indicator on the instrument panel. Never remove generator
"BAT" lead without first disconnecting battery ground cable.
49
POOR BATTERY CONNECTIONS may be suspected if the car has operated properly a short time before and now not even the horn
will operate. Check both ends of both battery cables. If the con
nections are corroded, a car may sometimes be restored to opera
tion by removing all cable ends, scraping all contacting surfaces clean with a pen knife , and reassembling . If the cables are broken, they must be replaced. The power supply should now be restored unless the battery is dead.
(H) If, however, the lights and horn work properly but the starter will still not turn over, check the STARTER connections. A "click" from the starter solenoid indicates that the wiring to the starter is properly installed . If the wiring seems to be clean and tightly installed, the trouble is probably in the starter itself and should be referred to your Authorized Chevrolet Dealer.
When the engine will "turn over" but will not start, the following
items may be checked along with Fuel System Checks listed
previously .
(I) With a clean dry cloth wipe the ceramic portions of the spark plugs dry. In particularly damp or rainy wellthe'r dampness may be the cause of not starting, especi-: . ally when the engine is cold.
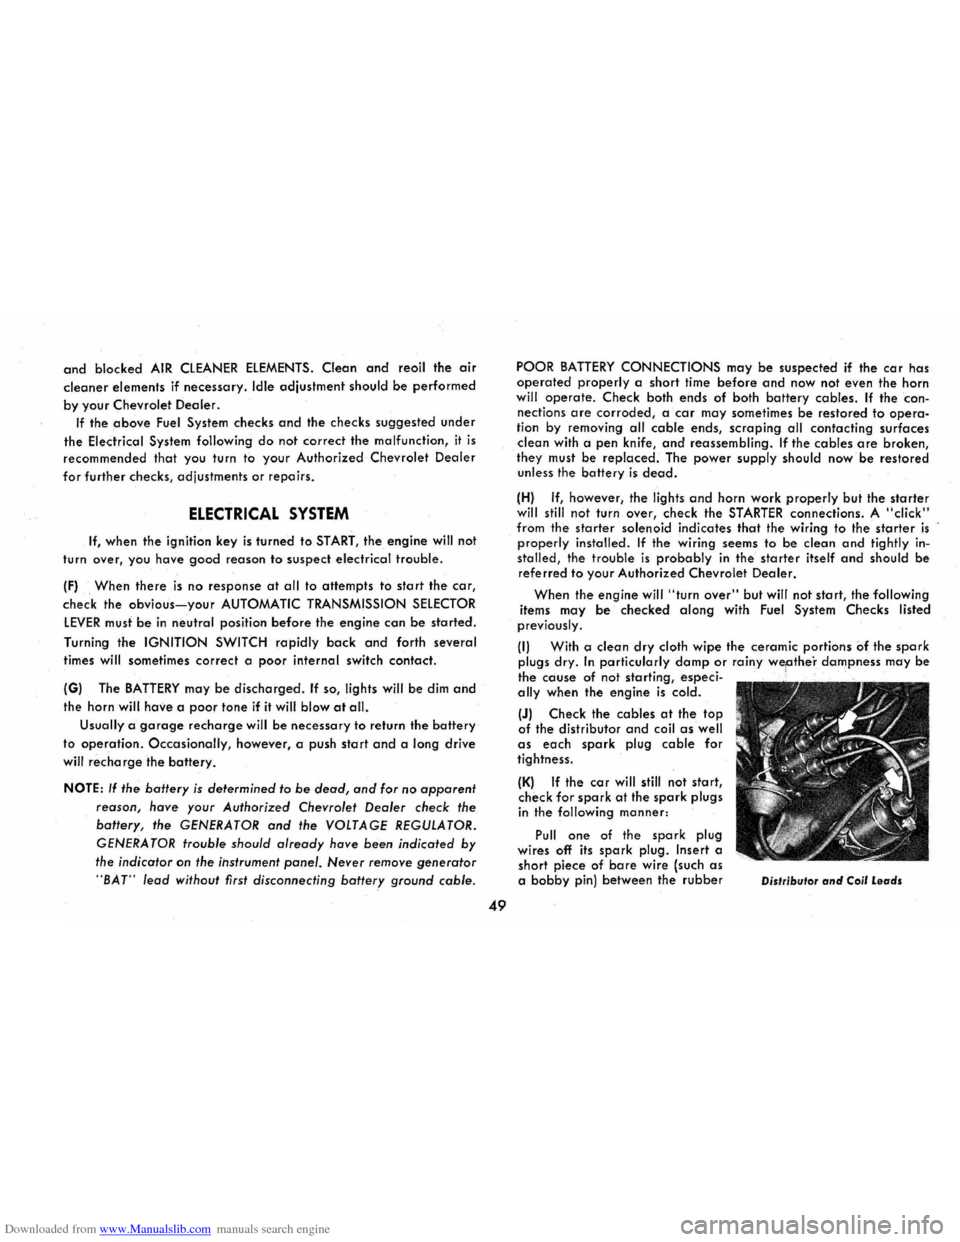
(J) Check the cables at the top of the distributor and coil as well as each spark plug cable for tightness.
(K) If the car will still not start, check for spark at the spark plugs in the following manner:
Pull
one of the spark plug
wires off its spark plug. Insert a
short piece of bare wire (such as a bobby pin) between the rubber Oislribulor and Coil Leads