2024 FORD F650/750 service
[x] Cancel search: servicePage 148 of 386
Vehicles with Automatic Transmission
When you switch the ignition on, thesystem automatically turns on. You cannotturn the system on or off.
AIR BRAKES
WARNING: Failure to maintainproper air brake adjustment can resultin reduction or loss of braking ability.
WARNING: Do not drive or continueto drive if the low air pressure buzzer issounding or the brake warning light is lit.These warnings indicate that air pressureis not to normal operating level.Continued use of the vehicle could resultin loss of braking ability.
WARNING: Avoid repeated lightapplication of the brake pedal. Thisdepletes air pressure faster and couldresult in loss of braking capability.
WARNING: Do not move thevehicle when the air pressure isinsufficient because the brake systemmay be inoperative.
After starting the engine, allow time for theair compressor to build air pressure to60 psi (414 kPa) before moving yourvehicle.
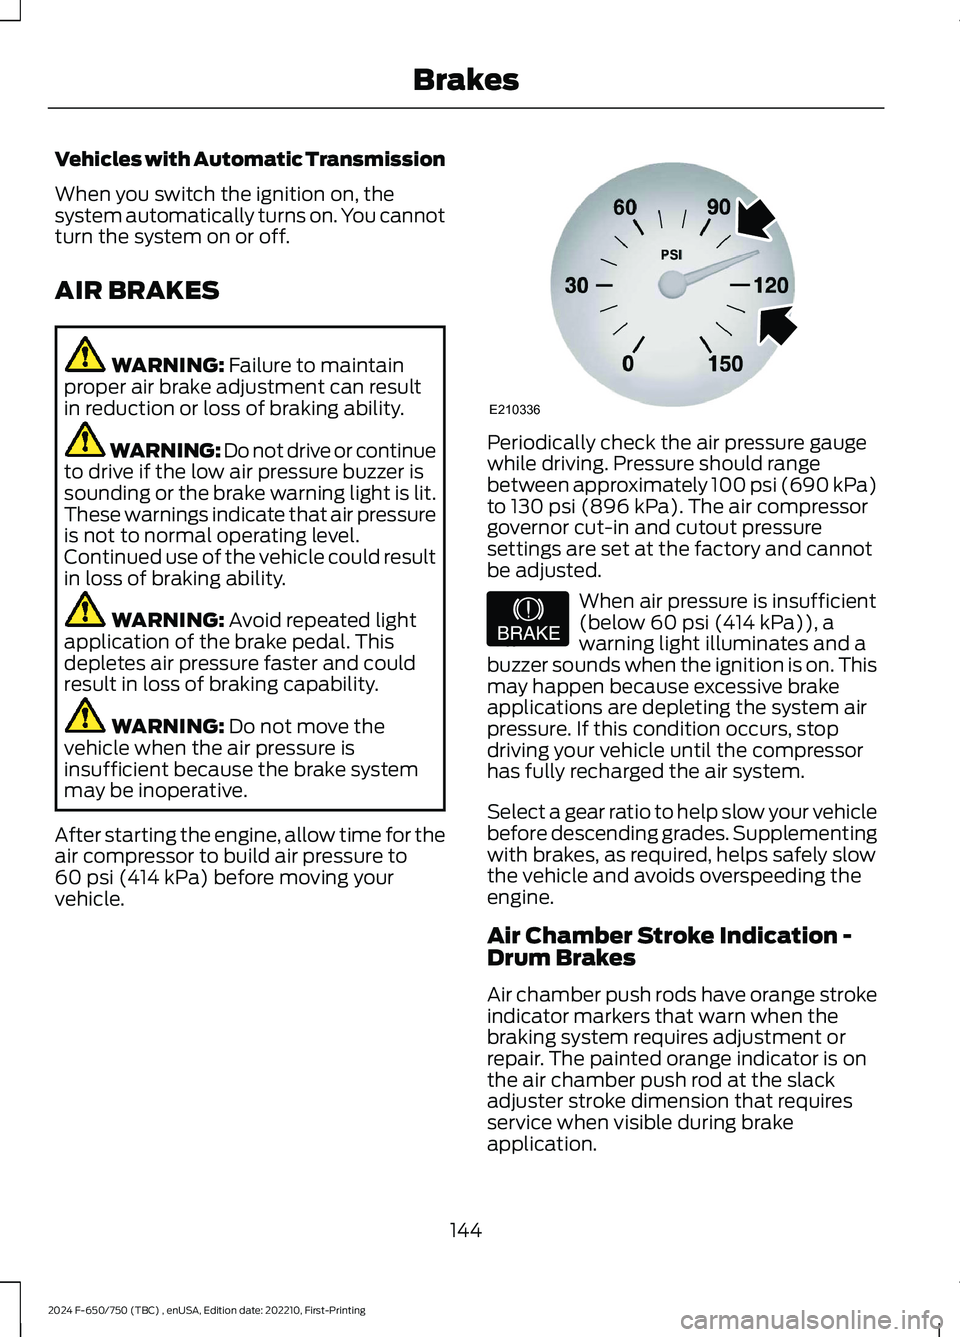
Periodically check the air pressure gaugewhile driving. Pressure should rangebetween approximately 100 psi (690 kPa)to 130 psi (896 kPa). The air compressorgovernor cut-in and cutout pressuresettings are set at the factory and cannotbe adjusted.
When air pressure is insufficient(below 60 psi (414 kPa)), awarning light illuminates and abuzzer sounds when the ignition is on. Thismay happen because excessive brakeapplications are depleting the system airpressure. If this condition occurs, stopdriving your vehicle until the compressorhas fully recharged the air system.
Select a gear ratio to help slow your vehiclebefore descending grades. Supplementingwith brakes, as required, helps safely slowthe vehicle and avoids overspeeding theengine.
Air Chamber Stroke Indication -Drum Brakes
Air chamber push rods have orange strokeindicator markers that warn when thebraking system requires adjustment orrepair. The painted orange indicator is onthe air chamber push rod at the slackadjuster stroke dimension that requiresservice when visible during brakeapplication.
144
2024 F-650/750 (TBC) , enUSA, Edition date: 202210, First-PrintingBrakesE210336 E206772
Page 149 of 386

Only qualified service technicians shouldperform air brake inspection andadjustment or repairs.
Cam Brakes - Automatic SlackAdjusters - Drum Brakes
WARNING: Do not manually adjustthe automatic slack adjusters to correctexcessive push rod stroke as it may resultin reduced brake effectiveness and avehicle crash. Excessive push rod strokeindicates that a problem exists with theautomatic adjuster, with the installationof the adjuster, or with foundation brakecomponents that manual adjustmentdoes not remedy. Seek service from aqualified facility for excessive push rodstroke.
Standard air brakes (cam) are equippedwith automatic brake adjusters. Automaticadjustment occurs during brakeapplications. Inspect brakes for properadjustment at the specified intervals. SeeScheduled Maintenance (page 325).
Emergency Air Brake
WARNING: Do not continue tooperate the vehicle with a failure of oneof the brake systems. Take the vehicleto your dealer for service immediately.
Brake Wear Indicator - Disc Brakes
Inspect the brake wear indicator every timebefore starting the vehicle. The wearindicator length through the hole continuesto reduce depending on the brake padwear. Replace the brake pads immediatelyif the lining material thickness is 0.0787 in(2 mm) or less on either of the brake pads.
EXHAUST BRAKE (IF EQUIPPED)
WARNING: Do not use tow/haulwhen the road surface is slippery. Failureto follow this instruction could result inthe loss of control of your vehicle.
WARNING: Do not use dieselengine exhaust braking when the roadsurface is slippery. Failure to follow thisinstruction could result in the loss ofcontrol of your vehicle.
145
2024 F-650/750 (TBC) , enUSA, Edition date: 202210, First-PrintingBrakesE210337 E392040
Page 150 of 386
Note:Installing an exhaust or auxiliarybrake does not necessarily protect theengine from exceeding the maximumgoverned speed. Use the primary brakes tomake sure the engine never exceeds themaximum governed speed under anycircumstance.
Note:Engine speed has a major influenceon limiting performance. When enginespeed stays at the maximum allowablelevel, the exhaust brake operates at peakperformance.
Note:Exhaust brakes operate effectivelywith automatic transmissions. However,performance varies with engine speed andthe gear selected by the transmission.
An exhaust brake is an auxiliary brakingsystem that assists, but does not replace,the primary brake system. It helps controlvehicle speed. It is not a vehicle-stoppingdevice.
Use the button on the instrument panel, incombination with the accelerator pedal,to maximize the use of the exhaust brakein the following conditions:
•Off-highway driving.
•Mountain driving.
•Heavy traffic.
•High-speed highway driving.
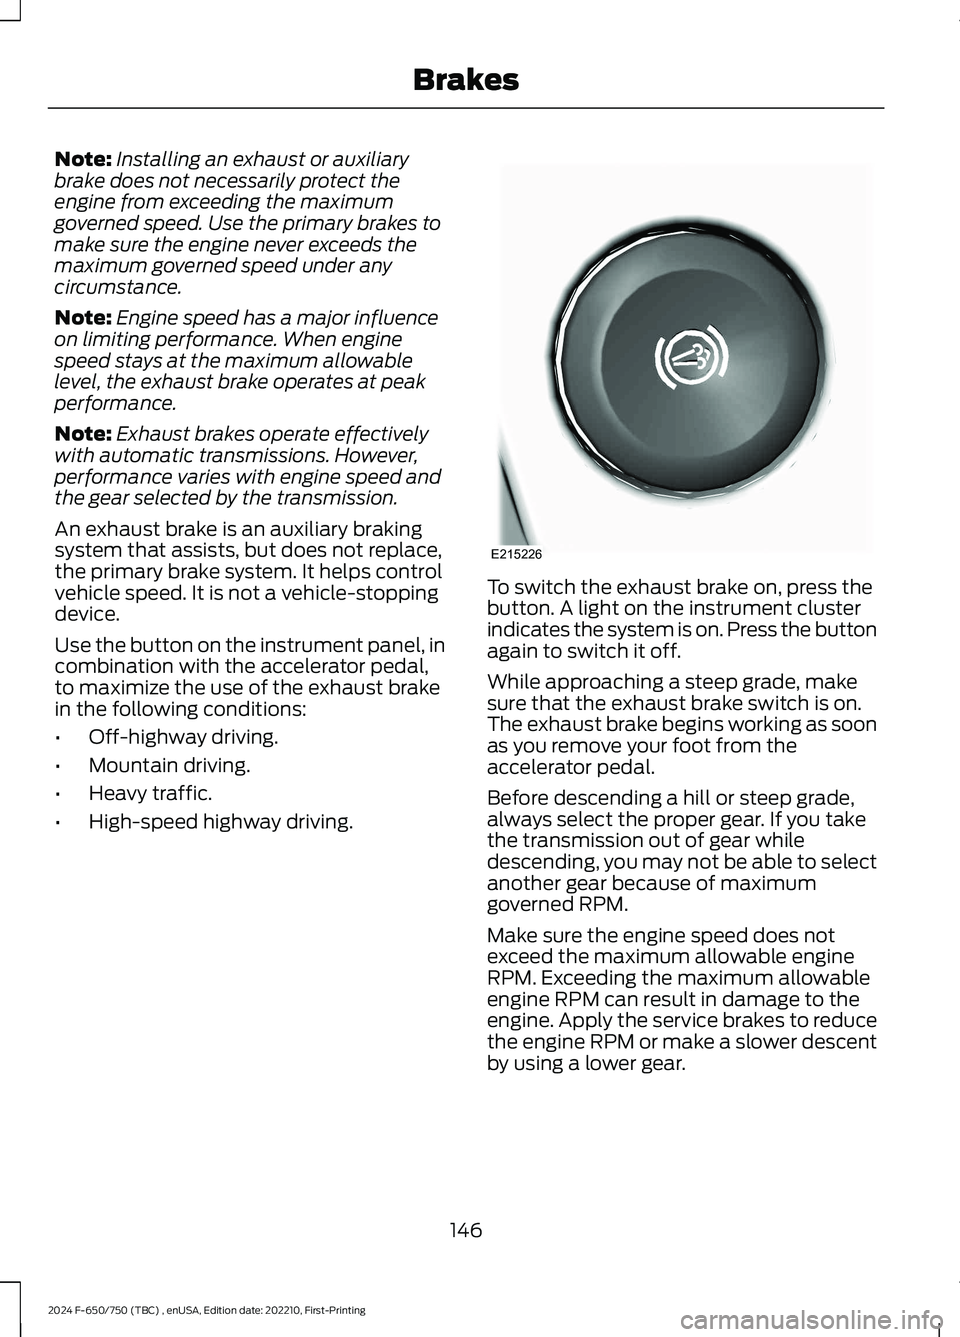
To switch the exhaust brake on, press thebutton. A light on the instrument clusterindicates the system is on. Press the buttonagain to switch it off.
While approaching a steep grade, makesure that the exhaust brake switch is on.The exhaust brake begins working as soonas you remove your foot from theaccelerator pedal.
Before descending a hill or steep grade,always select the proper gear. If you takethe transmission out of gear whiledescending, you may not be able to selectanother gear because of maximumgoverned RPM.
Make sure the engine speed does notexceed the maximum allowable engineRPM. Exceeding the maximum allowableengine RPM can result in damage to theengine. Apply the service brakes to reducethe engine RPM or make a slower descentby using a lower gear.
146
2024 F-650/750 (TBC) , enUSA, Edition date: 202210, First-PrintingBrakesE215226
Page 151 of 386
While driving down a grade, use a lowenough gear to descend safely with aminimum application of the service brakes.As a general guideline, use the same gearas you use to ascend the hill.
Exhaust Brake OperatingCharacteristics
The exhaust brake switches on when youremove your feet from the acceleratorpedal and the exhaust brake is on.
If the brake is working properly, you maynotice:
•A slight change in engine sound whenthe exhaust brake turns on.
•A smooth braking effect. Do not expecta retarding effect similar to sudden,hard application of the service brakes.
•A retarding force possibly felt actingagainst your body during brakeapplication, depending on the gradeand vehicle load. This force helps yourvehicle resist increasing speeds downgrades.
•Engine temperatures remaining in thenormal operating range.
•A drop in engine RPM, depending ongrade and vehicle load, during adescent.
•A decrease in road speed whenapplying the exhaust brake during adescent, except when your vehicle iscarrying a heavy load or the grade isextremely steep. In these instances,you may need to apply the servicebrakes occasionally.
TRAILER BRAKES (IF EQUIPPED)
Trailer Brake Hand Control (If Equipped)
WARNING: The hand controlshould never be used to apply the brakeswhen the tractor and trailer are parkedunattended. Air may leak from thesystem and the vehicle could possiblymove, resulting in possible propertydamage, personal injury or death.
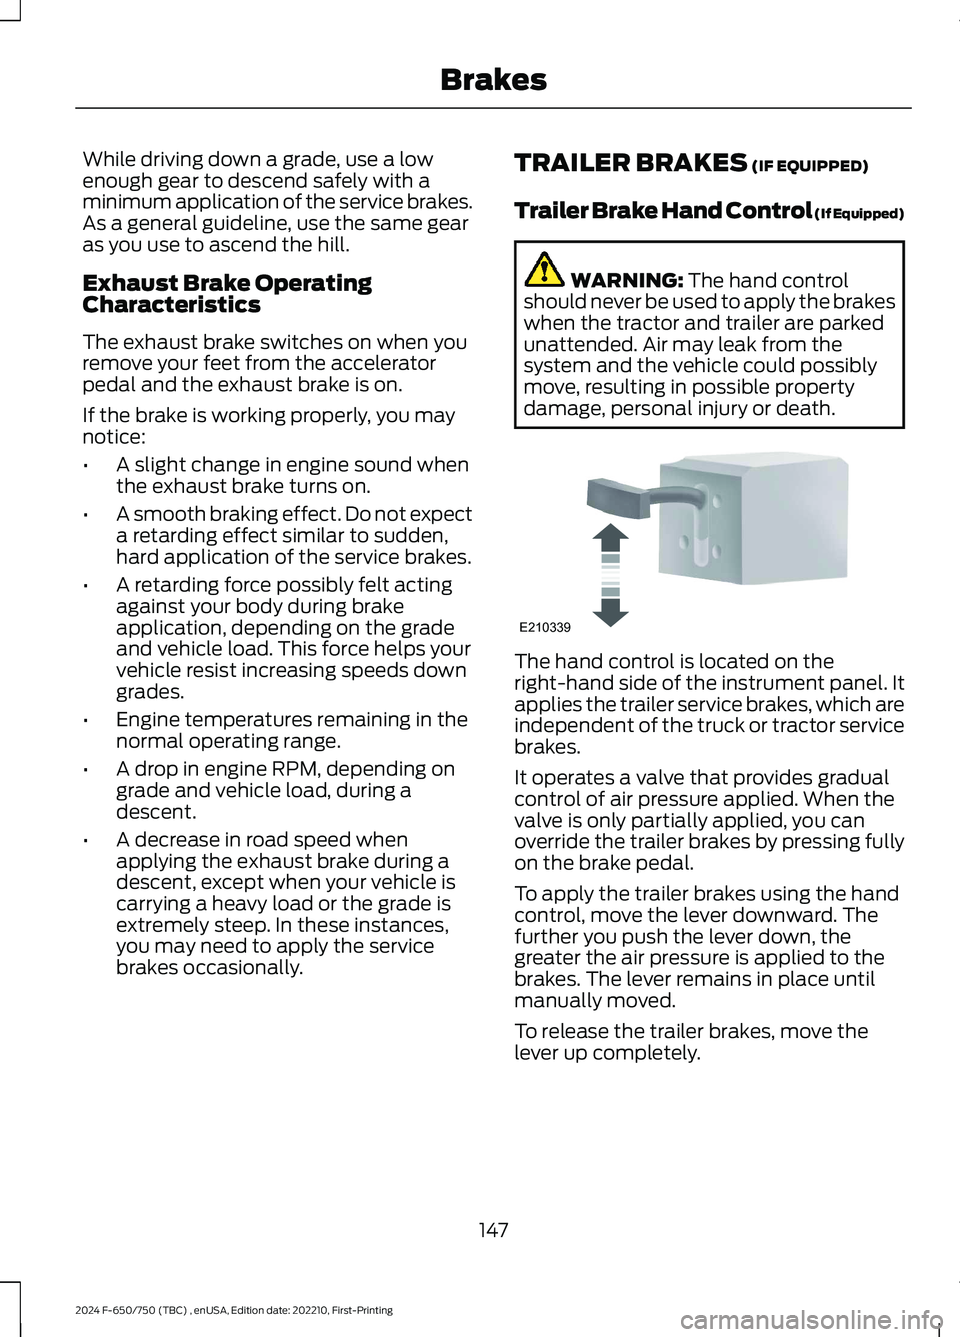
The hand control is located on theright-hand side of the instrument panel. Itapplies the trailer service brakes, which areindependent of the truck or tractor servicebrakes.
It operates a valve that provides gradualcontrol of air pressure applied. When thevalve is only partially applied, you canoverride the trailer brakes by pressing fullyon the brake pedal.
To apply the trailer brakes using the handcontrol, move the lever downward. Thefurther you push the lever down, thegreater the air pressure is applied to thebrakes. The lever remains in place untilmanually moved.
To release the trailer brakes, move thelever up completely.
147
2024 F-650/750 (TBC) , enUSA, Edition date: 202210, First-PrintingBrakesE210339
Page 155 of 386
PRINCIPLE OF OPERATION
The traction control system helps avoiddrive wheel spin and loss of traction.
If your vehicle begins to slide, the systemapplies the brakes to individual wheelsand, when needed, reduces engine powerat the same time. If the wheels spin whenaccelerating on slippery or loose surfaces,the system reduces engine power in orderto increase traction.
USING TRACTION CONTROL -
VEHICLES WITH: AIR BRAKES
WARNING: Operating your vehiclewith the traction control disabled couldlead to an increased risk of loss of vehiclecontrol, vehicle rollover, personal injuryand death.
Press the TCS Off button on theinstrument panel to enable themud/snow mode.
This is beneficial when your vehicle is stuckin snow or on a slippery road surface. Thismode allows wheel spin to dig your vehicleout and allows you to rock your vehicle.
Press the switch again to select standardtraction control. The system automaticallyselects standard traction control at thenext ignition cycle.
System Indicator Light
Note:If the traction control light does notflash during a traction control event or staysilluminated, the system is not functioningproperly. Take your vehicle to an authorizeddealer for service.
During traction control operation, thetraction control light flashes rapidly andthe engine does not rev-up when you pressfurther on the accelerator. This is normaland is no reason for concern.
In mud/snow mode, the TCS OFF lightilluminates on the instrument cluster. If atraction event occurs in either mode, thestability and traction control light flashesrapidly.
USING TRACTION CONTROL -
VEHICLES WITH: HYDRAULIC
BRAKES
WARNING: Operating your vehiclewith the traction control disabled couldlead to an increased risk of loss of vehiclecontrol, vehicle rollover, personal injuryand death.
The system turns on each time you switchthe ignition on.
Use the traction control buttonon the instrument panel toswitch the system off or on.
If your vehicle is stuck in mud or snow,switching traction control off is beneficialas this allows the wheels to spin.
Press the button again to switch thetraction control system on.
System Indicator Light
Note:If the traction control light does notflash during a traction control event or stayson, the system is not operating. Have thesystem checked as soon as possible.
During a traction control event, the tractioncontrol light rapidly flashes. Pressingfurther on the accelerator does not causethe engine to rev higher. This is normal andis no reason for concern.
151
2024 F-650/750 (TBC) , enUSA, Edition date: 202210, First-PrintingTraction ControlE330660 E330660
Page 174 of 386
STEERING
Hydraulic Power Steering
To help prevent damage to the powersteering system:
•Do not hold the steering wheel at itsfurthest turning points for more thanthree to five seconds when the engineis running.
•Avoid continuously steering back andforth with elevated engine RPM as thismay overheat the system. If trying tofree a stuck vehicle, pause betweenattempts to allow the power steeringsystem to cool or seek assistance.Typical steering and driving maneuversallow the system to cool.
•Do not operate the vehicle if the powersteering pump fluid level is below theMIN mark on the reservoir.
•Some noise is normal during operation.If excessive, check for low powersteering pump fluid level beforeseeking service by your dealer.
•Heavy or uneven efforts may be causedby low power steering fluid. Check forlow power steering pump fluid levelbefore seeking service by your dealer.
•Do not fill the power steering pumpreservoir above the MAX mark on thereservoir, as this may result in leaksfrom the reservoir.
If the power steering system breaks downor if you switch the engine off, you cansteer the vehicle manually, but it takesmore effort.
If you have any steering componentsserviced or replaced, install new fasteners.Many fasteners have coatings with threadadhesive, or have prevailing torquefeatures you cannot reuse. Do not reuse abolt or nut. Torque fasteners tospecifications.
Steering Tips
If the steering wanders or pulls, check for:
•An improperly inflated tire.
•Uneven tire wear.
•Loose or worn suspensioncomponents.
•Loose or worn steering components.
•Improper vehicle alignment.
Note:A high crown in the road or highcrosswinds may also make the steeringseem to wander or pull.
PRE-COLLISION ASSIST -
VEHICLES WITH: AIR BRAKES
WARNING: You are responsible forcontrolling your vehicle at all times. Thesystem is designed to be an aid and doesnot relieve you of your responsibility todrive with due care and attention. Failureto follow this instruction could result inthe loss of control of your vehicle,personal injury or death.
WARNING: The system does notdetect vehicles that are driving in adifferent direction, pedestrians, cyclistsor animals. Apply the brakes whennecessary. Failure to follow thisinstruction could result in the loss ofcontrol of your vehicle, personal injury ordeath.
170
2024 F-650/750 (TBC) , enUSA, Edition date: 202210, First-PrintingDriving Aids
Page 188 of 386
•Shift to a lower gear when driving downa long or steep hill. Do not apply thebrakes continuously, as they mayoverheat and become less effective.
•If your transmission is equipped withthe Tow/Haul feature, use this featurewhen towing. This provides enginebraking and helps eliminate excessivetransmission shifting for optimum fueleconomy and transmission cooling.
•Allow more distance for stopping witha trailer attached. Anticipate stops andbrake gradually.
FIFTH WHEEL OPERATION (IF
EQUIPPED)
WARNING: Failure to follow thefifth wheel manufacturer’s instructionsfor hooking and unhooking as well assliding the fifth wheel could result in anaccident, personal injury or death.
WARNING: When the tractor andtrailer are parked unattended, the trailerbrake hand control should never be usedto apply the brake, since air may leakfrom the system, allowing vehiclemovement, resulting in possible propertydamage, personal injury or death.
Before hook-up, make sure:
•The fifth wheel jaws are fully open.
•The fifth wheel is fully tilted back toprevent body damage when the tractoris backed under a trailer.
•You block the trailer wheels and adjustand apply the trailer spring brakes.Never chase a trailer.
•The brake hoses and light cords areclear of the fifth wheel.
Hook-up
1.Back the tractor squarely under thetrailer, engaging the fifth-wheel jawson the kingpin. Always back up slowly;make sure the trailer is neither too highnor too low. Avoid backing under thetrailer from an angle.
2.Connect the service and emergencybrake hoses and trailer light connector.
3.Inspect the jaws of the fifth wheel tobe sure they have fully closed on thetrailer kingpin and the trailer plate isresting securely on the fifth wheel.
4.Make sure the coupler release lever isin the locked position.
5.Charge the trailer brake system. Setthe trailer brakes, with either the handvalve or tractor protection valve. Pullagainst the trailer for an extra check ofproper hook-up. Do not pull hardenough to damage or strain theequipment.
6.Set the tractor parking brakes and fullyraise the trailer landing gear.
7.Check the operation of all trailer lightsand correct any lights that may befaulty.
Un-hook
1.Try to keep the tractor and trailer in astraight line.
2.Apply the parking brakes.
3.Lower the trailer landing gear, makingsure it is on solid, level ground. Theweight of the trailer is to be on thelanding gear.
4.Block the trailer wheels.
5.Disconnect the brake hoses and lightcords. Be sure hoses and cords areclear.
6.Pull coupler release lever to disengagethe fifth wheel jaws.
184
2024 F-650/750 (TBC) , enUSA, Edition date: 202210, First-PrintingTowing
Page 193 of 386
DRIVING THROUGH WATER
WARNING: Do not drive throughflowing or deep water as you may losecontrol of your vehicle.
Note:Driving through standing water cancause vehicle damage.
Note:Engine damage can occur if waterenters the air filter.
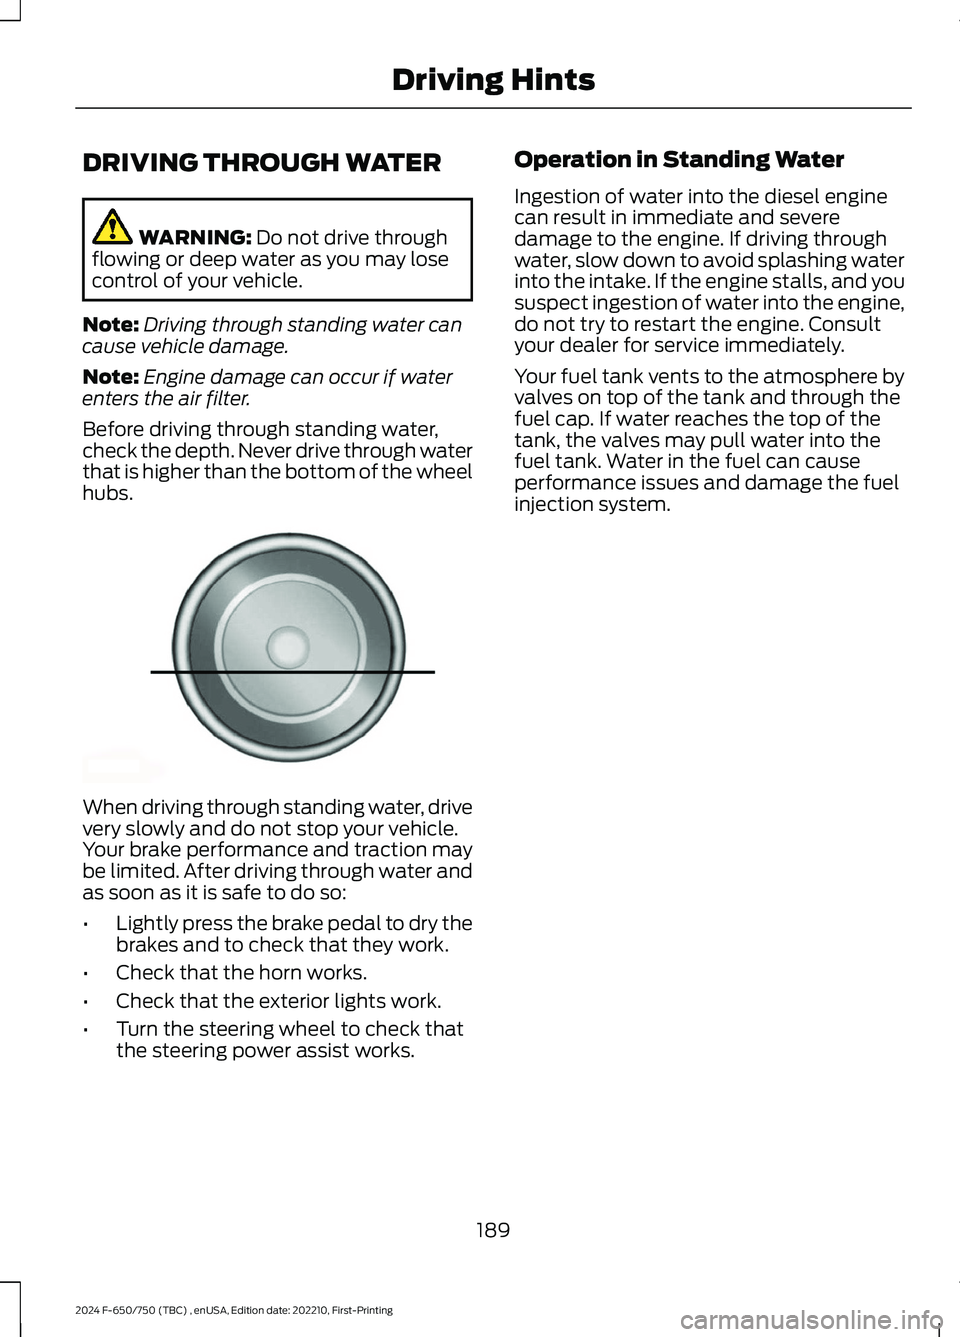
Before driving through standing water,check the depth. Never drive through waterthat is higher than the bottom of the wheelhubs.
When driving through standing water, drivevery slowly and do not stop your vehicle.Your brake performance and traction maybe limited. After driving through water andas soon as it is safe to do so:
•Lightly press the brake pedal to dry thebrakes and to check that they work.
•Check that the horn works.
•Check that the exterior lights work.
•Turn the steering wheel to check thatthe steering power assist works.
Operation in Standing Water
Ingestion of water into the diesel enginecan result in immediate and severedamage to the engine. If driving throughwater, slow down to avoid splashing waterinto the intake. If the engine stalls, and yoususpect ingestion of water into the engine,do not try to restart the engine. Consultyour dealer for service immediately.
Your fuel tank vents to the atmosphere byvalves on top of the tank and through thefuel cap. If water reaches the top of thetank, the valves may pull water into thefuel tank. Water in the fuel can causeperformance issues and damage the fuelinjection system.
189
2024 F-650/750 (TBC) , enUSA, Edition date: 202210, First-PrintingDriving HintsE176913