2024 CHEVROLET SILVERADO EV ECO mode
[x] Cancel search: ECO modePage 198 of 429
Chevrolet Silverado EV Owner Manual (GMNA-Localizing-U.S./Canada-
16702912) - 2024 - CRC - 1/17/23
Driving and Operating 197
Truck-Camper Loading Information
The vehicle was neither designed nor
intended to carry a slide-in camper.Caution
Adding a slide-in camper or similar
equipment to the vehicle can damage it,
and the repairs would not be covered by
the vehicle warranty. Do not install a
slide-in camper or similar equipment on
the vehicle.
Starting and Operating
New Vehicle Break-In
Caution
Avoid making hard stops for the first
322 km (200 mi). During this time the
new brake linings are not yet broken in.
Hard stops with new linings can mean
premature wear and earlier replacement.
Follow this breaking-in guideline every
time you get new brake linings.
Following break-in, vehicle speed and load
can be gradually increased.
Power Modes
Powering On
This vehicle is equipped with Hands-Free
Start, which automatically starts the vehicle
when you enter with a remote key, press
the brake, or close the driver door.
If a remote key was left in the vehicle after
the last power cycle, closing the driver door
will not turn on the vehicle. The brake pedal
must be pressed to turn the vehicle on.
Driver Information Center (DIC) messages
will display explaining how to turn on the
vehicle.
If the remote key is not in the vehicle or
something is interfering with the remote
key, a message displays in the DIC.
If the vehicle does not turn on due to a low
remote key battery, the vehicle can still be
driven. SeeRemote Key Operation 09.
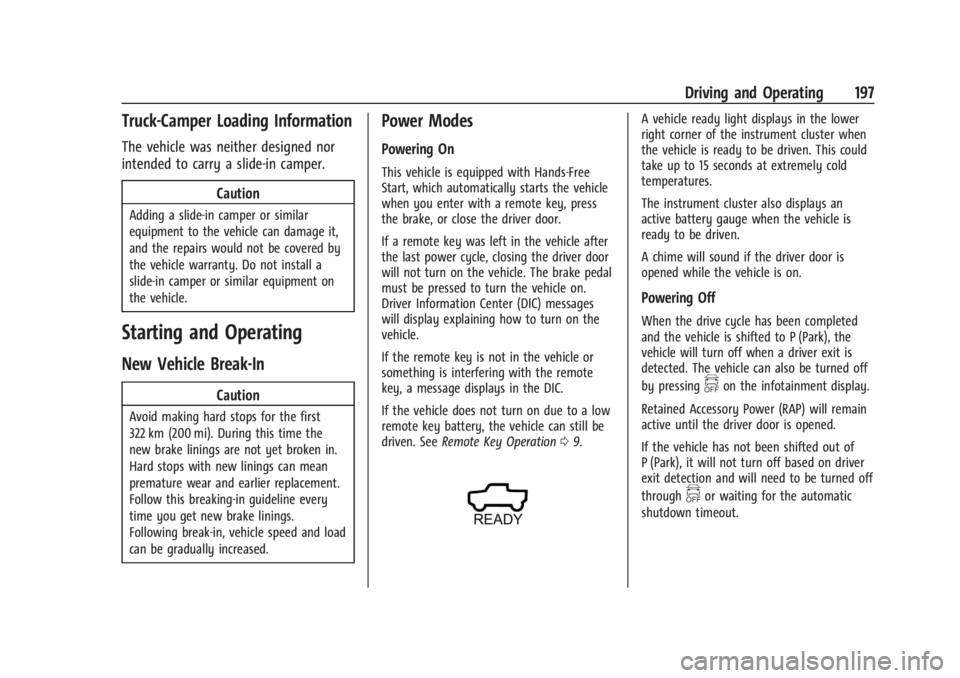
A vehicle ready light displays in the lower
right corner of the instrument cluster when
the vehicle is ready to be driven. This could
take up to 15 seconds at extremely cold
temperatures.
The instrument cluster also displays an
active battery gauge when the vehicle is
ready to be driven.
A chime will sound if the driver door is
opened while the vehicle is on.
Powering Off
When the drive cycle has been completed
and the vehicle is shifted to P (Park), the
vehicle will turn off when a driver exit is
detected. The vehicle can also be turned off
by pressing
fon the infotainment display.
Retained Accessory Power (RAP) will remain
active until the driver door is opened.
If the vehicle has not been shifted out of
P (Park), it will not turn off based on driver
exit detection and will need to be turned off
through
for waiting for the automatic
shutdown timeout.
Page 200 of 429
Chevrolet Silverado EV Owner Manual (GMNA-Localizing-U.S./Canada-
16702912) - 2024 - CRC - 1/17/23
Driving and Operating 199
Service Mode
This mode is available for service and
diagnostics, and to verify the proper
operation of the service vehicle soon light as
may be required for inspection or
maintenance purposes.
To place the vehicle in Service Mode:1. Ensure the vehicle is off, the driver door is open, and the brake pedal is not
applied.
2. Press and release the accelerator pedal three times within five seconds, keeping
the accelerator pressed on the
third time.
The instrument cluster and infotainment
systems will operate normally, but the
vehicle will not be able to be driven. The
propulsion system will not be active in
Service Mode. Press the brake pedal to turn
the vehicle on or press
fon the
infotainment display to turn the vehicle off.
Caution
Placing the vehicle in Service Mode will
use the 12-volt battery. Do not use
Service Mode for an extended period,
or the vehicle may not start.
Shifting Into Park
To shift into P (Park):
1. Hold the brake pedal down and set the parking brake. See Electric Parking Brake
0 205.
2. Press the P (Park) switch at the end of the shift lever. See Electric Drive Unit
0 200.
3. The P indicator on the shift lever will turn red when the vehicle is in P (Park).
If the vehicle is shifted into P (Park) on a
hill, the Electric Parking Brake (EPB) may
apply automatically. The driver may not be
able to release the EPB using the EPB
switch. It should automatically release when
the vehicle is shifted out of P (Park).
Leaving the Vehicle with the Propulsion
System On
{Warning
It is dangerous to get out of the vehicle
if the vehicle is not in P (Park) with the
parking brake set. The vehicle can roll. (Continued)
Warning (Continued)
Do not leave the vehicle when the
propulsion system is on. If you have left
the propulsion system on, the vehicle can
move suddenly. You or others could be
injured. To be sure the vehicle will not
move, even when you are on fairly level
ground, always set the parking brake and
press the P (Park) button. SeeShifting
Into Park 0199.
If the vehicle must be left with the
propulsion system on, be sure that the
vehicle is in P (Park) with the EPB set, before
leaving the vehicle. After pressing the
P (Park) button, hold down the regular brake
pedal. If you cannot see the P (Park)
indicator in the instrument cluster, it means
that the vehicle has not shifted to P (Park).
Shifting out of Park
This vehicle is equipped with an electric
drive unit. To shift out of P (Park) the vehicle
must be on, the brake pedal applied, and
the charge cord unplugged.
Page 205 of 429
Chevrolet Silverado EV Owner Manual (GMNA-Localizing-U.S./Canada-
16702912) - 2024 - CRC - 1/17/23
204 Driving and Operating
used to hold the vehicle after coming to a
stop, and a noise may be noticed when the
brakes apply.
When driving on slippery roads, it is
recommended to turn off One-Pedal Driving
for maximum vehicle stability. SeeWinter
Driving 0191.
One-Pedal Driving is a useful feature when
towing a trailer, however, using the brake
pedal may be required to slow down and
hold the vehicle with large loads or steep
hills. Trailer brakes are only activated with
the brake pedal but trailer brake lights will
be functional during substantial deceleration
or when the vehicle is stopped. See Trailer
Towing 0297.
While using One-Pedal Driving, the Electric
Parking Brake (EPB) may apply in some
circumstances. This can occur when:
.The driver exits the vehicle.
.The vehicle has remained stationary for
five minutes.
To resume driving, press the accelerator
pedal, and the EPB will automatically
disengage.
Drive Systems
Four-Wheel Drive
This vehicle is equipped with advanced
electric four-wheel drive (e4WD). The e4WD
system delivers power to all four wheels,
and the system adjusts automatically to the
driving conditions. The e4WD system
continuously varies the drive power to the
front and rear wheels to maximize driving
efficiency and improve driving dynamics.
Your vehicle has exceptional driving
capability, but care must always be taken to
adjust driving style to the traffic and road
conditions.
Torque Vectoring
If equipped, the torque vectoring feature of
e4WD enhances vehicle performance by
focusing the vehicle torque to the optimal
wheel(s).
The vehicle e4WD settings may be
customized for the driver mode selected. See
Driver Mode Control 0209 for more
information.
Brakes
Antilock Brake System (ABS)
The Antilock Brake System (ABS) helps
prevent a braking skid and maintain steering
while braking hard.
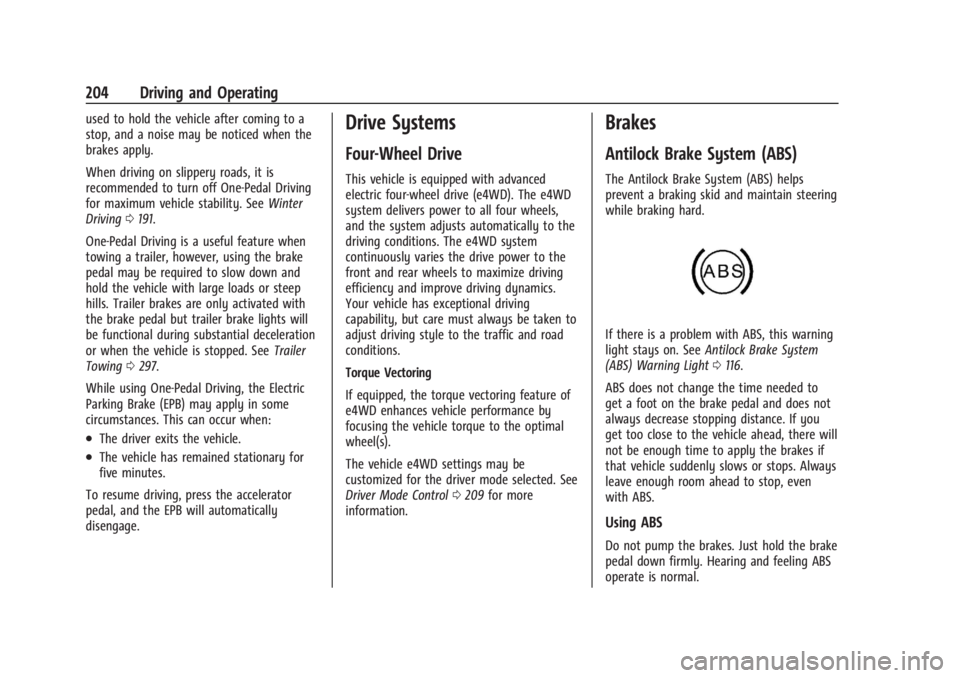
If there is a problem with ABS, this warning
light stays on. See Antilock Brake System
(ABS) Warning Light 0116.
ABS does not change the time needed to
get a foot on the brake pedal and does not
always decrease stopping distance. If you
get too close to the vehicle ahead, there will
not be enough time to apply the brakes if
that vehicle suddenly slows or stops. Always
leave enough room ahead to stop, even
with ABS.
Using ABS
Do not pump the brakes. Just hold the brake
pedal down firmly. Hearing and feeling ABS
operate is normal.
Page 214 of 429
Chevrolet Silverado EV Owner Manual (GMNA-Localizing-U.S./Canada-
16702912) - 2024 - CRC - 1/17/23
Driving and Operating 213
Service Mode is recommended when the
vehicle is put on a hoist or a floor jack is
used to raise a corner. Service Mode
automatically disables when the vehicle
speeds up.
Alignment Mode
Alignment Mode will optimize the vehicle
height to provide the most accurate wheel
alignment. This mode should be enabled
once the vehicle is driven onto the
alignment station.
To enable Alignment Mode, ensure the
vehicle is at Normal Height and shift the
vehicle to N (Neutral). Alignment Mode
automatically disables when the vehicle
speeds up.
Air Suspension Operation with Door(s) or
Hood Open
The air suspension will temporarily suspend
all height changes while the hood or any
door is open.
System Over-Temperature
If the air suspension is under heavy use, the
system may temporarily suspend all height
changes to allow the compressor to cool
down. When this occurs and a heightchange is requested, the message LEVELING
SYSTEM UNAVAILABLE will display in the
instrument cluster.
Air Suspension Service
If a SERVICE LEVELING SYSTEM message
displays in the instrument cluster, see your
authorized dealer immediately.
Cruise Control
If equipped, cruise control allows the vehicle
to maintain a set speed of 40 km/h
(25 mph) or more without active
acceleration. Cruise control does not work at
speeds below 40 km/h (25 mph).
{Warning
Cruise control can be dangerous where
you cannot drive safely at a steady
speed. Do not use cruise control on
winding roads or in heavy traffic.
Cruise control can be dangerous on
slippery roads. On such roads, fast
changes in tire traction can cause
excessive wheel slip, and you could lose
control. Do not use cruise control on
slippery roads.
Cruise control will disengage if:
.The Traction Control System (TCS) or
StabiliTrak/Electronic Stability Control
(ESC) system begins to limit wheel spin.
See
Traction Control/Electronic Stability
Control 0207.
.TCS or StabiliTrak/ESC is turned off.
.A collision alert occurs. See Forward
Collision Alert (FCA) System 0261.
.The brakes are applied.
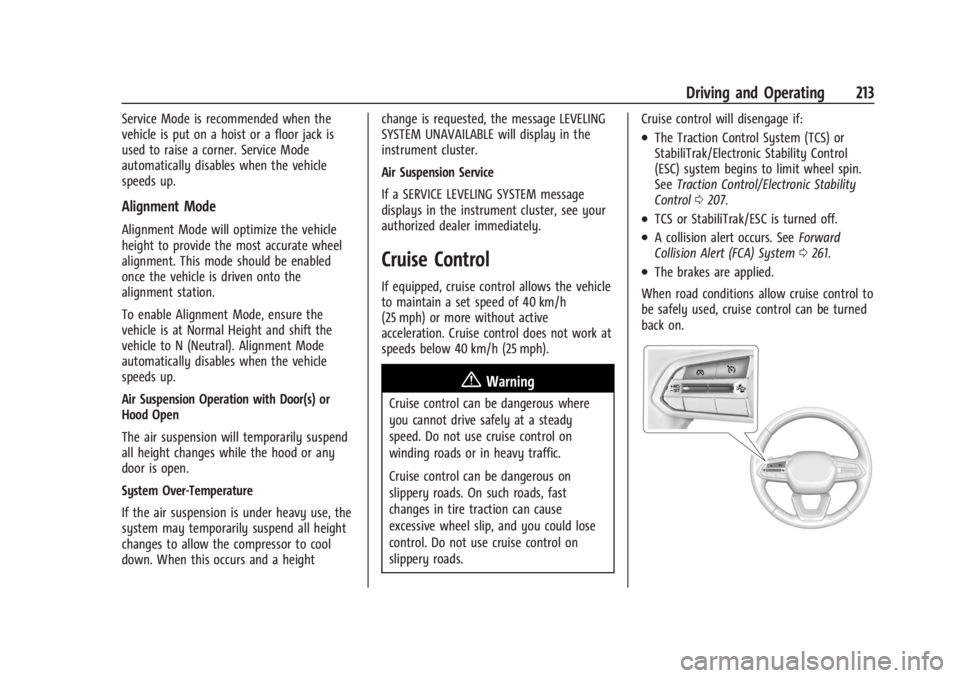
When road conditions allow cruise control to
be safely used, cruise control can be turned
back on.
Page 218 of 429
Chevrolet Silverado EV Owner Manual (GMNA-Localizing-U.S./Canada-
16702912) - 2024 - CRC - 1/17/23
Driving and Operating 217
.To accept the new set speed, briefly
move the thumbwheel down to−SET and
release it.
.To decline the new set speed, briefly
move the thumbwheel up to +RES and
release it.
If you do not accept or decline the new
proposed set speed, there is no change to
the set speed.
Conditions Affecting Automatic Speed
Limiter (Auto)
.There are changes in brightness, such as
entering and exiting tunnels, bridges, and
overpasses.
.There are low sun angles.
.Ambient lighting is poor in the evening or
early morning.
.There are multiple changes in brightness
or there are shadows along the roadway.
.There are conditions associated with low
visibility such as fog, rain, snow, or road
spray.
.The on-board camera’s view of the road is
blocked by leaves, snow, or other debris.
If Automatic Speed Limiter becomes
temporarily unavailable, change to
Manual mode. Resuming Speed Limiter
If Speed Limiter was active but then
*was
pressed, Speed Limiter can be resumed using
the previous set speed. Briefly move the
thumbwheel up to +RES and release it to
activate Speed Limiter using the previous set
speed.
If Speed Limiter was turned off because
cruise control, ACC, or Super Cruise was
turned on, to use Speed Limiter again:
1. Turn off cruise control, ACC, or Super Cruise.
2. On the infotainment home screen, touch Controls > Drive (Drive & Park) > Speed
Limiter.
3. Select Manual or Auto.
Overriding Speed Limiter
When Speed Limiter is active, the set speed
can be temporarily overridden only when
you fully apply the accelerator pedal. You
can control vehicle acceleration again when
the vehicle speed is below the set speed.
Turning Off Speed Limiter
To turn off Speed Limiter, from the
infotainment home screen, touch Controls >
Drive (Drive & Park) > Speed Limiter > Off.
Adaptive Cruise Control
(Advanced)
If equipped, Adaptive Cruise Control (ACC)
allows the cruise control set speed and
following gap to be selected. Read this
entire section before using this system. The
following gap is the following time (or
distance) between your vehicle and a vehicle
detected directly ahead in your path,
moving in the same direction. If no vehicle
is detected in your path, ACC works like
regular cruise control. ACC uses a camera
and radar sensor(s) to detect other vehicles.
See Radio Frequency Statement 0404.
If a vehicle is detected in your path, ACC can
apply acceleration or limited, moderate
braking to maintain the selected following
gap. To disengage ACC, apply the brake
pedal or press
*. If ACC is controlling the
vehicle speed when the Traction Control
System (TCS) or StabiliTrak/Electronic
Stability Control (ESC) system activates, ACC
may disengage. See Traction Control/
Electronic Stability Control 0207. When road
conditions allow ACC to be safely used, ACC
can be turned back on.
Page 228 of 429
Chevrolet Silverado EV Owner Manual (GMNA-Localizing-U.S./Canada-
16702912) - 2024 - CRC - 1/17/23
Driving and Operating 227
Towing with ACC
If equipped when towing a trailer, ACC
driving characteristics such as following gap,
acceleration rates, and braking rates may be
modified to provide a better towing
experience.
When ACC is used with vehicles equipped
with an aftermarket trailer brake controller,
disengage ACC before applying the manual
trailer brake. ACC will not automatically
disengage when the manual trailer brake is
applied.
ACC may be used when towing a trailer if
the trailer is within the GM-approved
allowable size and weight limits. SeeTrailer
Towing 0297.
When towing a trailer with ACC, it is
important to properly set the Trailer Gain.
See “Integrated Trailer Brake Control
System” inTowing Equipment 0301 for
information about the Trailer Gain
adjustment procedure.
Use Tow/Haul mode when driving down
steep hills or mountain grades, or when
hauling heavy loads. See Driver Mode
Control 0209. Disengaging ACC
There are four ways to disengage ACC:
.Press*.
.Lightly apply the brake pedal.
.Apply the Regen on Demand steering
wheel paddle, if equipped.
.Press5.
Erasing Speed Memory
The ACC set speed is erased from memory if
5is pressed or if the vehicle is turned off.
Weather Conditions Affecting ACC
ACC system operation may be limited under
snow, heavy rain, or road spray conditions.
Accessory Installations and Vehicle
Modifications
.Do not install or place any object around
the front camera windshield area that
would obstruct the front camera view.
.Do not install objects on top of the
vehicle that overhang and may obstruct
the front camera, such as a canoe, kayak,
or other items that can be transported on
top of the vehicle.
.Do not modify the hood, headlamps,
or fog lamps, as this may limit the
camera’s ability to detect an object. Cleaning the Sensing System
The camera sensor on the windshield behind
the rearview mirror, and the sensors on the
front of the vehicle can become blocked by
snow, ice, dirt, mud, or other debris. These
areas must be clean for ACC to operate
properly. For proper cleaning instructions,
see the section
“Washing the Vehicle” in
Exterior Care 0379.
If driving conditions temporarily prevent
normal and safe ACC operation, regular
cruise control may be available. See
“Switching Between ACC and Regular Cruise
Control” previously in this section. Always
consider driving conditions before using
either cruise control system.
Super Cruise
If equipped, Super Cruise can steer to
maintain lane position under certain
conditions on Super Cruise-enabled roads.
Super Cruise can also steer to perform a
lane change under certain conditions on
Super Cruise-enabled roads.
A lane change can be initiated by the driver
using the turn signal lever.
Page 249 of 429
Chevrolet Silverado EV Owner Manual (GMNA-Localizing-U.S./Canada-
16702912) - 2024 - CRC - 1/17/23
248 Driving and Operating
Touch the camera view icons along the
bottom of the infotainment display to
access each view:
1. Front/Rear Standard View
Displays an image of the area in front
or behind the vehicle. To select, touch
Front/Rear Standard View on the
infotainment display when a camera
view is active.
When the hitch guidance is selected,
Rear Standard View will remain visible
across gear changes, otherwise the
view will toggle between Front and
Rear Standard View based on gear
position.
The front view camera also displays
when the Park Assist system detects
an object within 30 cm (12 in).
To access this view when in a forward
gear above 12 km/h (8 mph), select
CAMERA on the infotainment display
and select Rear Standard View. The
view will close after eight seconds and
can be closed early by selecting X,
Home, or Back.
2. Front/Rear Top-Down View
Displays a front or rear overhead view
of the vehicle. To view, select
Front/Rear Top-Down View on the
infotainment display when the camera
app is active.
3. Front/Rear Side View
Displays a view that shows objects
next to the front or rear sides of the
vehicle. To select, touch Front/Rear
Side View on the infotainment display
when a camera view is active. Touch
the button to toggle between front
and rear camera views. Park Assist and
Rear Cross Traffic Alert (RCTA) overlays
are not available when Front/Rear Side
View is active.
4. Hitch View
Displays a zoomed-in view of the hitch
area to assist with aligning the
vehicle’s hitch ball with the trailer
coupler and monitoring the trailer
connection. To view, select Hitch View
on the infotainment display when the
camera app is active. To access this
view when in a forward gear above
12 km/h (8 mph), select CAMERA on
the infotainment display and select
Hitch View. The view will close aftereight seconds and can be closed early
by selecting X, Home, or Back. Shifting
into P (Park) while in this view will
automatically engage the Electric
Parking Brake (EPB).
5. Surround View
Displays an image of the area
surrounding the vehicle. Surround
View is displayed alongside the
currently selected view when below
12 km/h (8 mph). Surround View is
disabled when above 12 km/h (8 mph).
6. Camera App Guidance Lines
The camera app supports three
possible guidance modes: No
Guidance, Vehicle Guidance, and
Trailering Guidance. To change
guidance mode, select the appropriate
guidance icon. Depending on the
guidance mode and view selected,
different guidance lines may appear.
A grayed-out icon indicates that
guidance lines are not available.
Certain views do not support guidance
lines.
.Standard Guidance Lines are
available in Front/Rear Standard
Views, Front/Rear Top-Down Views,
and Surround View when the
Page 250 of 429
Chevrolet Silverado EV Owner Manual (GMNA-Localizing-U.S./Canada-
16702912) - 2024 - CRC - 1/17/23
Driving and Operating 249
Vehicle Guidance mode is selected.
Standard Guidance Lines show
current and intended vehicle path.
.Hitch Guidance Line is available in
Rear Standard View when the
Trailering Guidance mode is
selected. Hitch Guidance displays a
single centered guidance line on
the infotainment display to assist
with aligning the vehicle’s hitch
with a trailer coupler. Align the
Hitch Guidance Line with the
trailer coupler by continuously
steering the vehicle to keep the
guidance line centered on the
coupler when backing. Park Assist
overlays will not display when the
Hitch Guidance Line is active.
.Rear Trailer Guidance Lines are
available in the Rear Trailer View
when the Trailering Guidance
mode is selected and the rear
trailer camera calibration has been
successfully completed. Rear Trailer
Guidance Lines show the intended
path (yellow) and the current path
(blue) of the trailer. The current
path guidance lines will converge
with the intended path guidance
lines.
7. Camera App Guidance Lines
8. Transparent Trailer View
Displays a view that allows the driver
to virtually“see through” the trailer.
The feature is available when a
compatible trailer is connected, a valid
profile is selected and the vehicle is
not in R (Reverse). The feature
requires user installation of an
accessory trailer camera on the rear
exterior surface of the trailer per the
accessory trailer camera installation
instructions. See your dealer for
accessory trailer camera(s) and
information. To view, select
Transparent Trailer View on the
infotainment display when the camera
app is active. To access this view
when in a forward gear above
12 km/h (8 mph), select CAMERA on
the infotainment display and select
Transparent Trailer View. The view will
close after eight seconds and can be
closed early by selecting X, Home,
or Back.
To calibrate the system, a minimum
clearance of 61 cm (24 in) is required. When the system is calibrated and
trailer position is known, one of three
views will be shown; Transparent
Trailer View, Left Transparent Trailer
View, or Right Transparent Trailer
View. The Transparent Trailer View is
shown when the position of the trailer
is relatively straight behind the
vehicle. The Left or Right Transparent
Trailer view is shown when the
position of the trailer is too far to the
left or right. When the system is not
calibrated or trailer position is not
known, the Transparent Trailer
Picture-in-Picture View will be shown.
9. Rear Trailer Views
.Rear Trailer View
Displays a view of the area behind
the trailer when a trailer is
connected. The feature requires
user installation of an accessory
trailer camera on the rear exterior
surface of the trailer per the
accessory trailer camera
installation instructions. See your
dealer for accessory trailer
camera(s) and information. To
view, select Rear Trailer View on
the infotainment display when the
camera app is active. To access this