2023 TOYOTA VENZA HYBRID run flat
[x] Cancel search: run flatPage 15 of 560
15Pictorial index
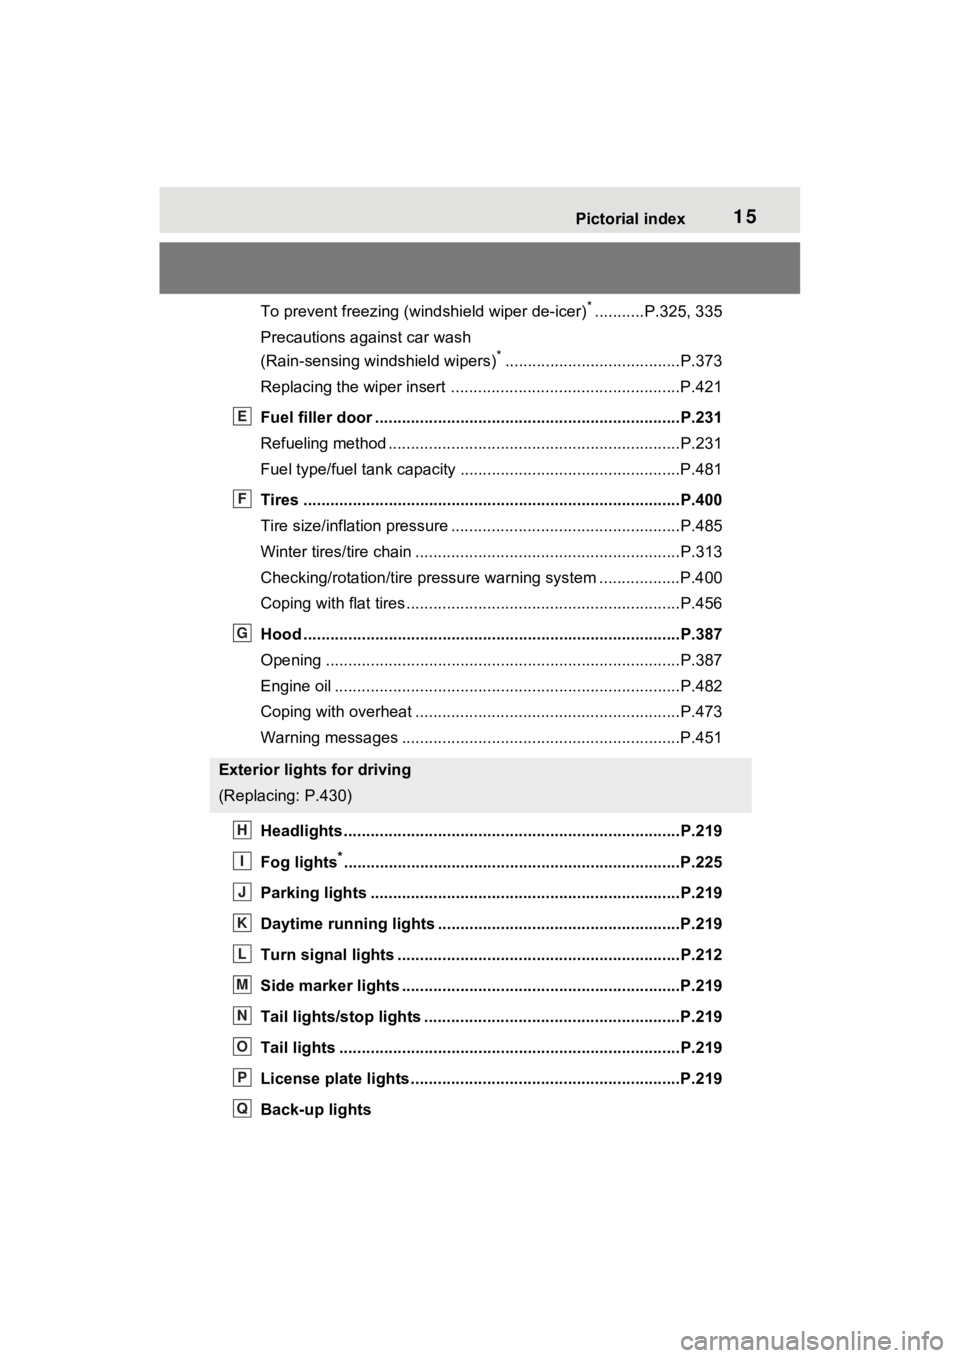
To prevent freezing (windshield wiper de-icer)*...........P.325, 335
Precautions against car wash
(Rain-sensing windshield wipers)
*.......................................P.373
Replacing the wiper insert .................................... ...............P.421
Fuel filler door ............................................... .....................P.231
Refueling method ............................................... ..................P.231
Fuel type/fuel tan k capacity .................................................P.481
Tires ....................................................................................P.400
Tire size/inflation pressure ................................... ................P.485
Winter tires/tire chain ........................................ ...................P.313
Checking/rotation/tire pressur e warning system ..................P.400
Coping with flat tires......................................... ....................P.456
Hood ....................................................................................P.387
Opening ........................................................ .......................P.387
Engine oil ..................................................... ........................P.482
Coping with overheat ........................................... ................P.473
Warning messages ..............................................................P.451
Headlights..................................................... ......................P.219
Fog lights
*............................................................... ............P.225
Parking lights .....................................................................P.219
Daytime running lights .. ....................................................P.219
Turn signal lights ...............................................................P.212
Side marker lights ............................................. .................P.219
Tail lights/stop lights ........................................ .................P.219
Tail lights .................................................... ........................P.219
License plate lights........................................... .................P.219
Back-up lights
Exterior lights for driving
(Replacing: P.430)
E
F
G
H
I
J
K
L
M
N
O
P
Q
Page 386 of 560
3866-3. Do-it-yourself maintenance
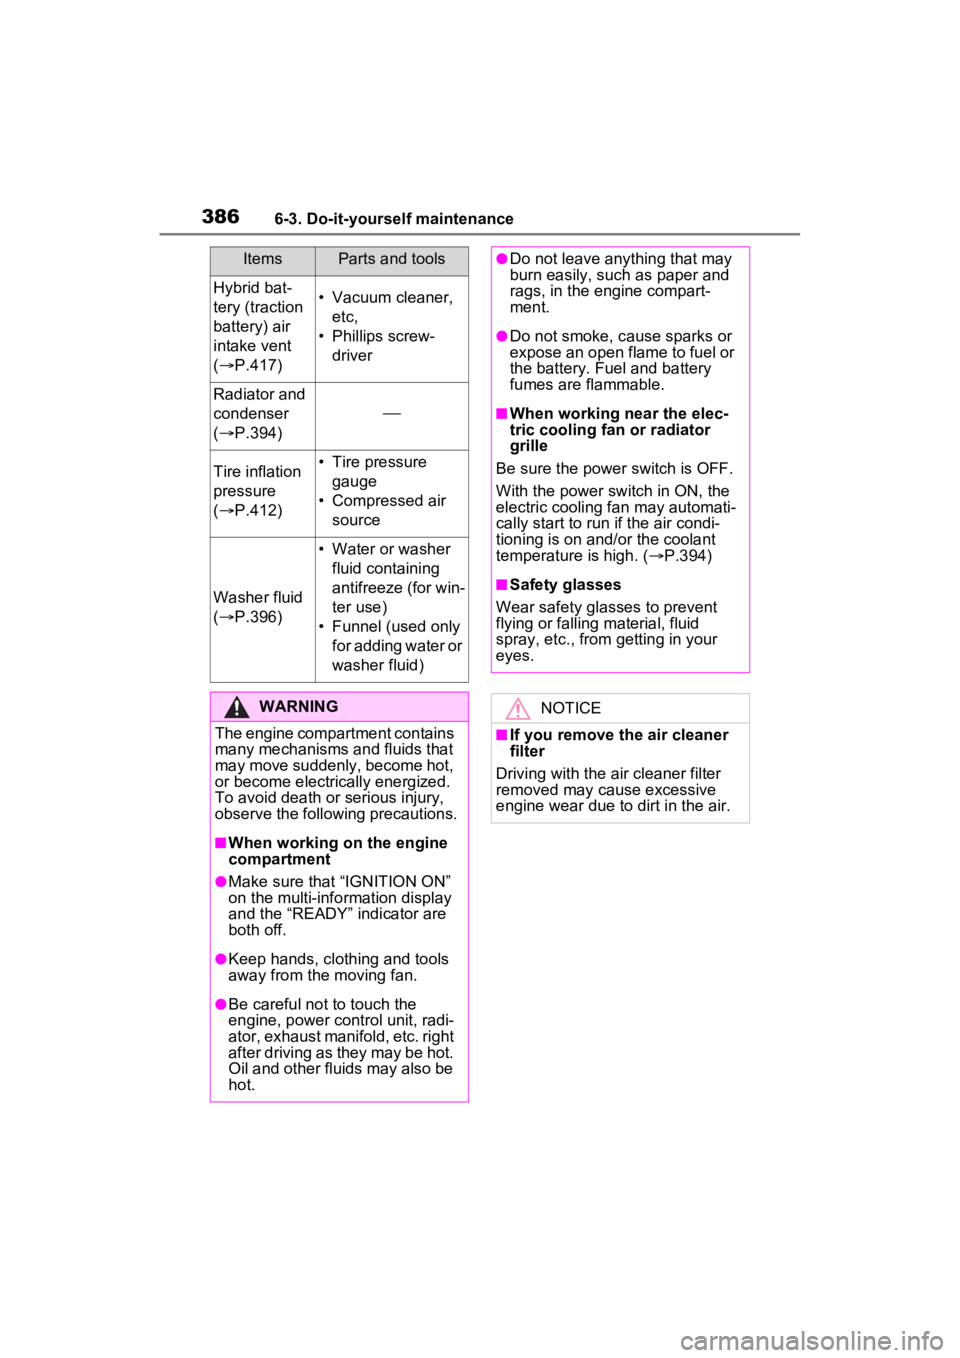
Hybrid bat-
tery (traction
battery) air
intake vent
( P.417)• Vacuum cleaner,
etc,
• Phillips screw- driver
Radiator and
condenser
( P.394)
Tire inflation
pressure
( P.412)• Tire pressure
gauge
• Compressed air source
Washer fluid
( P.396)
• Water or washer
fluid containing
antifreeze (for win-
ter use)
• Funnel (used only for adding water or
washer fluid)
WARNING
The engine compartment contains
many mechanisms and fluids that
may move suddenly, become hot,
or become electrically energized.
To avoid death or serious injury,
observe the following precautions.
■When working on the engine
compartment
●Make sure that “IGNITION ON”
on the multi-info rmation display
and the “READY” indicator are
both off.
●Keep hands, clothing and tools
away from the moving fan.
●Be careful not to touch the
engine, power control unit, radi-
ator, exhaust manifold, etc. right
after driving as they may be hot.
Oil and other fluids may also be
hot.
ItemsParts and tools●Do not leave anything that may
burn easily, such as paper and
rags, in the engine compart-
ment.
●Do not smoke, cause sparks or
expose an open flame to fuel or
the battery. Fuel and battery
fumes are flammable.
■When working near the elec-
tric cooling fan or radiator
grille
Be sure the power switch is OFF.
With the power switch in ON, the
electric cooling fa n may automati-
cally start to run if the air condi-
tioning is on and/or the coolant
temperature is high. ( P.394)
■Safety glasses
Wear safety gla sses to prevent
flying or falling material, fluid
spray, etc., from getting in your
eyes.
NOTICE
■If you remove the air cleaner
filter
Driving with the air cleaner filter
removed may cause excessive
engine wear due to dirt in the air.
Page 404 of 560
4046-3. Do-it-yourself maintenance
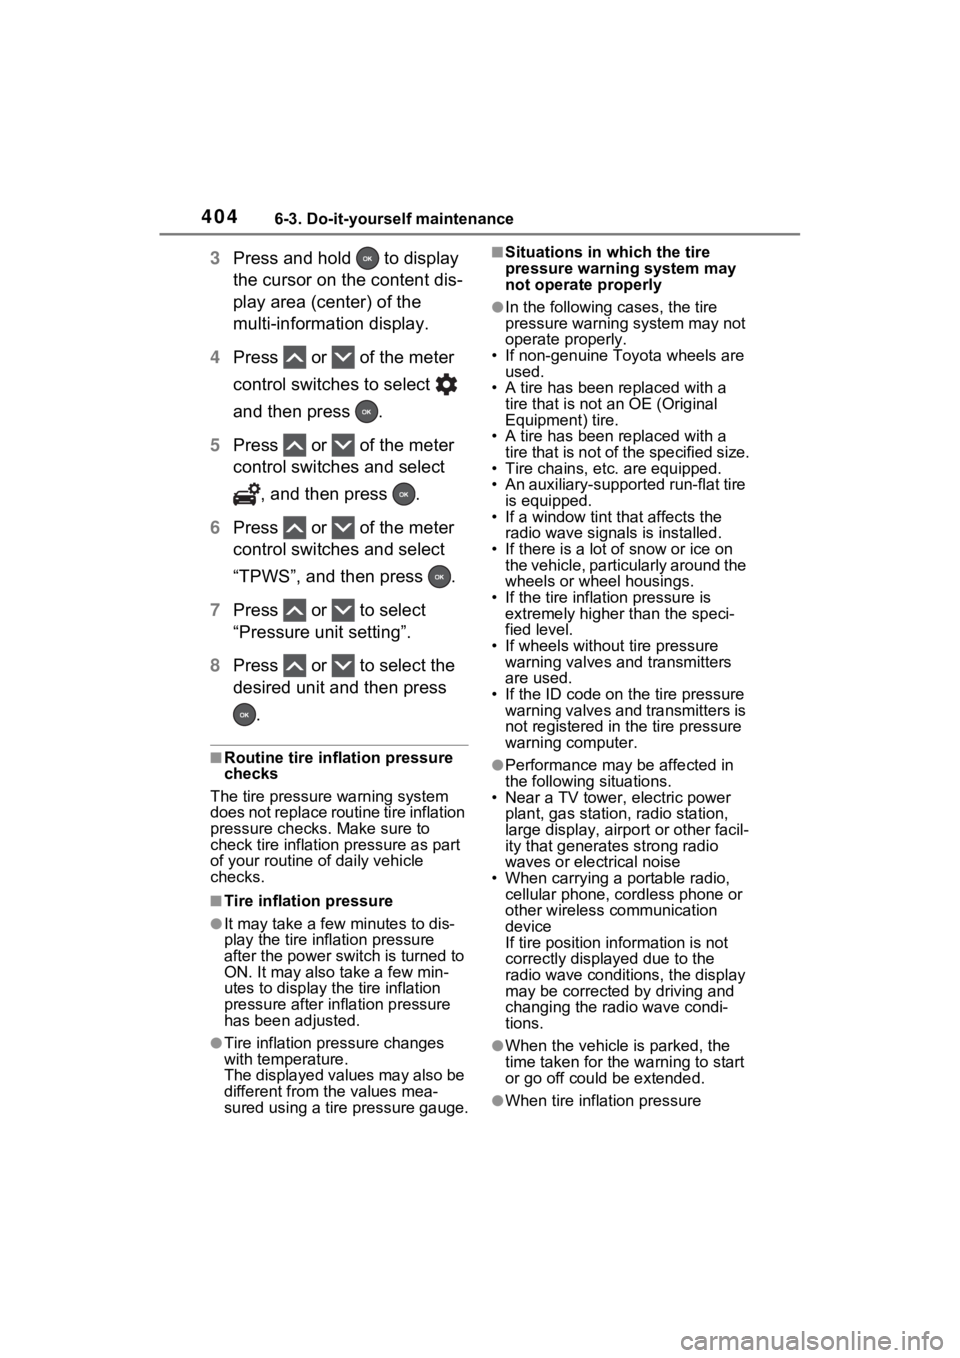
3Press and hold to display
the cursor on the content dis-
play area (center) of the
multi-information display.
4 Press or of the meter
control switches to select
and then press .
5 Press or of the meter
control switches and select
, and then press .
6 Press or of the meter
control switches and select
“TPWS”, and then press .
7 Press or to select
“Pressure unit setting”.
8 Press or to select the
desired unit and then press
.
■Routine tire inflation pressure
checks
The tire pressure warning system
does not replace routine tire inflation
pressure checks. Make sure to
check tire inflation pressure as part
of your routine of daily vehicle
checks.
■Tire inflation pressure
●It may take a few minutes to dis-
play the tire inflation pressure
after the power switch is turned to
ON. It may also take a few min-
utes to display the tire inflation
pressure after inflation pressure
has been adjusted.
●Tire inflation p ressure changes
with temperature.
The displayed values may also be
different from th e values mea-
sured using a tire pressure gauge.
■Situations in which the tire
pressure warning system may
not operate properly
●In the following cases, the tire
pressure warning system may not
operate properly.
• If non-genuine Toyota wheels are used.
• A tire has been replaced with a tire that is not an OE (Original
Equipment) tire.
• A tire has been replaced with a tire that is not of the specified size.
• Tire chains, etc. are equipped.
• An auxiliary-support ed run-flat tire
is equipped.
• If a window tint that affects the
radio wave signals is installed.
• If there is a lot of snow or ice on the vehicle, particularly around the
wheels or wheel housings.
• If the tire inflation pressure is extremely higher than the speci-
fied level.
• If wheels without tire pressure warning valves and transmitters
are used.
• If the ID code on the tire pressure warning valves and transmitters is
not registered in the tire pressure
warning computer.
●Performance may be affected in
the following situations.
• Near a TV tower, electric power
plant, gas station, radio station,
large display, airpo rt or other facil-
ity that generates strong radio
waves or electrical noise
• When carrying a portable radio, cellular phone, cordless phone or
other wireless communication
device
If tire position information is not
correctly displayed due to the
radio wave conditions, the display
may be corrected by driving and
changing the radio wave condi-
tions.
●When the vehicle is parked, the
time taken for the warning to start
or go off could be extended.
●When tire inflation pressure
Page 438 of 560
4387-2. Steps to take in an emergency
must be in good condition.
To have your vehicle towed by
another vehicle, the towing eye-
let must be installed to your
vehicle. Install the towing eyelet
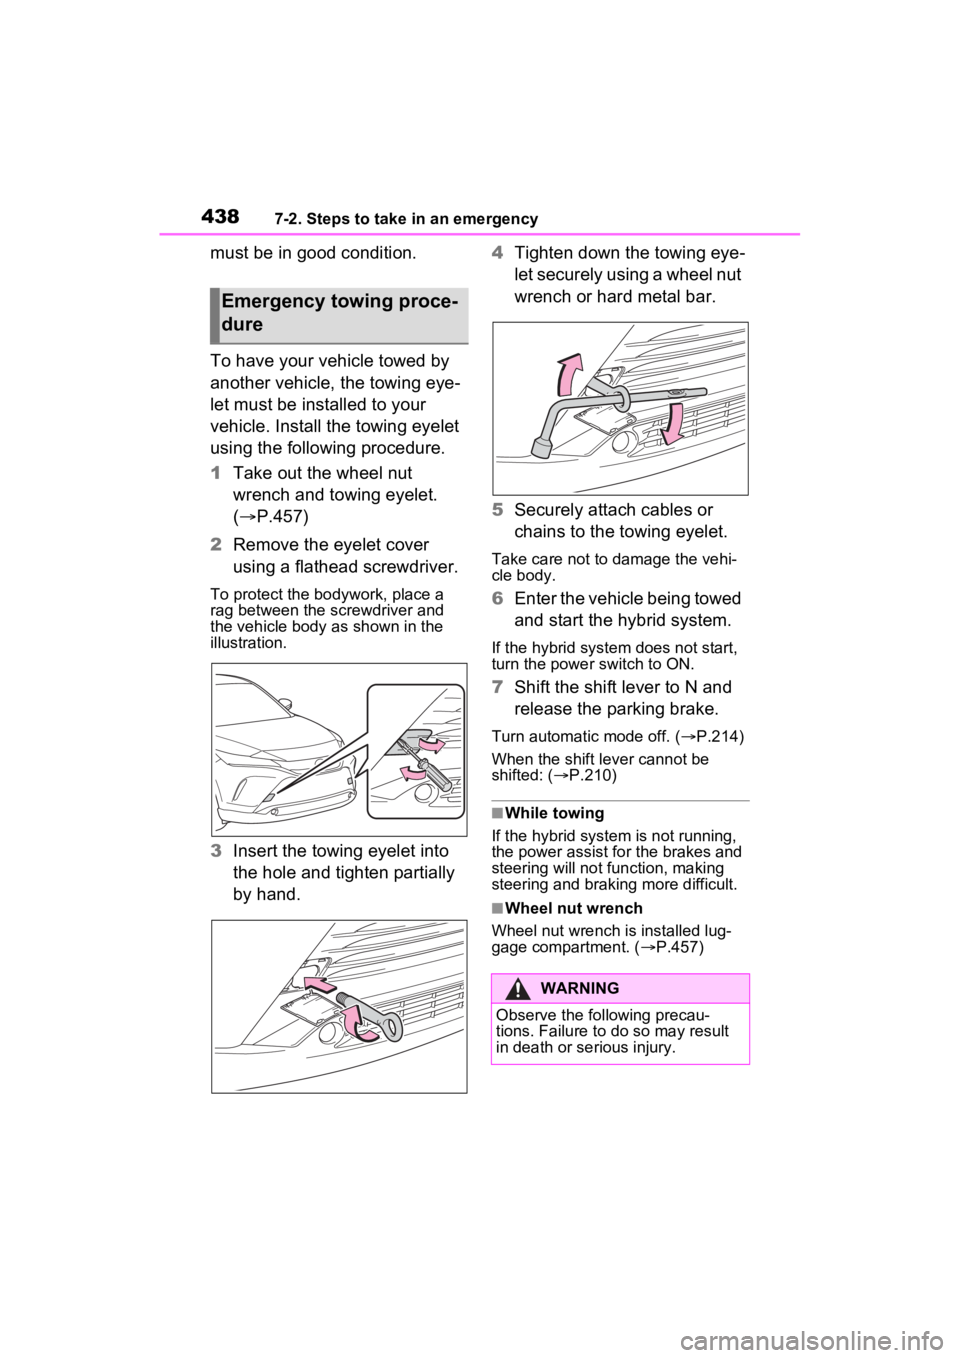
using the following procedure.
1Take out the wheel nut
wrench and towing eyelet.
( P.457)
2 Remove the eyelet cover
using a flathead screwdriver.
To protect the bodywork, place a
rag between the screwdriver and
the vehicle body as shown in the
illustration.
3Insert the towing eyelet into
the hole and tighten partially
by hand. 4
Tighten down the towing eye-
let securely using a wheel nut
wrench or hard metal bar.
5 Securely attach cables or
chains to the towing eyelet.
Take care not to damage the vehi-
cle body.
6Enter the vehicle being towed
and start the hybrid system.
If the hybrid system does not start,
turn the power switch to ON.
7Shift the shift lever to N and
release the parking brake.
Turn automatic mode off. ( P.214)
When the shift lever cannot be
shifted: ( P.210)
■While towing
If the hybrid system is not running,
the power assist for the brakes and
steering will not function, making
steering and braking more difficult.
■Wheel nut wrench
Wheel nut wrench is installed lug-
gage compartment. ( P.457)
Emergency towing proce-
dure
WARNING
Observe the following precau-
tions. Failure to do so may result
in death or serious injury.
Page 439 of 560
4397-2. Steps to take in an emergency
7
When trouble arises
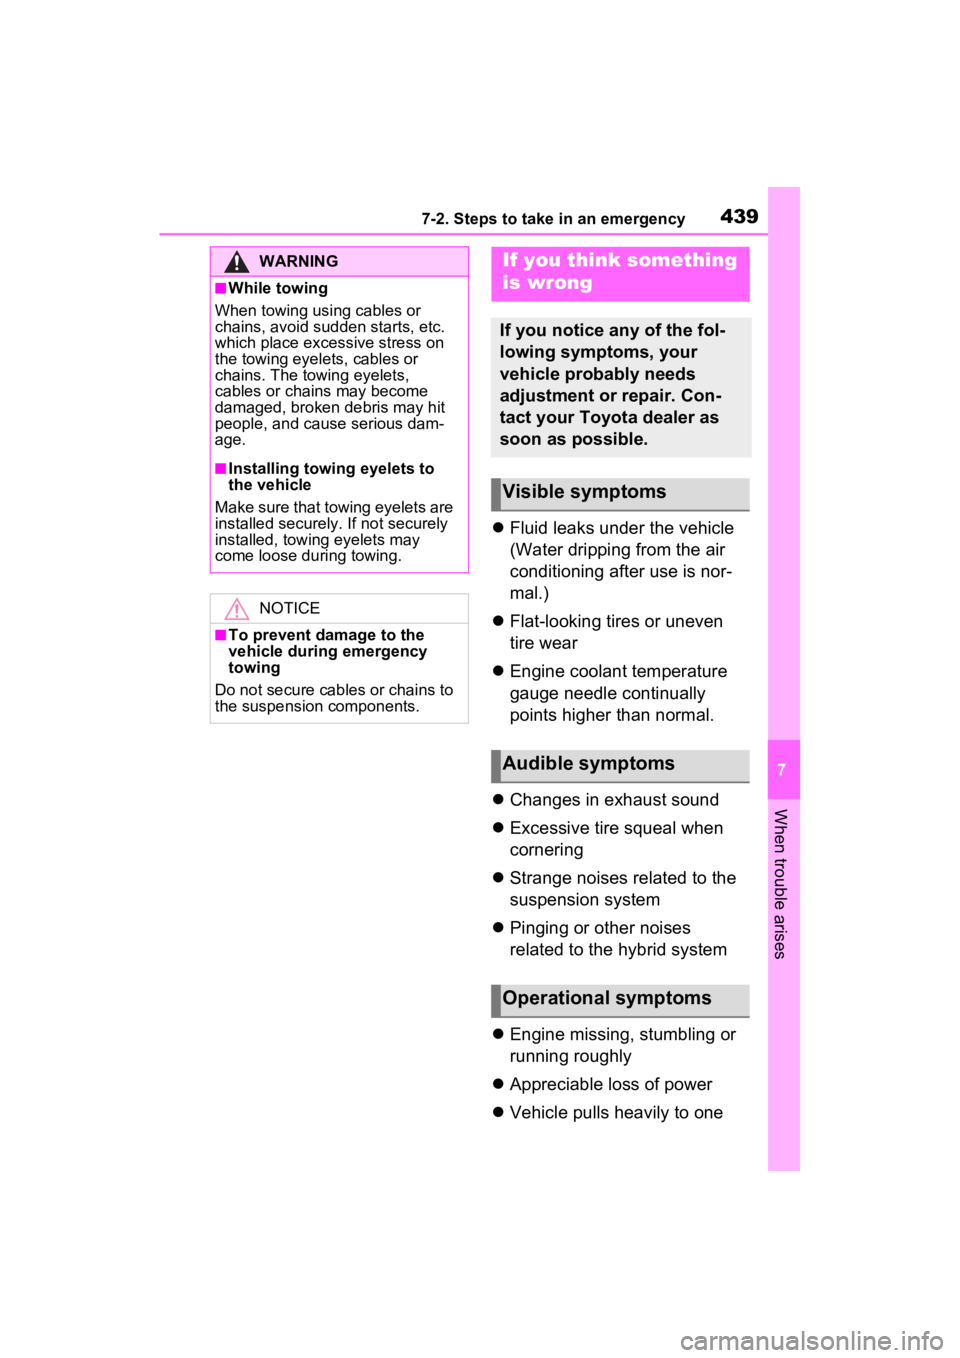
Fluid leaks under the vehicle
(Water dripping from the air
conditioning after use is nor-
mal.)
Flat-looking tires or uneven
tire wear
Engine coolant temperature
gauge needle continually
points higher than normal.
Changes in exhaust sound
Excessive tire squeal when
cornering
Strange noises related to the
suspension system
Pinging or other noises
related to the hybrid system
Engine missing, stumbling or
running roughly
Appreciable loss of power
Vehicle pulls heavily to one
WARNING
■While towing
When towing using cables or
chains, avoid sudden starts, etc.
which place excessive stress on
the towing eyelets, cables or
chains. The towing eyelets,
cables or chains may become
damaged, broken debris may hit
people, and cause serious dam-
age.
■Installing towi ng eyelets to
the vehicle
Make sure that towing eyelets are
installed securely. If not securely
installed, towing eyelets may
come loose during towing.
NOTICE
■To prevent damage to the
vehicle during emergency
towing
Do not secure cables or chains to
the suspension components.
If you think something
is wrong
If you notice any of the fol-
lowing symptoms, your
vehicle probably needs
adjustment or repair. Con-
tact your Toyota dealer as
soon as possible.
Visible symptoms
Audible symptoms
Operational symptoms
Page 498 of 560
4988-1. Specifications
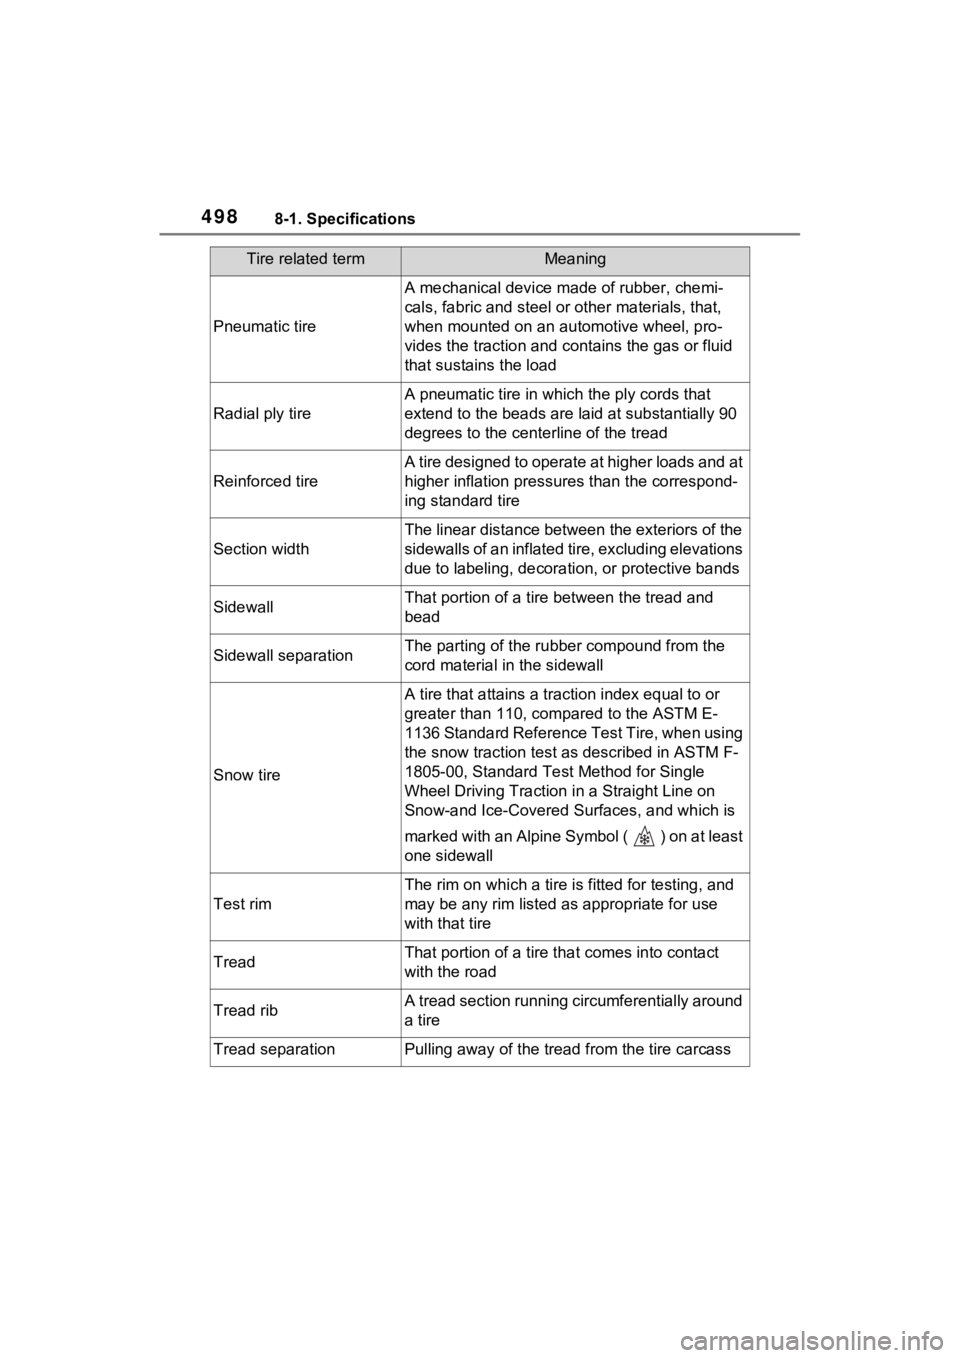
Pneumatic tire
A mechanical device made of rubber, chemi-
cals, fabric and steel or other materials, that,
when mounted on an aut omotive wheel, pro-
vides the traction and co ntains the gas or fluid
that sustains the load
Radial ply tire
A pneumatic tire in whic h the ply cords that
extend to the beads are laid at substantially 90
degrees to the centerline of the tread
Reinforced tire
A tire designed to operate at higher loads and at
higher inflation pressures than the correspond-
ing standard tire
Section width
The linear distance between the exteriors of the
sidewalls of an inflated tire, excluding elevations
due to labeling, decoratio n, or protective bands
SidewallThat portion of a tire between the tread and
bead
Sidewall separationThe parting of the rubber compound from the
cord material in the sidewall
Snow tire
A tire that attains a traction index equal to or
greater than 110, compared to the ASTM E-
1136 Standard Reference Test Tire, when using
the snow traction test a s described in ASTM F-
1805-00, Standard Test Method for Single
Wheel Driving Traction i n a Straight Line on
Snow-and Ice-Covered Su rfaces, and which is
marked with an Alpine Symbol ( ) on at least
one sidewall
Test rim
The rim on which a tire is fitted for testing, and
may be any rim listed as appropriate for use
with that tire
TreadThat portion of a tire t hat comes into contact
with the road
Tread ribA tread section running circumferentially around
a tire
Tread separationPulling away of the tread from the tire carcass
Tire related termMeaning