2023 TOYOTA RAV4 PRIME parking brake
[x] Cancel search: parking brakePage 171 of 662
1713-1. Instrument cluster
3
Vehicle status information and indicators
*1: This light illuminates on the multi-information display with a
message.
*2: Depending on the operating con-dition, the color and illuminat-
ing/flashing stat e of the light
change.
*3: The light comes on when the system is turned off.
*4: Intuitive parking assist OFF indi-cator turns on wh en the power
switch is turned t o ON while the
Intuitive parking assist function is
on. It will turn off after a few sec-
onds.
*5: These lights tu rn on when the
power switch is turned to ON to
indicate that a system check is
being performed. They will turn
off after the hybrid system is on,
or after a few seconds. There
may be a malfunction in a sys-
tem if the lights do not turn on, or
turn off. Have the vehicle
inspected by your Toyota dealer.
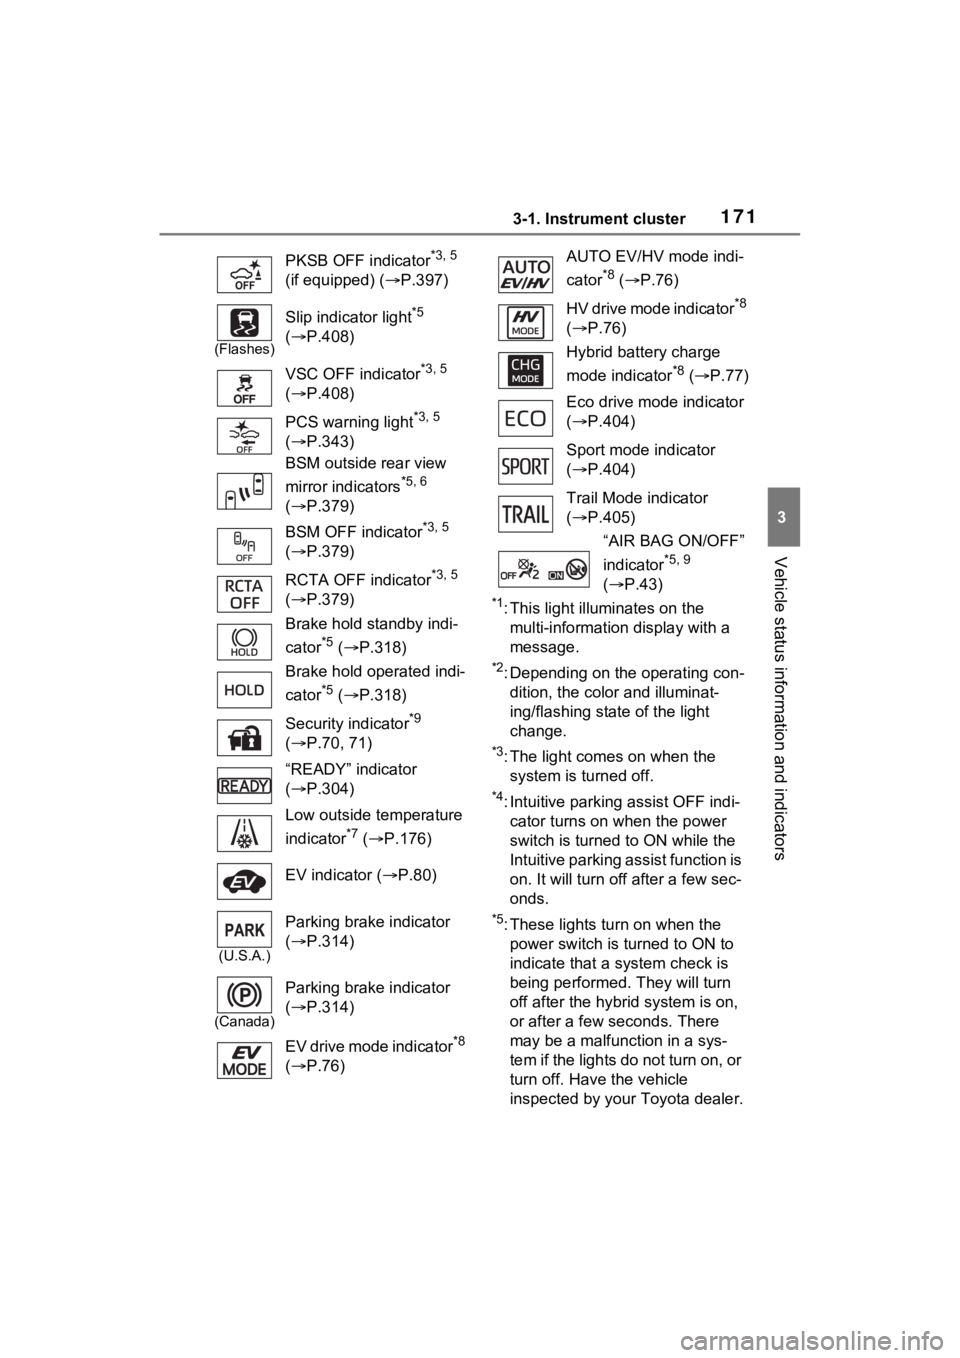
PKSB OFF indicator
*3, 5
(if equipped) ( P.397)
(Flashes)
Slip indicator light*5
( P.408)
VSC OFF indicator
*3, 5
( P.408)
PCS warning light
*3, 5
( P.343)
BSM outside rear view
mirror indicators
*5, 6
( P.379)
BSM OFF indicator
*3, 5
( P.379)
RCTA OFF indicator
*3, 5
( P.379)
Brake hold standby indi-
cator
*5 ( P.318)
Brake hold operated indi-
cator
*5 ( P.318)
Security indicator
*9
( P.70, 71)
“READY” indicator
( P.304)
Low outside temperature
indicator
*7 ( P.176)
EV indicator ( P.80)
(U.S.A.)
Parking brake indicator
( P.314)
(Canada)
Parking brake indicator
( P.314)
EV drive mode indicator
*8
( P.76)
AUTO EV/HV mode indi-
cator
*8 ( P.76)
HV drive mode indicator
*8
( P.76)
Hybrid battery charge
mode indicator
*8 ( P.77)
Eco drive mode indicator
( P.404)
Sport mode indicator
( P.404)
Trail Mode indicator
( P.405)
“AIR BAG ON/OFF”
indicator
*5, 9
( P.43)
Page 194 of 662
1943-1. Instrument cluster
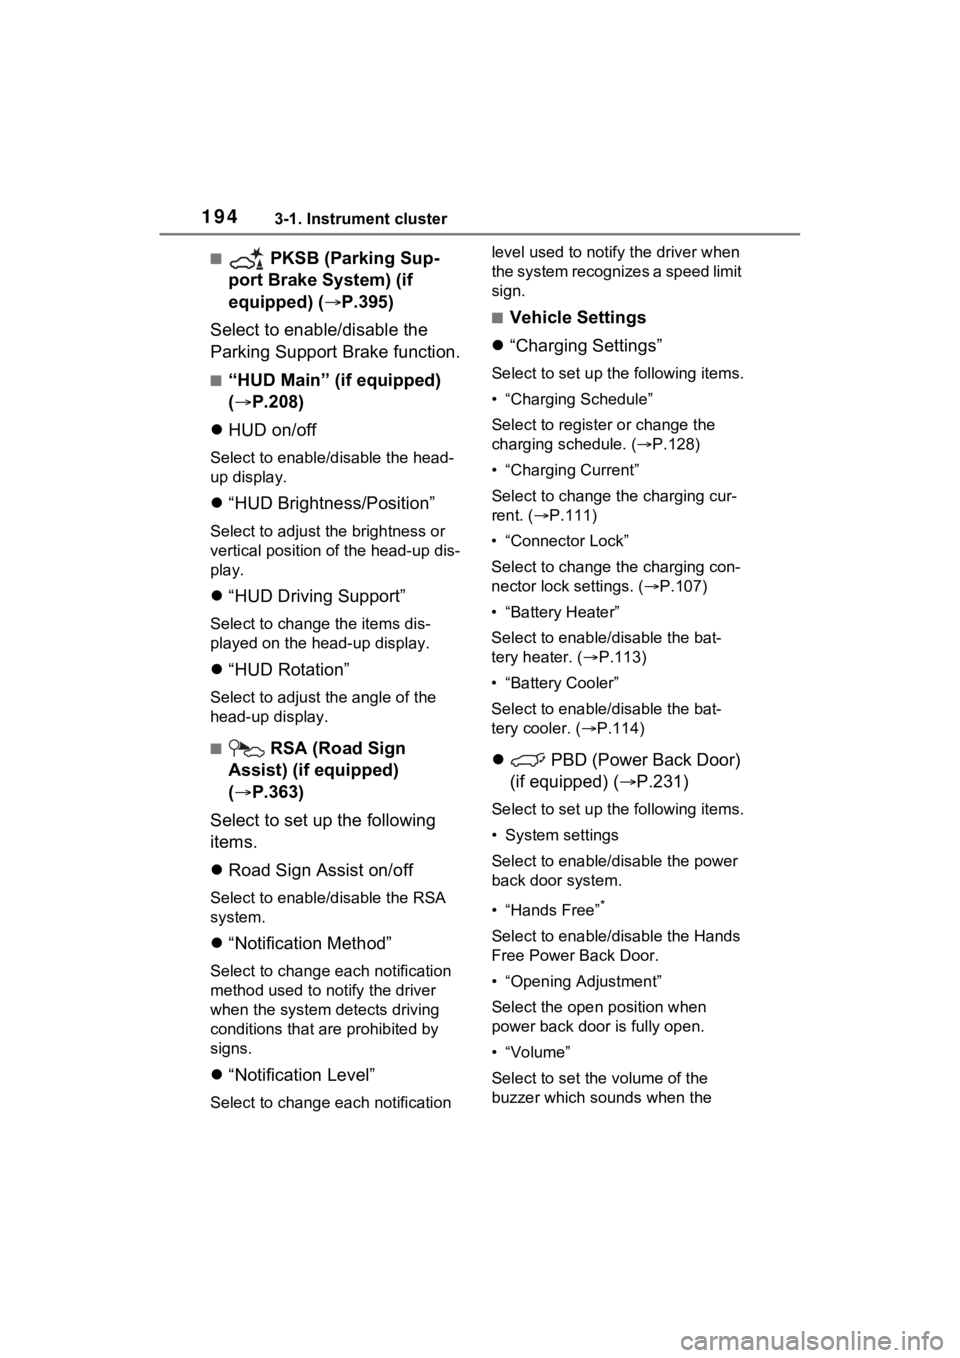
■ PKSB (Parking Sup-
port Brake System) (if
equipped) ( P.395)
Select to enable/disable the
Parking Support Brake function.
■“HUD Main” (if equipped)
( P.208)
HUD on/off
Select to enable/disable the head-
up display.
“HUD Brightness/Position”
Select to adjust t he brightness or
vertical position of the head-up dis-
play.
“HUD Driving Support”
Select to change the items dis-
played on the head-up display.
“HUD Rotation”
Select to adjust the angle of the
head-up display.
■ RSA (Road Sign
Assist) (if equipped)
( P.363)
Select to set up the following
items.
Road Sign Assist on/off
Select to enable/disable the RSA
system.
“Notification Method”
Select to change e ach notification
method used to notify the driver
when the system detects driving
conditions that are prohibited by
signs.
“Notification Level”
Select to change e ach notification level used to notify the driver when
the system recognizes a speed limit
sign.
■Vehicle Settings
“Charging Settings”
Select to set up t he following items.
• “Charging Schedule”
Select to register or change the
charging schedule. ( P.128)
• “Charging Current”
Select to change the charging cur-
rent. ( P.111)
• “Connector Lock”
Select to change the charging con-
nector lock settings. ( P.107)
• “Battery Heater”
Select to enable/disable the bat-
tery heater. ( P.113)
• “Battery Cooler”
Select to enable/disable the bat-
tery cooler. ( P.114)
PBD (Power Back Door)
(if equipped) ( P.231)
Select to set up t he following items.
• System settings
Select to enable/disable the power
back door system.
• “Hands Free”
*
Select to enable/d isable the Hands
Free Power Back Door.
• “Opening Adjustment”
Select the open position when
power back door is fully open.
•“Volume”
Select to set the volume of the
buzzer which sounds when the
Page 205 of 662
2053-1. Instrument cluster
3
Vehicle status information and indicators
“Sway Warning”
Select to enable/disable the vehicle
sway warning.
“Sway Sensitivity”
Select to set the vehicle sway
warning sensitivity.
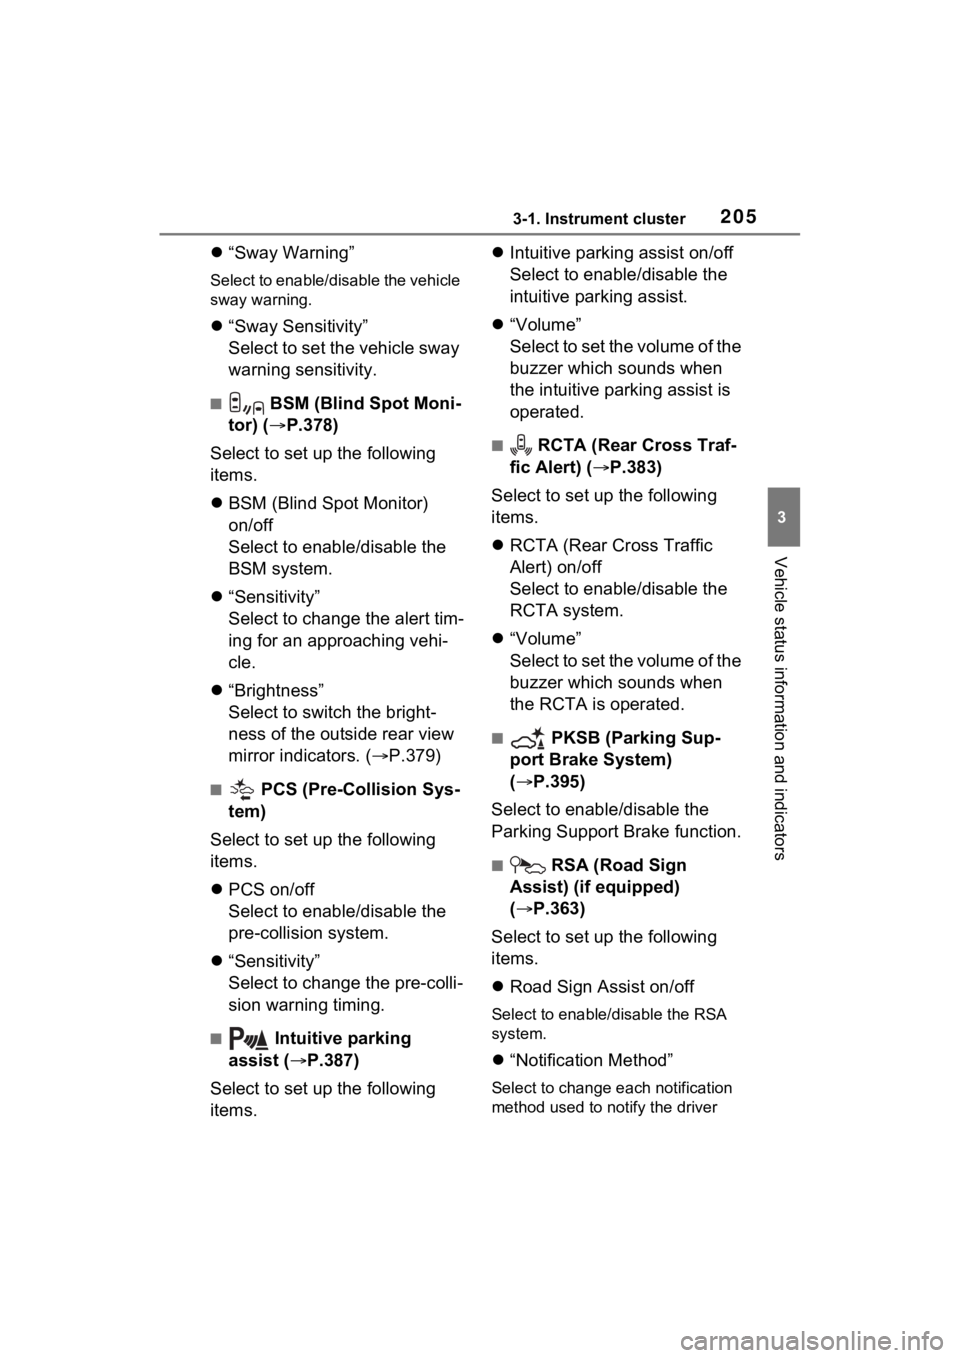
■ BSM (Blind Spot Moni-
tor) ( P.378)
Select to set up the following
items.
BSM (Blind Spot Monitor)
on/off
Select to enable/disable the
BSM system.
“Sensitivity”
Select to change the alert tim-
ing for an approaching vehi-
cle.
“Brightness”
Select to switch the bright-
ness of the outside rear view
mirror indicators. ( P.379)
■ PCS (Pre-Collision Sys-
tem)
Select to set up the following
items.
PCS on/off
Select to enable/disable the
pre-collision system.
“Sensitivity”
Select to change the pre-colli-
sion warning timing.
■ Intuitive parking
assist ( P.387)
Select to set up the following
items.
Intuitive parking assist on/off
Select to enable/disable the
intuitive parking assist.
“Volume”
Select to set the volume of the
buzzer which sounds when
the intuitive parking assist is
operated.
■ RCTA (Rear Cross Traf-
fic Alert) ( P.383)
Select to set up the following
items.
RCTA (Rear Cross Traffic
Alert) on/off
Select to enable/disable the
RCTA system.
“Volume”
Select to set the volume of the
buzzer which sounds when
the RCTA is operated.
■ PKSB (Parking Sup-
port Brake System)
( P.395)
Select to enable/disable the
Parking Support Brake function.
■ RSA (Road Sign
Assist) (if equipped)
( P.363)
Select to set up the following
items.
Road Sign Assist on/off
Select to enable /disable the RSA
system.
“Notification Method”
Select to change each notification
method used to notify the driver
Page 212 of 662

2123-1. Instrument cluster
systems will be displayed when
necessary:
■Driving support systems
Displays a warning/sugges-
tion/advice message or the
operating state of a relevant
system.
PCS (Pre-Collision System)
( P.340)
Brake Override System
( P.283)
Drive-Start Control ( P.283)
Parking Support Brake func-
tion (static objects) (if
equipped) ( P.400)
Displayed content is the same as
that displayed on the meter. For
details, refer to the explanations of
each system.
■ / icons
Displays the following multi-
information display linked icons:
: Master warning icon
Displayed when a warning mes-
sage is displayed on the multi-infor-
mation display.
: Information icon
Displayed when a sugges-
tion/advice pop-up display is dis-
played on the multi-information
display.
■Warning message
Some warning messages are
displayed when necessary,
according to certain conditions.
Displayed content is the same as that displayed on
the multi-informa-
tion display. For details, refer to the
explanations of each system.
■Audio system operation
status (if equipped)
Displayed when an audio
remote control switch on the
steering wheel is operated.
■Hands-free system status
(if equipped)
Displayed when the hands-free
system is operated.
■Outside temperature dis-
play
Displayed when the power
switch is turned to ON or when
the low outside temperature
indicator is flashing.
■When a pop-up display is dis-
played
When a pop-up display is displayed,
a current display may no longer be
displayed. In this case, the display
will return afte r the pop-up display
disappears.
■Outside temperature display
●When the ambient temperature is
approximately 37°F (3°C) or
lower, will flash for approxi-
mately 10 second s and the out-
side temperat ure display will turn
off.
●In the following sit uations, the cor-
rect outside temperature may not
be displayed, or the display may
take longer than normal to
change:
• When stopped (including when using “My Room Mode”), or driv-
ing at low speeds (less than 12
mph [20 km/h])
Page 233 of 662

2334-2. Opening, closing and locking the doors
4
Before driving
operation to occur.
Kick sensor
Hands Free Power Back
Door operation detection
area
3 When the kick sensor detects
that your foot is pulled back,
a buzzer will sound and the
back door will automatically
fully open/close.
If a foot is moved under the rear
bumper while the back door is
opening/closing, the back door will
stop moving.
If a foot is moved under the rear
bumper again during the halted
operation, the back door will per-
form the reverse operation.
■Luggage compartment light
●The luggage compartment light
turns on when the back door is
opened.
●When the power switch is turned
to OFF, the light will go off auto-
matically after 20 minutes.
■Back door closer
In the event that the back door is left
slightly open, the back door closer
will automatically close it to the fully
closed position.
Whatever the state of the power
switch, the back door closer oper-
ates.
■Power back door operating con-
ditions
The power back doo r can automati-
cally open and close under the fol-
lowing conditions:
●When the power back door sys-
tem is enabled. ( P.191)
●When the power switch is in ON,
in addition to the above for the
opening operations, the back door
operates for any of the following
conditions:
• Parking brake is engaged
• The brake pedal is depressed
• The shift lever is in P.
■Operation of the power back
door
●A buzzer sounds and the emer-
gency flashers flash twice to indi-
cate that the back door is
opening/closing.
●When the power back door sys-
tem is disabled, t he power back
door does not operate but it can
be opened and closed by hand.
●When the power back door auto-
matically opens, if an abnormality
due to people or objects is
detected, operation will stop.
■Jam protection function
Sensors are equipped on both sides
of the power back door. If anything
obstructs the power back door while
it is closing, the back door will auto-
matically operate in the opposite
direction or stop.
■Fall-down protection function
While the power back door is open-
ing automatically, applying exces-
sive force to it will stop the opening
A
B
Page 248 of 662
2484-3. Adjusting the seats
■Before folding down the
seatbacks
1 Park the vehicle in a safe
place.
Apply the parking brake ( P.314)
and shift the shift lever to P.
( P.310)
2 Adjust the position of the
front seat and the angle of
the seatback. ( P.247)
Depending on the position of the
front seat, if the seatback is folded
backward, it may interfere with the
operation of the rear seat.
3 Lift up and push down the
head restraints of the rear
outboard seats, and lower
the head restraint of the rear
center seat. ( P.253)
4 Stow the armrest of the rear
seat if it is pulled out.
( P.454)
This step is not necessary when
operating the left side seat only.
■Folding down the seat-
backs
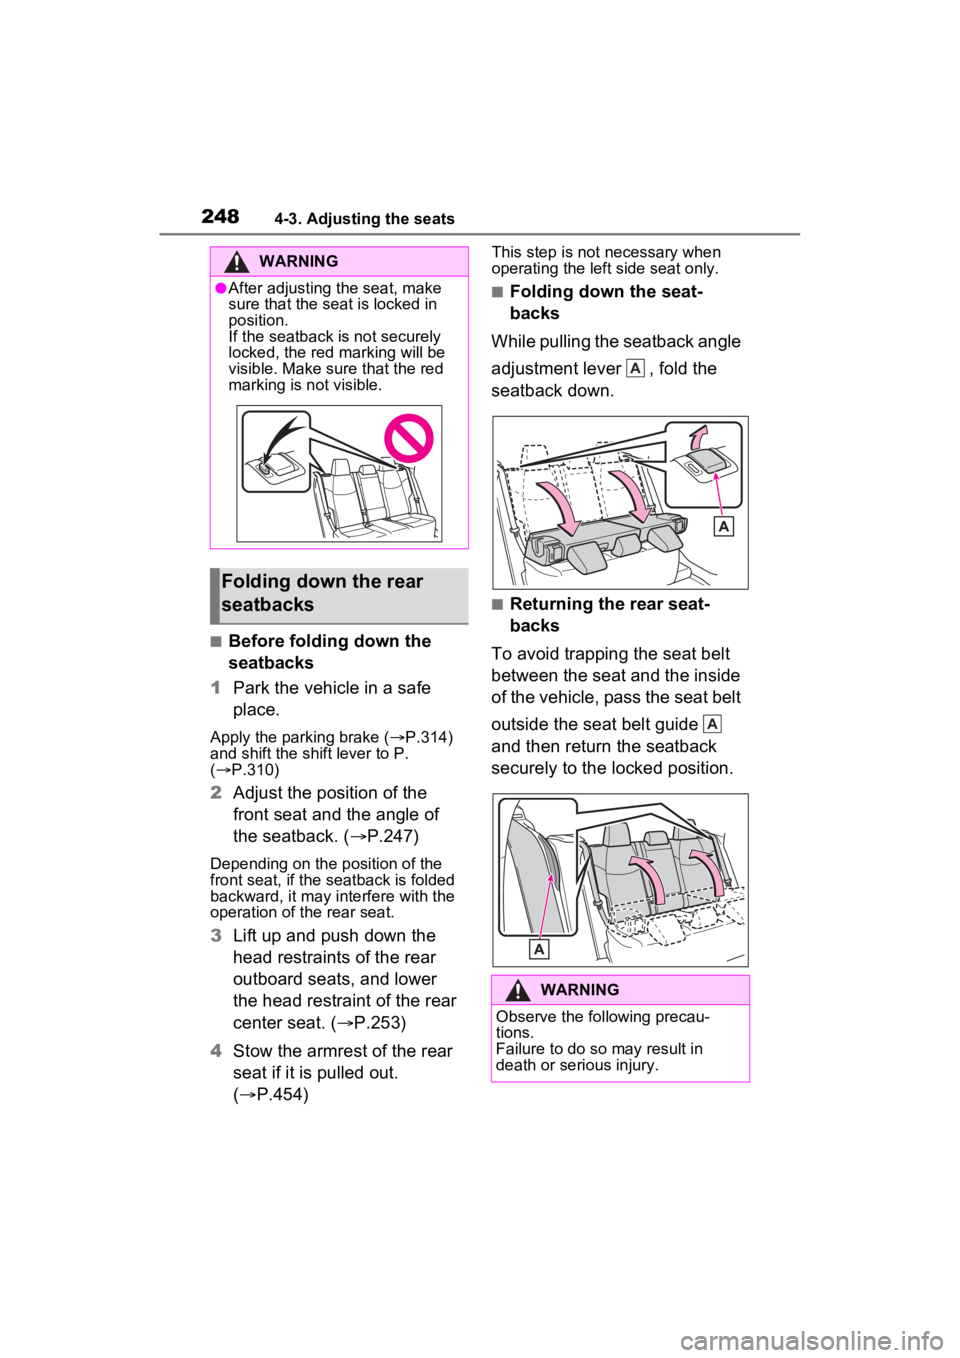
While pulling the seatback angle
adjustment lever , fold the
seatback down.
■Returning the rear seat-
backs
To avoid trapping the seat belt
between the seat and the inside
of the vehicle, pass the seat belt
outside the seat belt guide
and then return the seatback
securely to the locked position.
WARNING
●After adjusting the seat, make
sure that the seat is locked in
position.
If the seatback is not securely
locked, the red marking will be
visible. Make sure that the red
marking is not visible.
Folding down the rear
seatbacks
WARNING
Observe the following precau-
tions.
Failure to do so may result in
death or serious injury.
A
A
Page 249 of 662

2494-3. Adjusting the seats
4
Before driving
*: If equipped
■Recording procedure
1 Check that the shift lever is in
P.
2 Turn the power switch to ON.
3 Adjust the driver’s seat to the
desired positions.
4 While pressing the “SET” but-
ton, or within 3 seconds after
the “SET” button is pressed,
press button “1” or “2” until
the buzzer sounds.
If the selected button has already
been preset, the previously
recorded positio n will be overwrit-
WARNING
■When folding the rear seat-
backs down
●Do not fold the seatbacks down
while driving.
●Stop the vehicle on level
ground, set the parking brake
and shift the shift lever to P.
●Do not allow anyo ne to sit on a
folded seatback or in the lug-
gage compartment while driv-
ing.
●Do not allow child ren to enter
the luggage compartment.
●Do not operate the rear seat if it
is occupied.
●Be careful not to get feet or
hands caught in the moving
parts or joints of the seats
during operation.
●Do not allow children to operate
the seat.
■After returning the rear seat-
back to the upright position
●Make sure that the seatback is
securely locked in position by
lightly pushing it back and forth.
If the seatback is not securely
locked, the red marking will be
visible. Make sure that the red
marking is not visible.
●Check that the seat belts are
not twisted or caught in the
seatback.
Driving position mem-
ory*
This feature automatically
adjusts the driver’s seat to
suit your preferences.
Your preferred driving posi-
tion (the position of the
driver’s seat) can be
recorded and recalled by
pressing a button.
Two different driving posi-
tions can be recorded into
memory.
Each electronic key can be
registered to recall your pre-
ferred driving position.
Recording/recalling a
driving position
Page 279 of 662
281
5
5
Driving
Driving
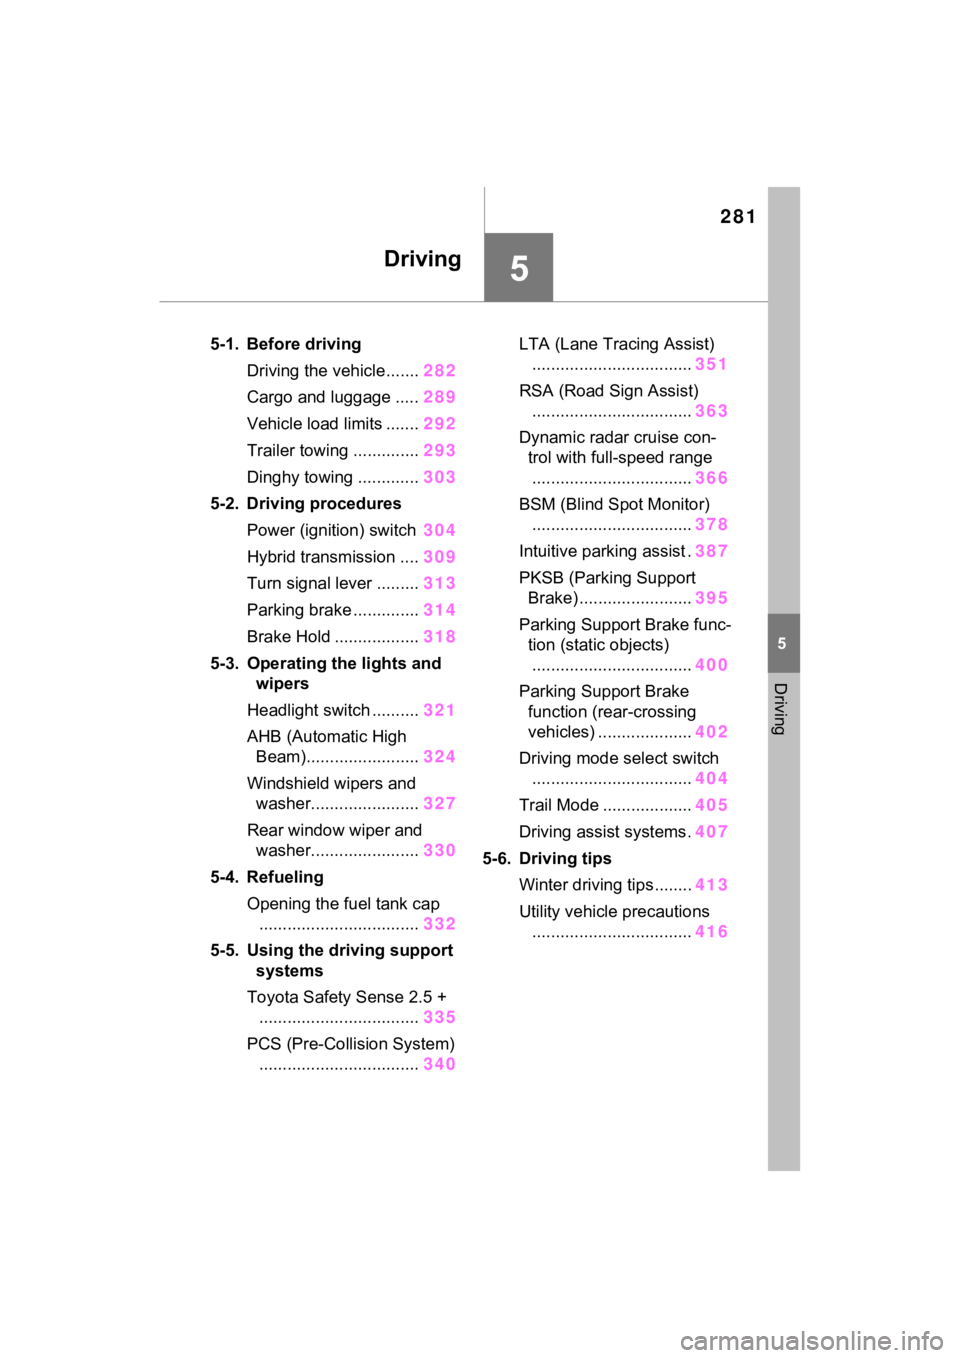
5-1. Before drivingDriving the vehicle....... 282
Cargo and luggage ..... 289
Vehicle load limits ....... 292
Trailer towing .............. 293
Dinghy towing ............. 303
5-2. Driving procedures Power (ignition) switch 304
Hybrid transmission .... 309
Turn signal lever ......... 313
Parking brake .............. 314
Brake Hold .................. 318
5-3. Operating the lights and wipers
Headlight switch .......... 321
AHB (Automatic High Beam)........................ 324
Windshield wipers and washer....................... 327
Rear window wiper and washer....................... 330
5-4. Refueling Opening the fuel tank cap.................................. 332
5-5. Using the driving support
systems
Toyota Safety Sense 2.5 + .................................. 335
PCS (Pre-Collision System) .................................. 340LTA (Lane Tracing Assist)
.................................. 351
RSA (Road Sign Assist) .................................. 363
Dynamic radar cruise con- trol with full-speed range
.................................. 366
BSM (Blind Spot Monitor) .................................. 378
Intuitive parking assist . 387
PKSB (Parking Support Brake) ........................ 395
Parking Support Brake func- tion (static objects).................................. 400
Parking Support Brake function (rear-crossing
vehicles) .................... 402
Driving mode select switch .................................. 404
Trail Mode ................... 405
Driving assist systems. 407
5-6. Driving tips Winter driving tips........ 413
Utility vehicle precautions .................................. 416